使用 RT |
您所在的位置:网站首页 › rtthread移植到stm32f4 › 使用 RT |
使用 RT
|
文章目录
1 前言2 简介3 实现3.1 使用 RT-Thread Studio 新建 RT-Thread 工程3.2 使用 STM32CubeMx 配置外设和系统时钟3.3 复制 stm32xxxx_hal_msp.c 函数3.4 修改 stm32xxxx_hal_config.h 文件,打开相应外设支持。3.5 替换 board.c 文件中时钟配置函数3.6 使用外设
1 前言
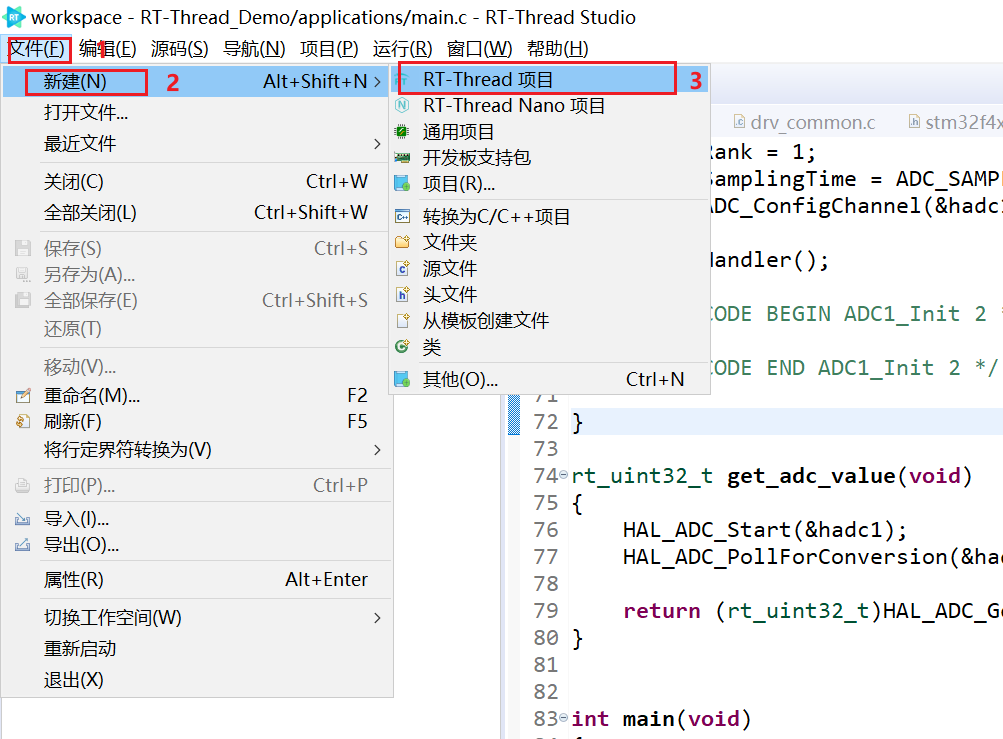
本文参照官方参考文章,只不过官方的教程有些过时,在此基础上重新实现一遍。 注意:这里的驱动是指未对接到rtthread设备驱动框架的的驱动,对接需要自行实现。 2 简介使用 RT-Thread Studio 和 STM32CubeMx 开发驱动可分为以下几个步骤 使用 RT-Thread Studio 新建 RT-Thread 工程 使用 STM32CubeMx 配置外设和系统时钟 复制 stm32xxxx_hal_msp.c 函数 修改 stm32xxxx_hal_config.h 文件,打开相应外设支持。 替换 board.c 文件中时钟配置函数 使用外设 3 实现 3.1 使用 RT-Thread Studio 新建 RT-Thread 工程
因为rtthread默认使用芯片内部时钟,目的是为了更加通用。所以我们打开后根据自己的开发板选择时钟,我这里以STM32F407霸天虎开发板为例配置时钟 生成的代码在rtthread studio的工程目录cubemx下,需要刷新一下工程目录才能看到 将 CubeMx 生成的代码 stm32l4xx_hal_msp.c 函数复制到 RT-Thread Studio 生成的工程中,并参与工程编译。复制完成后的结果如下图所示
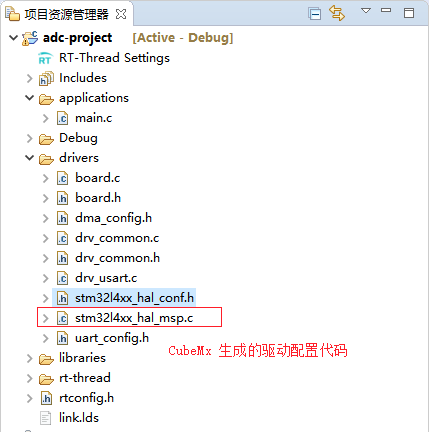
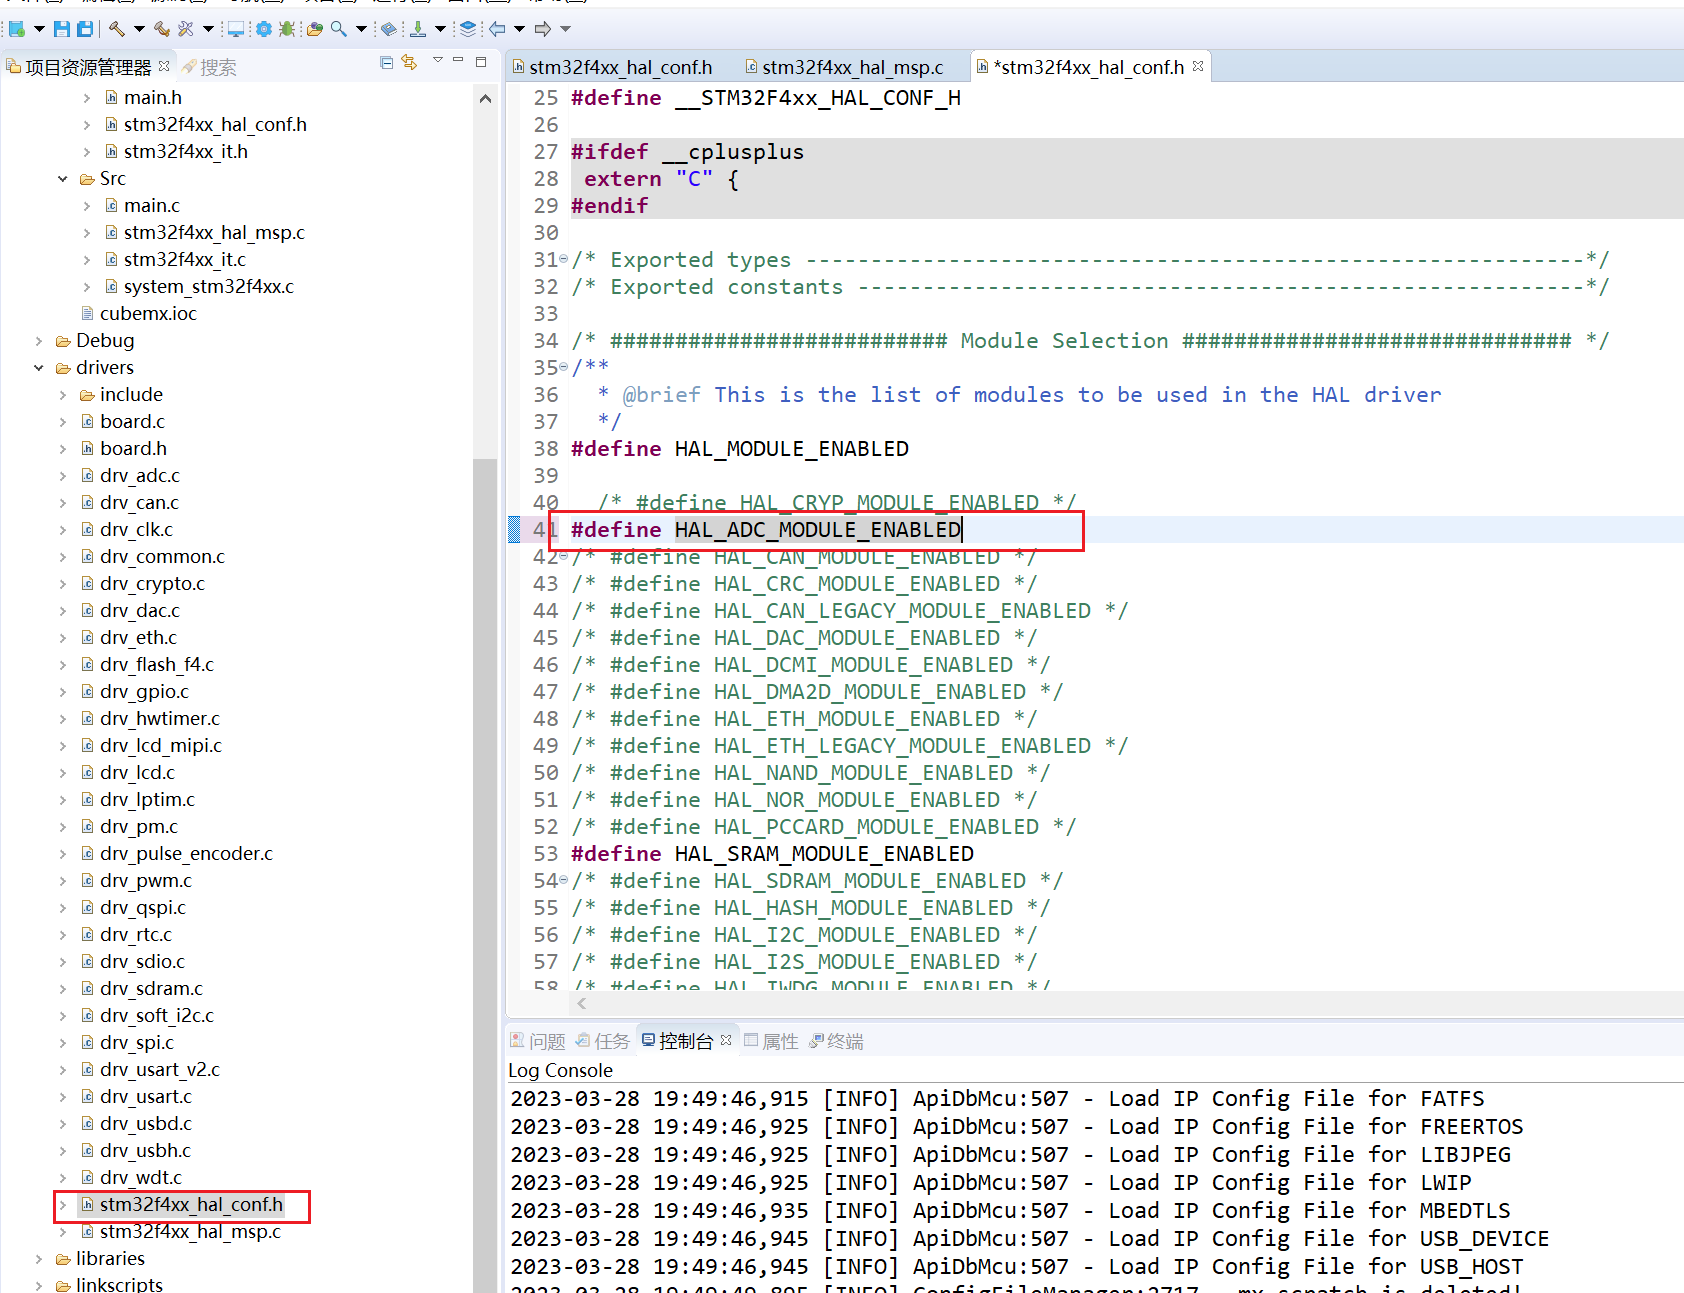
由于我们并没有使用 CubeMx 生成的工程,所以这里需要将stm32l4xx_hal_msp.c 文件中 #include "main.h"替换为 #include "board.h"。 3.4 修改 stm32xxxx_hal_config.h 文件,打开相应外设支持。由于我们使能了ADC外设,所以我们需要在stm32f4xx_hal_conf.h中将ADC模块使能,即取消注释 首先找到在cubemx中生成的配置时钟的代码,复制下来 将cubemx生成的main.c中的MX_ADC_Init函数复制到工程中的main.c中进行ADC的初始化,即可正常使用ADC外设。 void MX_ADC1_Init(void) { /* USER CODE BEGIN ADC1_Init 0 */ /* USER CODE END ADC1_Init 0 */ ADC_ChannelConfTypeDef sConfig = {0}; /* USER CODE BEGIN ADC1_Init 1 */ /* USER CODE END ADC1_Init 1 */ /** Configure the global features of the ADC (Clock, Resolution, Data Alignment and number of conversion) */ hadc1.Instance = ADC1; hadc1.Init.ClockPrescaler = ADC_CLOCK_SYNC_PCLK_DIV4; hadc1.Init.Resolution = ADC_RESOLUTION_12B; hadc1.Init.ScanConvMode = ENABLE; hadc1.Init.ContinuousConvMode = DISABLE; hadc1.Init.DiscontinuousConvMode = DISABLE; hadc1.Init.ExternalTrigConvEdge = ADC_EXTERNALTRIGCONVEDGE_NONE; hadc1.Init.ExternalTrigConv = ADC_SOFTWARE_START; hadc1.Init.DataAlign = ADC_DATAALIGN_RIGHT; hadc1.Init.NbrOfConversion = 1; hadc1.Init.DMAContinuousRequests = DISABLE; hadc1.Init.EOCSelection = ADC_EOC_SINGLE_CONV; if (HAL_ADC_Init(&hadc1) != HAL_OK) { Error_Handler(); } /** Configure for the selected ADC regular channel its corresponding rank in the sequencer and its sample time. */ sConfig.Channel = ADC_CHANNEL_0; sConfig.Rank = 1; sConfig.SamplingTime = ADC_SAMPLETIME_3CYCLES; if (HAL_ADC_ConfigChannel(&hadc1, &sConfig) != HAL_OK) { Error_Handler(); } /* USER CODE BEGIN ADC1_Init 2 */ /* USER CODE END ADC1_Init 2 */ } rt_uint32_t get_adc_value(void) { HAL_ADC_Start(&hadc1); HAL_ADC_PollForConversion(&hadc1, 10); return (rt_uint32_t)HAL_ADC_GetValue(&hadc1); } int main(void) { int count = 1; rt_uint32_t read_value = 0; MX_ADC1_Init(); while (count++) { read_value = get_adc_value(); rt_thread_mdelay(1000); rt_kprintf("adc value = %d\r\n", read_value); } return RT_EOK; } |
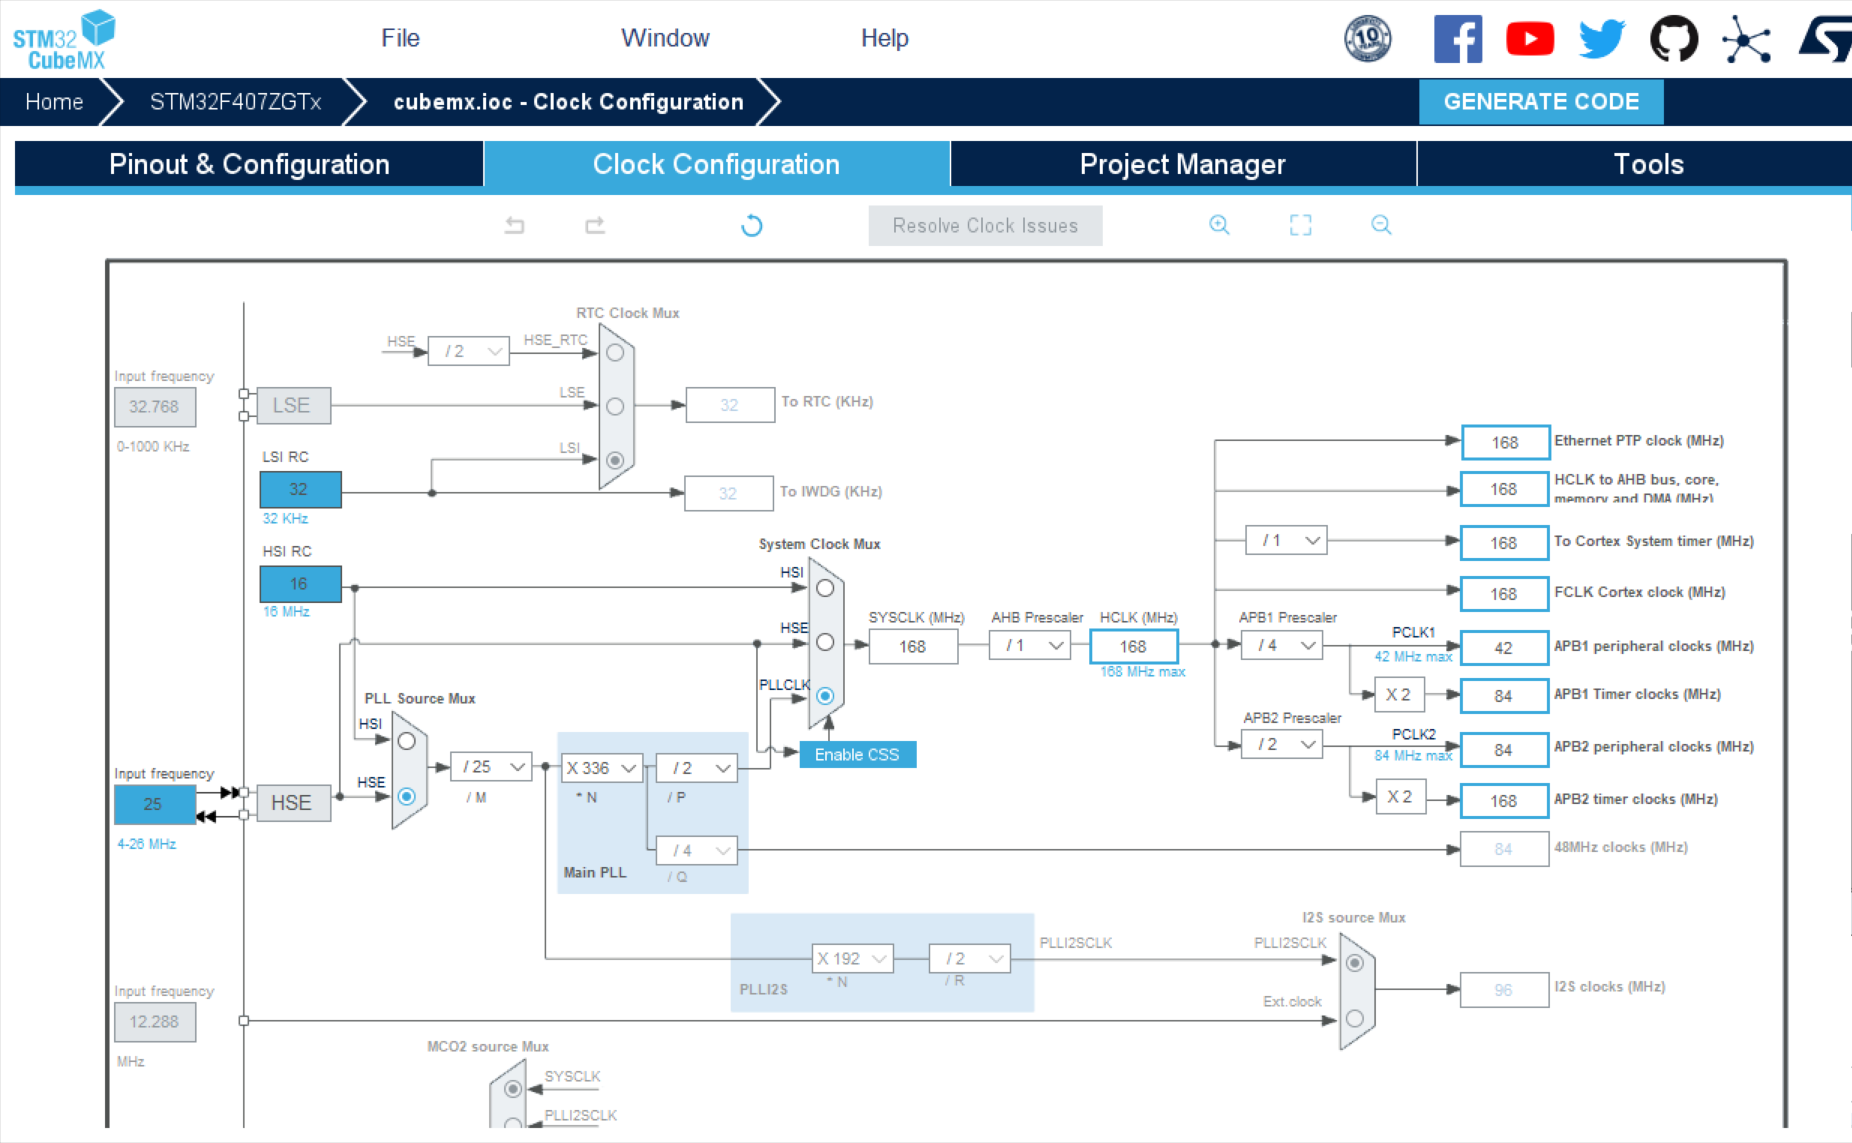
 根据芯片型号配置工程
 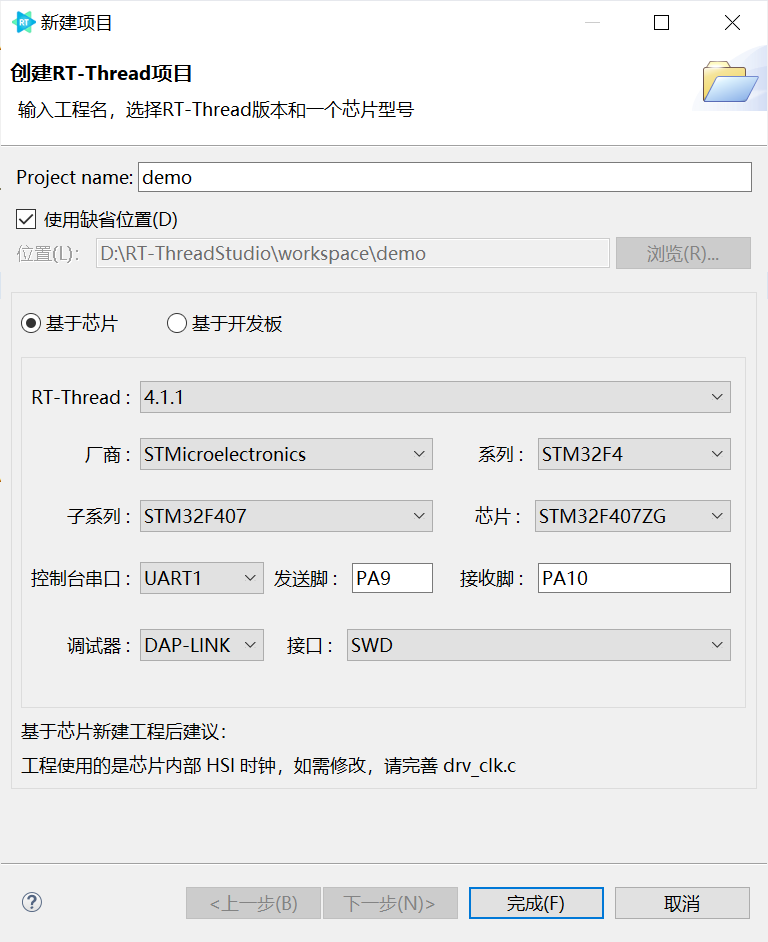 这是生成工程的完整目录结构,双击打开CubeMX Settings
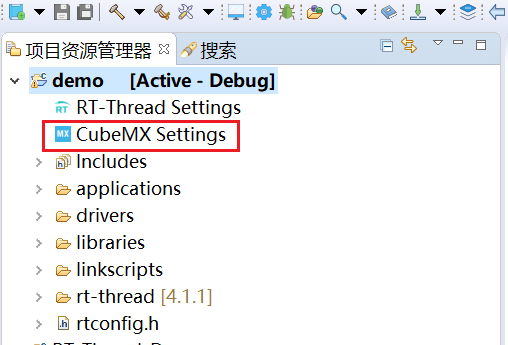
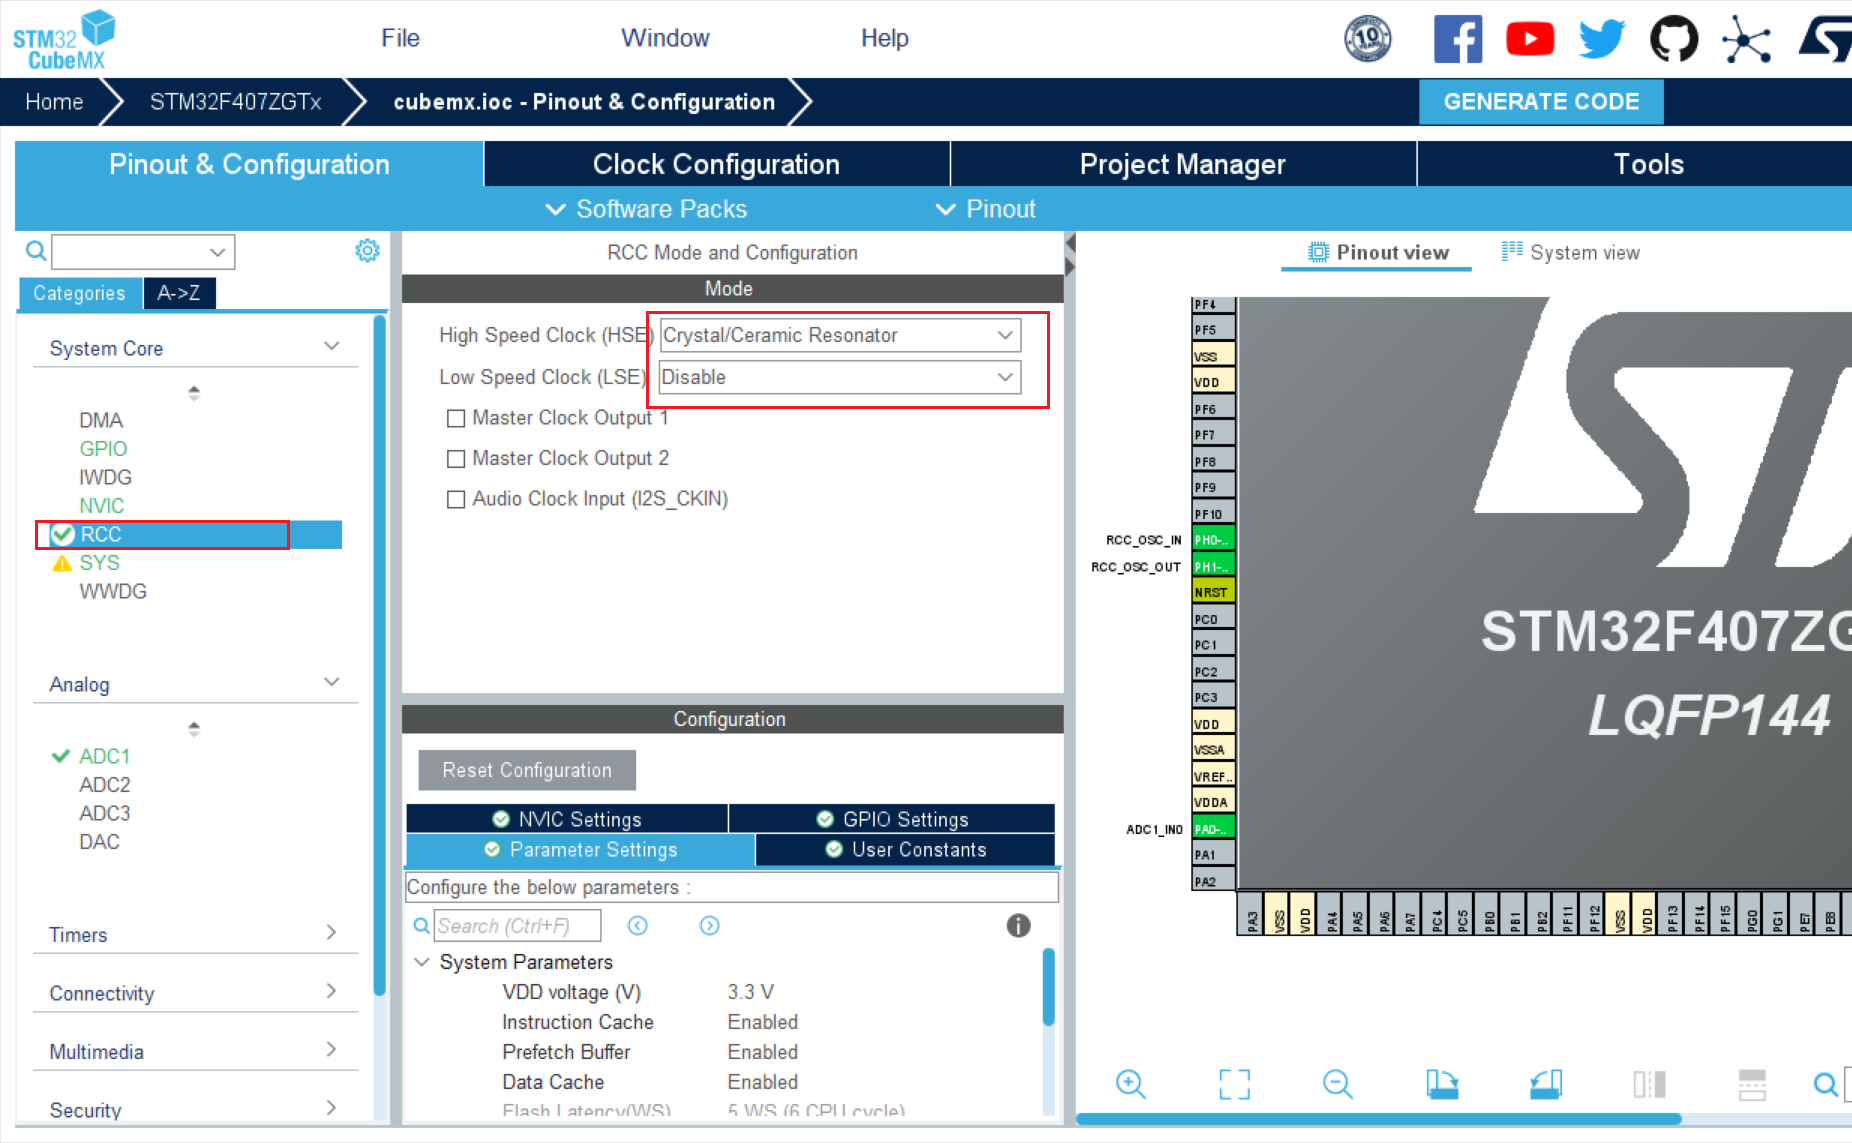
 然后我们简单的驱动一个ADC外设,配置如下
 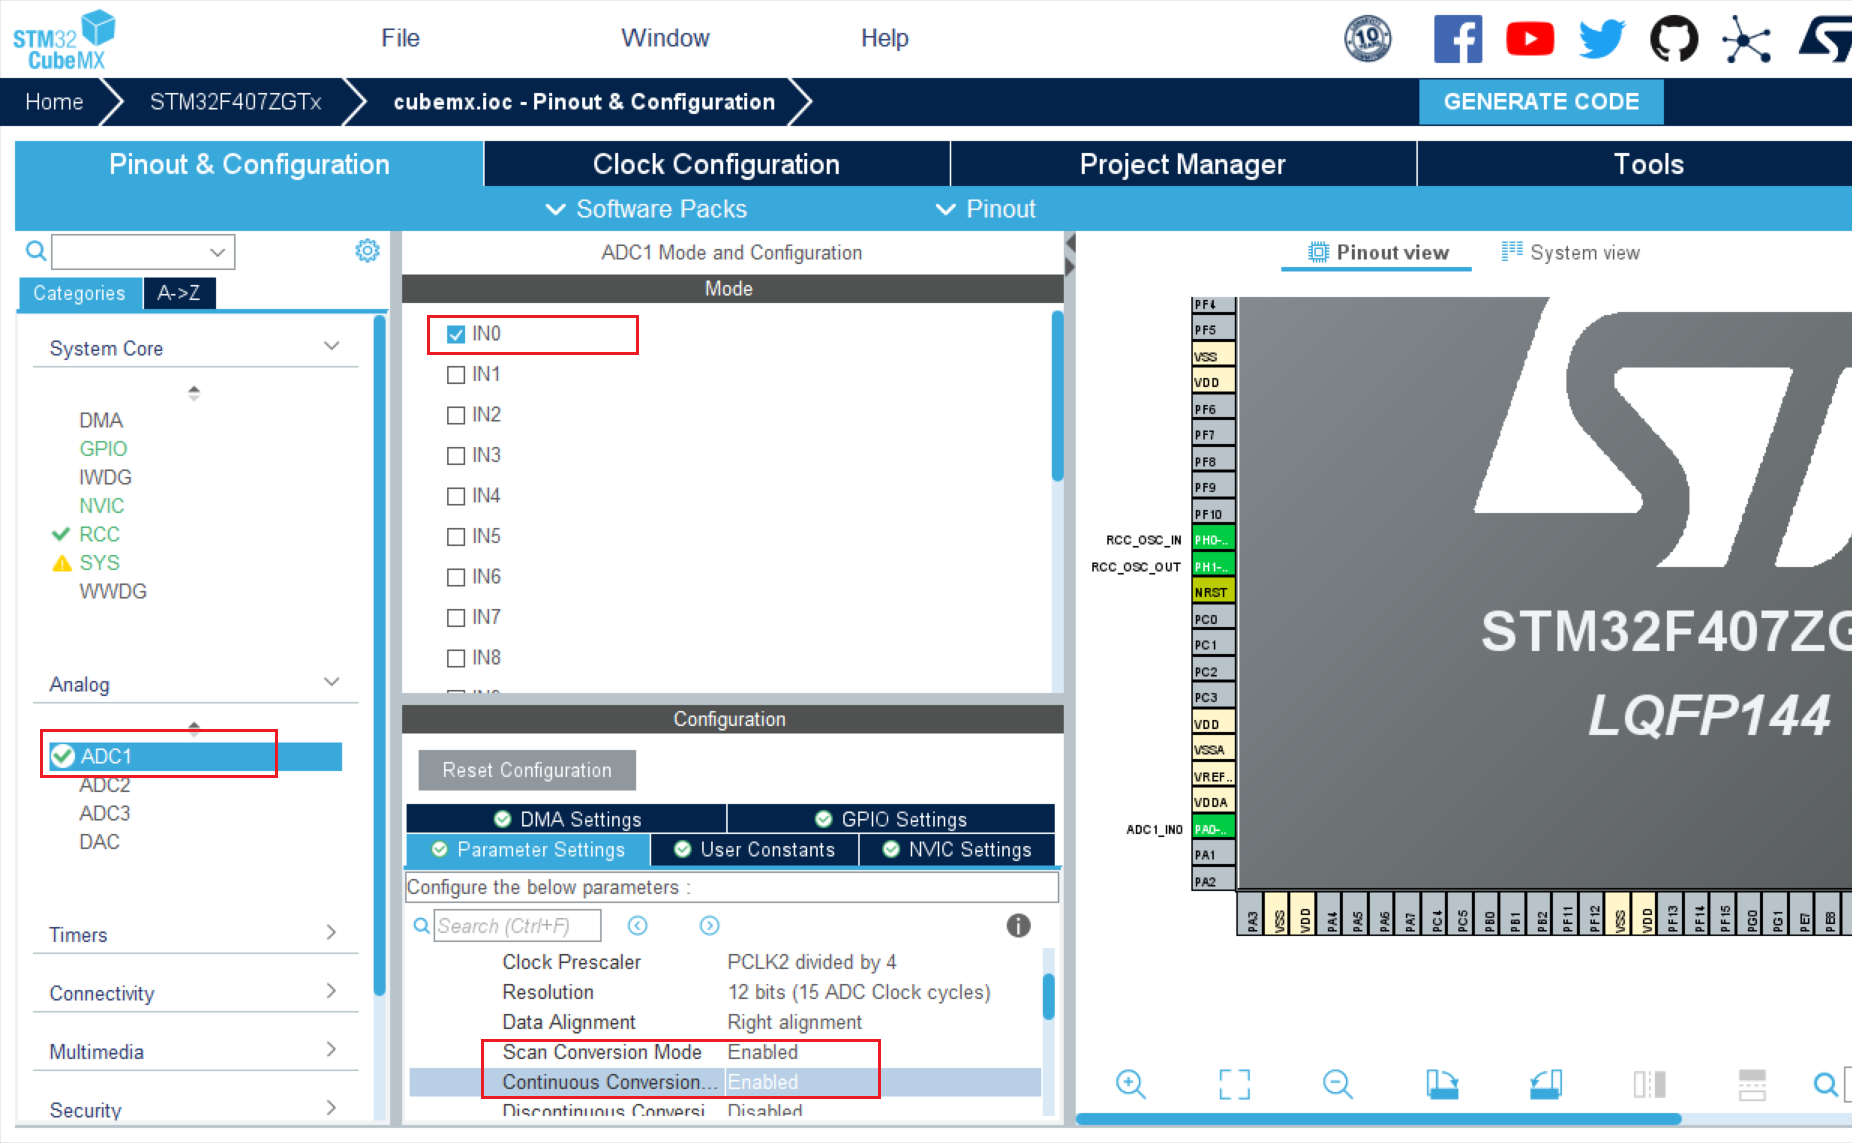 工程目录以及Toolchain/IDE随便选就好,因为我们只需要源码,不需要工程
 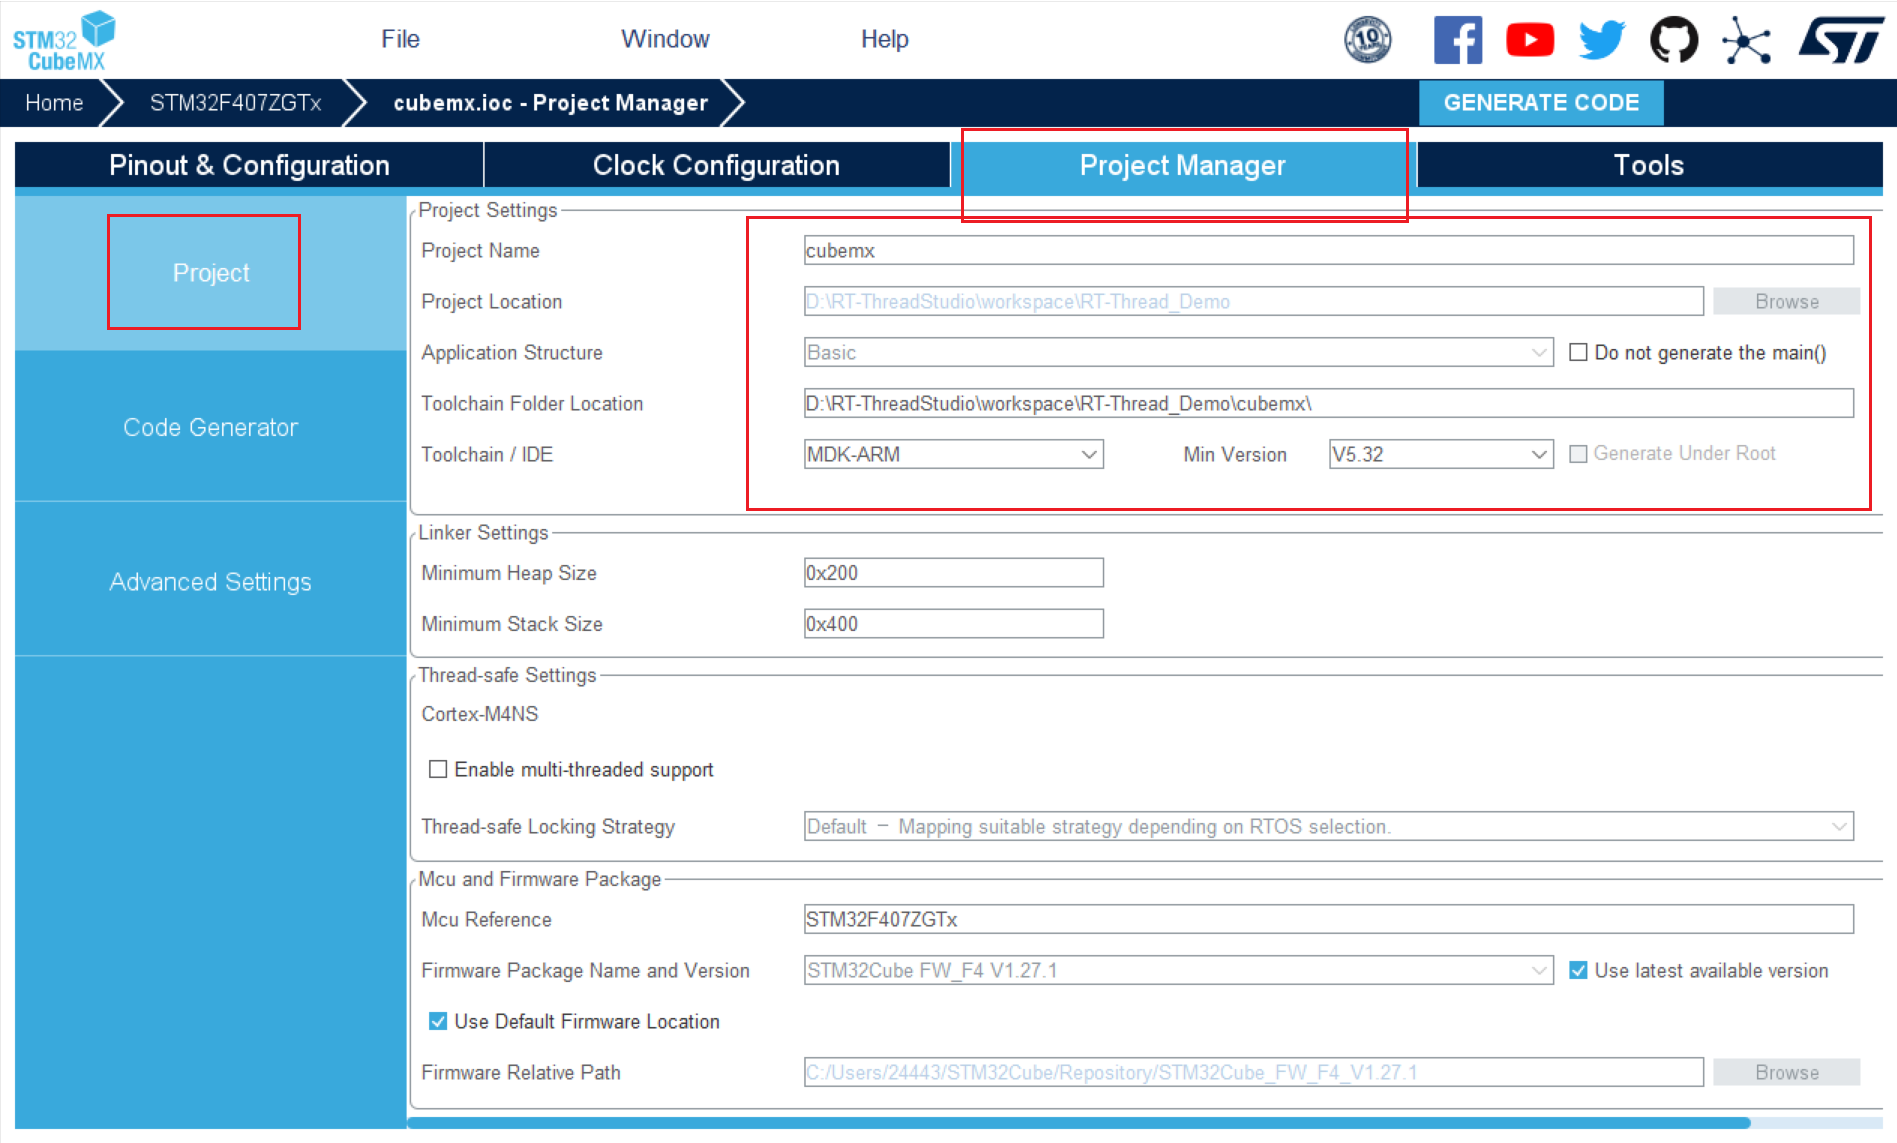 这里最好不要为每个驱动单独生成一个文件,方便我们待会复制
 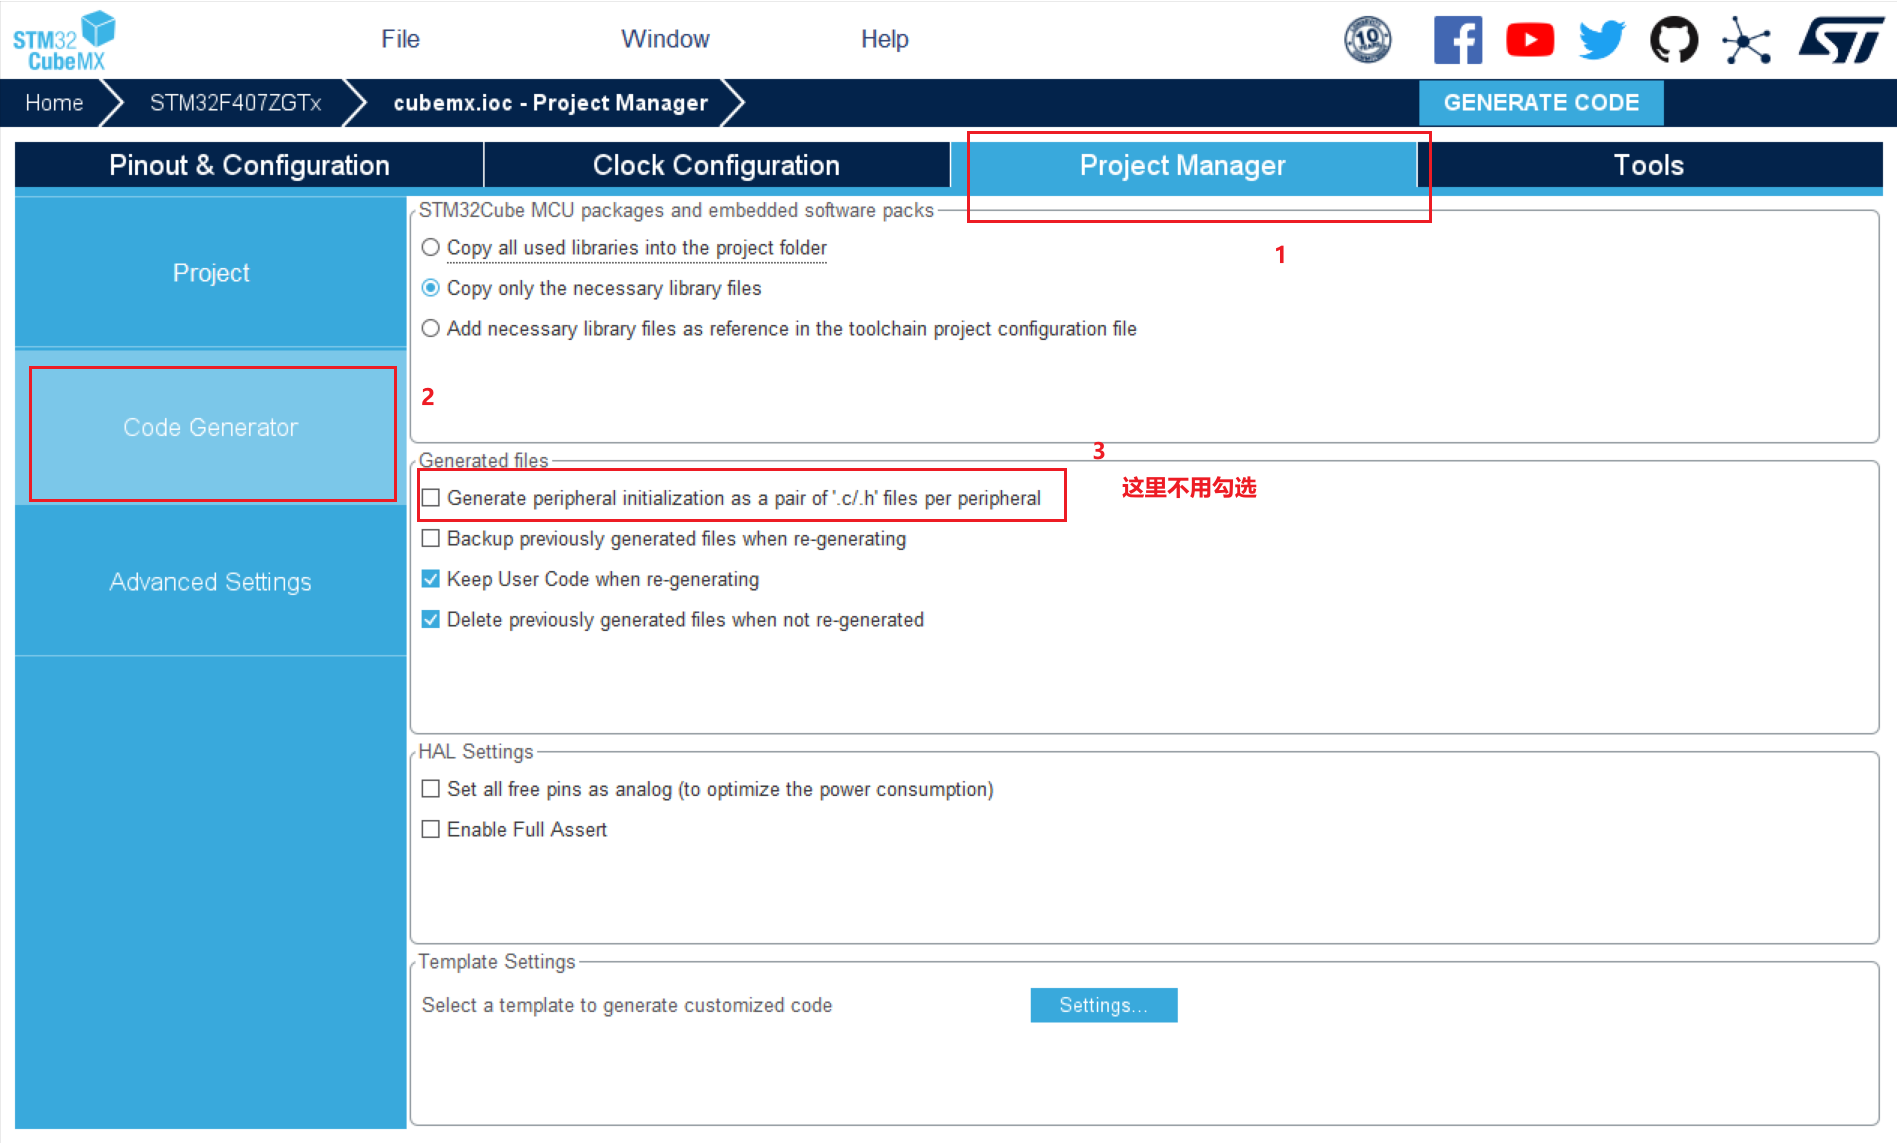 选择好之后点击右上角的GENERATE CODE即可生成一个工程
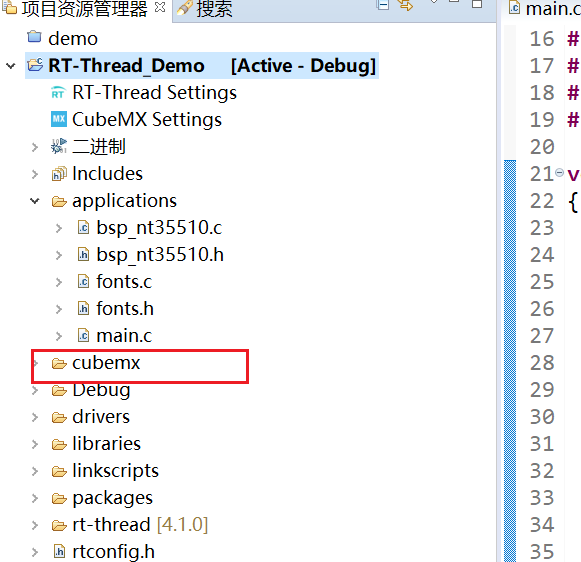 我们需要的是stm32f4xx_hal_msp.c这个文件
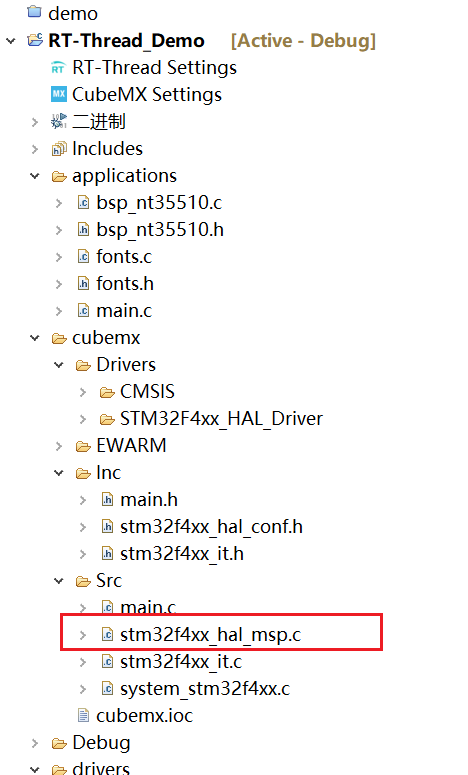
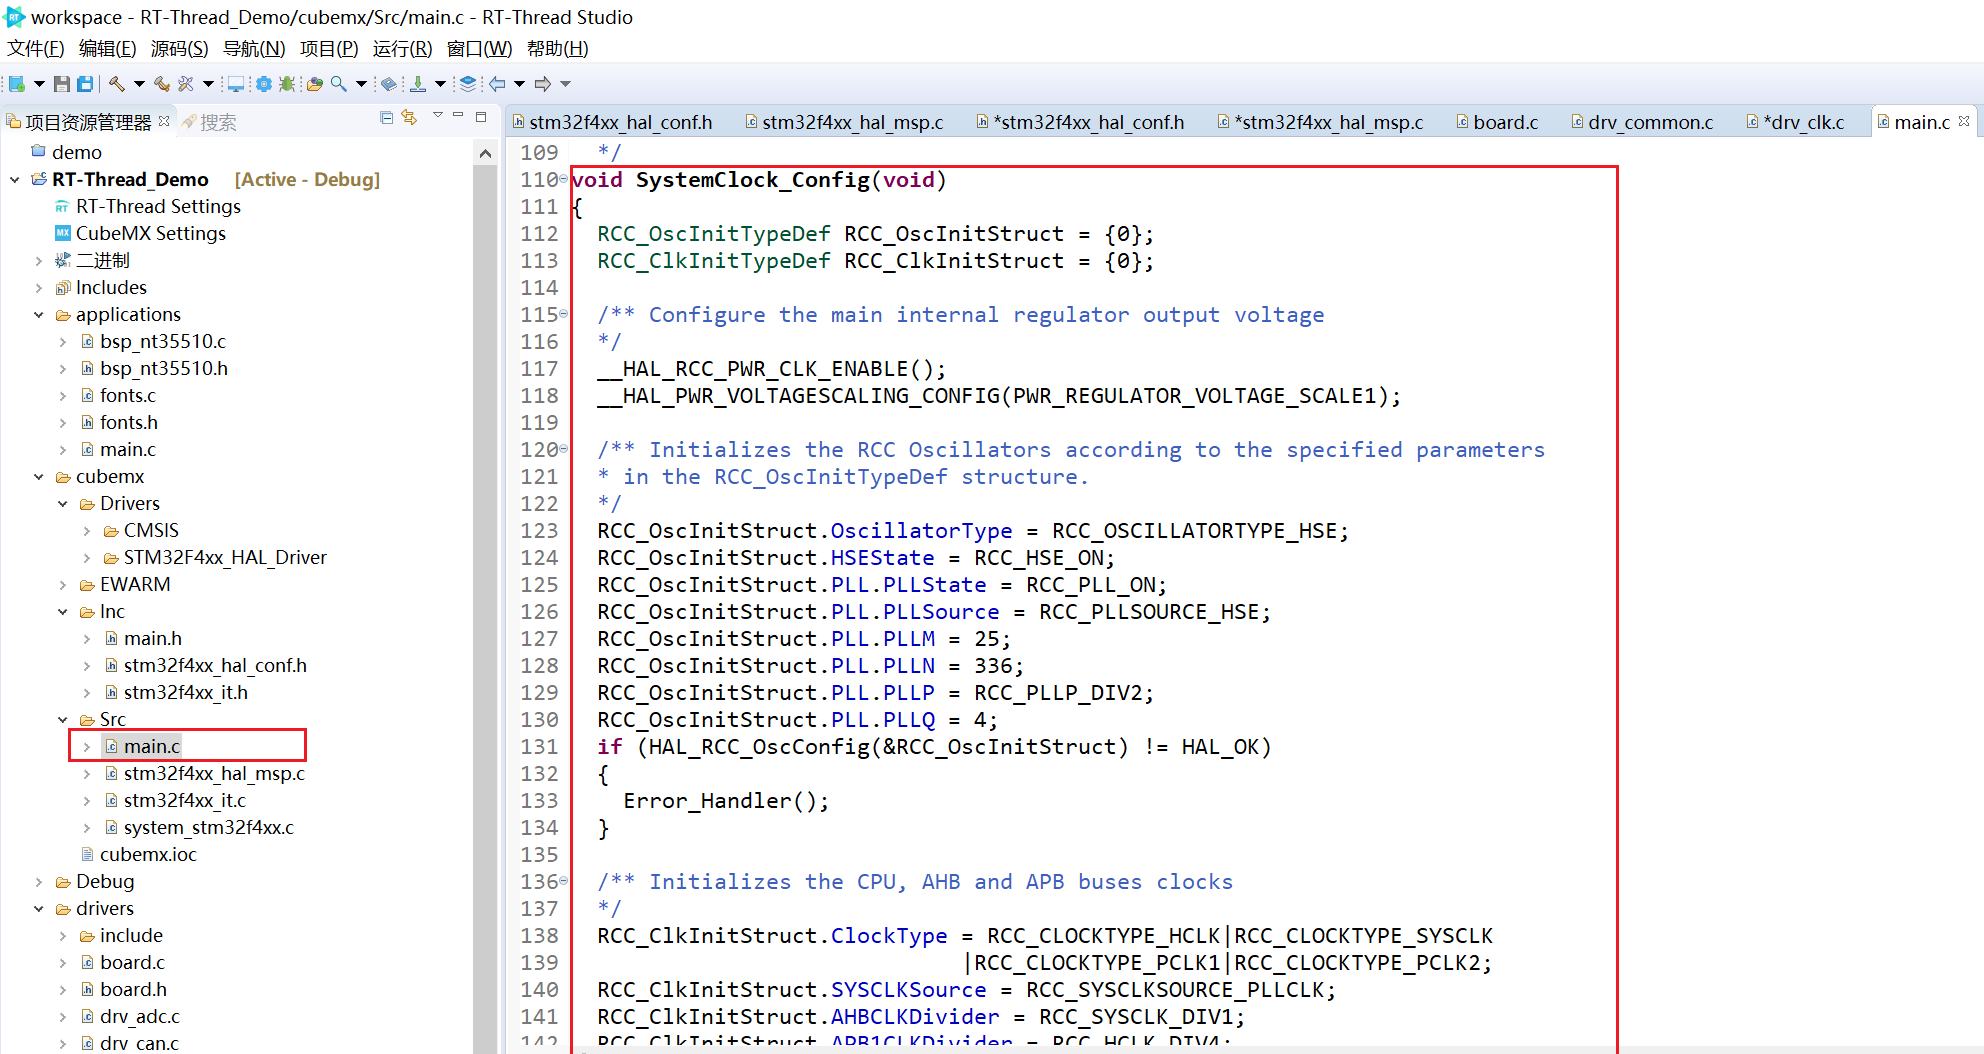 找到drv_clk.c中的system_clock_config函数替换该函数即可
 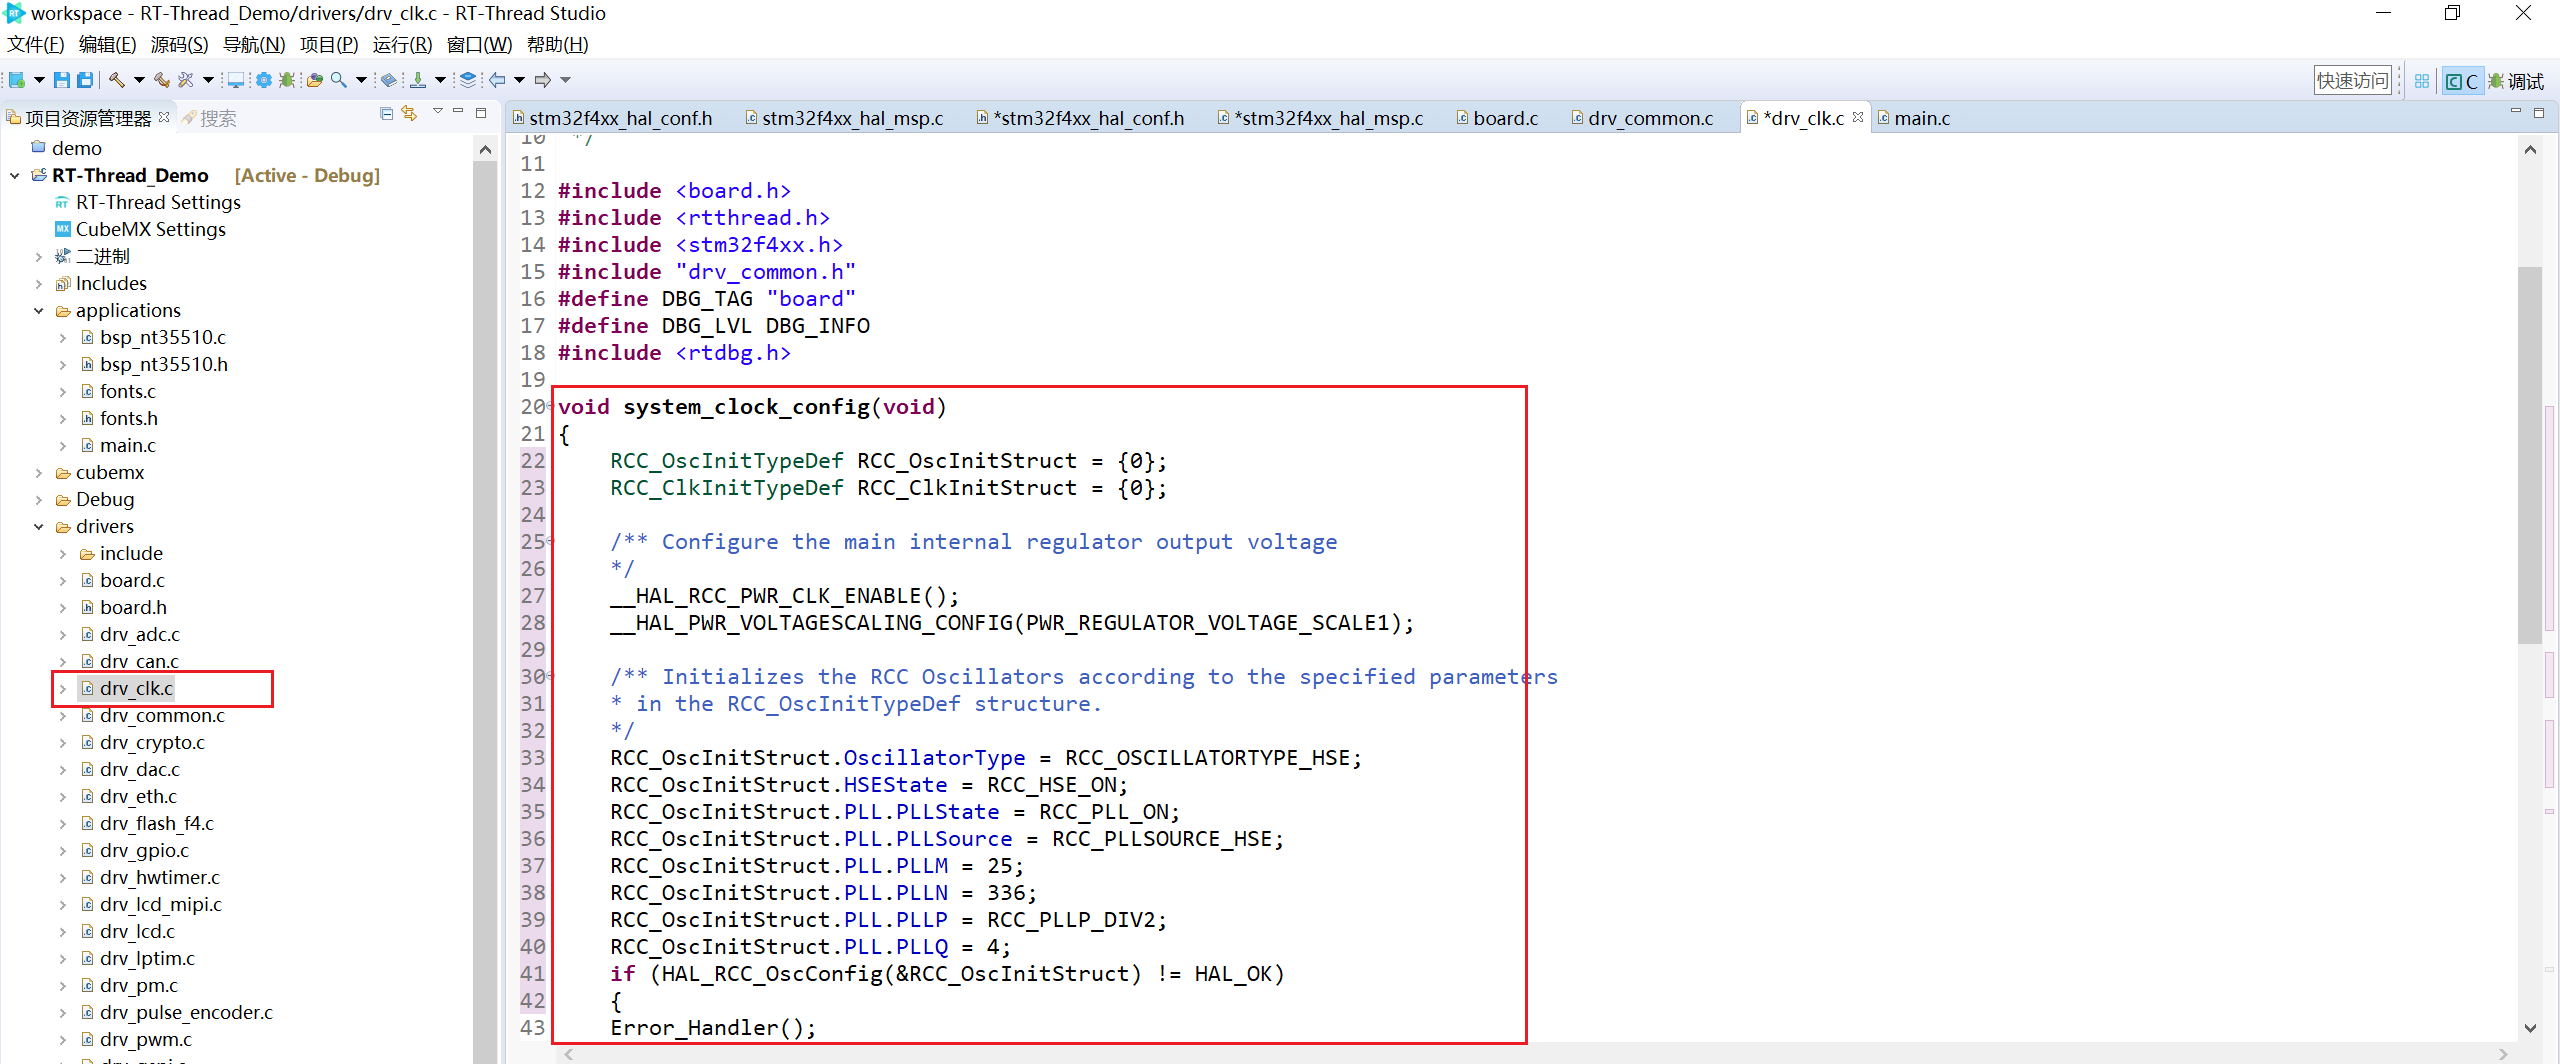 如果使用外部时钟,则需要更新工程中的stm32xxxx_hal_conf.h 中的对应的外部时钟频率的值,以 HSE 为例,需要修改下面的时钟频率为实际使用的值:
【本文地址】
今日新闻 |
推荐新闻 |