Fix: Volume Automatically Going Up/Down on Windows |
您所在的位置:网站首页 › constantlyincreasing › Fix: Volume Automatically Going Up/Down on Windows |
Fix: Volume Automatically Going Up/Down on Windows
|
Volume automatically goes down/up, an issue that occurs due to software conflict and defective audio drivers. These reasons are the main and confirmed by the majority of users that have encountered this issue. Per our research, the leading cause of this issue is the conflict of applications like GPU and motherboard vendors. Although these applications are used to update the hardware drivers, they may also be behind, causing this issue. 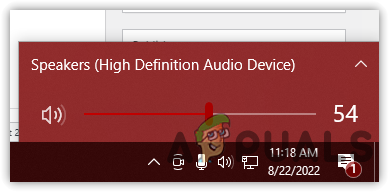 Volume Automatically goes down-up on Windows 10 Volume Automatically goes down-up on Windows 10Below we have provided a proper detailed cause:- Causing Application is added to Vendor- Hardware vendor application can conflict with the Windows sound when the game runs. Thus, the sound automatically goes up and down.Corrupted or Defective Realtek Drivers- As it turns out, corrupted and defective audio drivers are also involved in causing this issue. As per the research, an update was released from the Realtek audio drivers, but it seemed that the update was defective and causing this issue.Enabled Communication Activity- Communication Activity reduces the sound by around 80 to 50 percent according to the percentage you selected. However, it can lead you to this issue. Therefore, adjust and disable the communication activity to get rid of this issue.Stopped Windows audio Service- Windows audio services handles the main sound of your computer. If it gets stopped, you won’t hear any sound from the computer, but it can also trigger the automatically sound going up and down the issue.Enabled Enhancements- The sound enhancement feature allows users to make a sound better by applying the enhancement provided by Microsoft and third-party vendors. Although it is good to use enhancement, it sometimes causes issues with sound.Conflict Of Application- If there are any third-party applications including the vendors and you are not aware of that. So this is a conflict of applications or software conflict. To prevent this, you will need to perform a clean boot.1. Remove Causing Apps from Hardware Vendor ApplicationsVendors allow users to optimize their apps according to the hardware. It keeps the drivers up to date and also provides a good experience. However, significant users find themselves receiving this issue due to vendor applications such as ASUS Armoury Crate and other vendors. Therefore, if you have added any applications to the vendors, we advise removing apps from there as they can conflict with the sound. Below are the steps:- Launch the Vendor Application, and go to Scenario Profiles from left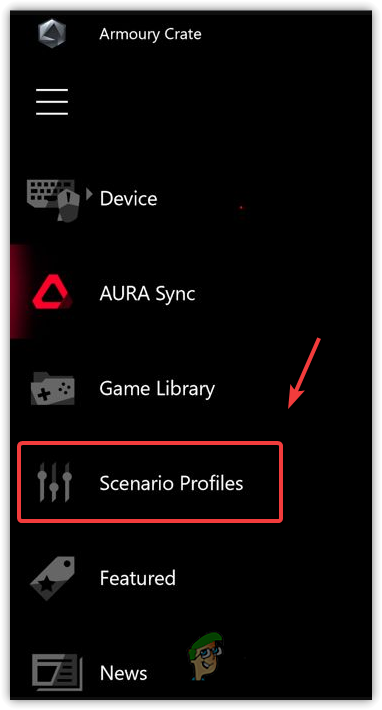 Go to Scenario ProfilesRemove the app from the scenario profiles and check if the issue persists. Go to Scenario ProfilesRemove the app from the scenario profiles and check if the issue persists.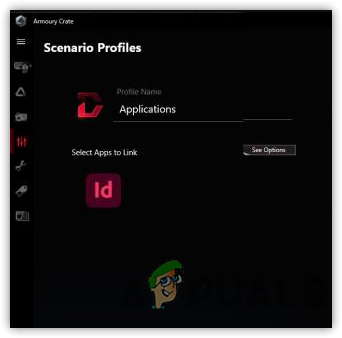 Remove Applications From Scenario Profiles2. Re-install Audio Driver Remove Applications From Scenario Profiles2. Re-install Audio DriverDefective audio drivers could also be involved as a culprit. It turns out the issue occurs after updating Realtek audio driver. To fix this, reinstalling the driver will fix this issue. To reinstall the Realtek audio driver, press the Windows + R to launch the Run ProgramType devmgmt.msc and click OK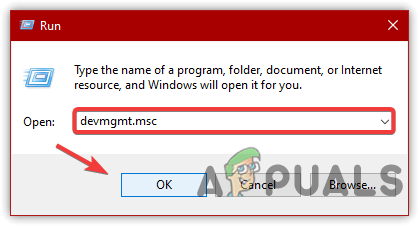 Head to the Device ManagerExpand the audio drivers menuRight-click the current audio driver and click Uninstall Device Head to the Device ManagerExpand the audio drivers menuRight-click the current audio driver and click Uninstall Device 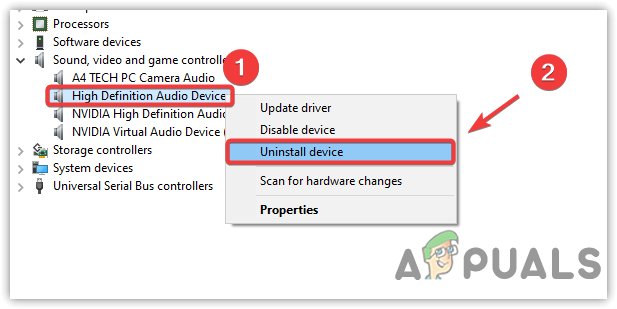 Uninstalling Audio DriverNow restart your computer to install the audio driverOnce done, check if the issue is resolved.3. Disable Communications Activity Uninstalling Audio DriverNow restart your computer to install the audio driverOnce done, check if the issue is resolved.3. Disable Communications ActivityCommunication Activity is a feature for Windows. It detects the communication on Windows and adjusts the other application’s audio. When you attend the call on the computer, the other application sounds will automatically be lower according to the percentage you selected. It is a great feature on Windows, but several users have managed to resolve this issue by disabling communication activity. To disable the communication activity, right-click the audio icon from the bottom and click Sounds Click SoundsGo to Communication and select Do NothingClick Apply and click OK Click SoundsGo to Communication and select Do NothingClick Apply and click OK 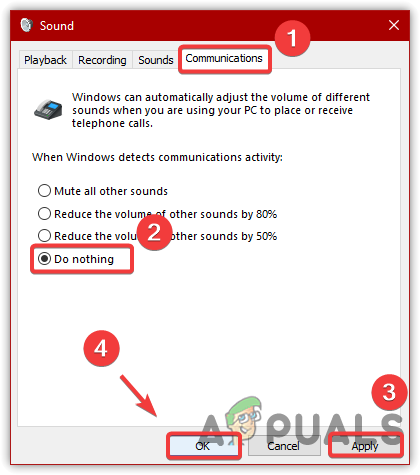 Disable Communication ActivityOnce done, check if the volume still goes down and up automatically.4. Perform a Clean Boot Disable Communication ActivityOnce done, check if the volume still goes down and up automatically.4. Perform a Clean BootIf you cannot find which applications interfere and cause automatic audio goes up and down, you will need to perform a clean boot. A process used to disable irrelevant applications at the startup, mostly used for diagnosing software conflict. To perform a clean boot, press the Win + R keys at the sameType MSConfig and click OK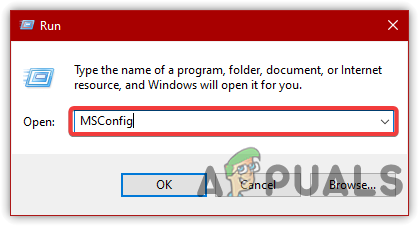 Navigating to MS ConfigurationChoose the Selective Startup and go to Services from the top Navigating to MS ConfigurationChoose the Selective Startup and go to Services from the top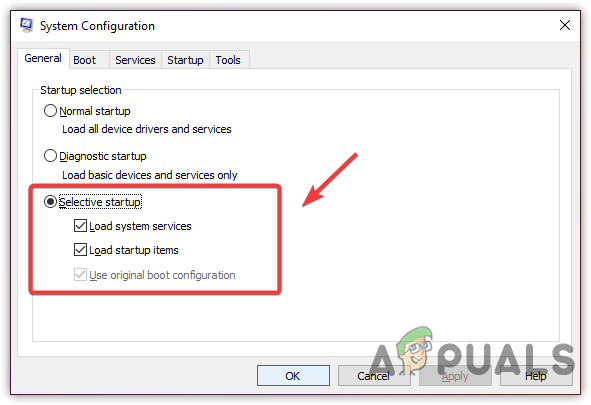 Select Selective StartupCheck the Hide All Microsoft ServicesThen, click Disable AllClick Apply then click OK Select Selective StartupCheck the Hide All Microsoft ServicesThen, click Disable AllClick Apply then click OK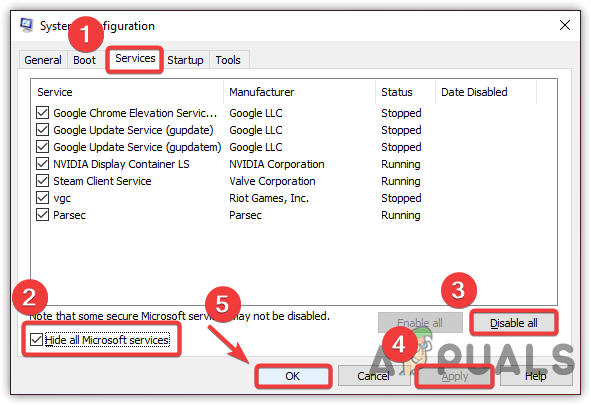 Restart your computer and check if the issue still persists.5. Disable Audio Enhancement Restart your computer and check if the issue still persists.5. Disable Audio EnhancementAudio Enhancement improves the performance of the sound. No dought, it improves the sound quality, but in certain cases, it can cause issues with the sound. Follow the steps to disable audio enhancements:- Right-click the sound icon from the taskbarClick Sounds from the listed options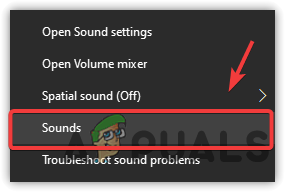 Click SoundsGo to Playback from topRight-click the current Speaker icon and click Properties Click SoundsGo to Playback from topRight-click the current Speaker icon and click Properties 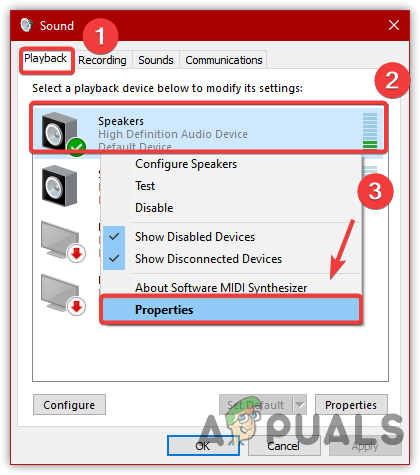 Navigating to Sound PropertiesGo to Enhancements and tick Disable All EnhancementsOnce done, click Apply and click OK Navigating to Sound PropertiesGo to Enhancements and tick Disable All EnhancementsOnce done, click Apply and click OK 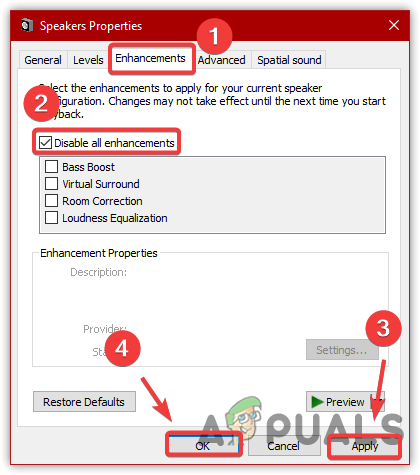 Disabling Audio EnhancementNow run the causing application and check if the issue is fixed.`6. Run Playing Audio Troubleshooter Disabling Audio EnhancementNow run the causing application and check if the issue is fixed.`6. Run Playing Audio TroubleshooterIf the issue is still there, another thing you can try is to run a playing audio troubleshooter. Playing audio troubleshooter will fix the problem regarding audio. To run a playing audio troubleshooter, go to Settings by pressing the Win + IHead to the Update & Security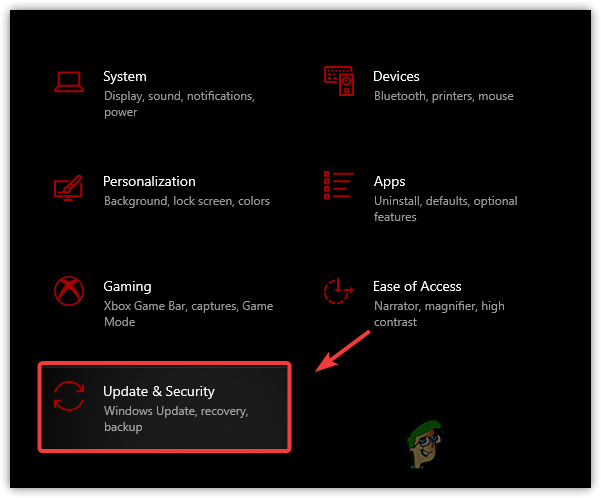 Go to Update & SecurityClick Troubleshoot from the left paneClick Additional Troubleshooters Go to Update & SecurityClick Troubleshoot from the left paneClick Additional Troubleshooters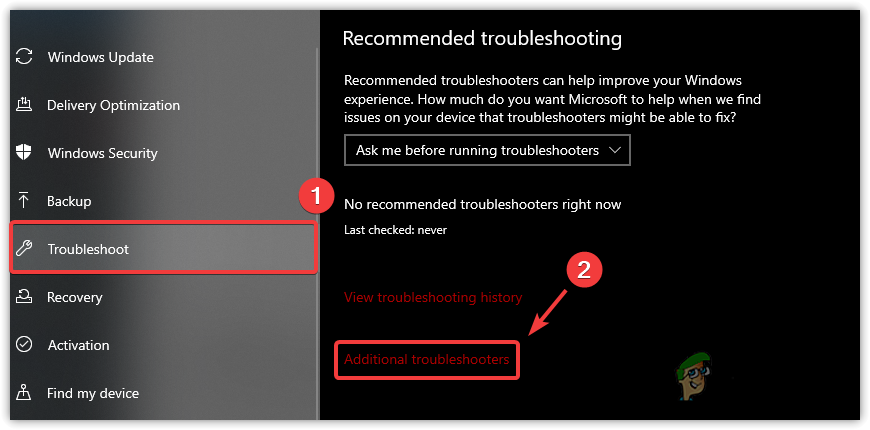 Click Additional TroubleshootersSelect Playing Audio and click Run The Troubleshooter Click Additional TroubleshootersSelect Playing Audio and click Run The Troubleshooter 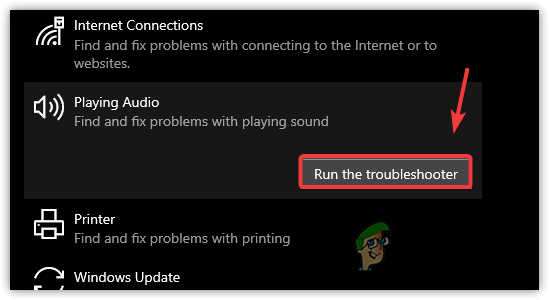 Running Playing Audio TroubleshooterIf it detects something, except the audio enhancement then fix itOnce done check if the issue is resolved.7. Restart Windows Audio Service Running Playing Audio TroubleshooterIf it detects something, except the audio enhancement then fix itOnce done check if the issue is resolved.7. Restart Windows Audio ServiceWindows Audio Service manages the overall audio of Windows. If the service gets disabled, then the services that depend on the audio service will not work properly and cause issues. Therefore, to fix this, try restarting the Windows audio service. Below are the steps:- Press Windows + R to launch Run ProgramType services.msc and press Enter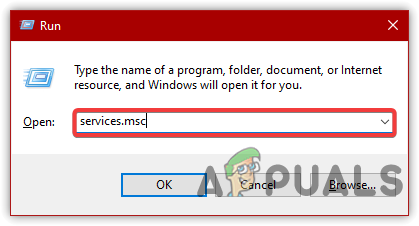 Go to Services WindowLocate Windows Audio and double-click on itSelect Automatic from the Startup TypeClick Apply then click Start to start the service Go to Services WindowLocate Windows Audio and double-click on itSelect Automatic from the Startup TypeClick Apply then click Start to start the service Restarting Windows Audio ServiceOnce done click OK and check if the issue is fixed. Restarting Windows Audio ServiceOnce done click OK and check if the issue is fixed.Read Next Transfer.Sh Not Going Down After AllFix: Volume Keeps Automatically Resetting on WindowsVolume Muting Automatically in Windows 11? Try these methodsFix: Make Sure the File is an NTFS Volume and isn't in a Compressed Folder or… |
【本文地址】