|
Ventoy是基于grub2 所制作的,所以可以自行制作或者将现成的主题套用到Ventoy
💦各位帅哥/美女本文如果对你有用,请点个赞🥰
其他链接
Ventoy安装教程(可不格式化U盘) Ventoy安装deepin系统(windows和deepin双系统)
方法一:
主题下载地址
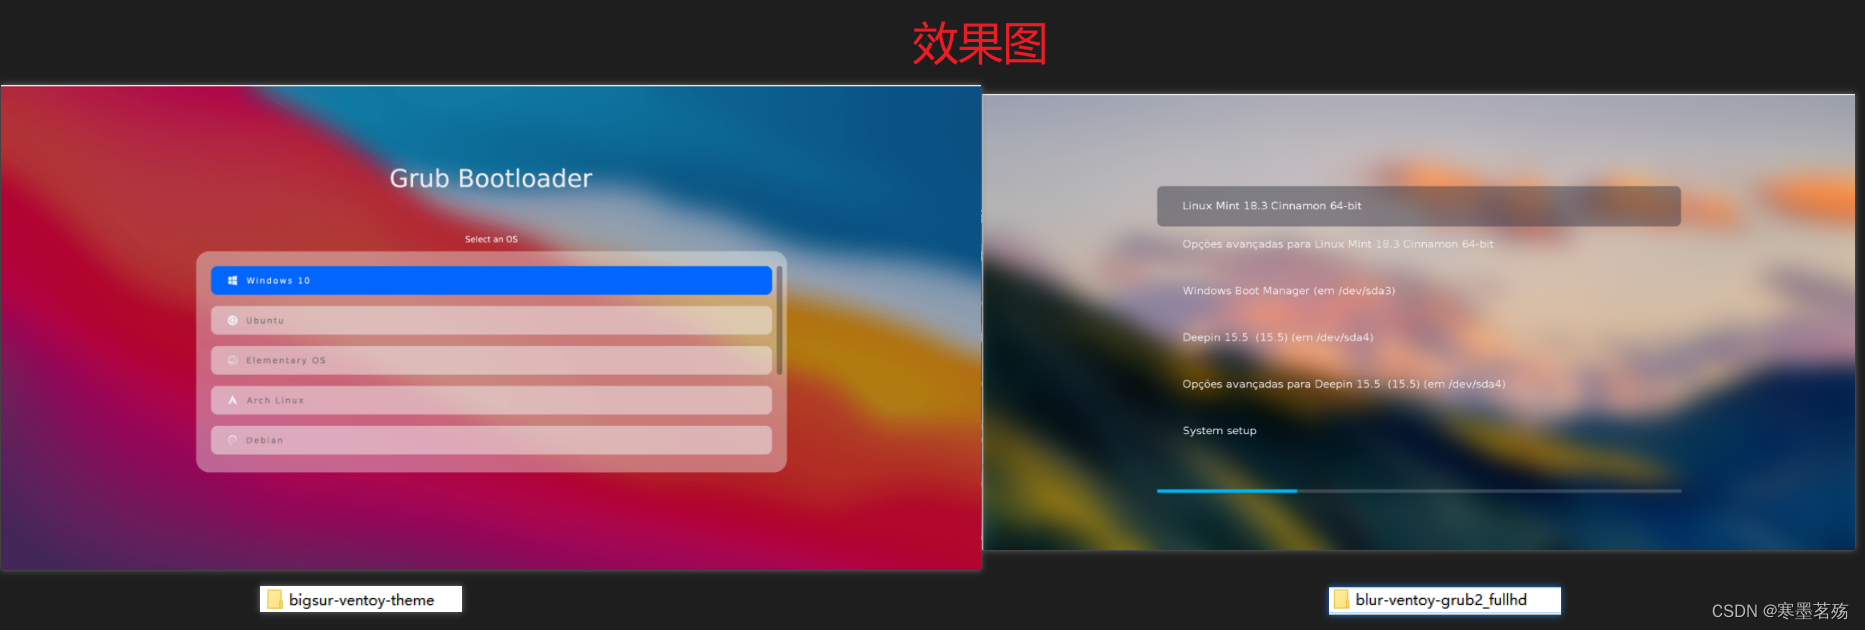
上面是两个可以直接使用的Ventoy主题地址,然后下载下来解压文件,我们可以得到
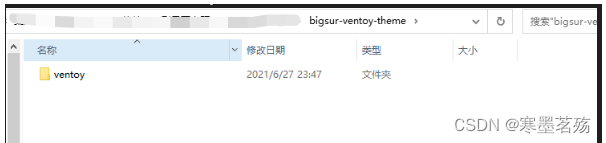
接着往下走,我们可以的得到
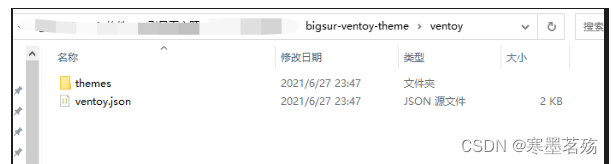
现在我们只需要将得到的ventoy整个文件夹放到你存放系统镜像文件的根目录
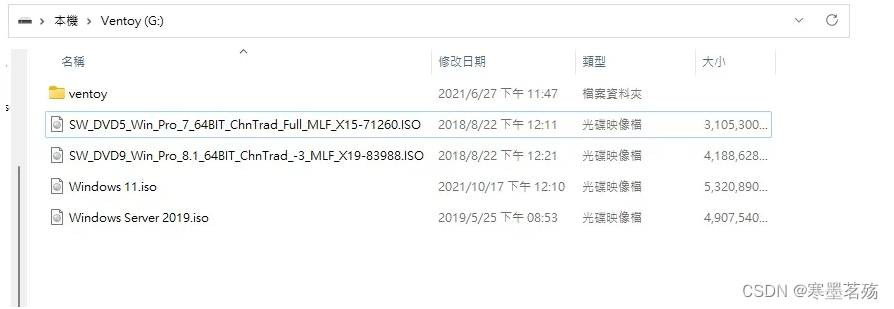
最后需要将U盘插入电脑,进入U盘启动就可以看到更新的主题了
方法二:
由于上面只是提供了两种主题,如果还需要其他的主题,我们也可以自己去修改grub2的主题
grub2主题下载地址
下载下来grub2主题是没有办法直接给Ventoy使用的,所以我们要修改成下面这种格式
└─ventoy
└─themes
│ └─bigsur(名自定义)
│ ├─icons
│ └─其他的文件
└─ventoy.json
一般下载下来的主题解压后都是这样的
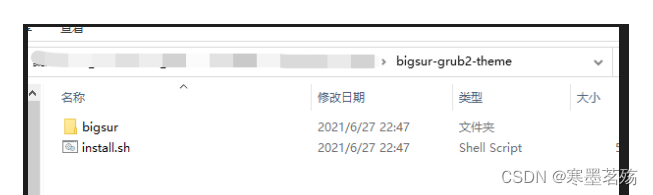
我们只需要将解压后的文件除了install.sh之外的所以文件复制到themes目录下,同时创建一个icons的文件夹(可以在上面的两个主题里面拷贝过来),然后我们的themes文件就创建成功了优化Ventoy的展示菜单,我们需要打开icons文件夹一级的theme.txt文件
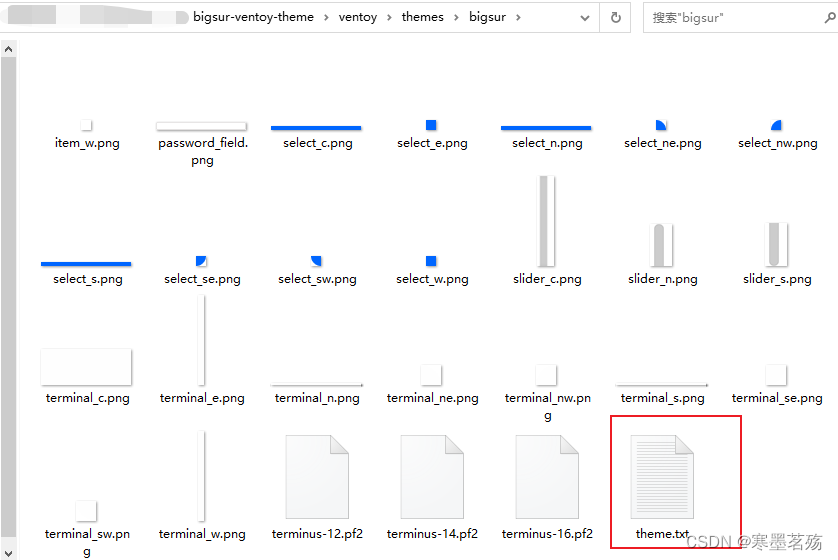 然后看看是否存在Ventoy的配置,如果没有就需要在最后增加 然后看看是否存在Ventoy的配置,如果没有就需要在最后增加
# Ventoy Hotkey Tips
+ hbox {
left = 30%-50
top = 95%
width = 10%
height = 25
+ label {
text = "@VTOY_HOTKEY_TIP@"
color = "#eff0f1"
align = "center"
}
}
+ hbox {
left = 90%
top = 5
width = 10%
height = 25
+ label {
text = "@VTOY_MEM_DISK@"
color = "#eff0f1"
align = "left"
}
}
最后,我们来配置ventoy.json(其中主题资料文件名就是themes文件夹下面文件的名称,代码中的fonts板块,需要看主题资料文件名有多少个pf2字体文件,有几个就将对应的字体名称,按照相同的格式加上去)
{
"theme": {
"file": "/ventoy/theme/主题资料文件名/theme.txt",
"gfxmode": "1920x1080",
"display_mode": "GUI",
"serial_param": "--unit=0 --speed=9600",
"ventoy_left": "5%",
"ventoy_top": "95%",
"ventoy_color": "#0000ff",
"fonts": [
"/ventoy/theme/主题资料文件名/Hack-12.pf2"
]
},
"menu_class": [
{
"key": "kubuntu",
"class": "kubuntu"
},
{
"key": "ubuntu",
"class": "ubuntu"
},
{
"key": "pop-os",
"class": "pop-os"
},
{
"key": "arch",
"class": "arch"
},
{
"key": "linuxmint",
"class": "linuxmint"
},
{
"key": "opensuse",
"class": "opensuse"
},
{
"key": "elementary",
"class": "elementary"
},
{
"key": "manjaro",
"class": "manjaro"
},
{
"key": "debian",
"class": "debian"
},
{
"key": "deepin",
"class": "deepin"
},
{
"key": "solus",
"class": "solus"
},
{
"key": "zorin-os",
"class": "zorin-os"
},
{
"key": "windows",
"class": "windows"
},
{
"key": "hirens",
"class": "windows"
},
{
"key": "iso",
"class": "iso"
}
]
}
最最后,可以设置ventoy.json 多主题
{
"theme": {
"file": ["/ventoy/theme/主题资料文件1/theme.txt","/ventoy/theme/主题资料文件2/theme.txt"],
"gfxmode": "1920x1080",
"display_mode": "GUI",
"serial_param": "--unit=0 --speed=9600",
"ventoy_left": "5%",
"ventoy_top": "95%",
"ventoy_color": "#0000ff",
"fonts": [
"/ventoy/theme/主题资料文件名/Hack-12.pf2"
]
}
}
Ventoy 主题插件Ventoy 官方使用更多方法
|