(最新)mmdetection测试单张/多张图片并保存 |
您所在的位置:网站首页 › 黑白图推理 › (最新)mmdetection测试单张/多张图片并保存 |
(最新)mmdetection测试单张/多张图片并保存
|
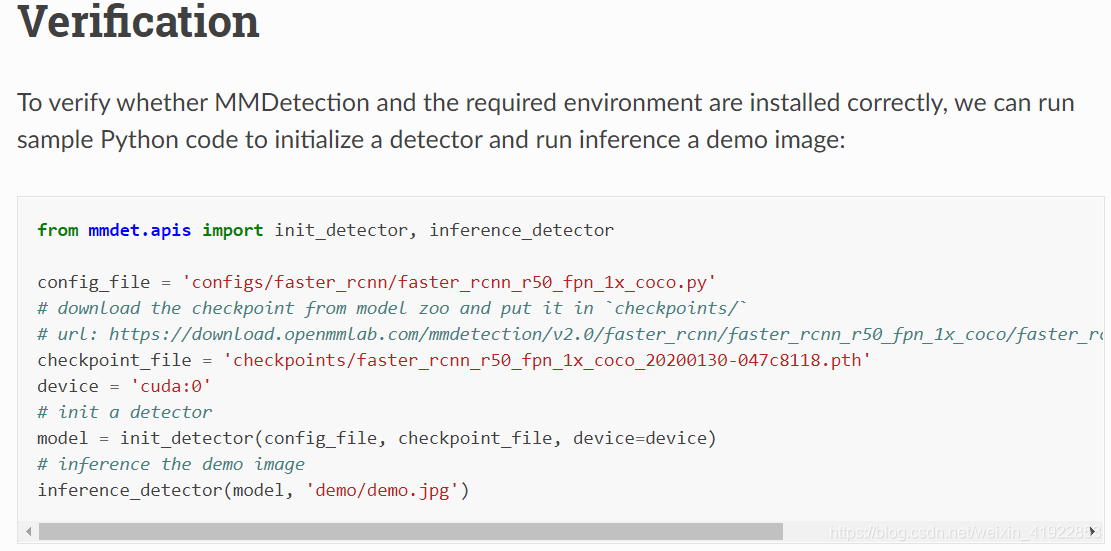
mmdetection框架上将训练保存好的模型用于测试单张图片的方法有很多,但是从mmdetectionv1.0rc1版本及以后的版本中,源代码有了一定的更新,而官方文档上用于测试单张图片的方法还并未更新。网上相关教程也是老版本的教程,于是在此分享一下亲测有效的最新方法。 官方文档上测试单张图片方法:
1、show_result()函数被封装进了show_result_pyplot()函数中。 2、在show_result_pyplot()函数中,并未留出保存测试好图片的接口。 因此,为测试图片,需要做对应的更改。 1、新建test.py文件,然后直接上代码: from mmdet.apis import init_detector, inference_detector from mmdet.apis import show_result_pyplot import os imagepath = r'D:\software\opensources\mmdet214\data\new_cell_cocoformat\valset' #需要加载的测试图片的文件路径 savepath = r'D:\software\opensources\mmdet214\configs\retinanet\cell\test_show' #保存测试图片的路径 config_file = r'D:\software\opensources\mmdet214\configs\cell\retinanet_r101_fpn_1x_cell.py' #网络模型 checkpoint_file = r'D:\software\opensources\mmdet214\work_dirs\retinanet_r101_fpn_1x_cell_1300_472\epoch_100.pth' #训练好的模型参数 device = 'cuda:0' # init a detector model = init_detector(config_file, checkpoint_file, device=device) # inference the demo image for filename in os.listdir(imagepath): img = os.path.join(imagepath, filename) result = inference_detector(model, img) out_file = os.path.join(savepath, filename) show_result_pyplot(model, img, result, out_file,score_thr=0.6)2、修改mmdet\apis\inference.py文件中的以下函数(跟着代码中注释修改): # mmdet\apis\inference.py ''' ''' def show_result_pyplot(model, img, result, out_file, #加入out_file,运行时把改行注释删除 score_thr=0.3, title='result', wait_time=0): """Visualize the detection results on the image. Args: model (nn.Module): The loaded detector. img (str or np.ndarray): Image filename or loaded image. result (tuple[list] or list): The detection result, can be either (bbox, segm) or just bbox. score_thr (float): The threshold to visualize the bboxes and masks. title (str): Title of the pyplot figure. wait_time (float): Value of waitKey param. Default: 0. """ if hasattr(model, 'module'): model = model.module model.show_result( img, result, out_file, #加入out_file,运行时把改行注释删除 score_thr=score_thr, show=True, wait_time=wait_time, win_name=title, bbox_color=(72, 101, 241), text_color=(72, 101, 241) )保存上述修改过的文件以后运行即可test.py即可。 |
【本文地址】
 在mmdetectionv1.0rc1及以后的版本中,做了以下变更: