|
一、项目目录树结构
由于时间有限,不可能在博客上花太多时间、也不可能每一个细节都说的很细,所以,下面的内容虽然一时间看着比较懵,但是文末有项目的GitHub地址,或者不懂的可以留言;
补充(2020年08月20日23:04:52):
最近有点浮躁,沉溺了很久,好久没有管博客了。
感谢那些关注我的兄弟们,还有那些私信我,希望加我联系方式的兄弟们,你们的私信我都有看,抱歉我没有回复你们,我还没有想好要怎么回复,或者加了好友了因为我太忙或太菜无法回复你们的问题时,会不会略显得有些尴尬,索性还是等一段时间吧,让我先缓一缓。
我不是什么大佬,仅是一个抱着对技术纯热爱有着几年研发管理经验乐于分享学习过程和撸撸代码的马上要奔三的有着一顶茂密头发会做饭喜欢篮球享受生活的普通人。最辉煌时,团队可管理支配的前后端研发人员有11人之多,中间经历大大小小的事情后,目前团队研发人员算上我,也才不过6个,虽然人少,干的事情却不少,虽然干的事情不少,但有时候却时常感觉有些凄凉落寞。
话就不多说了,本来只是想说一下License重构的事情,奈何发了一通牢骚,好了,等我有机会翻身了,我准备好好码一码这些年的经历,到时候,我们不聊技术,不聊代码,我们只聊生活!

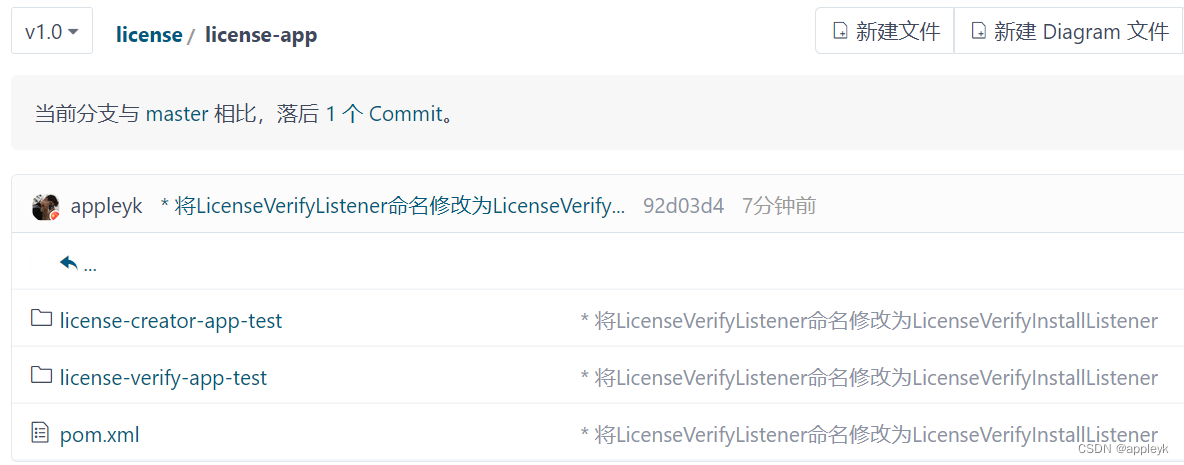
这个是粗糙的项目结构,没有细分,实际应用的话应该是授权的代码要和验证的代码分开,防止授权的代码引进客户端系统中,被破解和拆穿,也为了防止公钥store被客户端用户串改;
正确、良好的结构应该是如下的:

由于上面的结构里面引入了其他包,故在最后,我就不放这个结构的代码在我的github上了
补充(2023年07月16日22:35:42):
最新分支: v1.0
补充(2020年08月20日23:08:42):
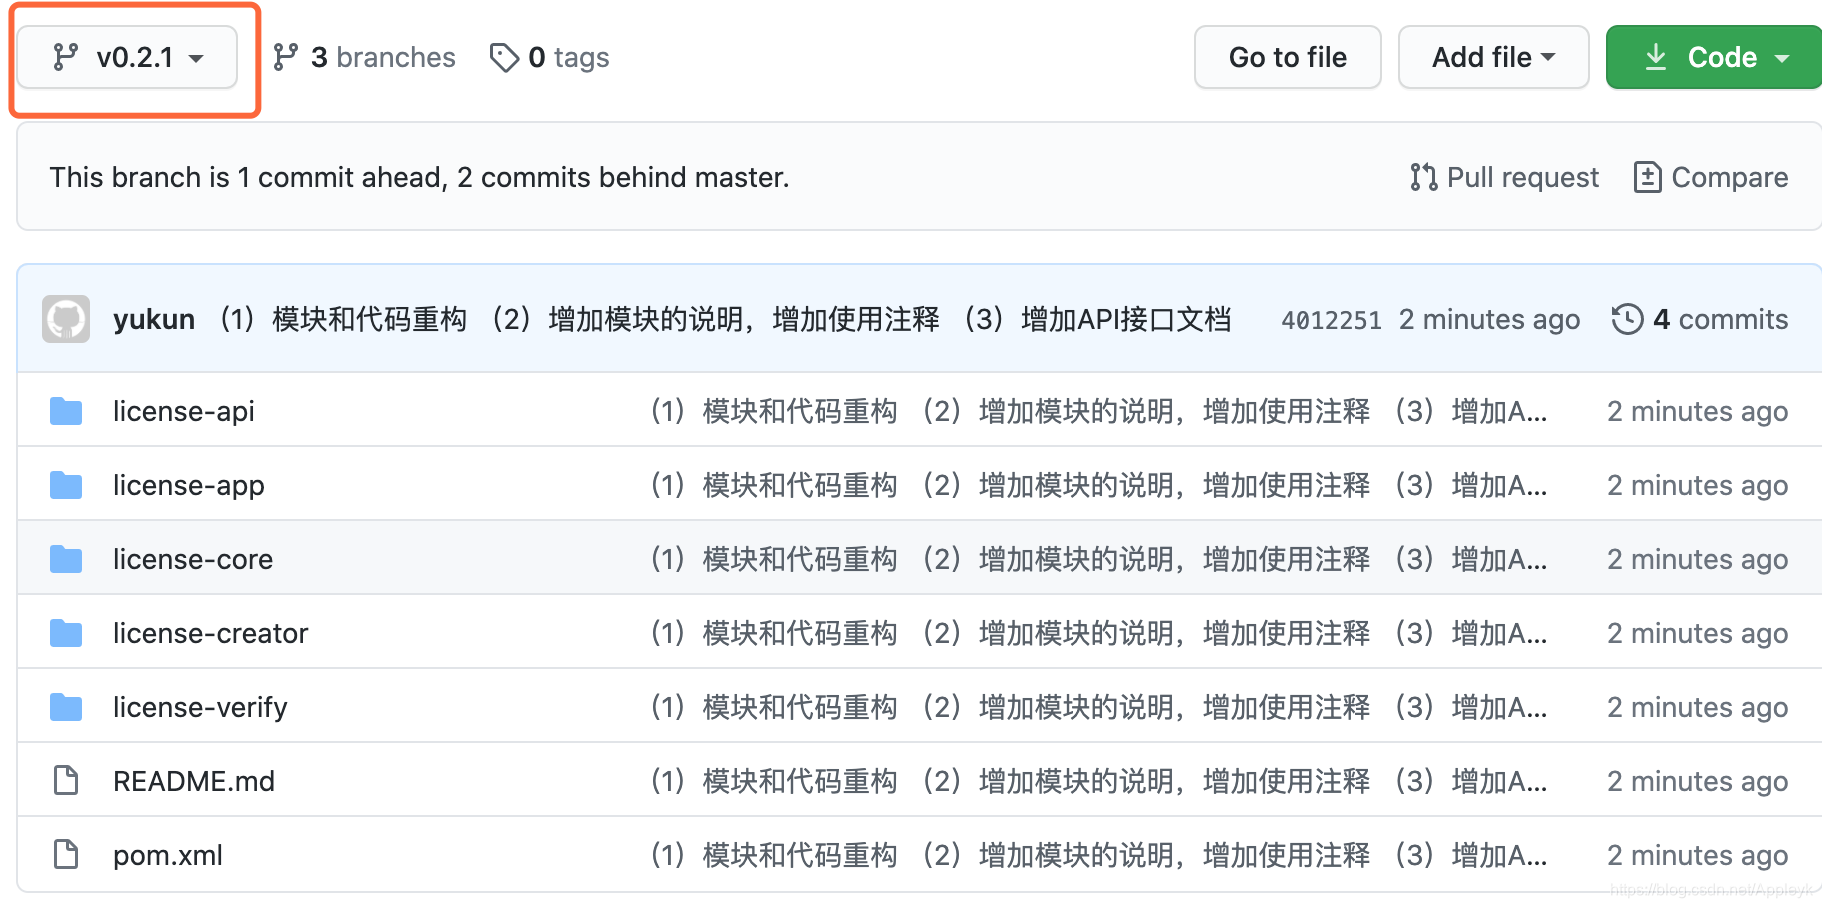
想了下,目前GitHub上的结构和代码看起来有些邋遢、随性,而且关于License的使用说明不够详细,所以,我决定后面几天专门开个分支,来一把彻彻底底的重构,重构后的目录结构如下:
 模块结构
模块结构
 模块功能说明
 license.lic文件注意要放到web应用的resources目录下
 证书生成creator模块中,注意把私有密钥放到resources下面
 证书验证verify模块中,注意把公有密钥放到resources下面
相关接口文档(如下图),后续我也会补充在新分支v0.2.1上,而且新分支不仅支持Lic文件的注册生成,还支持Lic文件的下载,总之新分支的功能将更加完备,作为开源代码将具有更佳的参考价值,敬请期待吧!
证书验证verify模块中,注意把公有密钥放到resources下面
相关接口文档(如下图),后续我也会补充在新分支v0.2.1上,而且新分支不仅支持Lic文件的注册生成,还支持Lic文件的下载,总之新分支的功能将更加完备,作为开源代码将具有更佳的参考价值,敬请期待吧!
 API接口文档
补充(2020年08月22日01:14:19),重构后的代码已上传至分支v0.2.1
GitHub地址:GitHub - kobeyk/license: 软件许可证书生成+验证
API接口文档
补充(2020年08月22日01:14:19),重构后的代码已上传至分支v0.2.1
GitHub地址:GitHub - kobeyk/license: 软件许可证书生成+验证
最新分支已经更到v1.0


补充(2020年08月30日23:42:19)说明下,接口上加@VLicense注解时,拦截器都干了哪些事情?以及如何在业务系统中,实现我们自定义的证书验证
(主要是继承ACustomVerifyListener类,实现verify方法)
重点关注lic验证模块中的拦截器
 证书(参数)验证拦截器

核心代码实现:
@Override
public boolean preHandle(HttpServletRequest request, HttpServletResponse response, Object handler) throws Exception {
if (handler instanceof HandlerMethod) {
HandlerMethod handlerMethod = (HandlerMethod) handler;
Method method = handlerMethod.getMethod();
VLicense annotation = method.getAnnotation(VLicense.class);
if (CommonUtils.isNotEmpty(annotation)) {
LicenseVerifyManager licenseVerifyManager = new LicenseVerifyManager();
/** 1、校验证书是否有效 */
LicenseResult verifyResult = licenseVerifyManager.verify(properties.getVerifyParam());
if(!verifyResult.getResult()){
throw new CommonException(verifyResult.getMessage());
}
LicenseContent content = verifyResult.getContent();
LicenseExtraParam licenseCheck = (LicenseExtraParam) content.getExtra();
if (verifyResult.getResult()) {
/** 增加业务系统监听,是否自定义验证 */
List customListenerList = ACustomVerifyListener.getCustomListenerList();
boolean compare = true;
for (ACustomVerifyListener listener : customListenerList) {
boolean verify = listener.verify(licenseCheck);
compare = compare && verify;
}
return compare;
}
throw new CommonException(ResultCode.FAIL,verifyResult.getException().getMessage());
}
}
return true;
}
注意这两个地方:
 判断接口方法上是否加了@VLicense注解,如果不空,则走验证逻辑
 这个很关键,可以加一些我们自定义的监听器类,来对lic文件做进一步的有效性验证
我们看下ACustomVerifyListener类
public abstract class ACustomVerifyListener {
/**软件证书参数全局验证监听容器*/
private static final List CUSTOM_VERIFY_LISTENER_LIST = new ArrayList(16);
public static List getCustomListenerList(){
return CUSTOM_VERIFY_LISTENER_LIST;
}
/***
* 默认构造函数,干了一件事情,就是会把所有实现了这个抽象类的子类实例全部添加到全局自定义验证监听器列表中
* 因为在调用子类的构造函数时,会首先调用父类的构造器
*/
public ACustomVerifyListener() {
addCustomListener(this);
}
public synchronized static void addCustomListener(ACustomVerifyListener verifyListener){
CUSTOM_VERIFY_LISTENER_LIST.add(verifyListener);
}
/**
* 业务系统自定义证书认证方法
* @param licenseExtra 自定义验证参数
* @return boolean 是否成功
*/
public abstract boolean verify(LicenseExtraParam licenseExtra) throws CommonException;
}
问题来了,如何在业务系统中,自定义License验证方法呢?
1、在license.app模块中,定义两个类,分别继承ACustomVerifyListener
这个很关键,可以加一些我们自定义的监听器类,来对lic文件做进一步的有效性验证
我们看下ACustomVerifyListener类
public abstract class ACustomVerifyListener {
/**软件证书参数全局验证监听容器*/
private static final List CUSTOM_VERIFY_LISTENER_LIST = new ArrayList(16);
public static List getCustomListenerList(){
return CUSTOM_VERIFY_LISTENER_LIST;
}
/***
* 默认构造函数,干了一件事情,就是会把所有实现了这个抽象类的子类实例全部添加到全局自定义验证监听器列表中
* 因为在调用子类的构造函数时,会首先调用父类的构造器
*/
public ACustomVerifyListener() {
addCustomListener(this);
}
public synchronized static void addCustomListener(ACustomVerifyListener verifyListener){
CUSTOM_VERIFY_LISTENER_LIST.add(verifyListener);
}
/**
* 业务系统自定义证书认证方法
* @param licenseExtra 自定义验证参数
* @return boolean 是否成功
*/
public abstract boolean verify(LicenseExtraParam licenseExtra) throws CommonException;
}
问题来了,如何在业务系统中,自定义License验证方法呢?
1、在license.app模块中,定义两个类,分别继承ACustomVerifyListener
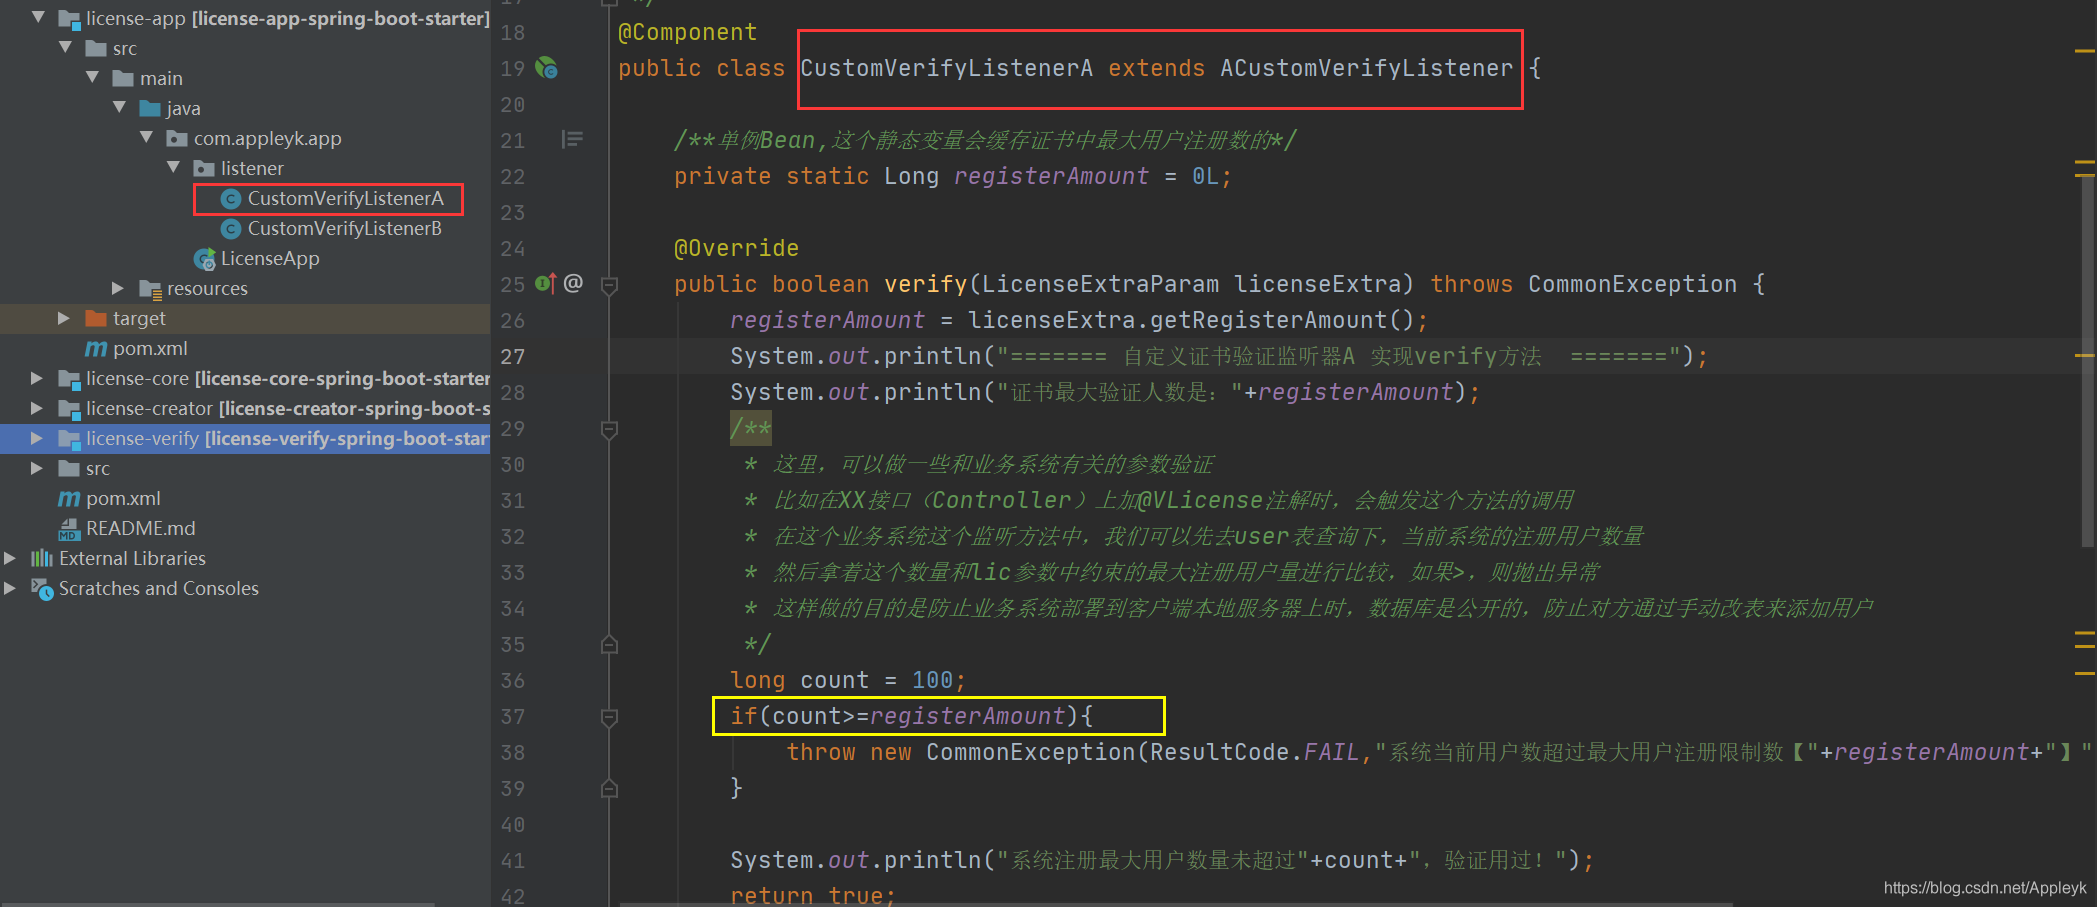 证书自定义验证监听器A(有具体的业务场景)
 证书自定义验证监听器B(具体业务场景请自行补充)
2、如何使用呢?下面我们看下例子
我们启动app后,找到license.verify模块中的接口
证书自定义验证监听器B(具体业务场景请自行补充)
2、如何使用呢?下面我们看下例子
我们启动app后,找到license.verify模块中的接口

然后,调用接口测试下:
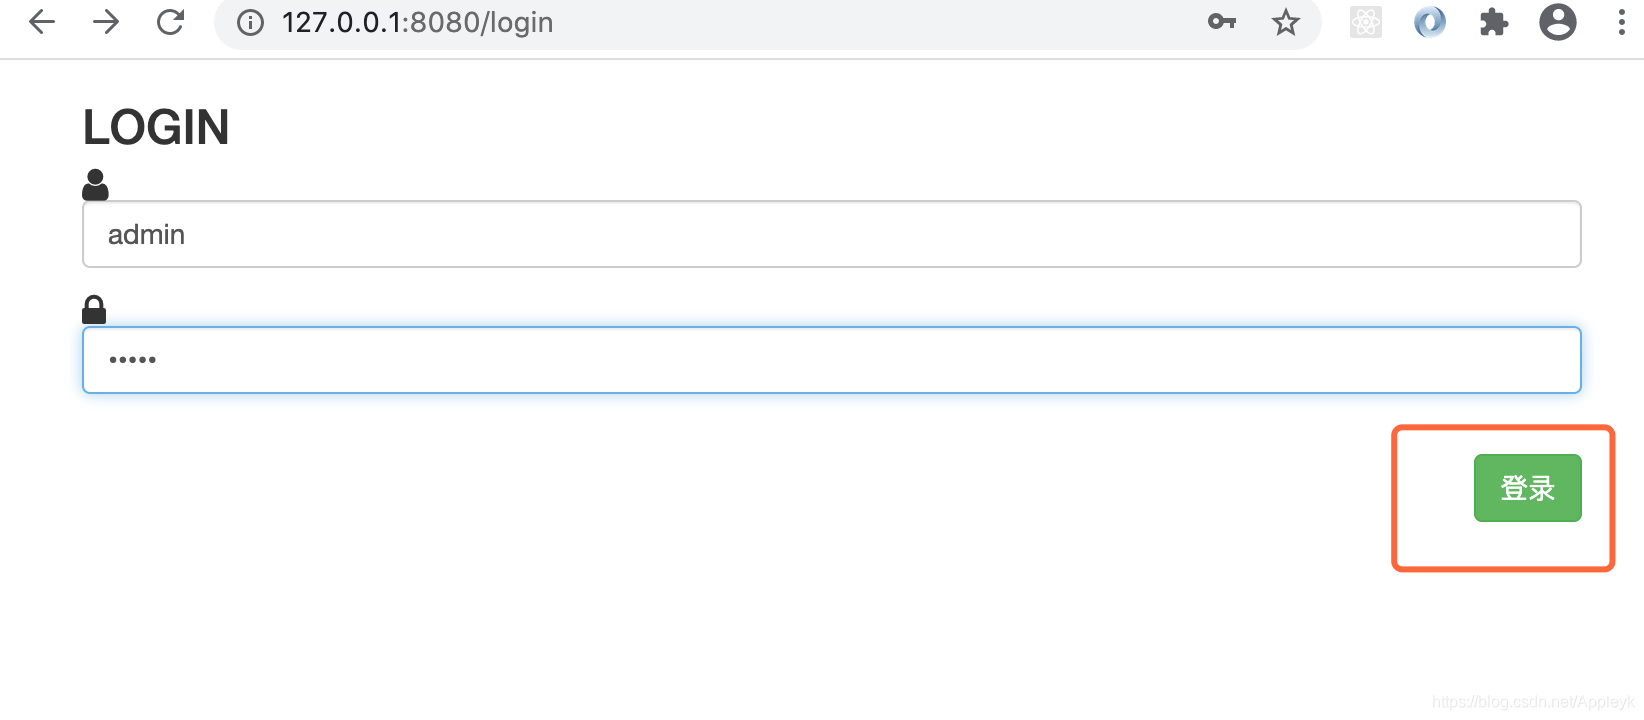
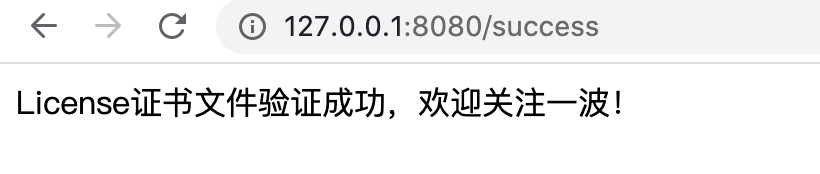
 http://localhost:8080/license/hello
随后,我们看下后台,看下我们自定义的验证方法是不是已经调用且奏效了?
http://localhost:8080/license/hello
随后,我们看下后台,看下我们自定义的验证方法是不是已经调用且奏效了?

我们知道lic文件中,限定的最大用户注册数是1000,假设我们把值调成1001,重启app再次调用接口会怎么样呢?
 模拟查询,假设从库中的用户表中count的值等于1001

二、如何生成密钥对
网上有,这个不再细说了,直接上文本:
1、首先要用KeyTool工具来生成密钥库:(-alias别名 –validity 3650表示10年有效)
keytool -genkey -alias privatekeys -keysize 1024 -keystore privateKeys.store -validity 3650
2、然后将密钥库中名称为‘privatekeys’的证书条目导出到证书文件certfile.cer中:
keytool -export -alias privatekeys -file certfile.cer -keystore privateKeys.store
3、然后再把这个证书文件的信息导入到公钥库中别名为publiccert的证书条目中:
keytool -import -alias publiccert -file certfile.cer -keystore publicCerts.store
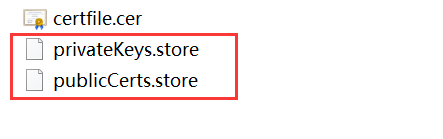
最后生成的文件privateKeys.store和publicCerts.store拷贝出来备用。
三、如何应用
(1) 获取服务器硬件信息
访问地址:localhost:8066/license/getServerInfos

{
"ipAddress": [
"10.16.248.102"
],
"macAddress": [
"58-00-E3-D4-83-2B"
],
"cpuSerial": "BFEBFBFF000506E3",
"mainBoardSerial": "",
"macCheck": false,
"ipCheck": false,
"cpuCheck": false,
"boardCheck": false
}
(2) 生成许可文件
生成接口:localhost:8066/license/generateLicense
注册信息:
{
"subject": "landi",
"privateAlias": "privateKeys",
"keyPass": "123456a",
"storePass": "123456a",
"privateKeysStorePath": "/privateKeys.store",
"issuedTime": "2020-05-01 08:30:00",
"expiryTime": "2021-05-01 08:30:00",
"description": "系统软件许可证书",
"licenseCheck": {
"ipAddress": [
"192.168.1.2",
"2408:8221:1d:bbd0:ad77:446e:4904:a776",
"2408:8221:1d:bbd0:71b6:d1b0:39c6:3c4e",
"192.168.145.1",
"192.168.239.1"
],
"macAddress": [
"64-FB-81-6F-0E-C2",
"00-50-56-C0-00-08",
"00-50-56-C0-00-01"
],
"cpuSerial": "BFEBFBFF000206D7",
"mainBoardSerial": "MB-201706282017",
"registerAmount": 1000,
"macCheck": false,
"boardCheck": false,
"cpuCheck": false,
"ipCheck": false,
"registerCheck": true
}
}
注册结果:
{
"status": 200,
"message": "成功",
"data": {
"subject": "landi",
"privateAlias": "privateKeys",
"keyPass": "123456a",
"privateKeysStorePath": "/privateKeys.store",
"storePass": "123456a",
"licensePath": "/Users/apple/Appleyk/github/license/license/20200822014856/license.lic",
"issuedTime": "2020-05-01 08:30:00",
"expiryTime": "2021-05-01 08:30:00",
"consumerType": "user",
"consumerAmount": 1,
"description": "系统软件许可证书",
"licenseCheck": {
"ipAddress": [
"192.168.1.2",
"2408:8221:1d:bbd0:ad77:446e:4904:a776",
"2408:8221:1d:bbd0:71b6:d1b0:39c6:3c4e",
"192.168.145.1",
"192.168.239.1"
],
"macAddress": [
"64-FB-81-6F-0E-C2",
"00-50-56-C0-00-08",
"00-50-56-C0-00-01"
],
"cpuSerial": "BFEBFBFF000206D7",
"mainBoardSerial": "MB-201706282017",
"registerAmount": 1000,
"macCheck": false,
"ipCheck": false,
"cpuCheck": false,
"boardCheck": false,
"registerCheck": true
},
"licUrl": "http://127.0.0.1:8080/license/download?path=/Users/apple/Appleyk/github/license/license/20200822014856/license.lic"
},
"timeStamp": "2020-08-22 01:49:09"
}
(3) 项目启动 -- 安装证书
. ____ _ __ _ _
/\\ / ___'_ __ _ _(_)_ __ __ _ \ \ \ \
( ( )\___ | '_ | '_| | '_ \/ _` | \ \ \ \
\\/ ___)| |_)| | | | | || (_| | ) ) ) )
' |____| .__|_| |_|_| |_\__, | / / / /
=========|_|==============|___/=/_/_/_/
:: Spring Boot :: (v2.1.4.RELEASE)
2019-09-27 14:10:04.196 INFO 16220 --- [ main] cn.bluethink.license.App : Starting App on 9VSNYQQSFL96GK6 with PID 16220 (F:\gitlab\license\target\classes started by Administrator in F:\gitlab\license)
2019-09-27 14:10:04.199 INFO 16220 --- [ main] cn.bluethink.license.App : No active profile set, falling back to default profiles: default
2019-09-27 14:10:05.689 INFO 16220 --- [ main] o.s.b.w.embedded.tomcat.TomcatWebServer : Tomcat initialized with port(s): 8066 (http)
2019-09-27 14:10:05.712 INFO 16220 --- [ main] o.apache.catalina.core.StandardService : Starting service [Tomcat]
2019-09-27 14:10:05.712 INFO 16220 --- [ main] org.apache.catalina.core.StandardEngine : Starting Servlet engine: [Apache Tomcat/9.0.17]
2019-09-27 14:10:05.817 INFO 16220 --- [ main] o.a.c.c.C.[Tomcat].[localhost].[/] : Initializing Spring embedded WebApplicationContext
2019-09-27 14:10:05.818 INFO 16220 --- [ main] o.s.web.context.ContextLoader : Root WebApplicationContext: initialization completed in 1571 ms
2019-09-27 14:10:06.042 INFO 16220 --- [ main] o.s.s.concurrent.ThreadPoolTaskExecutor : Initializing ExecutorService 'applicationTaskExecutor'
[INFO ] 2019-09-27 14:10:06,274 method:cn.bluethink.license.listener.LicenseCheckListener.onApplicationEvent(LicenseCheckListener.java:60)
++++++++ 开始安装证书 ++++++++
[INFO ] 2019-09-27 14:10:06,430 method:cn.bluethink.license.core.LicenseVerify.install(LicenseVerify.java:41)
证书安装成功,证书有效期:2019-09-26 14:50:00 - 2019-09-27 17:45:55
[INFO ] 2019-09-27 14:10:06,430 method:cn.bluethink.license.listener.LicenseCheckListener.onApplicationEvent(LicenseCheckListener.java:73)
++++++++ 证书安装结束 ++++++++
2019-09-27 14:10:06.463 INFO 16220 --- [ main] o.s.b.w.embedded.tomcat.TomcatWebServer : Tomcat started on port(s): 8066 (http) with context path ''
2019-09-27 14:10:06.466 INFO 16220 --- [ main] cn.bluethink.license.App : Started App in 2.523 seconds (JVM running for 2.854)
(4) 许可认证
认证接口:localhost:8066/hello
A:验证主板信息的(认证不通过的情况):

后台控制台信息输出:

B:不验证主板信息(认证通过的情况):


(四)项目GitHub地址
GitHub - kobeyk/license: 软件许可证书生成+验证

分支:

|