java实现音视频的合并 |
您所在的位置:网站首页 › 视频文件是分开的怎么合并成一个 › java实现音视频的合并 |
java实现音视频的合并
|
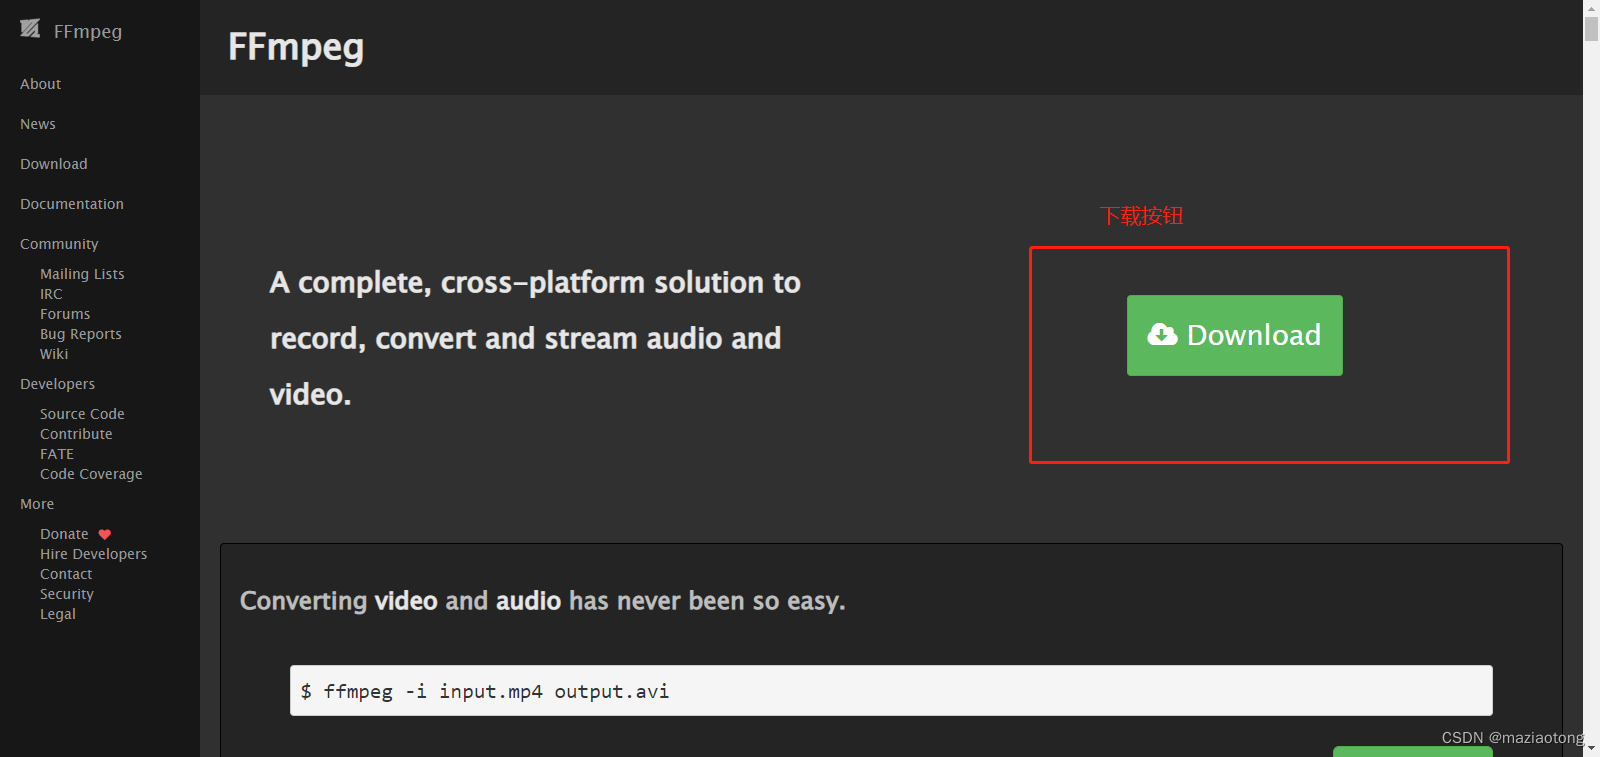
前端时间从某B站下载了一些视频到本地,但是音频和视频是分开存放的,视频名称也是存放在json文件中,因为视频比较多,因此呢就写了个demo来处理一下,下面是代码 首先,第一部分是修改文件名称,从网站下载的视频和音频是分开的,文件名称隐藏在entry.json文件中的part字段中 /** * 文件路径 */ private static File file = new File("F:\\视频\\尚硅谷Nginx"); /** * 修改文件名 */ public static void getFile(){ File[] files = file.listFiles(); //循环取出路径下的所有文件 for (File file1 : files){ //获取文件名称 String name = getJSON(file1); //修改音视频所在文件夹名称 file1.renameTo(new File(file.getPath() + File.separator + name)); } } /** * 获取文件名称 * @param file1 * @return */ public static String getJSON(File file1){ //文件名称隐藏在entry.json文件中的part字段中 File file2 = new File(file1.getPath() + File.separator + "entry.json"); char[] chars = new char[(int) file2.length() * 2]; try { //读取entry.json文件内容 FileReader fr = new FileReader(file2); fr.read(chars); String str = new String(chars); fr.close(); JSONObject ret = JSON.parseObject(str); ret = JSON.parseObject(ret.getString("page_data")); //返回文件名称 return ret.getString("part"); } catch (FileNotFoundException e) { e.printStackTrace(); } catch (IOException e) { e.printStackTrace(); } return ""; }第二部分是删除多余文件,包括视频信息文件和弹幕文件 /** * 删除多余文件 */ public static void deleteDanmaku(){ File[] files = file.listFiles(); for (File file1 : files){ File danmaku = new File(file1.getPath() + File.separator + "danmaku.xml"); //entry.json中是视频信息 File entry = new File(file1.getPath() + File.separator + "entry.json"); //index.json文件中是弹幕 File index = new File(file1.getPath() + File.separator + "80" + File.separator + "index.json"); danmaku.delete(); entry.delete(); index.delete(); } }第三部分修改音频和视频的后缀,原后缀是m4s /** * 修改音视频名称和后缀 */ public static void updateRedi(){ File[] files = file.listFiles(); for (File file1 : files){ //修改视频名称和后缀 File videoFile = new File(file1.getPath() + File.separator + "80" + File.separator + "video.m4s"); boolean videoBoo = videoFile.renameTo(new File(file1.getPath() + File.separator + "80" + File.separator + file1.getName() + ".mp4")); //修改音频名称和后缀 File audioFile = new File(file1.getPath() + File.separator + "80" + File.separator + "audio.m4s"); boolean audioBoo = audioFile.renameTo(new File(file1.getPath() + File.separator + "80" + File.separator + file1.getName() + ".mp3")); System.out.println(videoBoo == audioBoo ? true : false); } }第四部分是移动文件,将音视频文件从80文件夹中取出 第五部分是合并视频和音频,使用ffmpeg 先本地安装ffmpeg,官网地址:FFmpeg 进入后点击下载按钮
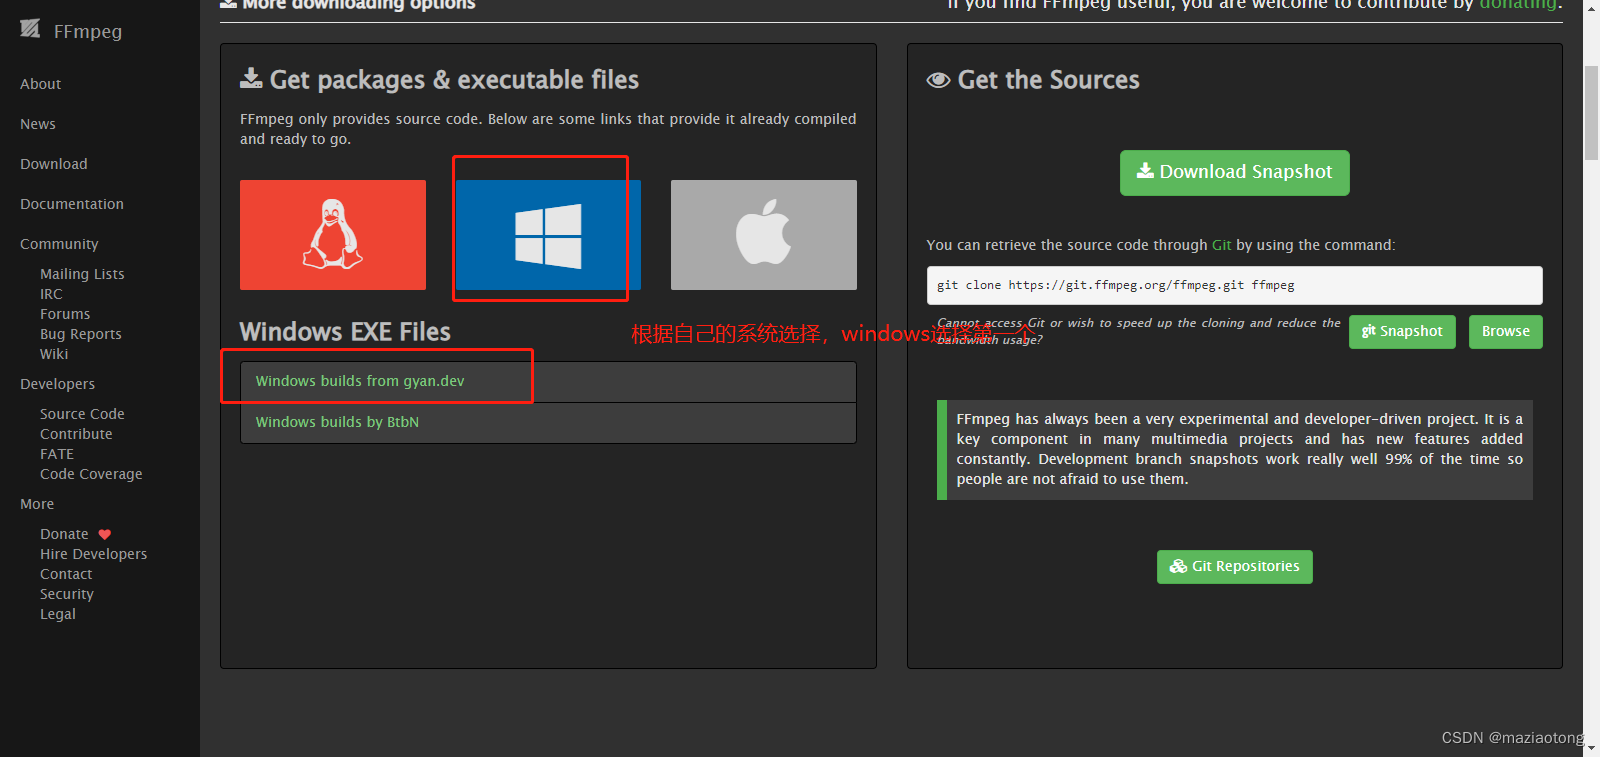
我的是windows系统,选择windows后,点击第一个
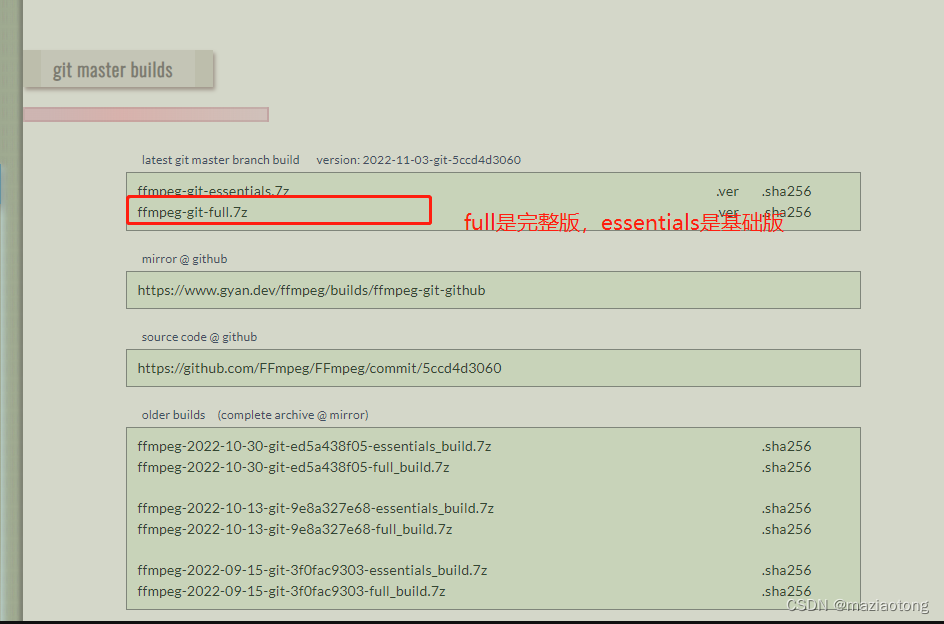
进入后点击ffmpeg-git-full.7z版下载压缩包
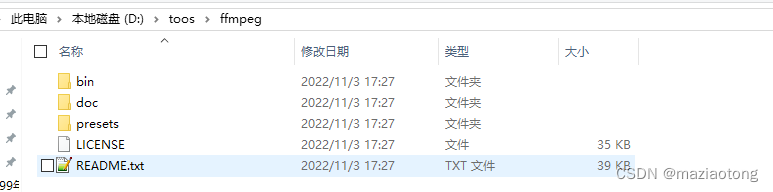
解压后可以看到这样的目录
这样我们就下载完毕,可以配置环境变量了,在文件管理器中,鼠标右键此电脑属性,进入高级系统设置,点击环境变量,在系统变量中的path中,将ffmpeg\bin目录的路径放进去即可 然后可以打开cmd窗口,键入ffmpeg -version命令,如果弹出ffmpeg的版本即为安装成功 ok,安装完毕,我们可以合并音视频了 ffmpeg命令格式 ffmpeg -i 原视频路径 -i 原音频路径 -codec copy 合并后视频存放路径+视频名称Runtime.getRuntime().exec()用于调用系统外部的某个程序,他会生成一个新的进程去运行调用的程序。此方法返回一个java.lang.Process对象,该对象可以得到之前开启的进程的运行结果,还可以操作进程的输入输出流。 process.waitFor()获取进程运行结束后的返回状态,如果进程未运行完毕则等待直到执行完毕 但是waitFor()方法有很明显的弊端,因为java程序给进程的输出流分配的缓冲区是很小的,有时候当进程输出信息很大的时候回导致缓冲区被填满,如果不及时处理程序会阻塞。如果程序没有对进程的输出流处理的会就会导致执行exec()的线程永远阻塞,进程也不会执行下去直到输出流被处理或者java程序结束。 这就是为什么process.waitFor()执行后程序一直无法结束的原因 解决的方法就是处理缓冲区中的信息,开两个线程分别去处理标准输出流和错误输出流。 因此呢我又写了一个工具类来处理输出流execStream类 /** * 合并音视频 */ public static void ffmpegMerge() { File[] files = file.listFiles(); for (File file1 : files) { //取出音频和视频文件 File[] files2 = file1.listFiles(); //拼接ffmpeg命令 String command = "D:\\toos\\ffmpeg\\bin\\ffmpeg.exe" + " -i " + files2[1].getPath() + " -i " + files2[0].getPath() + " -codec copy " + file.getPath() + File.separator + files2[1].getName(); Process process = null; try { //执行本地命令 process = Runtime.getRuntime().exec(command); //因为process的输出流缓冲区很小,会导致程序阻塞,因此自己写个工具类对进程的输出流进行处理 execStream stream = new execStream(process.getErrorStream(), "ERROR"); stream.start(); execStream stream1 = new execStream(process.getInputStream(), "STDOUT"); stream1.start(); //得到进程运行结束后的返回状态,如果进程未运行完毕则等待知道执行完毕,正确结束返回int型的0 process.waitFor(); } catch (IOException | InterruptedException e) { e.printStackTrace(); } } }输出流处理工具类,在关闭时pw.close()可能会报错,但不影响最终结果 import java.io.*; public class execStream extends Thread { private InputStream is; private String type; private OutputStream os; public execStream(InputStream is, String type) { this.is = is; this.type = type; } public execStream(InputStream is, String type, OutputStream os) { this.is = is; this.type = type; this.os = os; } @Override public void run() { InputStreamReader isr = null; BufferedReader br = null; PrintWriter pw = null; try { if (os != null){ pw = new PrintWriter(os); } isr = new InputStreamReader(is); br = new BufferedReader(isr); String line = null; while ((line = br.readLine()) != null) { if (pw != null) { pw.println(line); } } if (pw != null) { pw.flush(); } } catch (IOException e) { e.printStackTrace(); }finally { try { pw.close(); br.close(); isr.close(); } catch (IOException e) { e.printStackTrace(); } } } }好了,以上就是所有的内容。 |
【本文地址】
今日新闻 |
推荐新闻 |