❤️马上七夕,不懂浪漫?带你用Python“码”上七夕【建议收藏】❤️ |
您所在的位置:网站首页 › 表白编程python › ❤️马上七夕,不懂浪漫?带你用Python“码”上七夕【建议收藏】❤️ |
❤️马上七夕,不懂浪漫?带你用Python“码”上七夕【建议收藏】❤️
|
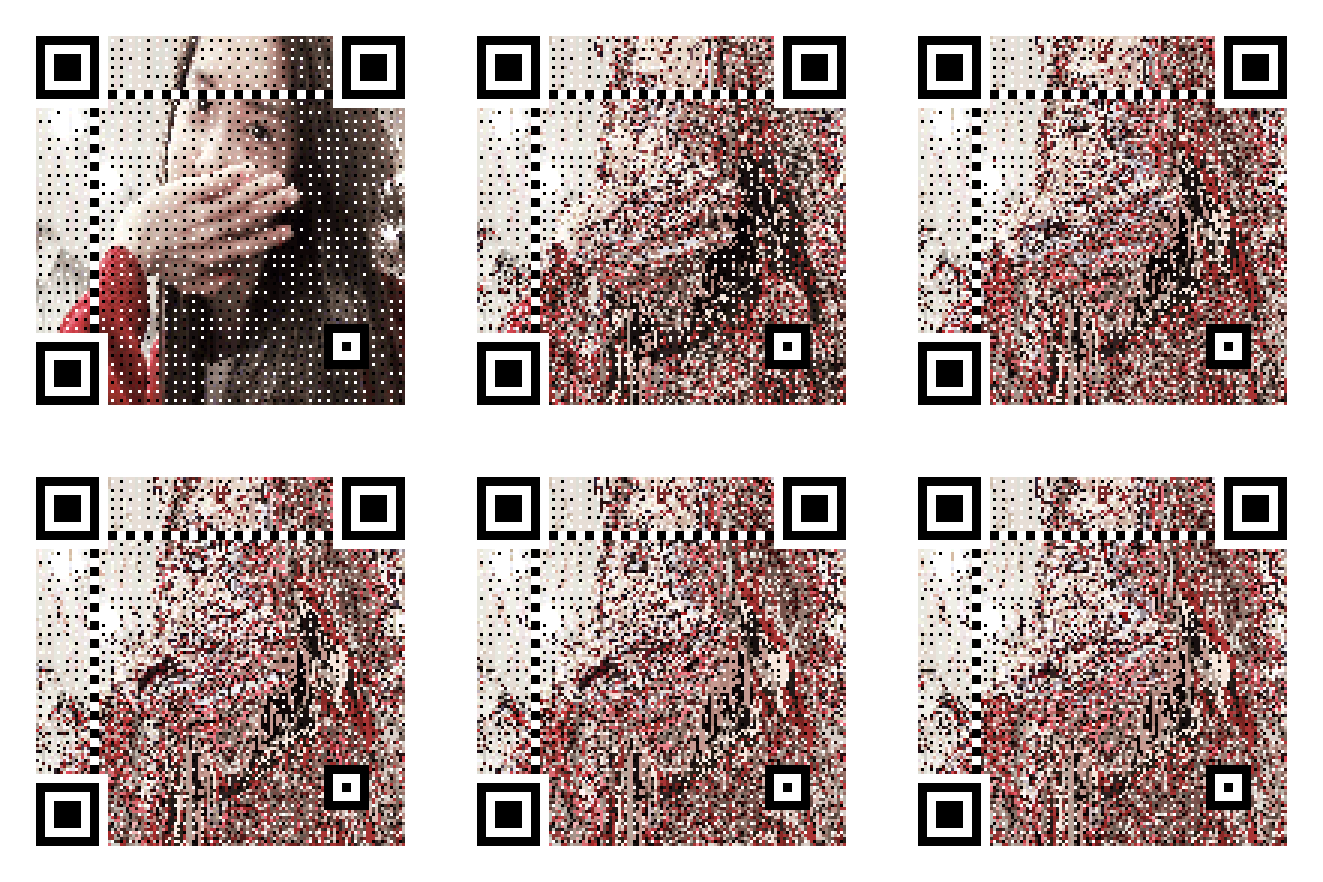
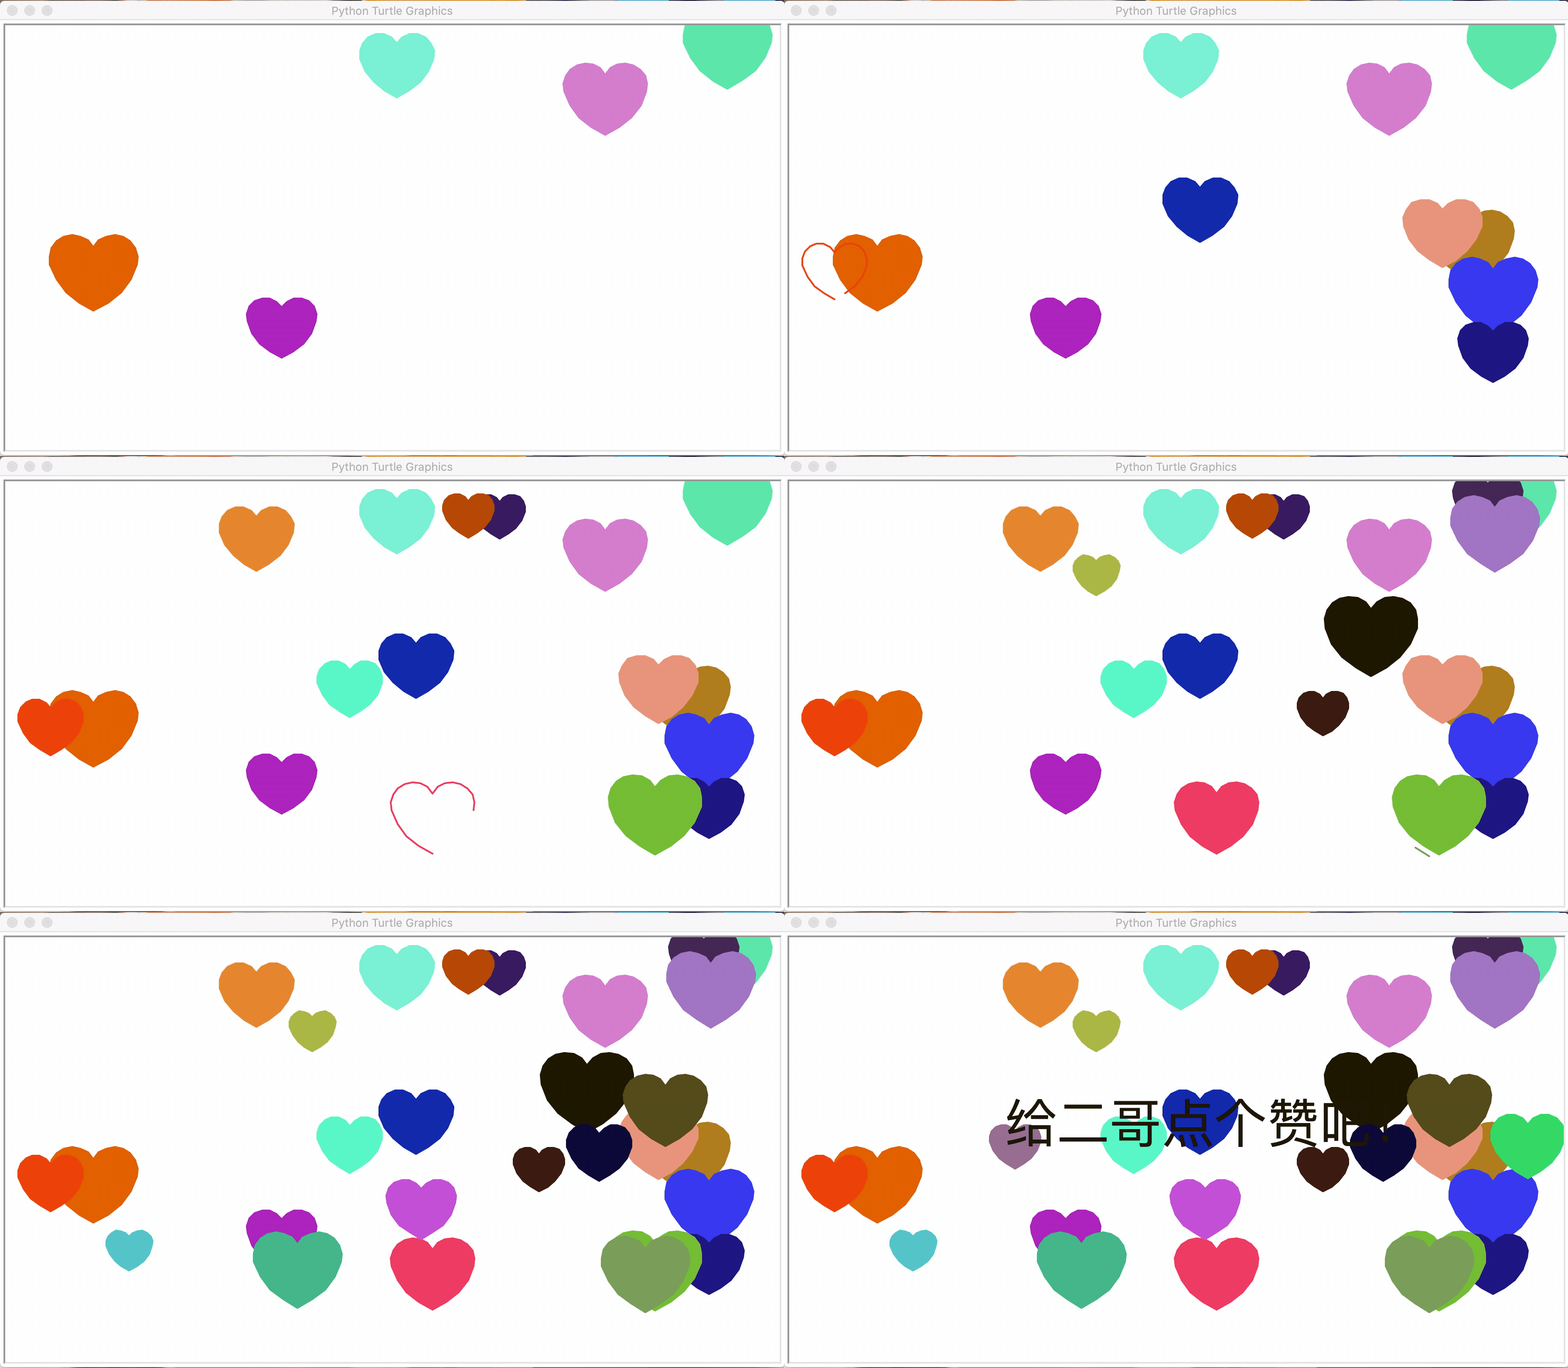
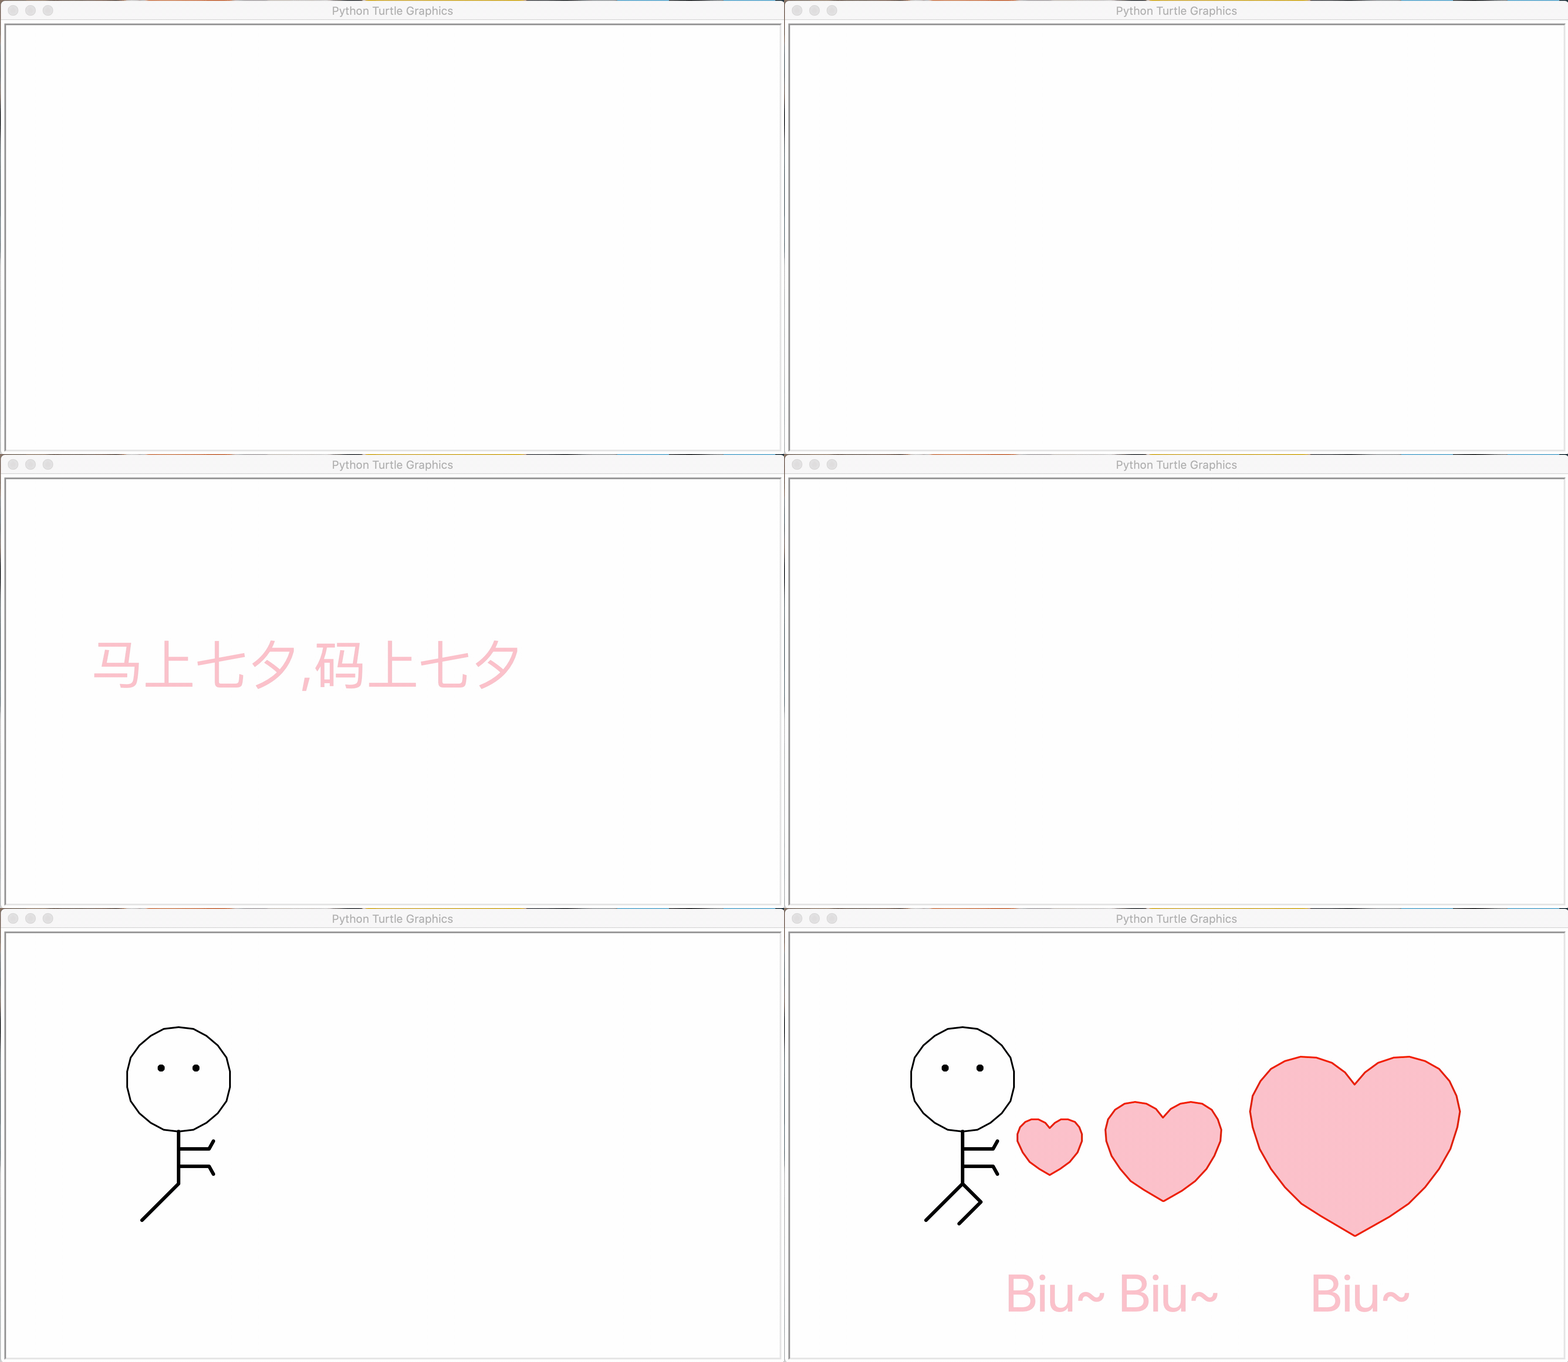
一年一度的七夕就要到来了,身边的人总是问我:送什么?二哥这么穷,这么不懂得浪漫的人送点什么呢!冥思苦想之后作为程序猿的我们总是要搞出来一点属于我们自己的浪漫,今天二哥就带着大家用Python“码”上七夕。 PS:七夕当然是要送一个专属的礼物,本文的所有成果都可以定义,建议收藏! ❤️静态照片二维码首先来一个简单点的静态照片二维码制作,用着她/他/它的照片,设置好你想说的话,生成照片就可以了。 这里我们可以配置多种参数来调整二维码的规格,下同。 words:二维码内容,链接或者句子(暂不支持中文)veision:二维码大小,范围为[1,40]level:二维码纠错级别,范围为{L,M,Q,H},H为最高级,默认。picture:自定义二维码背景图,支持格式为 .jpg,.png,.bmp,.gif,默认为黑白色colorized:二维码背景颜色,默认为 False,即黑白色contrast:对比度,值越高对比度越高,默认为 1.0brightness:亮度,值越高亮度越高,默认为 1.0,正常和对比度相同save_name:二维码名称,默认为 qrcode.pngsave_dir:二维码路径,默认为程序工作路径 from MyQR import myqr myqr.run(words="Welcome to Here!", version=6, picture="lye.jpg", colorized=True, save_name="lye.png", ) # 如果想要更换存储路径,可以使用save_dir=""参数。结果展示如下: 有了静态的二维码生成,肯定也少不了生成动态的二维码,生成动态二维码需要我们使用一个gif图片嵌入到二维码内部,这里二哥推荐大家使用一些视频片段或者是照片合集做成gif来使用。生成动态二维码的方式和上面静态二维码的方式相同,直接上代码: from MyQR import myqr myqr.run( words="I Love You", version=6, picture="linyuner.gif", colorized=True, save_name="lyeqr.gif", )结果展示如下(图没选好,微微的模糊了): 做完了二维码,可能表白的力度还不够大, 怎么办呢?下面二哥再带大家做一个字符词云图,让大家能够把情话当背景用她/他/它的名字去进行填充。 实现字符词云图的整体思路如下: 根据输入的字符,作成白底黑字的图片保存(一定不要用透明的背景,会造成绘制词云出错)读取上一步做好的图片,绘制词云图即可。在词云的代码快中给出了各种能够对词云图的效果进行调整的注释,大家根据注释直接进行相应的调整即可,接下来直接上代码: from wordcloud import WordCloud import wordcloud import numpy as np import pandas as pd import matplotlib.pyplot as plt from PIL import Image, ImageDraw, ImageFont # 解决读取图片报错 from PIL import ImageFile ImageFile.LOAD_TRUNCATED_IMAGES = True import os # 获取背景文字 def gen_text_img(text, font_size, font_path=None): ''' 输入: text:照片墙的样式文字 font_size:字体的大小 font_path:字体 返回: 文字图像 ''' font = ImageFont.truetype(font_path, font_size) (width, length) = font.getsize(text) text_img = Image.new('RGB', (width + 100, length+100), color='white') draw = ImageDraw.Draw(text_img) # 从左上角开始绘制,每次调整位置用于加粗字体 for i in range(100): draw.text((i, i), text, fill=(0, 0, 0), font=font) text_img.save('background.png') return text_img def word_cloud(img, word, font_path=None): wc_mask = np.array(Image.open('background.png')) wc = wordcloud.WordCloud( # 设置字体格式 font_path=font_path, # 设置背景图 mask=wc_mask, # 最多显示词数 max_words=200, # 字体最大值 max_font_size=320, # 整体背景色 background_color='White', # 词云的边框大小 contour_width=2, # 词云的边框颜色 contour_color='pink', # 设置字体重复 repeat=True, color_func=lambda *args, **kwargs: "pink") # 从字典生成词云 wc.generate(word) # 从背景图建立颜色方案 image_colors = wordcloud.ImageColorGenerator(wc_mask) # 显示词云 plt.figure(figsize=[10, 10], dpi=300) plt.imshow(wc) plt.axis('off') plt.show() def main(font_path='buzz_cloud_font.ttf', font_size=2000, ): word = input('请输入填充词:') text = input('请输入背景词:') img = gen_text_img(text,font_size, font_path) word_cloud(img,word,font_path) main()结果展示如下(自恋一波): 接下来我们还可以绘制一个满屏爱心的表白效果来炫一下。 该效果主要使用海龟做图的方法来绘制,首先定义好绘制普通爱心的代码,为了好看一些我们用随机的方式进行绘制,随机心出现的地址,随机颜色,随机大小,如过你想要更改随机的范围在代码中自行调整即可。具体细节在于角度的把控,这里不再做过多赘述,直接上代码。 import random import turtle from turtle import mainloop, hideturtle # 画心 def draw_heart(size, color_): turtle.speed(0) turtle.colormode(255) turtle.color(color_) turtle.pensize(2) turtle.pendown() turtle.setheading(150) turtle.begin_fill() turtle.fd(size) turtle.circle(size * -3.745, 45) turtle.circle(size * -1.431, 165) turtle.left(120) turtle.circle(size * -1.431, 165) turtle.circle(size * -3.745, 45) turtle.fd(size) turtle.end_fill() # 随机颜色,大小,位置 def draw(): # 随机颜色 colors1 = random.randint(0, 255) colors2 = random.randint(0, 255) colors3 = random.randint(0, 255) turtle.penup() # 随机位置 x = random.randint(-400, 400) y = random.randint(-200, 200) turtle.goto(x, y) # 随机大小 size = random.randint(10, 20) draw_heart(size, (colors1, colors2, colors3)) # 主函数 def main(): hideturtle() turtle.setup(900, 500) # 更改心出现的个数 for i in range(30): draw() turtle.penup() turtle.goto(-200, 0) turtle.color('Black') turtle.write('给二哥点个赞吧!', font=('宋体', 60, 'normal')) mainloop() main()效果如下: 最后,我们可以来一个搞怪的小人和爱心,小人要做出类似于龟派气功的造型,那种酷炫的动漫人物画起来太难,今天咱们先画一个简版的使用一下,小人的龟派气功中打出的是类似于我们上面画的那种小心心就可以了。直接看代码吧~ import turtle import time from turtle import mainloop, hideturtle def clear_all(): turtle.penup() turtle.goto(0, 0) turtle.color('white') turtle.pensize(800) turtle.pendown() turtle.setheading(0) turtle.fd(300) turtle.bk(600) # 重定位海龟的位置 def go_to(x, y, state): turtle.pendown() if state else turtle.penup() turtle.goto(x, y) def draw_heart(size): turtle.color('red', 'pink') turtle.pensize(2) turtle.pendown() turtle.setheading(150) turtle.begin_fill() turtle.fd(size) turtle.circle(size * -3.745, 45) turtle.circle(size * -1.431, 165) turtle.left(120) turtle.circle(size * -1.431, 165) turtle.circle(size * -3.745, 45) turtle.fd(size) turtle.end_fill() # 画出发射爱心的小人 def draw_people(x, y): turtle.penup() turtle.goto(x, y) turtle.pendown() turtle.pensize(2) turtle.color('black') turtle.setheading(0) turtle.circle(60, 360) turtle.penup() turtle.setheading(90) turtle.fd(75) turtle.setheading(180) turtle.fd(20) turtle.pensize(4) turtle.pendown() turtle.circle(2, 360) turtle.setheading(0) turtle.penup() turtle.fd(40) turtle.pensize(4) turtle.pendown() turtle.circle(-2, 360) turtle.penup() turtle.goto(x, y) turtle.setheading(-90) turtle.pendown() turtle.fd(20) turtle.setheading(0) turtle.fd(35) turtle.setheading(60) turtle.fd(10) turtle.penup() turtle.goto(x, y) turtle.setheading(-90) turtle.pendown() turtle.fd(40) turtle.setheading(0) turtle.fd(35) turtle.setheading(-60) turtle.fd(10) turtle.penup() turtle.goto(x, y) turtle.setheading(-90) turtle.pendown() turtle.fd(60) turtle.setheading(-135) turtle.fd(60) turtle.bk(60) turtle.setheading(-45) turtle.fd(30) turtle.setheading(-135) turtle.fd(35) turtle.penup() # 绘制文字 def draw_text(text, t_color, font_size, show_time): turtle.penup() turtle.goto(-350, 0) turtle.color(t_color) turtle.write(text, font=('宋体', font_size, 'normal')) time.sleep(show_time) clear_all() # 爱心发射 def draw_(): turtle.speed(0) draw_people(-250, 20) turtle.penup() turtle.goto(-150, -30) draw_heart(14) turtle.penup() turtle.goto(-200, -200) turtle.color('pink') turtle.write('Biu~', font=('宋体', 60, 'normal')) turtle.penup() turtle.goto(-20, -60) draw_heart(25) turtle.penup() turtle.goto(-70, -200) turtle.color('pink') turtle.write('Biu~', font=('宋体', 60, 'normal')) turtle.penup() turtle.goto(200, -100) draw_heart(45) turtle.penup() turtle.goto(150, -200) turtle.color('pink') turtle.write('Biu~', font=('宋体', 60, 'normal')) turtle.hideturtle() time.sleep(3) def main(): # 隐藏海龟 hideturtle() turtle.setup(900, 500) draw_text("准备好了吗?", "black", 60, 0) draw_text("接下来", "skyblue", 60, 0) draw_text("马上七夕,码上七夕", "pink", 60, 3) draw_() # 使用mainloop防止窗口卡死 mainloop() main()结果展示如下: 好了~到这里本期的“码”上七夕就到这里了。 走过,路过,不要错过!记得三连呦! |
【本文地址】
今日新闻 |
推荐新闻 |
 怎么样,一个浪漫的二维码是不是能够帮你捕获她的芳心呢,不能的话咱们继续往下走~
 什么?她还觉得不满意?那咱们再来一个!
 这里偷偷的自己给自己做个图,友情提醒一下各位小伙伴们,不要打成别人的名字,还有每个字记得打正确了,不然又是少不了的家庭矛盾(别问我怎么知道的)。
 这样一副满屏爱心的图看起来是不是还说得过去,这里又把自己挂上去了,希望大家点个赞吧~如果力度还不够,那就只能再画一个搞怪一点的图了。
 怎么样,赶紧行动起来吧,带着她的名字,她的照片,来一场属于程序猿的浪漫吧~