微信小程序API(详细 教程) |
您所在的位置:网站首页 › 药剂api是什么意思 › 微信小程序API(详细 教程) |
微信小程序API(详细 教程)
|
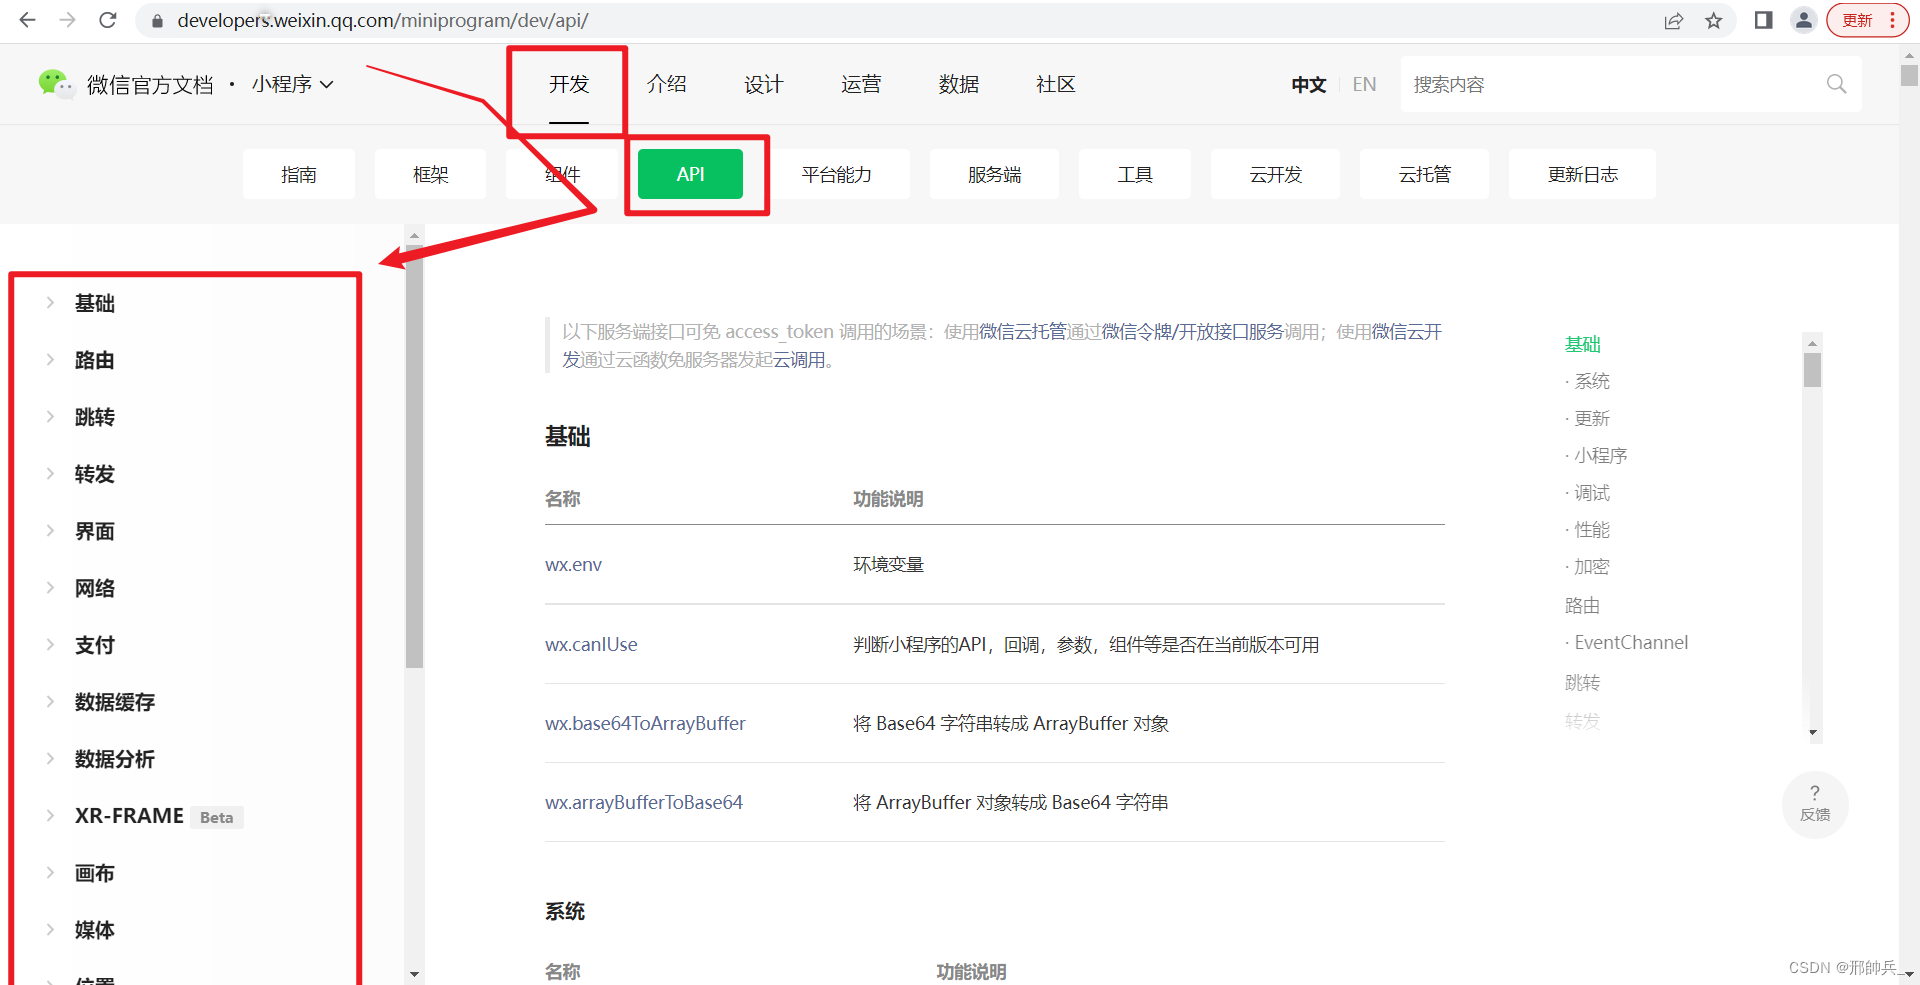
微信内置api
小程序中的 API 是由宿主环境提供的,通过这些丰富的小程序 API,开发者可以方便的调用微信提供的能力,例如:获取用户信息、本地存储、支付功能等。 API 使用说明小程序提供了很多实用的方法供开发者使用 小程序全局对象是: wx 所有的 API 都保存在 wx 对象中
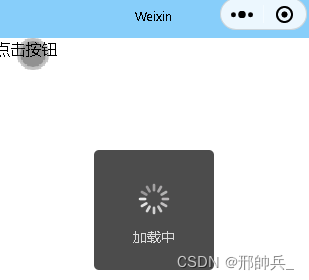
显示 loading 提示框。需主动调用 wx.hideLoading 才能关闭提示框 wx.showLoading({ title: '加载中', }) setTimeout(function () { wx.hideLoading() }, 2000)
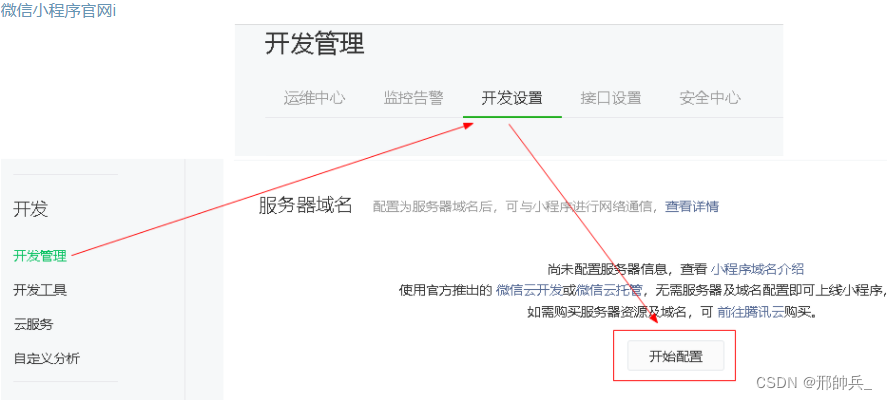
小程序请求的接口需要https和域名,并且需要在微信小程序管理后台中加入指定域名
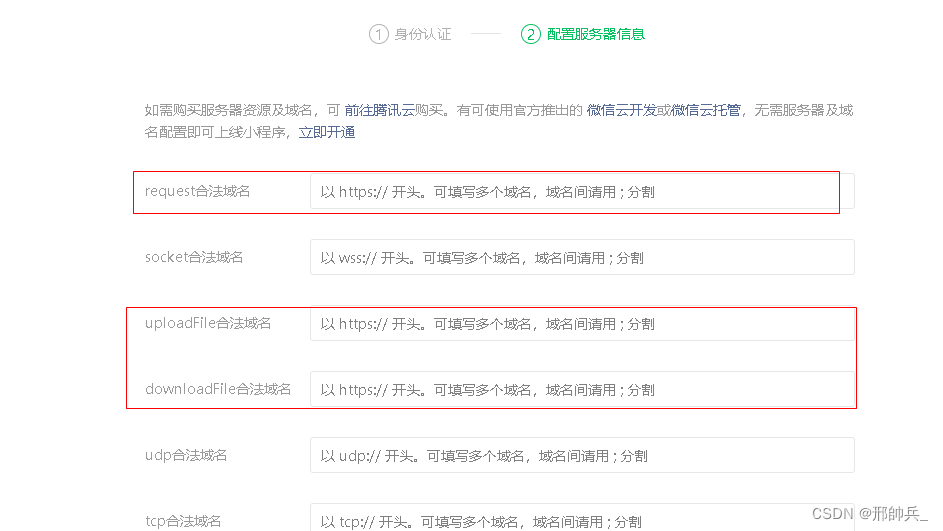
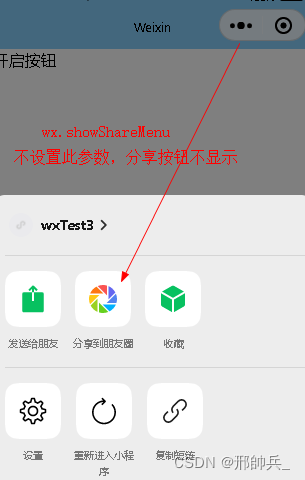
下载文件资源到本地。客户端直接发起一个 HTTPS GET 请求,返回文件的本地临时路径 (本地路径),单次下载允许的最大文件为 200MB 同样也要配置下载合法域名 wx.downloadFile({ url: '', success (res) { // 只要服务器有响应数据,就会把响应内容写入文件并进入 success 回调,业务需要自行判断是否下载到了想要的内容 if (res.statusCode === 200) { wx.playVoice({ filePath: res.tempFilePath }) } } }) 1.3,文件上传 wx.uploadFile将本地资源上传到服务器。客户端发起一个 HTTPS POST 请求,其中 content-type 为 multipart/form-data 同样也要配置下载合法域名 wx.uploadFile({ url: '', filePath: tempFilePaths[0], name: 'file', formData: { 'user': 'test' }, success (res){ const data = res.data //do something } }) 1.4,分享朋友圈 onShareTimeline监听右上角菜单“分享到朋友圈”按钮的行为,并自定义分享内容 注意:只有定义了此事件处理函数,右上角菜单才会显示“分享到朋友圈”按钮 Page({ /** * 生命周期函数--监听页面加载 */ onLoad() { // 用户点击右上角分享给好友,要先在分享好友这里设置menus的两个参数,才可以分享朋友圈 wx.showShareMenu({ menus: ['shareAppMessage', 'shareTimeline'] //shareAppMessage必须得有 }) }, //用户点击右上角分享朋友圈 onShareTimeline() { return { title: '自定义分享标题', query: "id=110101&name=heyzqt", imageUrl: "" } } })
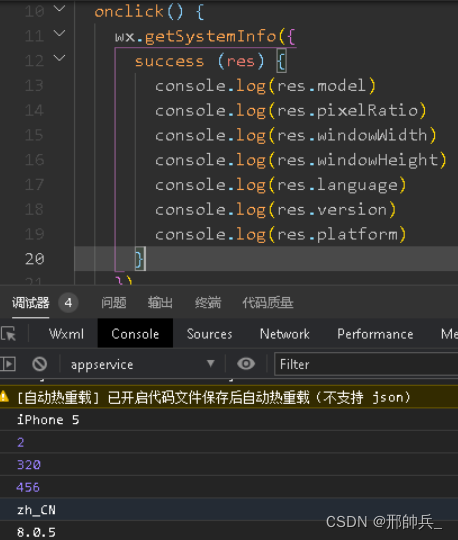
异步获取系统信息。需要一定的微信客户端版本支持,在不支持的客户端上,会使用同步实现来返回。 参数Object object Object res 输出结果: 1,直接用wx.getUserInfo获取用户信息,后来被限制。 2,使用button按钮的open-type=“getUserInfo”,通过bindgetuserinfo事件获取用户信息,现在叒限制。 3,使用API:getUserProFile获取用户信息 小程序发了篇公告小程序登录、用户信息相关接口调整说明
将授权登陆获取用户信息的接口调整了,新增了一个wx.getUserProfile。特说明一下授权登陆的注意事项: 1,原授权登陆流程不变,依旧是 3,wx.getUserProfile这个API必须写在事件的最上面在这里插入代码片 示例代码:wxml: 登陆JS: login() { wx.getUserProfile({ desc: '展示用户信息', // 声明获取用户个人信息后的用途,后续会展示在弹窗中,请谨慎填写 success: (file) => { console.log(file) wx.login({ success: (res) => { console.log(res); wx.request({ url: 'code获取openid的接口', data: { code: res.code }, success: (open) => { console.log(open.data); wx.request({ url: '授权登陆接口', data: { openid: open.data.openid, NickName: file.userInfo.nickName, HeadUrl: file.userInfo.avatarUrl }, success(data) { console.log(data.data); } }) } }) } }) } }) }, |


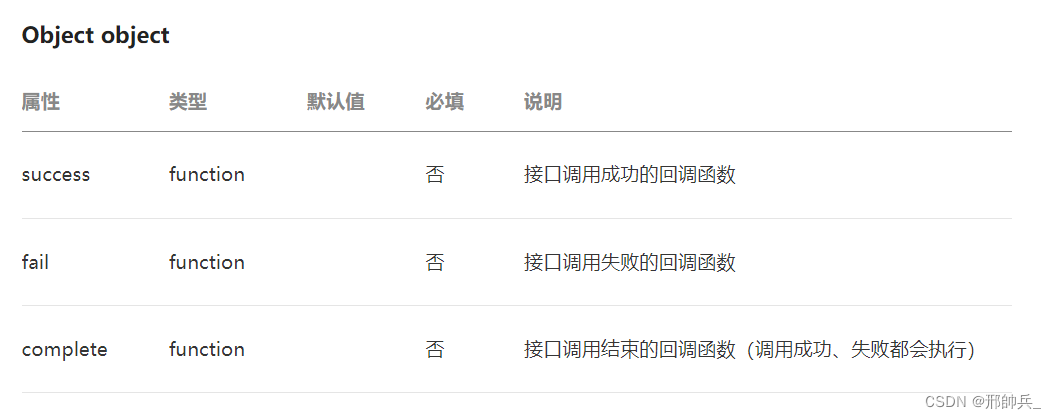 object.success 回调函数
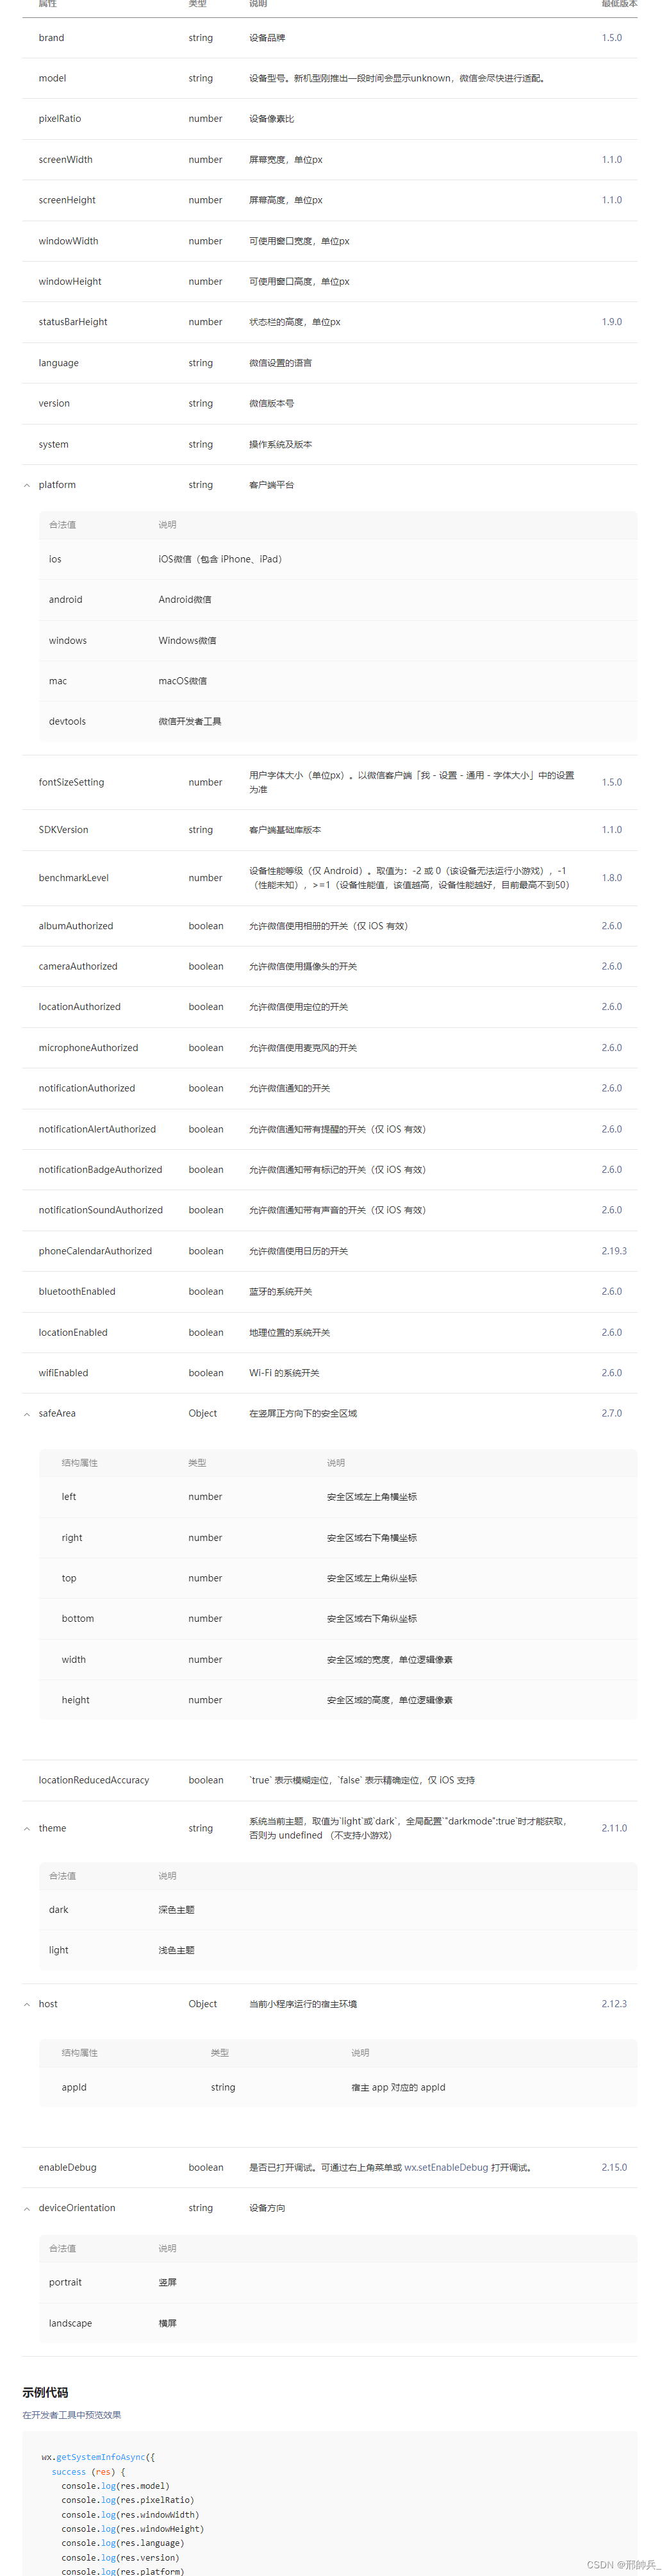

 2,只是获取用户信息的地方发生改变了,获取用户信息必须通过wx.getUserProfile获取
【本文地址】