WebSocket 的故事(四) |
您所在的位置:网站首页 › 点对点管理模式 › WebSocket 的故事(四) |
WebSocket 的故事(四)
|
题外话
最近事情太多,也有好久没有更新了。在此感谢大家的持续关注。如果有任何问题,都可以私信我一起讨论。 概述本文是WebSocket的故事系列第三篇第二节,将针对上篇的代码介绍,给出一个STOMP实现点对点消息的简单例子。WebSocket的故事系列计划分六大篇,旨在由浅入深的介绍WebSocket以及在Springboot中如何快速构建和使用WebSocket提供的能力。 本系列计划包含如下几篇文章: 第一篇,什么是WebSocket以及它的用途 第二篇,Spring中如何利用STOMP快速构建WebSocket广播式消息模式 第三篇,Springboot中,如何利用WebSocket和STOMP快速构建点对点的消息模式(1) 第四篇,Springboot中,如何利用WebSocket和STOMP快速构建点对点的消息模式(2) 第五篇,Springboot中,实现网页聊天室之自定义WebSocket消息代理 第六篇,Springboot中,实现更灵活的WebSocket 本篇的主线上一篇由@SendTo和@SendToUser开始,深入Spring的WebSocket消息发送关键代码进行讲解。本篇将具体实现一个基于STOMP的点对点消息示例,并针对性的进行一些说明。 在本篇编写过程中,我也查看了一些网上的例子,多数都存在着或多或少的问题,能跑起来的很少,所以我也在文后给出了Github的示例链接,有需要的同学可以自取。 本篇适合的读者想要了解STOMP协议,Spring内部代码细节,以及如何使用Springboot搭建WebSocket服务的同学。 实现一个点对点消息模式 一、引入WebSecurity实现用户管理讲到点对点消息,想象一下常见的如微信、QQ这些聊天工具,都是有用户管理模块的,包括数据库等等实现。我们这里为了简化,采用WebSecurity实现一个基于内存的简单用户登录管理,即可在服务端,保存两个用户信息,即可让这两个用户互发信息。 1. 引入依赖 org.springframework.boot spring-boot-starter-security 2. 实现WebSecurityConfig这里我们构建两个内存级别的用户账户,以便我们在后面模拟互发消息。 package com.xnpe.chat.config; import org.springframework.context.annotation.Configuration; import org.springframework.security.config.annotation.authentication.builders.AuthenticationManagerBuilder; import org.springframework.security.config.annotation.web.builders.HttpSecurity; import org.springframework.security.config.annotation.web.builders.WebSecurity; import org.springframework.security.config.annotation.web.configuration.EnableWebSecurity; import org.springframework.security.config.annotation.web.configuration.WebSecurityConfigurerAdapter; import org.springframework.security.crypto.bcrypt.BCryptPasswordEncoder; @Configuration @EnableWebSecurity public class WebSecurityConfig extends WebSecurityConfigurerAdapter{ @Override protected void configure(HttpSecurity http) throws Exception { http .authorizeRequests() .antMatchers("/","/login").permitAll() .anyRequest().authenticated() .and() .formLogin() .loginPage("/login") .defaultSuccessUrl("/chat") .permitAll() .and() .logout() .permitAll(); } //声明两个内存存储用户 @Override protected void configure(AuthenticationManagerBuilder auth) throws Exception { auth .inMemoryAuthentication().passwordEncoder(new BCryptPasswordEncoder()) .withUser("Xiao Ming").password(new BCryptPasswordEncoder().encode("123")).roles("USER") .and().passwordEncoder(new BCryptPasswordEncoder()) .withUser("Suby").password(new BCryptPasswordEncoder().encode("123")).roles("USER"); } @Override public void configure(WebSecurity web){ web.ignoring().antMatchers("/resources/static/**"); } } 二、实现WebSocket和页面的配置两个内存级别的用户账户建立好以后,我们来进行WebSocket和页面相关的配置。 1. 配置页面资源路由 package com.xnpe.chat.config; import org.springframework.context.annotation.Configuration; import org.springframework.web.servlet.config.annotation.*; @Configuration public class WebMvcConfig extends WebMvcConfigurerAdapter { @Override public void addViewControllers(ViewControllerRegistry registry) { registry.addViewController("/login").setViewName("login"); registry.addViewController("/chat").setViewName("chat"); } @Override public void addResourceHandlers(ResourceHandlerRegistry registry) { registry.addResourceHandler("/static/**").addResourceLocations("classpath:/static/"); } } 2. 配置WebSocket STOMP这里我们注册一个Endpoint名为Chat,并注册一个消息代理,名为queue。 package com.xnpe.chat.config; import org.springframework.context.annotation.Configuration; import org.springframework.messaging.simp.config.MessageBrokerRegistry; import org.springframework.web.socket.config.annotation.AbstractWebSocketMessageBrokerConfigurer; import org.springframework.web.socket.config.annotation.EnableWebSocketMessageBroker; import org.springframework.web.socket.config.annotation.StompEndpointRegistry; @Configuration @EnableWebSocketMessageBroker public class WebSocketConfig extends AbstractWebSocketMessageBrokerConfigurer{ @Override public void registerStompEndpoints(StompEndpointRegistry registry) { registry.addEndpoint("/Chat").withSockJS(); } @Override public void configureMessageBroker(MessageBrokerRegistry registry) { registry.enableSimpleBroker("/queue"); } } 三、实现WebSocket的消息处理客户端会将消息发送到chat这个指定的地址,它会被handleChat捕获并处理。我们这里做了个硬逻辑,如果信息是由Xiao Ming发来的,我们会将它路由给Suby。反之亦然。 1. Controller的实现这里强调一下,我们监听的Mapping地址是chat,所以后续在客户端发送消息的时候,要注意消息都是发到服务器的这个地址的。服务端在接收到消息后,会将消息路由给/queue/notification这个地址,那么也就是说,我们客户端WebSocket订阅的地址即为/queue/notification。 package com.xnpe.chat.controller; import com.xnpe.chat.data.Info; import org.springframework.beans.factory.annotation.Autowired; import org.springframework.messaging.handler.annotation.MessageMapping; import org.springframework.messaging.simp.SimpMessagingTemplate; import org.springframework.stereotype.Controller; import java.security.Principal; @Controller public class WebSocketController { @Autowired private SimpMessagingTemplate messagingTemplate; @MessageMapping("/chat") public void handleChat(Principal principal, Info info) { if (principal.getName().equals("Xiao Ming")) { messagingTemplate.convertAndSendToUser("Suby", "/queue/notification", principal.getName() + " send message to you: " + info.getInfo()); } else { messagingTemplate.convertAndSendToUser("Xiao Ming", "/queue/notification", principal.getName() + " send message to you: " + info.getInfo()); } } } 2. 消息Bean用来承载互发的消息结构 package com.xnpe.chat.data; public class Info { private String info; public String getInfo() { return info; } } 四、编写客户端Html页面 1. 实现登录页login.html 登陆页面 无效的账号和密码 你已注销 账号 : 密码: 2. 实现聊天页chat.html强调一下两个要点: 连接WebSocket时,我们指定的是Chat这个Endpoint。发送消息时,我们要将消息发送到服务器所mapping的地址上,即/chat。 由于服务端会将信息发到/queue/notification这个消息代理上,所以我们订阅的也是这个地址,因为我们要实现的是一对一的消息(根据上一篇的内容,不理解的同学可以参考上一篇文章),这里在订阅时要加上user前缀。 欢迎进入聊天室 聊天室 $('#chatForm').submit(function(e){ e.preventDefault(); var text = $('#chatForm').find('textarea[name="text"]').val(); sendSpittle(text); $('#chatForm').clean(); }); //链接endpoint名称为 "/Chat" 的endpoint。 var sock = new SockJS("/Chat"); var stomp = Stomp.over(sock); stomp.connect('abc', 'abc', function(frame) { stomp.subscribe("/user/queue/notification", handleNotification); }); function handleNotification(message) { $('#output').append("Received: " + message.body + "") } function sendSpittle(text) { stomp.send("/chat", {}, JSON.stringify({ 'info': text })); } $('#stop').click(function() {sock.close()}); 演示点对点消息以上,我们程序的所有关键代码均已实现了。启动后,访问localhost:8080/login即可进入到登录页。 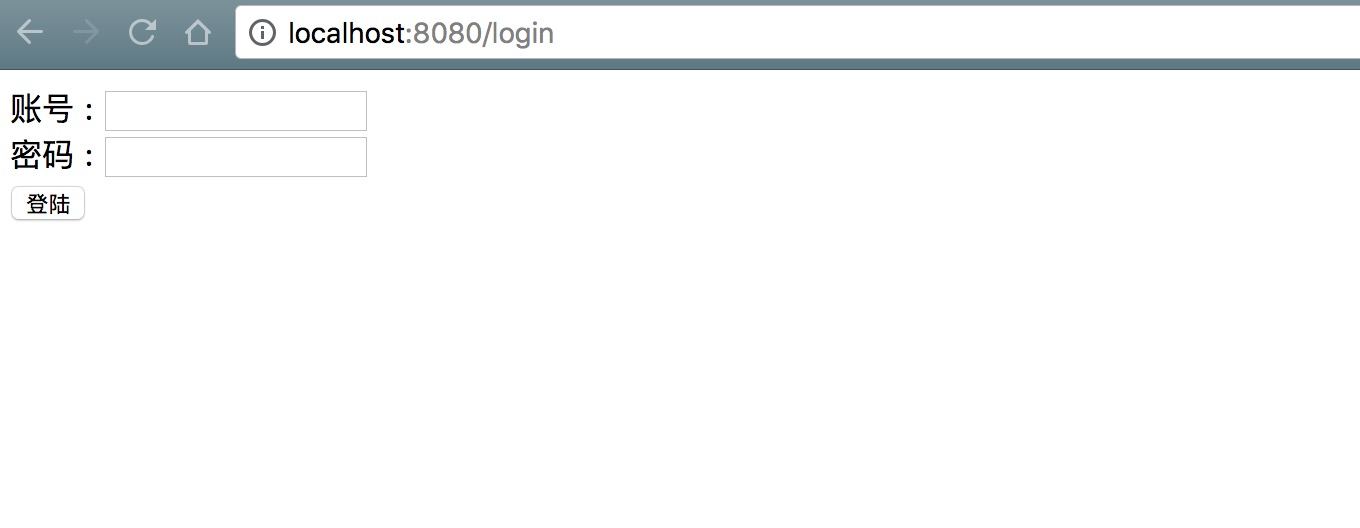
分别打开两个页面,输入账号和密码(代码中硬编码的两个账户信息)。即可进入到chat页面。 
在输入框中输入信息,然后点击提交,消息会被发送到另一个用户处。 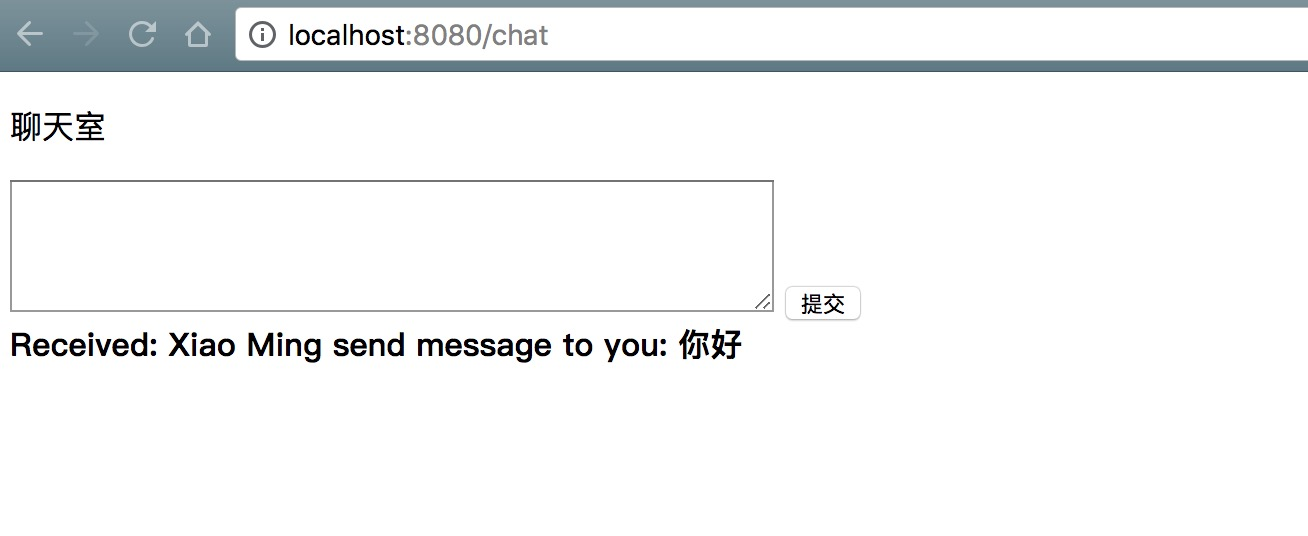 代码
代码
本篇所用的代码工程已上传至Github,想要体验的同学自取。 GitHub-STOMP实现点对点消息 总结本篇罗列了基于STOMP实现点对点消息的一个基本步骤,比较简单,注意客户端发送消息的地址和订阅的地址即可。由于采用STOMP,我们实现的点对点消息是基于用户地址的,即STOMP实现了用户地址到会话session的一个映射,这也帮助我们能够轻松的给对端用户发送消息,而不必关心底层实现的细节。但如果我们想自己封装更复杂的业务逻辑,管理用户的WebSocket session,更灵活的给用户发送信息,这就是我们下一篇所要讲述的内容,不使用STOMP,看看如何来实现更灵活的WebSocket点对点通信。 欢迎持续关注 小铭出品,必属精品 欢迎关注xNPE技术论坛,更多原创干货每日推送。 
|
【本文地址】