学会Spring Boot+Vue前后端分离开发(5)添加数据和删除数据 |
您所在的位置:网站首页 › 清空咋写 › 学会Spring Boot+Vue前后端分离开发(5)添加数据和删除数据 |
学会Spring Boot+Vue前后端分离开发(5)添加数据和删除数据
|
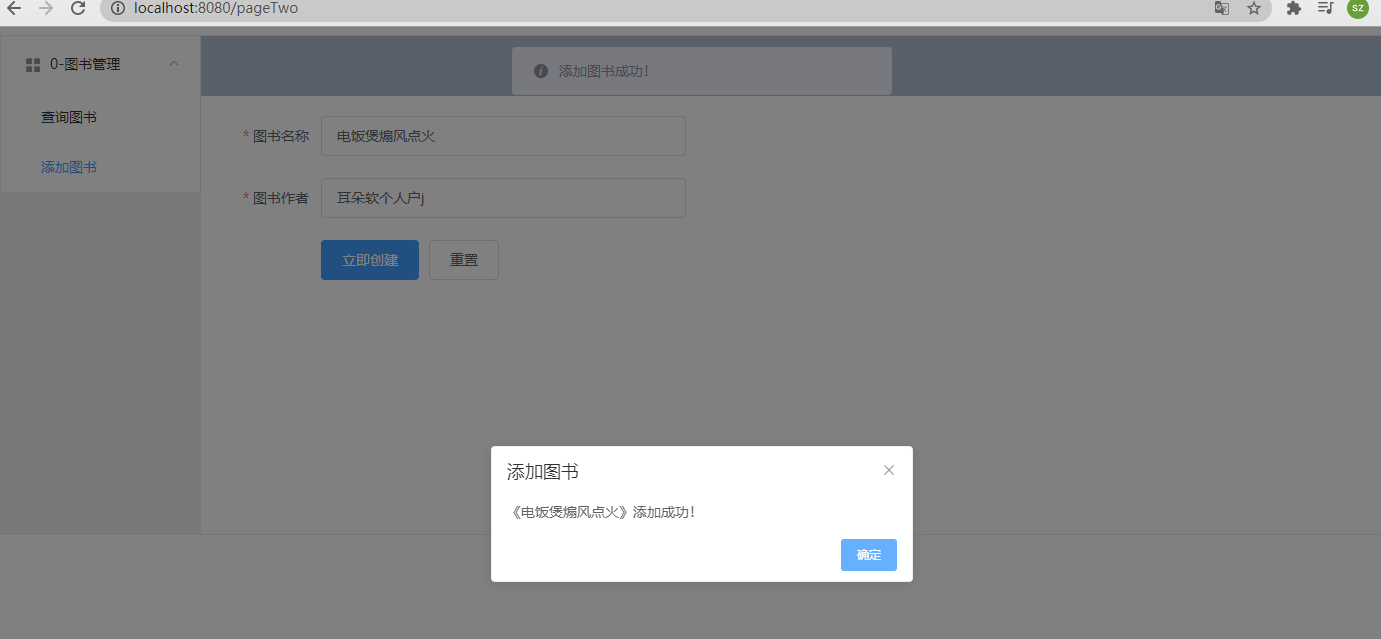
学会Spring Boot+Vue前后端分离开发(5)添加数据和删除数据 1 添加图书: 一个AddBook.Vue (带校验功能) 结果样式:
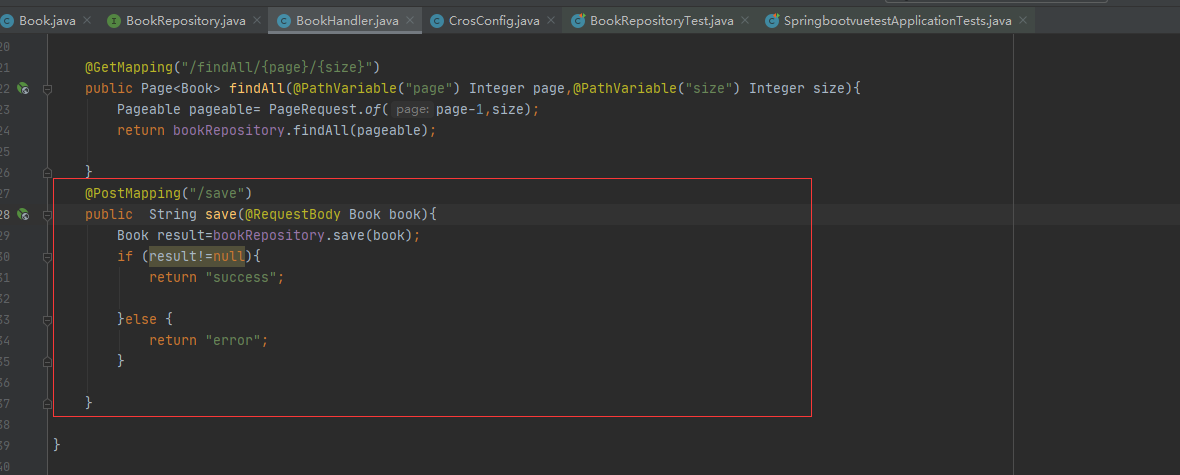
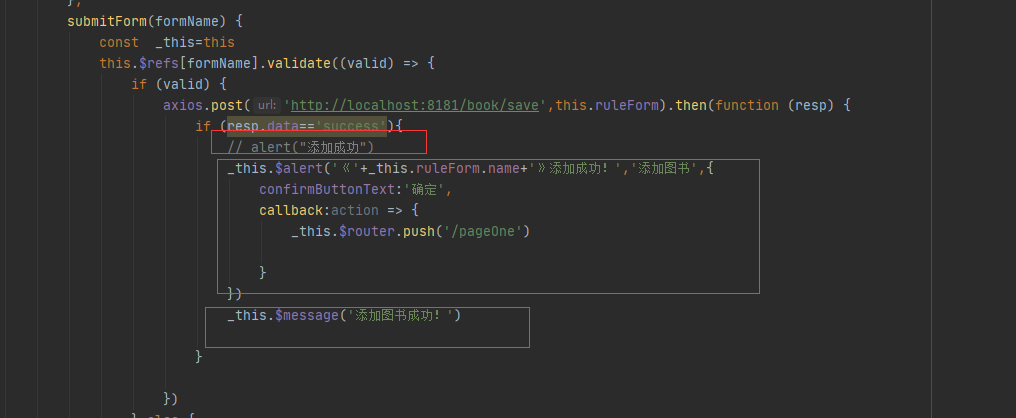
我直接用前面的PageTwo作为Addbook的页面 框架借用element-ui中的 Form表单 和 Message消息提示 (点击即可查看官网介绍) 看来看去 比较难的是前端实现是需要用到的关键字 如ruleForm 等 其余的差不多是 复制粘贴 立即创建 重置 { if (valid) { axios.post('http://localhost:8181/book/save',this.ruleForm).then(function (resp) { if (resp.data=='success'){ // alert("添加成功") _this.$alert('《'+_this.ruleForm.name+'》添加成功!','添加图书',{ confirmButtonText:'确定', callback:action => { _this.$router.push('/pageOne') } }) _this.$message('添加图书成功!') } }) } else { console.log('error submit!!'); return false; } }); }, resetForm(formName) { this.$refs[formName].resetFields(); } } }前端框架做出来了 后面当然是和后端绑定起来 并且添加完数据 返回相应的界面 后端的话 实现一个save接口即可 添加图书到最后不就是将添加的东西保存到数据库中 @PostMapping("/save") public String save(@RequestBody Book book){ Book result=bookRepository.save(book); if (result!=null){ return "success"; }else { return "error"; } } 这是三种添加完图书的响应:
实现如下:
我们希望在添加完图书 自动返回对应的图书界面:在前端的AddBook.Vue 中的点击创建按钮的响应值添加如下语句: _this.$router.push('/pageOne')类似实现 从 官网 弹出对话框 查找 ------------------------------------------------------------------------------------------------------------------------------------------------------------------------ 2 删除数据: 前端部分:添加按钮和点击事件:
编写各自的点击事件:
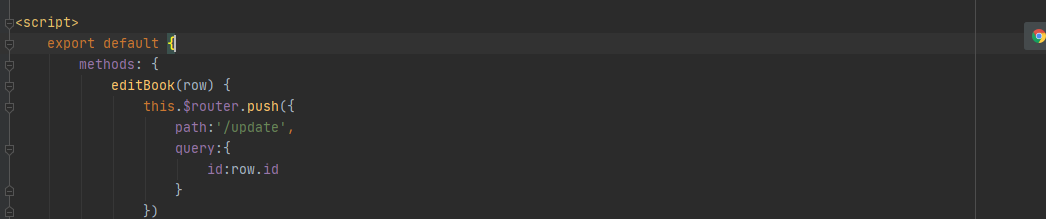
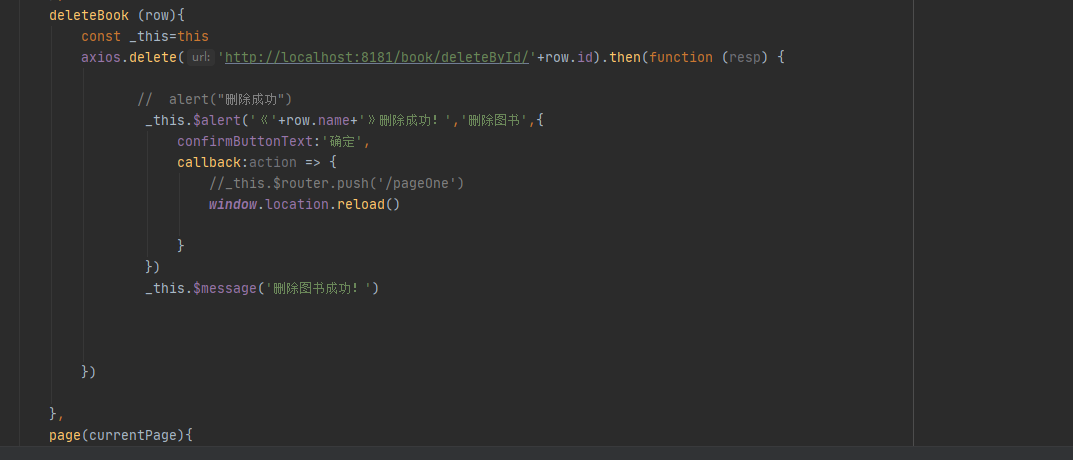
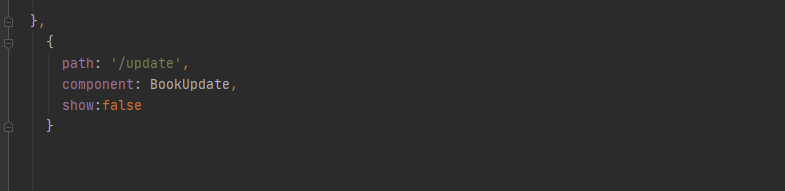
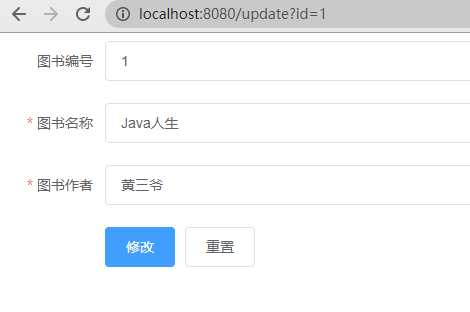
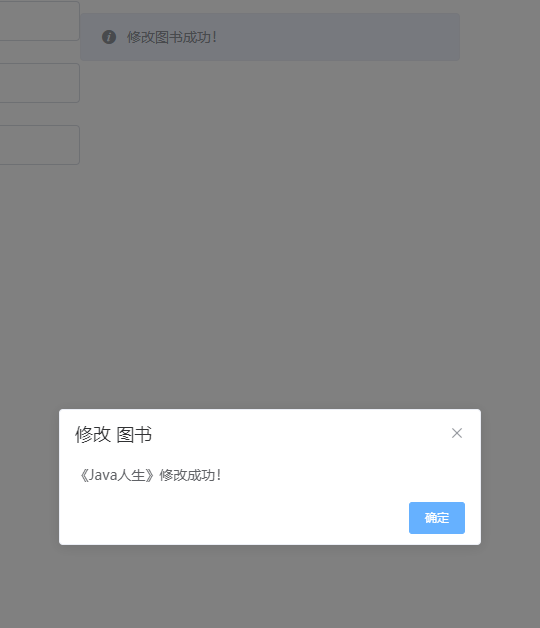
完整的PageOne.vue(即原视频中的BookManager)代码如下: 修改 删除 export default { methods: { editBook(row) { this.$router.push({ path:'/update', query:{ id:row.id } }) // this.$prompt('请输入邮箱', '提示', { // confirmButtonText: '确定', // cancelButtonText: '取消', // inputPattern: /[\w!#$%&'*+/=?^_`{|}~-]+(?:\.[\w!#$%&'*+/=?^_`{|}~-]+)*@(?:[\w](?:[\w-]*[\w])?\.)+[\w](?:[\w-]*[\w])?/, // inputErrorMessage: '邮箱格式不正确' // }).then(({ value }) => { // this.$message({ // type: 'success', // message: '你的邮箱是: ' + value // }); // }).catch(() => { // this.$message({ // type: 'info', // message: '取消输入' // }); // }); }, deleteBook (row){ const _this=this axios.delete('http://localhost:8181/book/deleteById/'+row.id).then(function (resp) { // alert("删除成功") _this.$alert('《'+row.name+'》删除成功!','删除图书',{ confirmButtonText:'确定', callback:action => { //_this.$router.push('/pageOne') window.location.reload() } }) _this.$message('删除图书成功!') }) }, page(currentPage){ const _this=this axios.get('http://localhost:8181/book/findAll/'+currentPage+'/6').then(function (resp) { _this.tableData=resp.data.content _this.total=resp.data.totalElements }) } }, created(){ const _this=this axios.get('http://localhost:8181/book/findAll/1/6').then(function (resp) { _this.tableData=resp.data.content _this.total=resp.data.totalElements }) }, data() { return { total:null, tableData: null } } }该部分其修改的页面是点击到一个新的页面 进行修改 在上述的代码中注释部分是我建议使用的 用模拟框弹出内容实现修改即可。 BookUpdate.vue 修改 重置 { if (valid) { axios.put('http://localhost:8181/book/update',this.ruleForm).then(function (resp) { if (resp.data=='success'){ // alert("添加成功") _this.$alert('《'+_this.ruleForm.name+'》修改成功!','修改 图书',{ confirmButtonText:'确定', callback:action => { _this.$router.push('/pageOne') } }) _this.$message('修改图书成功!') } }) } else { console.log('error submit!!'); return false; } }); }, resetForm(formName) { this.$refs[formName].resetFields(); } }, created() { const _this=this axios.get('http://localhost:8181/book/findById/'+this.$route.query.id).then(function (resp) { _this.ruleForm=resp.data }) } }前端的其他修改部分: index.vue中添加一个页面跳转:
建议使用模拟框 不然可能会出现update页面跳转到一个新的页面 而不是SPA风格了 后端: 写两个接口即可 (进过本次的Vue和Springboot结合 我觉得前端要实现一个功能所需要的功能关键字太细太多了,但是有一个好的是,有模板可以复制粘贴改进)
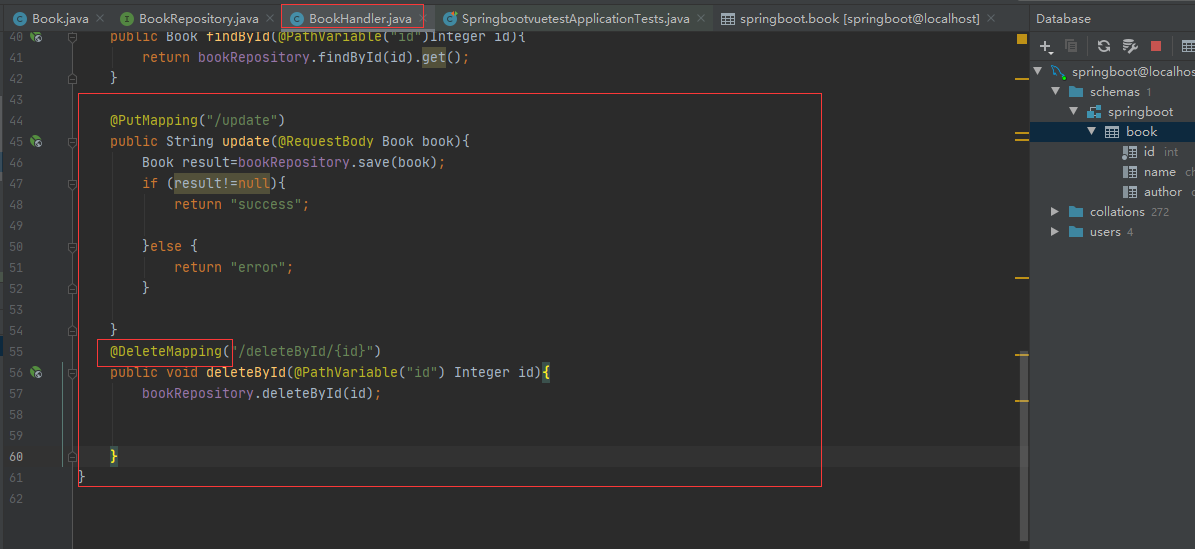
具体代码: @PutMapping("/update") public String update(@RequestBody Book book){ Book result=bookRepository.save(book); if (result!=null){ return "success"; }else { return "error"; } } @DeleteMapping("/deleteById/{id}") public void deleteById(@PathVariable("id") Integer id){ bookRepository.deleteById(id); }实现的效果:
修改:
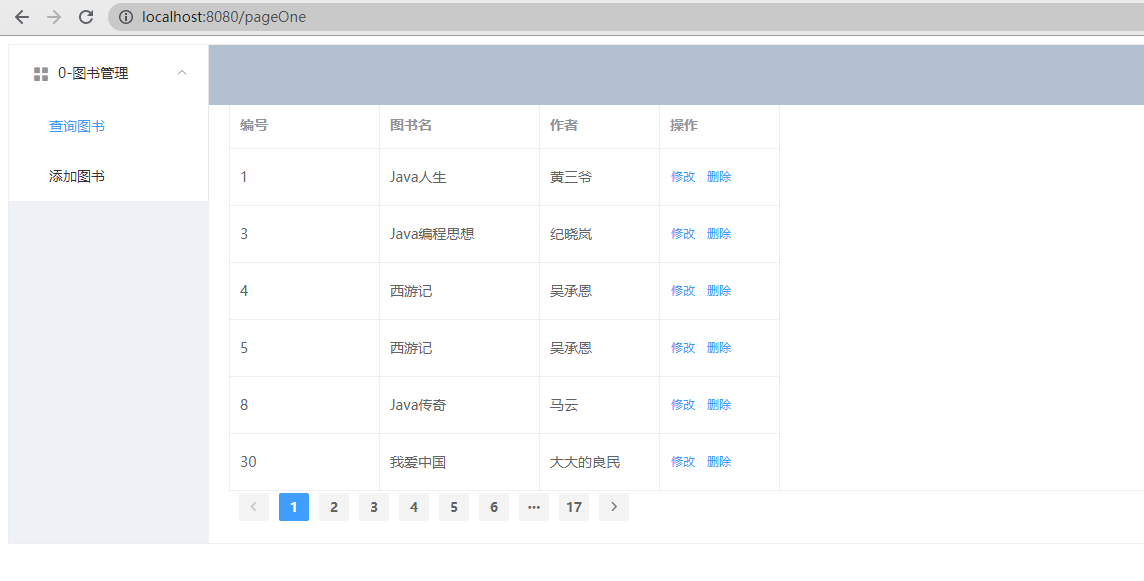
删除:
最后唠叨两句: 这次的学习 是为了更好的适应前后端分离的一次学习,但可能是了解不够细致 或者是以网络专业出身的一种通病,我总觉得利用axios直接进行地址的跳转有些不安全 或许在真正的工作中有新的方式来解决这个问题。 这个视频还是值得很多 或者是大部分的后端从业人员应该一看,多看个一两遍还是有必要的。 这是原作者附上的代码: 源码链接: https://pan.baidu.com/s/1PSiiqtRY_JrrDAZPB5zNNQ 提取码: kmy3
|


【本文地址】