简单版开心消消乐(python实现) |
您所在的位置:网站首页 › 消消乐4386 › 简单版开心消消乐(python实现) |
简单版开心消消乐(python实现)
|
文章目录
一、pycharm 安装1.1 pycharm 下载1.2 pycharm 安装
二、创建 python 项目2.1 创建项目2.2 配置项目环境2.3 编写项目代码
三、撰写代码3.1 读取文件3.2 响应鼠标事件3.2.1 示例 13.2.2 示例 2
3.3 封装成类3.3.1 封装成类3.3.2 继续封装
3.4 消除逻辑
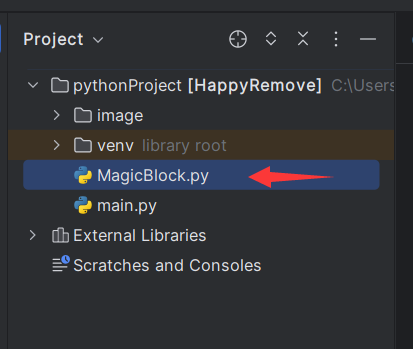
四、完整代码4.1 项目结构4.2 文件代码4.2.1 MagicBlock.py 文件4.2.2 main.py 文件
一、pycharm 安装
1.1 pycharm 下载
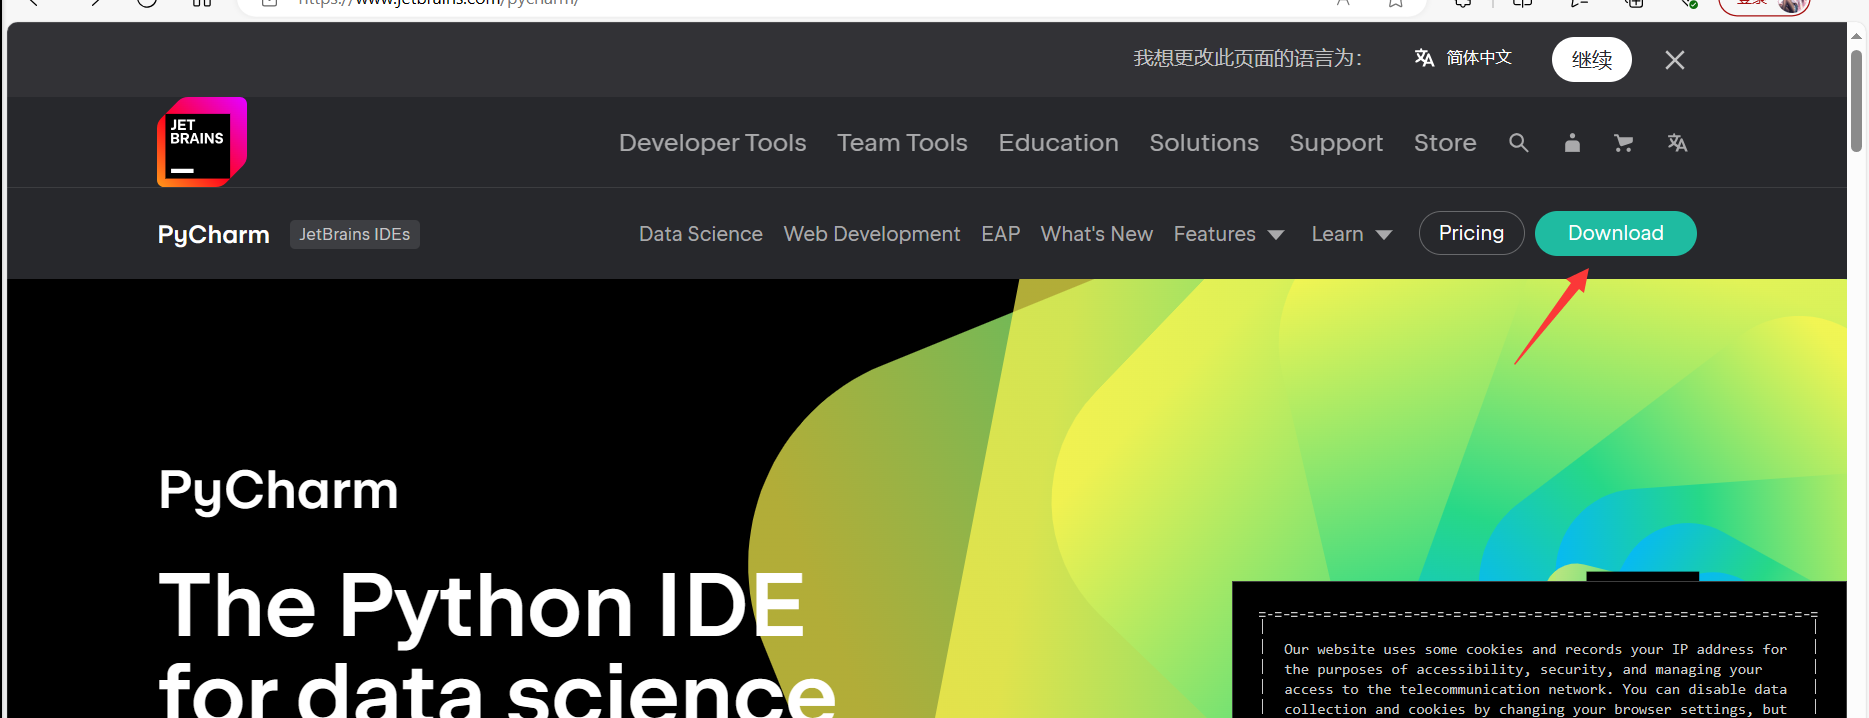
pycharm官网 点击上面官网链接,
点击 Download 按钮
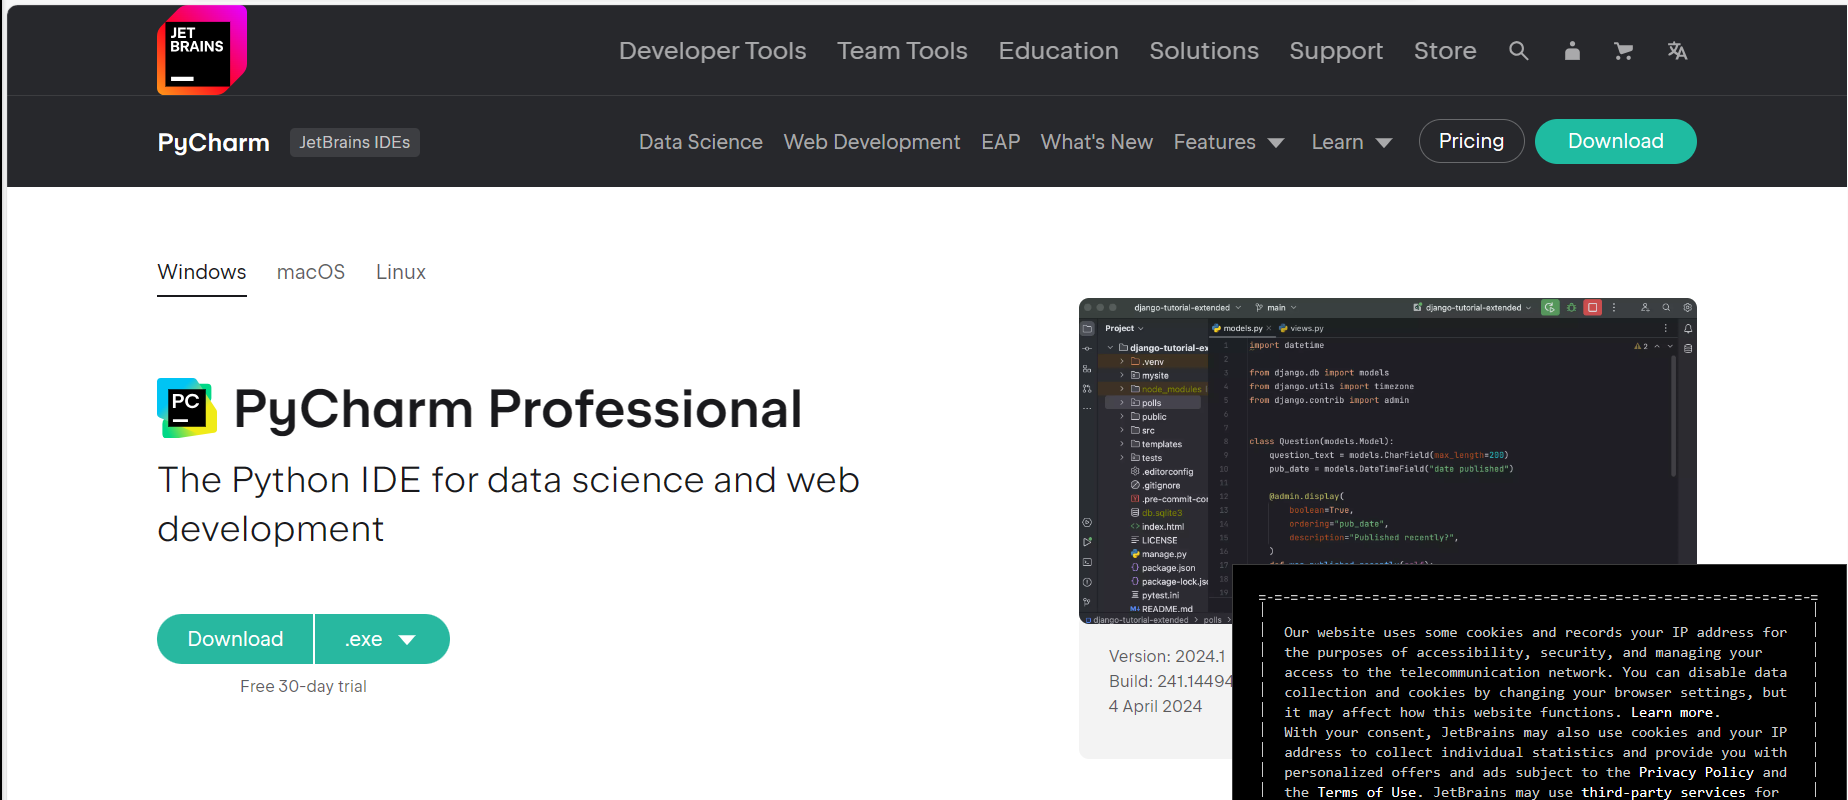
【专业版只有30天试用期,所以我们下载社区版】 鼠标滚轮下滑,找到 PyCharm Community Edition,点击下载
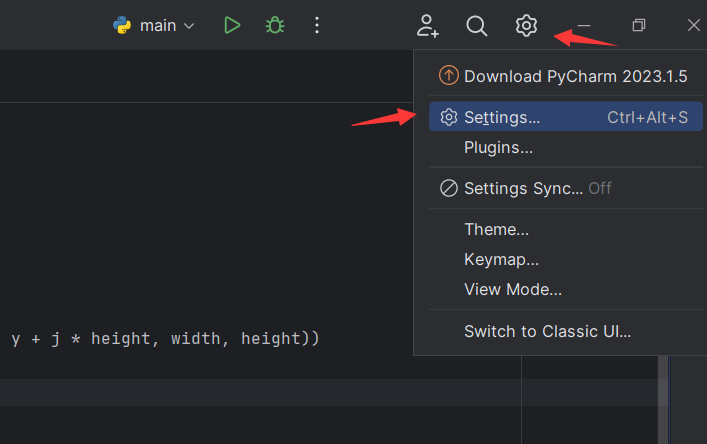
下载完成后则进行安装 1.2 pycharm 安装 二、创建 python 项目 2.1 创建项目 2.2 配置项目环境点击右上角设置
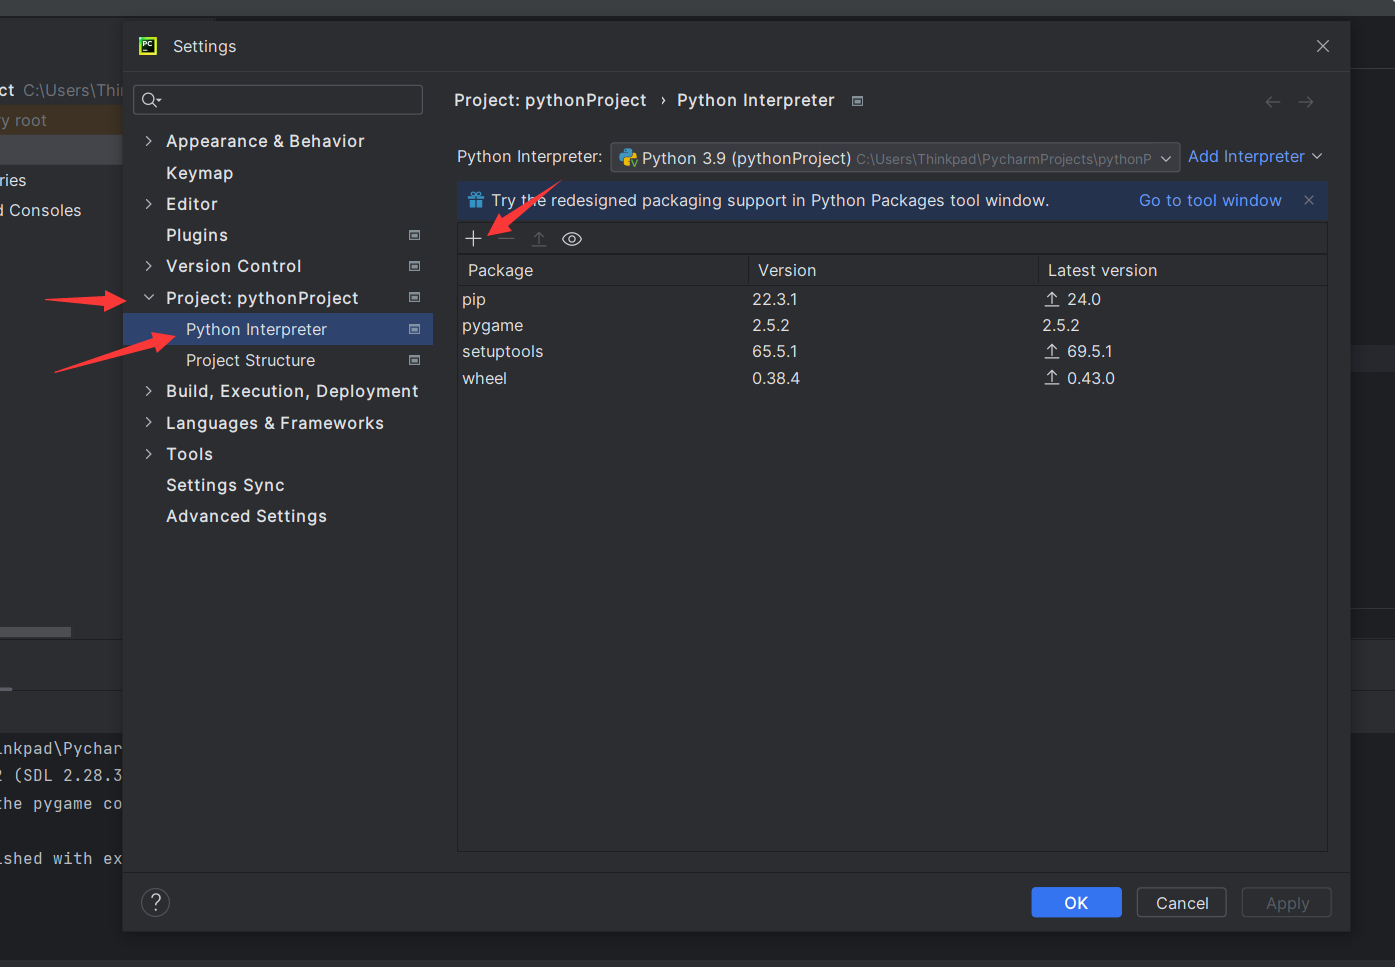
先点击 Project ,再点击 Python Interpreter ,然后点击 + 号
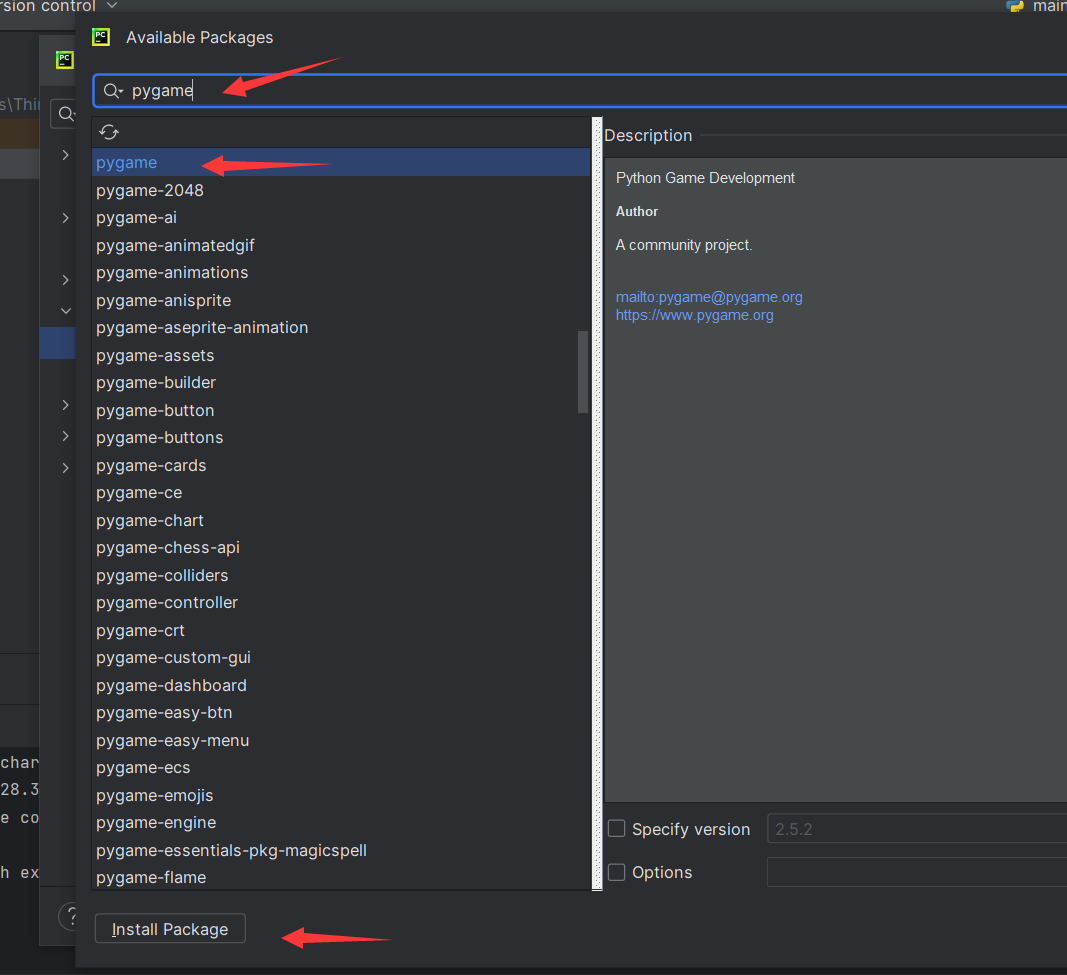
在搜索框输入 pygame ,选择第一个,点击 install Package
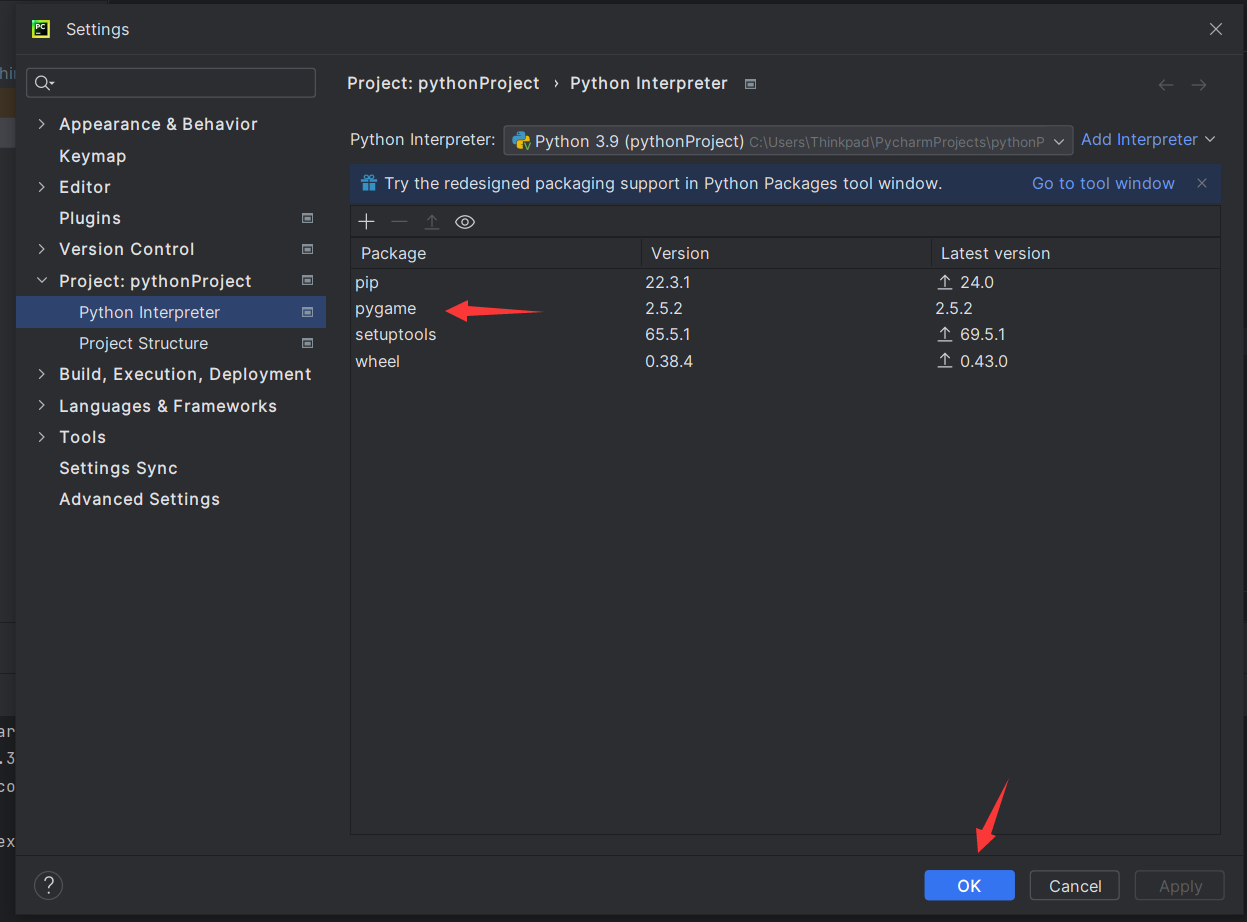
等待安装结束即可,可以发现多了一个 pygame 包,然后点击 ok 即可
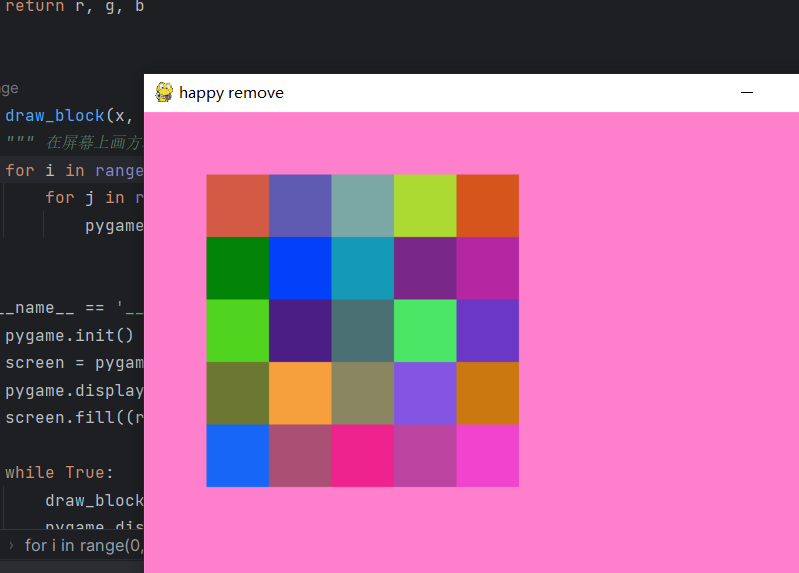
main.py 代码如下: import random import time import pygame import sys SCREEN_WIDTH = 800 SCREEN_HEIGHT = 600 def change_color(): """ 产生随机颜色 """ r = random.randint(0, 255) g = random.randint(0, 255) b = random.randint(0, 255) return r, g, b def draw_block(x, y, row, col, width, height): """ 在屏幕上画方块 """ for i in range(0, row): for j in range(0, col): pygame.draw.rect(screen, change_color(), (x + i * width, y + j * height, width, height)) if __name__ == '__main__': pygame.init() screen = pygame.display.set_mode((SCREEN_HEIGHT, SCREEN_WIDTH)) pygame.display.set_caption("happy remove") screen.fill((random.randint(0, 255), random.randint(0, 255), random.randint(0, 255))) while True: draw_block(50, 50, 5, 5, 50, 50) pygame.display.update() for event in pygame.event.get(): if event.type == pygame.QUIT: sys.exit(0) time.sleep(0.3)运行结果如下:
在项目创建 image 文件夹,图片资源可以在文章顶部下载:
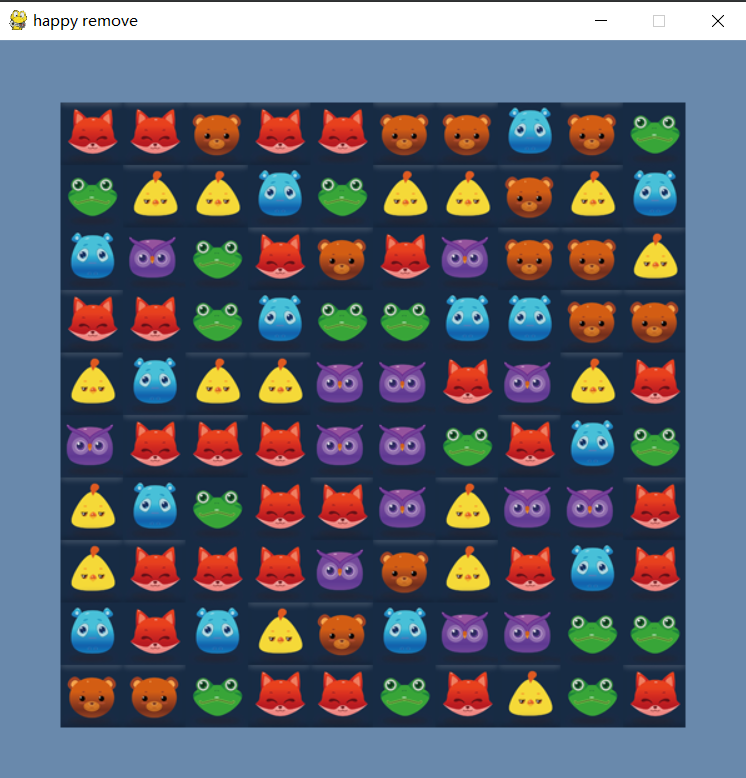
main.py 代码如下: import random import time import pygame import sys import os SCREEN_WIDTH = 800 SCREEN_HEIGHT = 600 def change_color(): """ 产生随机颜色 """ r = random.randint(0, 255) g = random.randint(0, 255) b = random.randint(0, 255) return r, g, b def draw_block(x, y, row, col, width, height): """ 在屏幕上画方块 """ for i in range(0, row): for j in range(0, col): r = random.randint(1, 7) pygame.draw.rect(screen, change_color(), (x + i * width, y + j * height, width, height)) screen.blit(pygame.image.load(os.path.join('./image', ' (' + str(r) + ').png')), (x + i * width, y + j * height)) if __name__ == '__main__': pygame.init() screen = pygame.display.set_mode((SCREEN_HEIGHT, SCREEN_WIDTH)) pygame.display.set_caption("happy remove") screen.fill((random.randint(0, 255), random.randint(0, 255), random.randint(0, 255))) while True: draw_block(50, 50, 10, 10, 50, 50) pygame.display.update() for event in pygame.event.get(): if event.type == pygame.QUIT: sys.exit(0) time.sleep(0.3)运行结果如下:
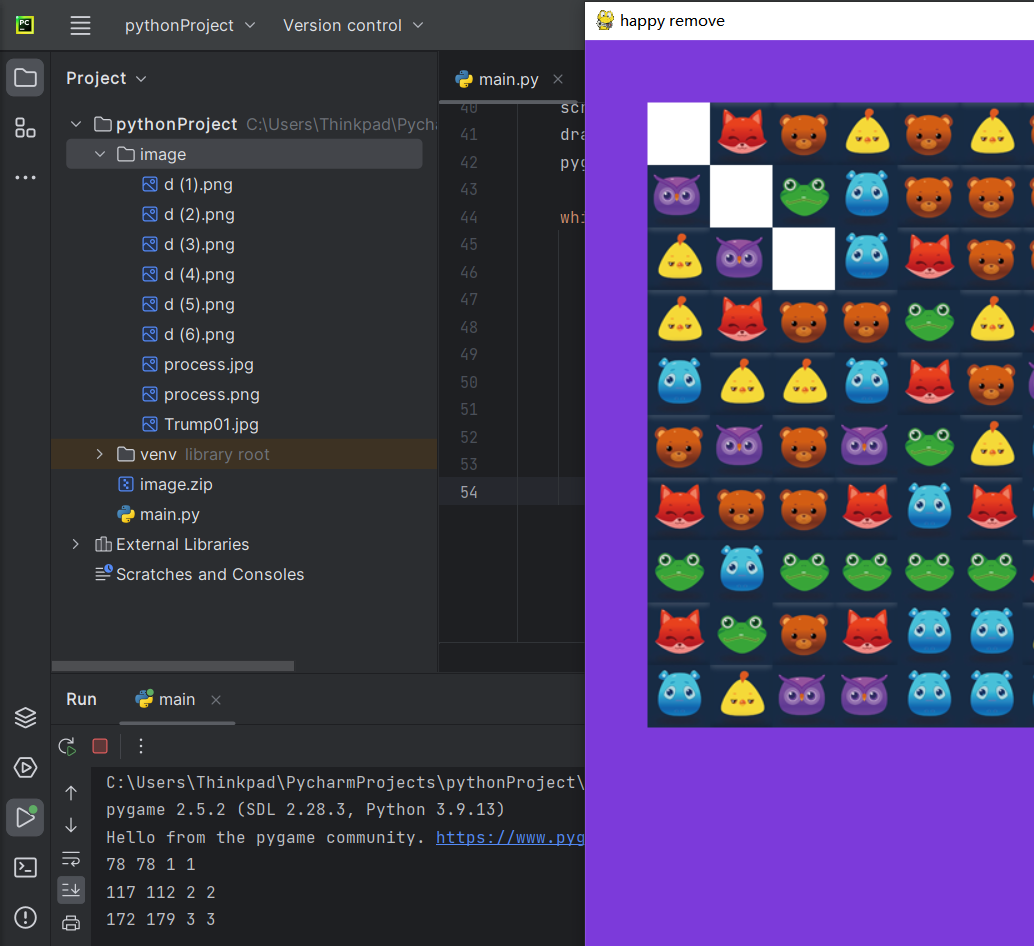
完整 main.py 代码如下: import random import time import pygame import sys import os SCREEN_WIDTH = 800 SCREEN_HEIGHT = 600 DRAW_BLOCK = 111 DRAW_PIC = 222 DRAW_CIRCLE = 333 def change_color(): """ 产生随机颜色 """ r = random.randint(0, 255) g = random.randint(0, 255) b = random.randint(0, 255) return r, g, b def draw_block(x, y, row, col, width, height, type): """ 在屏幕上画方块 """ for i in range(0, row): for j in range(0, col): if type == DRAW_BLOCK: pygame.draw.rect(screen, change_color(), (x + i * width, y + j * height, width, height)) elif type == DRAW_PIC: r = random.randint(1, 7) screen.blit(pygame.image.load(os.path.join('./image', ' (' + str(r) + ').png')), (x + i * width, y + j * height)) else: continue if __name__ == '__main__': pygame.init() screen = pygame.display.set_mode((SCREEN_HEIGHT, SCREEN_WIDTH)) pygame.display.set_caption("happy remove") screen.fill((random.randint(0, 255), random.randint(0, 255), random.randint(0, 255))) while True: draw_block(50, 50, 10, 10, 50, 50, DRAW_PIC) pygame.display.update() for event in pygame.event.get(): if event.type == pygame.QUIT: sys.exit(0) elif event.type == pygame.MOUSEBUTTONDOWN: x, y = event.pos print(x, y, y // 50, x // 50) time.sleep(0.3)运行结果如下: 点击方块时,终端会显示鼠标点击坐标和对应方块的行、列。
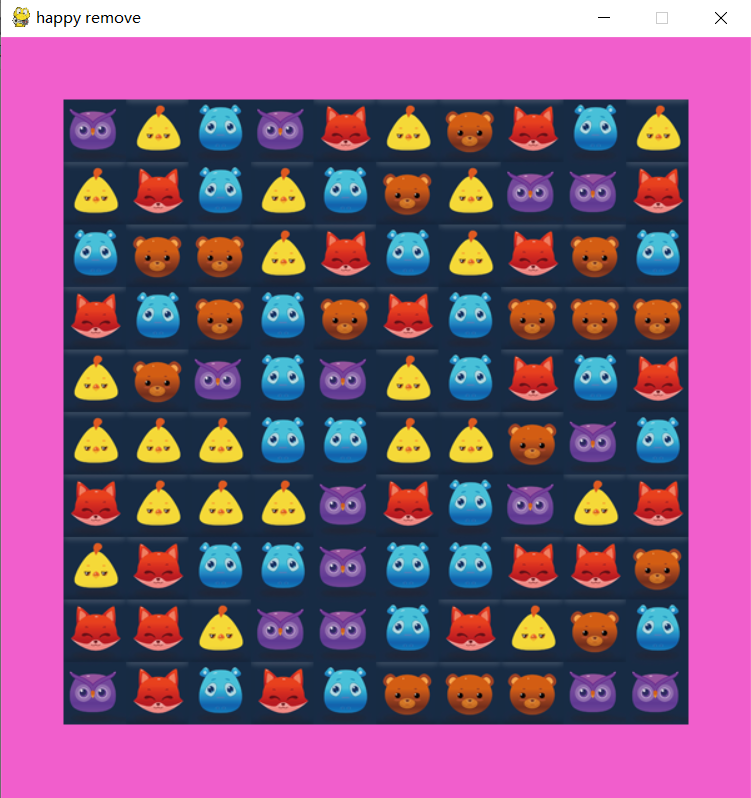
在示例 1 的基础上,点击对应方块,对应方块就消除。 代码如下: import random import time import pygame import sys import os SCREEN_WIDTH = 800 SCREEN_HEIGHT = 600 DRAW_BLOCK = 111 DRAW_PIC = 222 DRAW_CIRCLE = 333 def change_color(): """ 产生随机颜色 """ r = random.randint(0, 255) g = random.randint(0, 255) b = random.randint(0, 255) return r, g, b def draw_block(x, y, row, col, width, height, type): """ 在屏幕上画方块 """ for i in range(0, row): for j in range(0, col): if type == DRAW_BLOCK: pygame.draw.rect(screen, change_color(), (x + i * width, y + j * height, width, height)) elif type == DRAW_PIC: r = random.randint(1, 6) screen.blit(pygame.image.load(os.path.join('./image', 'd (' + str(r) + ').png')), (x + i * width, y + j * height)) else: continue if __name__ == '__main__': pygame.init() screen = pygame.display.set_mode((SCREEN_HEIGHT, SCREEN_WIDTH)) pygame.display.set_caption("happy remove") screen.fill((random.randint(0, 255), random.randint(0, 255), random.randint(0, 255))) draw_block(50, 50, 10, 10, 50, 50, DRAW_PIC) pygame.display.update() while True: for event in pygame.event.get(): if event.type == pygame.QUIT: sys.exit(0) elif event.type == pygame.MOUSEBUTTONDOWN: x, y = event.pos print(x, y, y // 50, x // 50) pygame.draw.rect(screen, (255, 255, 255), (x // 50 * 50, y // 50 * 50, 50, 50)) pygame.display.update() time.sleep(0.3)运行结果如下:
在目录下新建 MagicBlock.py 文件,文件代码如下: import random import pygame TYPE_RECT = 0 TYPE_IMAGE = 1 img_list = list() for i in range(1, 6): img_list.append(pygame.image.load('./image/d (' + str(i) + ').png')) class Block: def __init__(self, left, top): self.screen = None self.left = 50 + left self.top = 50 + top self.type = TYPE_IMAGE self.random_index = random.randint(0, 4) def change_color(self): r = random.randint(0, 255) g = random.randint(0, 255) b = random.randint(0, 255) return r, g, b def draw(self, screen, width, height): position = self.left, self.top, width, height self.screen = screen if self.type == TYPE_RECT: pygame.draw.rect(self.screen, self.change_color(), position) elif self.type == TYPE_IMAGE: screen.blit(img_list[self.random_index], (self.left, self.top))更改 main.py 文件,更改后代码如下: import random import time import pygame import sys import os from MagicBlock import Block SCREEN_WIDTH = 800 SCREEN_HEIGHT = 600 DRAW_BLOCK = 111 DRAW_PIC = 222 DRAW_CIRCLE = 333 if __name__ == '__main__': pygame.init() screen = pygame.display.set_mode((SCREEN_HEIGHT, SCREEN_WIDTH)) pygame.display.set_caption("happy remove") screen.fill((random.randint(0, 255), random.randint(0, 255), random.randint(0, 255))) for i in range(10): for j in range(10): block = Block(50 * i, 50 * j) block.draw(screen, 50, 50) pygame.display.update() while True: for event in pygame.event.get(): if event.type == pygame.QUIT: sys.exit(0) elif event.type == pygame.MOUSEBUTTONDOWN: x, y = event.pos print(x, y, y // 50, x // 50) pygame.draw.rect(screen, (255, 255, 255), (x // 50 * 50, y // 50 * 50, 50, 50)) pygame.display.update() time.sleep(0.3)运行结果如下:
修改 MagicBlock.py 的代码为: import random import pygame TYPE_RECT = 0 TYPE_IMAGE = 1 img_list = list() for i in range(1, 6): img_list.append(pygame.image.load('./image/d (' + str(i) + ').png')) def change_color(): r = random.randint(0, 255) g = random.randint(0, 255) b = random.randint(0, 255) return r, g, b class Block: def __init__(self, screen, block_type): self.screen = screen self.left = 0 self.top = 0 self.type = block_type self.random_index = random.randint(0, 4) def draw(self, screen, width, height): position = self.left, self.top, width, height self.screen = screen if self.type == TYPE_RECT: pygame.draw.rect(self.screen, change_color(), position) elif self.type == TYPE_IMAGE: screen.blit(img_list[self.random_index], (self.left, self.top)) def mouse_clicked(self): pygame.draw.rect(self.screen, change_color(), (self.left, self.top, 50, 50)) pygame.display.update() class MagicBlock: def __init__(self, start_x, start_y, row, col, screen, block_width, block_height, block_type): self.start_x = start_x self.start_y = start_y self.row = row self.col = col self.screen = screen self.block_width = block_width self.block_height = block_height self.type = block_type self.blocks = [[0] * self.col for _ in range(row)] self.init_blocks() def init_blocks(self): for r in range(self.row): for j in range(self.col): self.blocks[r][j] = Block(self.screen, self.type) self.blocks[r][j].left = self.start_x + r * self.block_width self.blocks[r][j].top = self.start_y + j * self.block_height def draw(self): for r in range(self.row): for j in range(self.col): self.blocks[r][j].draw(self.screen, self.block_width, self.block_height) def mouse_clicked(self, x, y): if 0 |
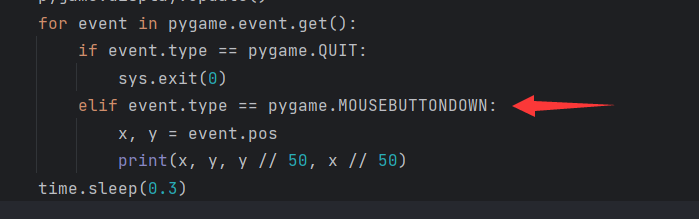 可以从 pygame 的 event 变量的 type 属性来确定事件类型,而 pygame 的 MOUSEBUTTONDOWN 常量则表示鼠标点击事件。
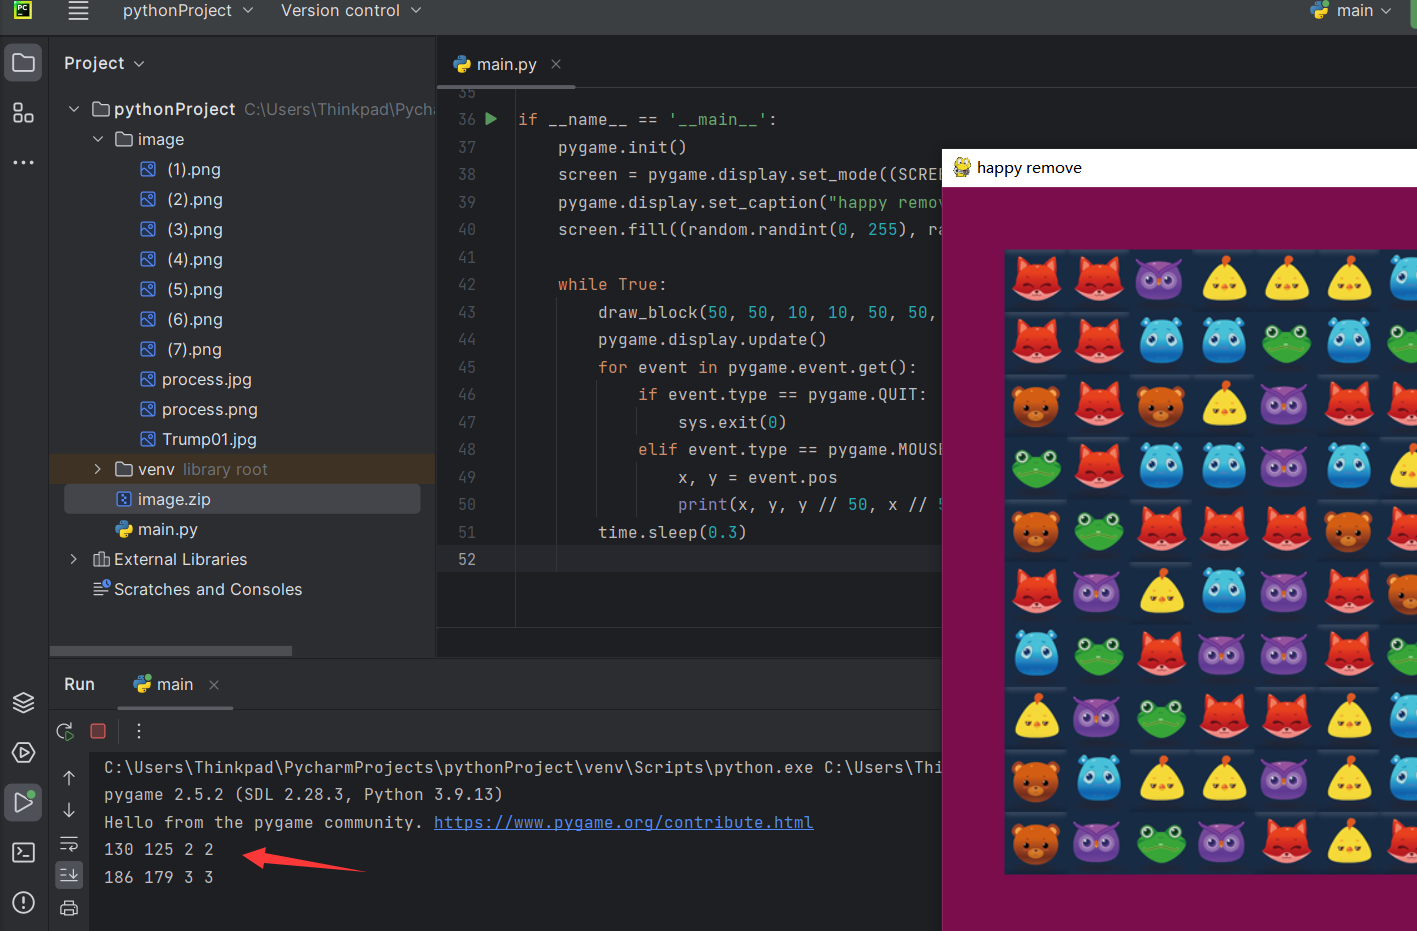
【本文地址】
今日新闻 |
推荐新闻 |