labelImg的安装及其使用注意事项 |
您所在的位置:网站首页 › 显卡怎么降版本 › labelImg的安装及其使用注意事项 |
labelImg的安装及其使用注意事项
|
一、安装labelImg
在低版本python的安装方法
1. 新建及激活进去虚拟环境
conda create --name=labelImg python=3.9
conda activate labelImg
注释:新建的虚拟环境的python版本不能超过3.9版本 2.安装相应的包 pip install pyqt5 pip install labelImg 3.使用labelImg直接在终端里输入labelImg 在高版本python的安装方法例如在python3.11 1.安装相应的包 pip install pyqt5 pip install labelImg 2.修改文件直接使用labelImg,会出现以下错误 直接在终端里输入labelImg labelImg的使用方法及其注意事项LabelImg是一个图形图像注释工具。 它是用Python编写的,并使用Qt作为其图形界面。 注释以PASCAL VOC格式保存为XML文件,这是ImageNet使用的格式。此外,它还支持YOLO格式和 CreateML 格式 步骤 (PascalVOC) 使用上述说明构建和启动。单击菜单/文件中的“更改默认保存的注释文件夹”点击“打开目录”单击“创建矩形框”单击并释放鼠标左键选择一个区域来注释矩形框您可以使用鼠标右键拖动矩形框来复制或移动它注释将保存到您指定的文件夹中。 如果需要加载标签txt文件,需要切换到标注的图片路径下 如果出现以下错误,说明打的标签名字不在标签txt文件里面 File "/home/**/anaconda3/envs/labelImg/lib/python3.9/site-packages/libs/yolo_io.py", line 125, in yolo_line_to_shape label = self.classes[int(class_index)] IndexError: list index out of range参考链接 labelimg 打框就闪退 TypeError: setValue(self, int): argument 1 has unexpected type ‘float‘ labelimg篇—标注加载标签 |
 原因:python版本不匹配Base环境python版本为3.11,而labelImg需要的python版本为3.9.否则需要修改canvas.py文件。
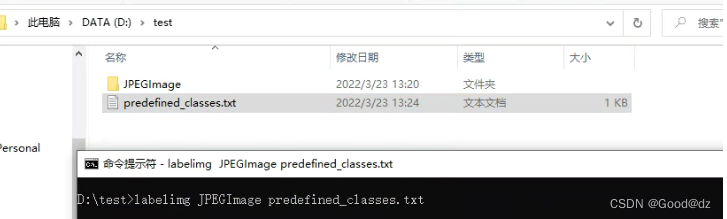 注:JPEGImage是图片文件夹,predefined_classes.txt是标签 按照以下这种方式来启动labelImg
【本文地址】
今日新闻 |
推荐新闻 |