Graphviz安装向导及入门指南 |
您所在的位置:网站首页 › 怎么在python安装graphviz › Graphviz安装向导及入门指南 |
Graphviz安装向导及入门指南
|
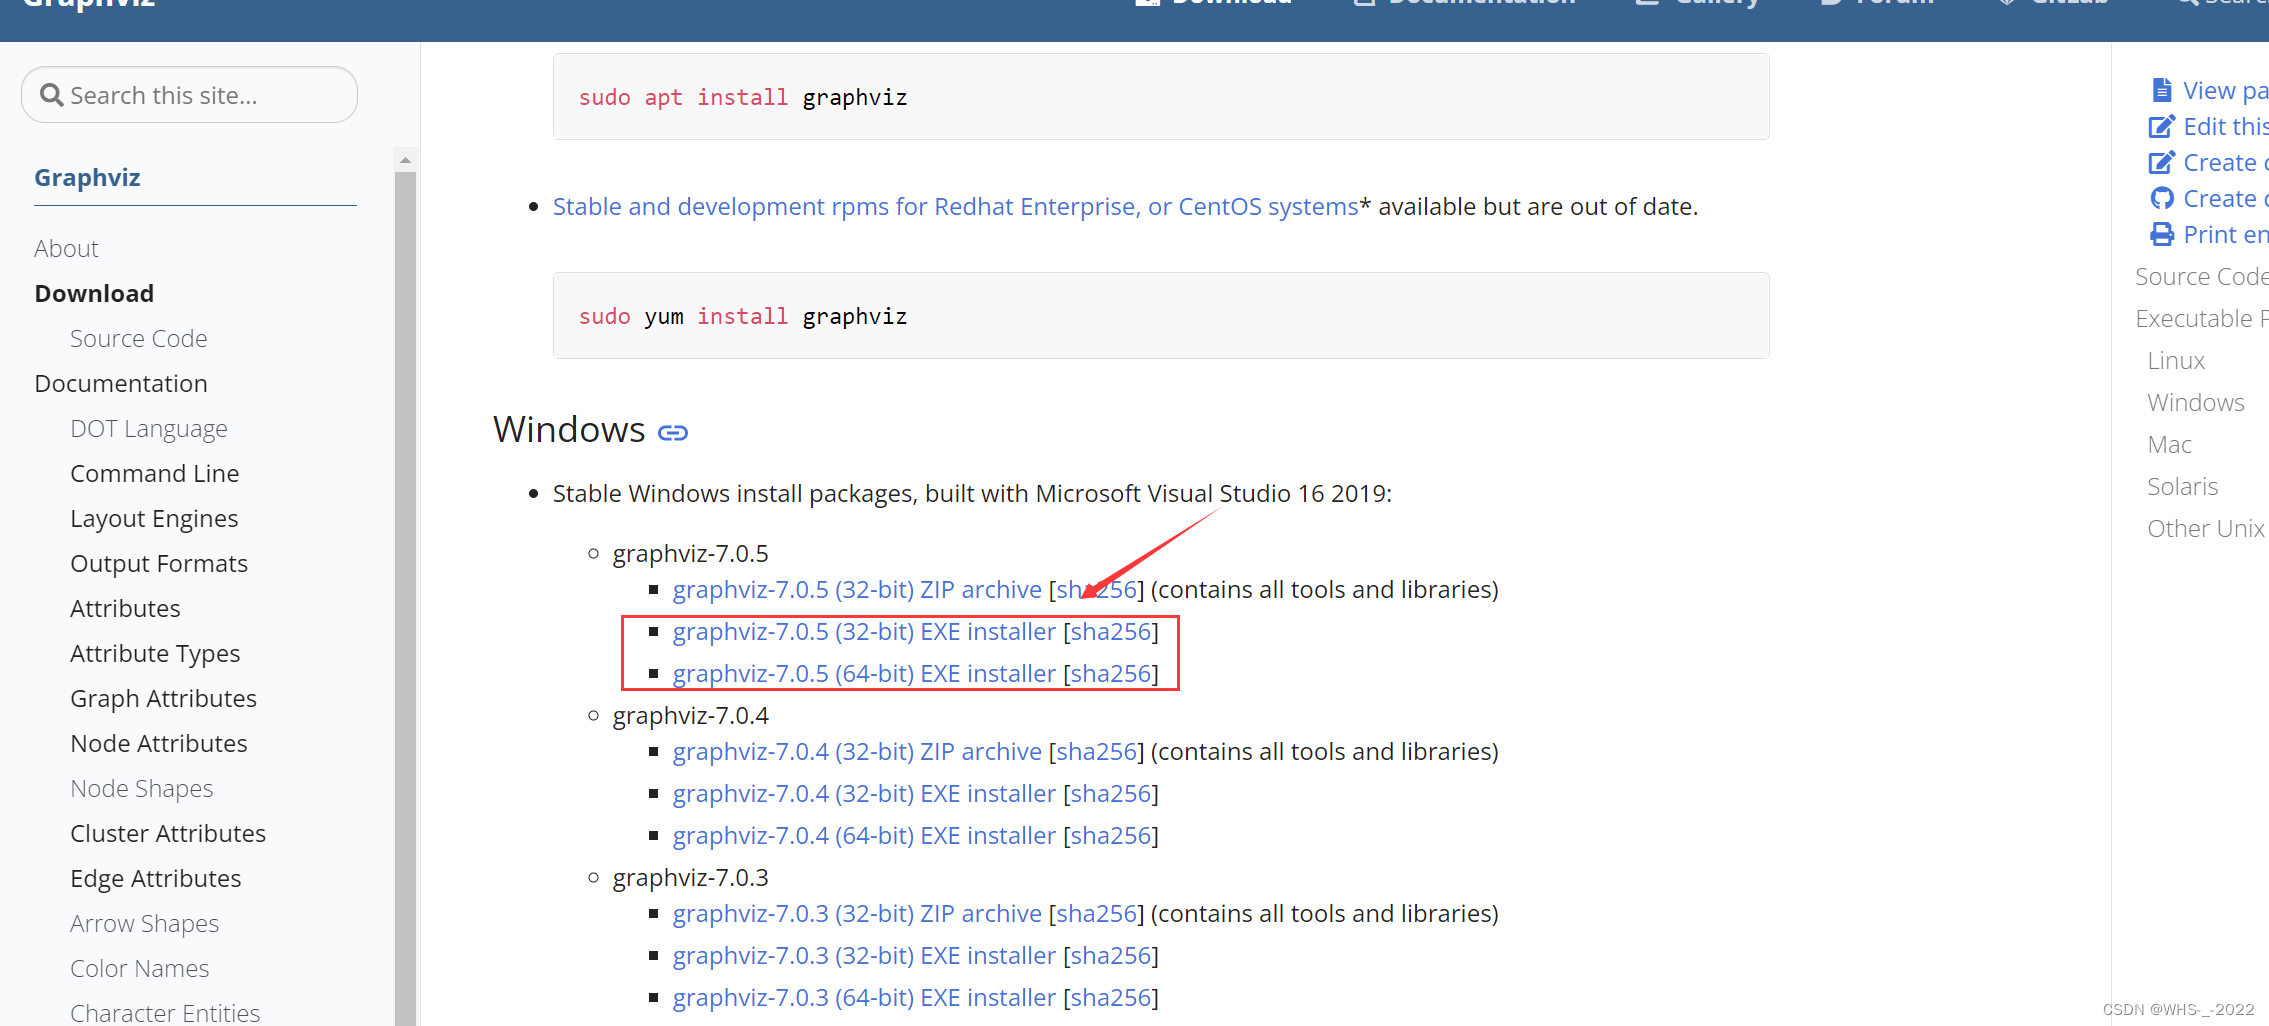
目录 1、首先在官网下载graphviz 2、安装。 3、测试并在Windows命令行中使用 4、在Python中使用 5、在自带的gvedit.exe 程序中使用 6、在语雀中使用 7、绘制一棵简单的二叉树 8、详细语法介绍 8.1 带标签 8.2 修改方框颜色和形状 8.3子视图 8.4 结构视图 8.5 继承关系 1、首先在官网下载graphviz下载网址:Download | Graphviz 根据自身电脑位数选择合适的下载地址
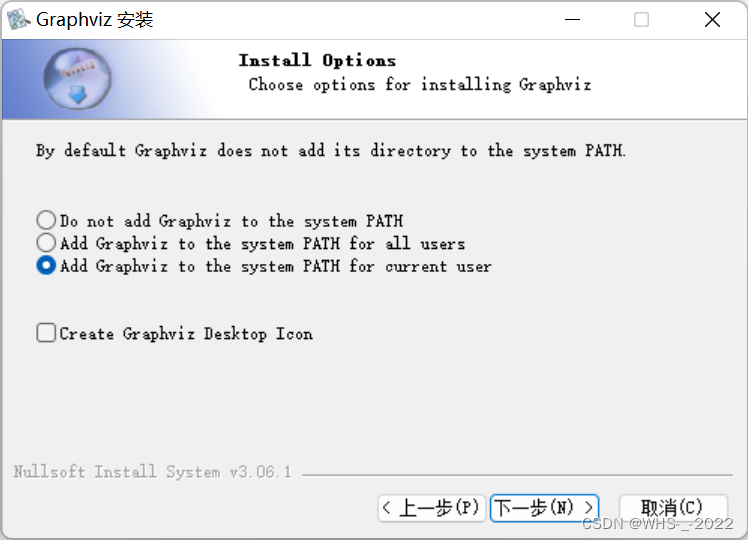
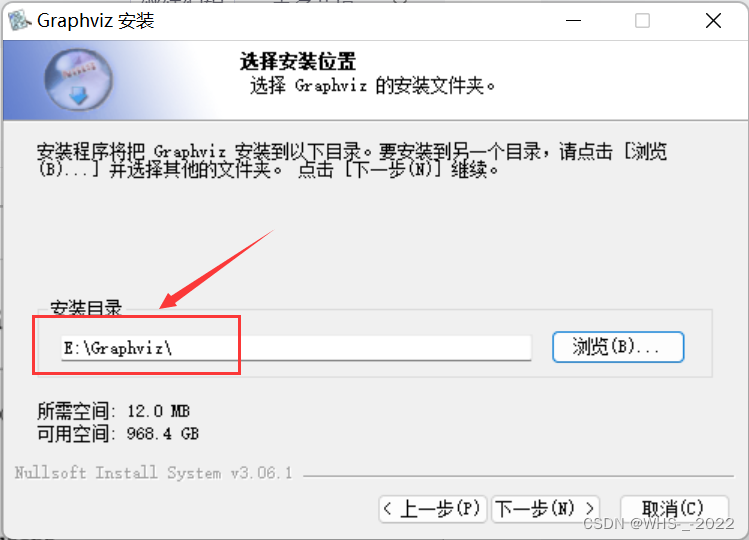
打开第一步已经下载好的软件。点击下一步,在安装路径选择时可将安装路径修改为 E:\Graphviz 注意必须要将Graphviz添加到系统PATH中
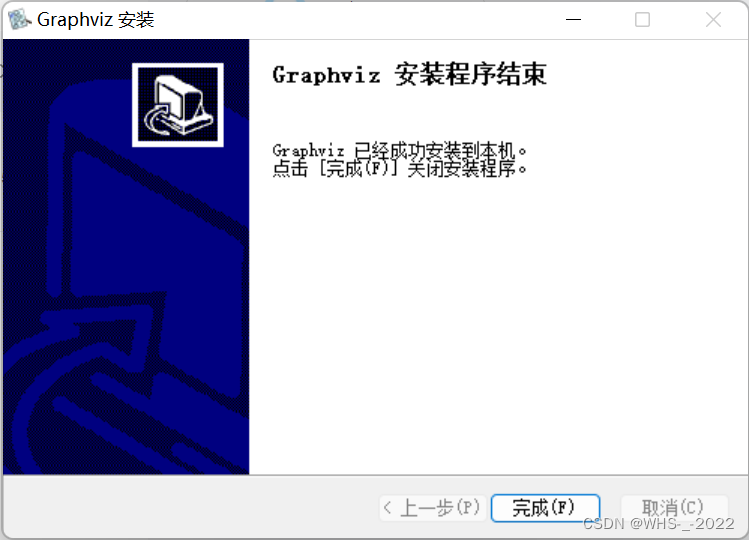
选择好安装目录后,点击下一步,即可安装成功
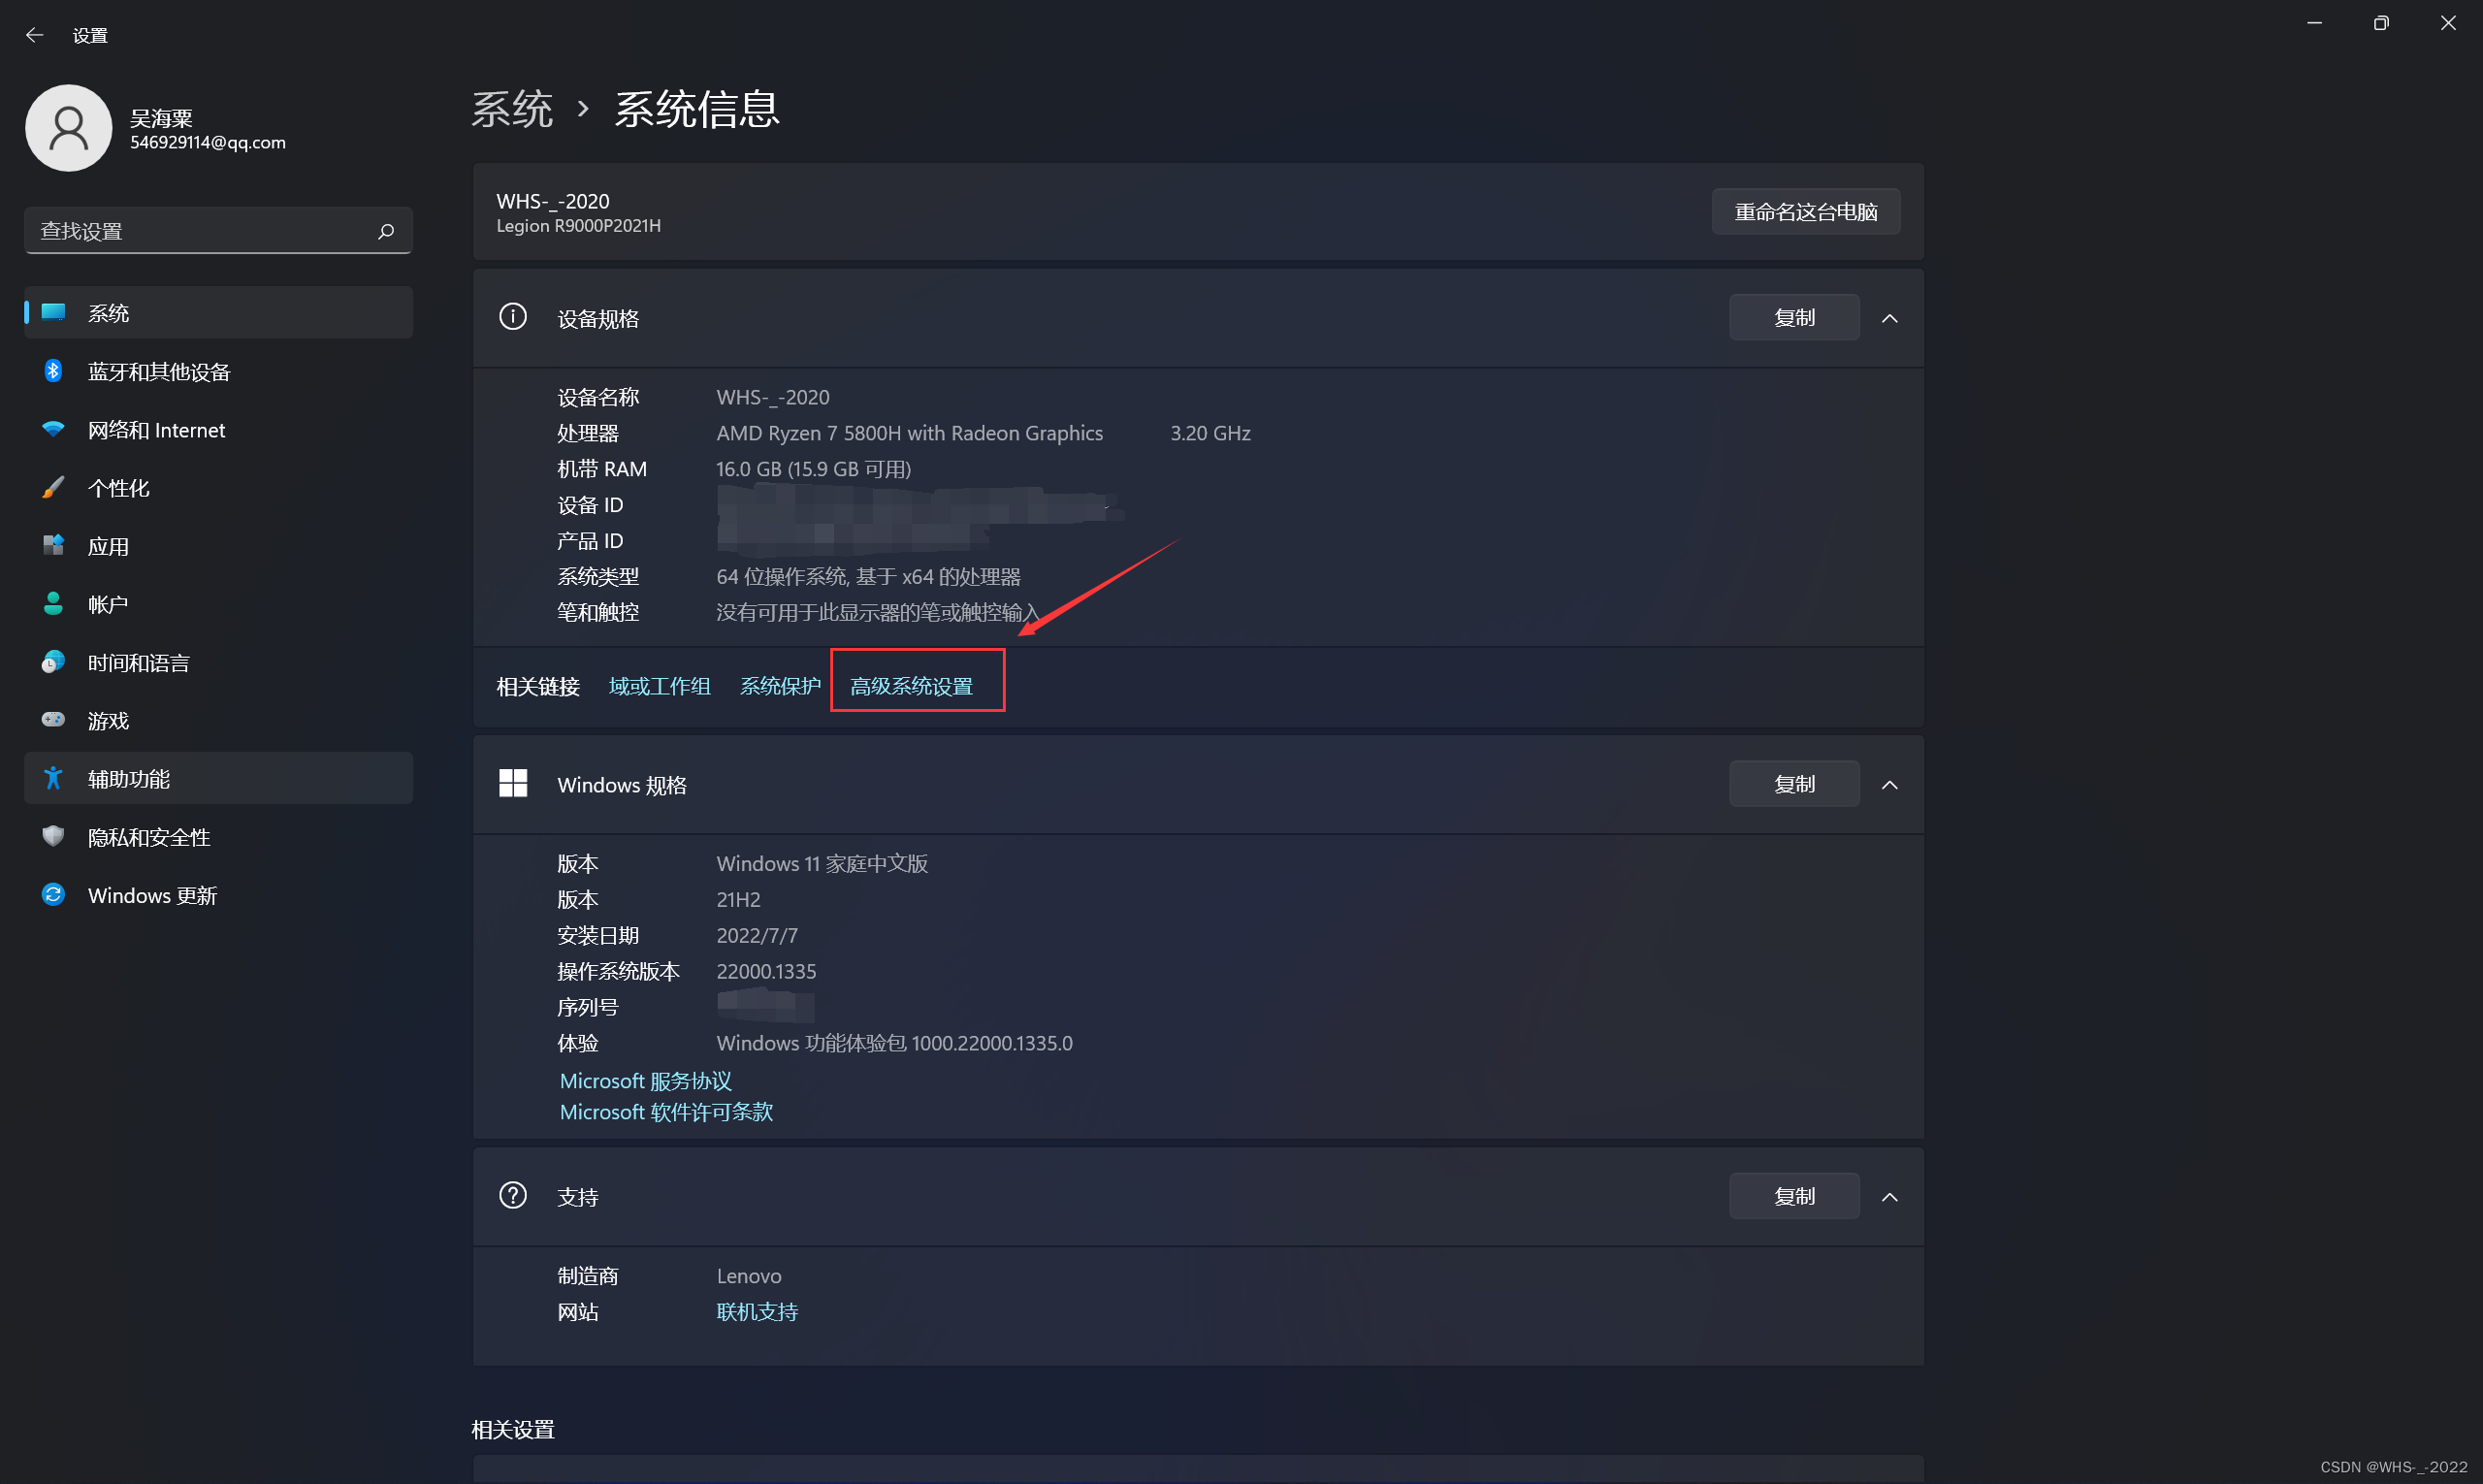
验证PATH有没有正确添加到系统中
可以看到bin文件夹已经添加到环境变量中
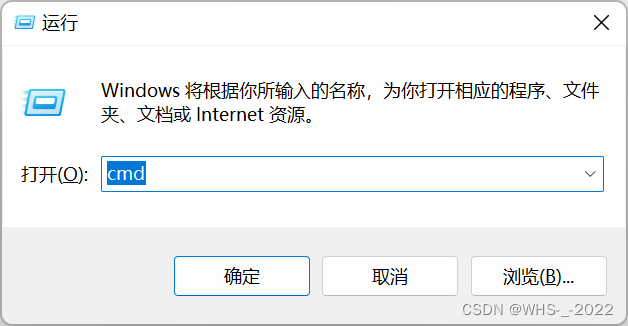
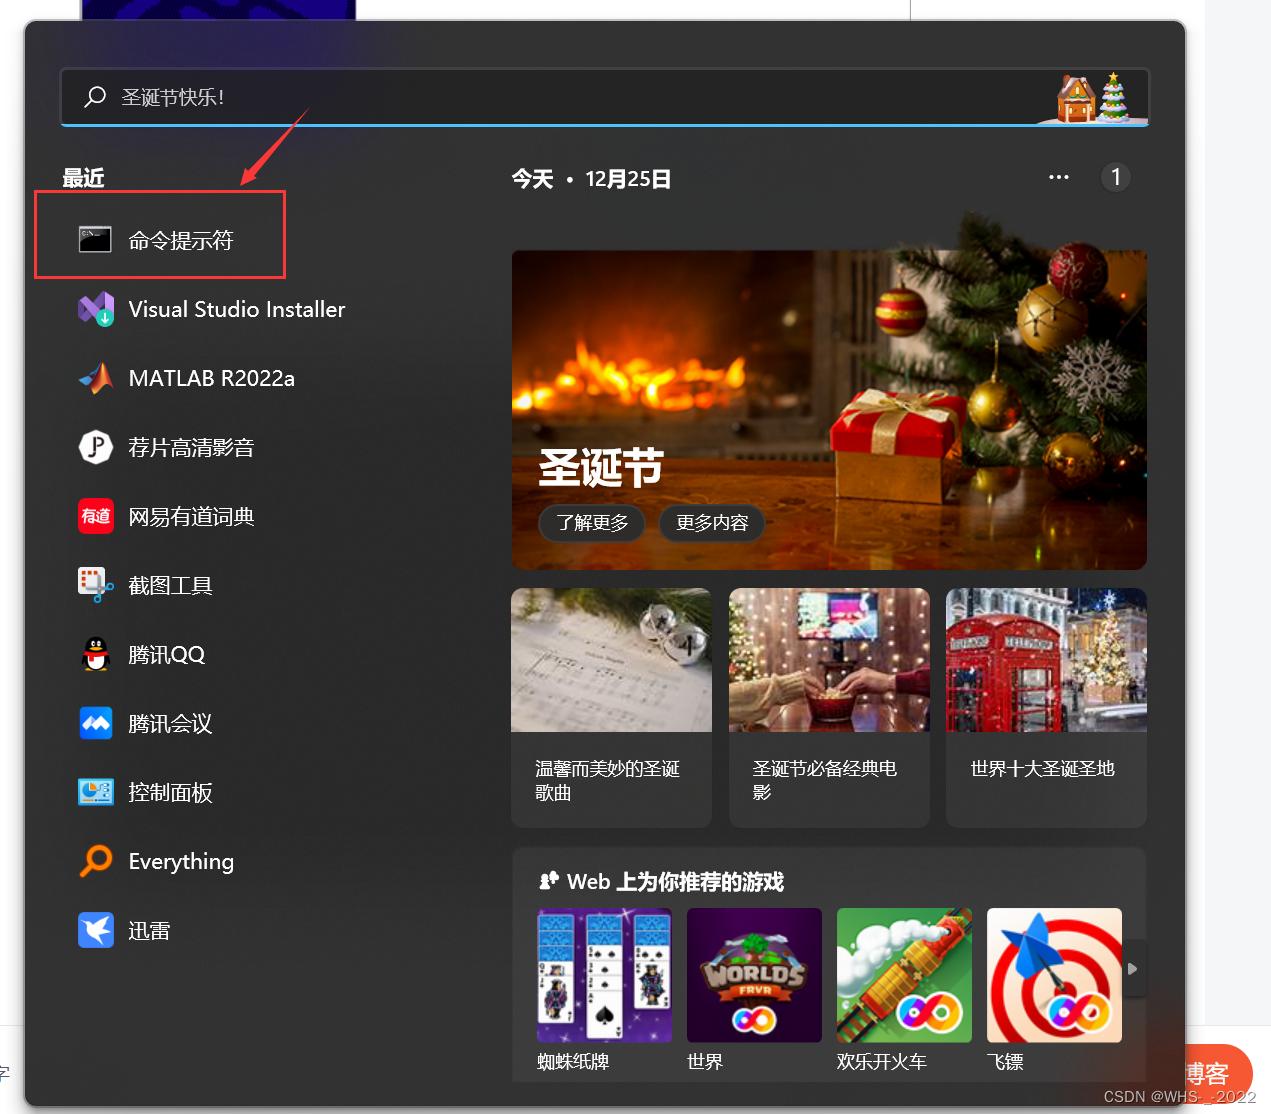
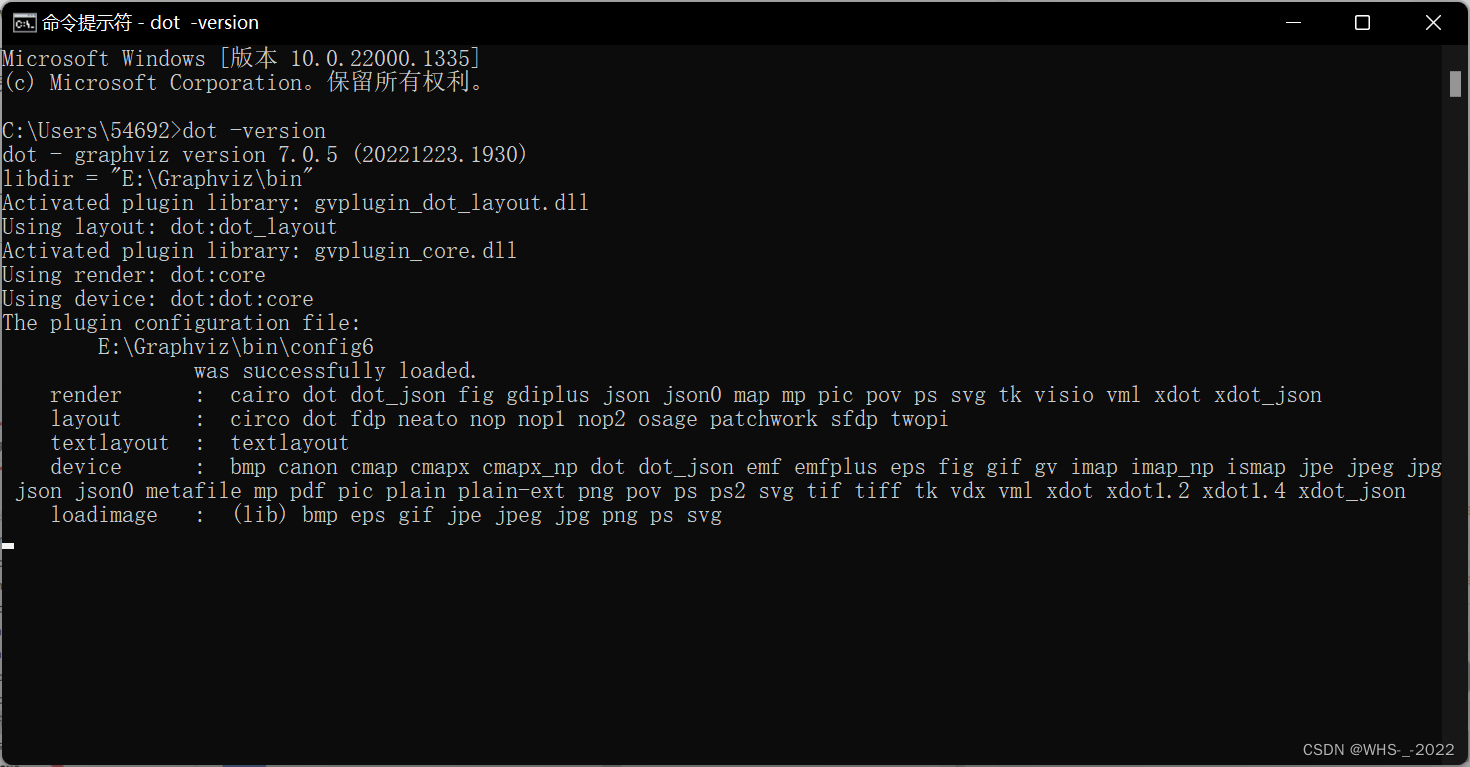
测试是否安装成功,Win+R 或者在搜索栏打开命令提示符窗口 输入 dot -version (注意dot后面后一个空格)。成功出现如下信息表示注册成功。若出现dot不是内部或外部命令,则表示安装失败。
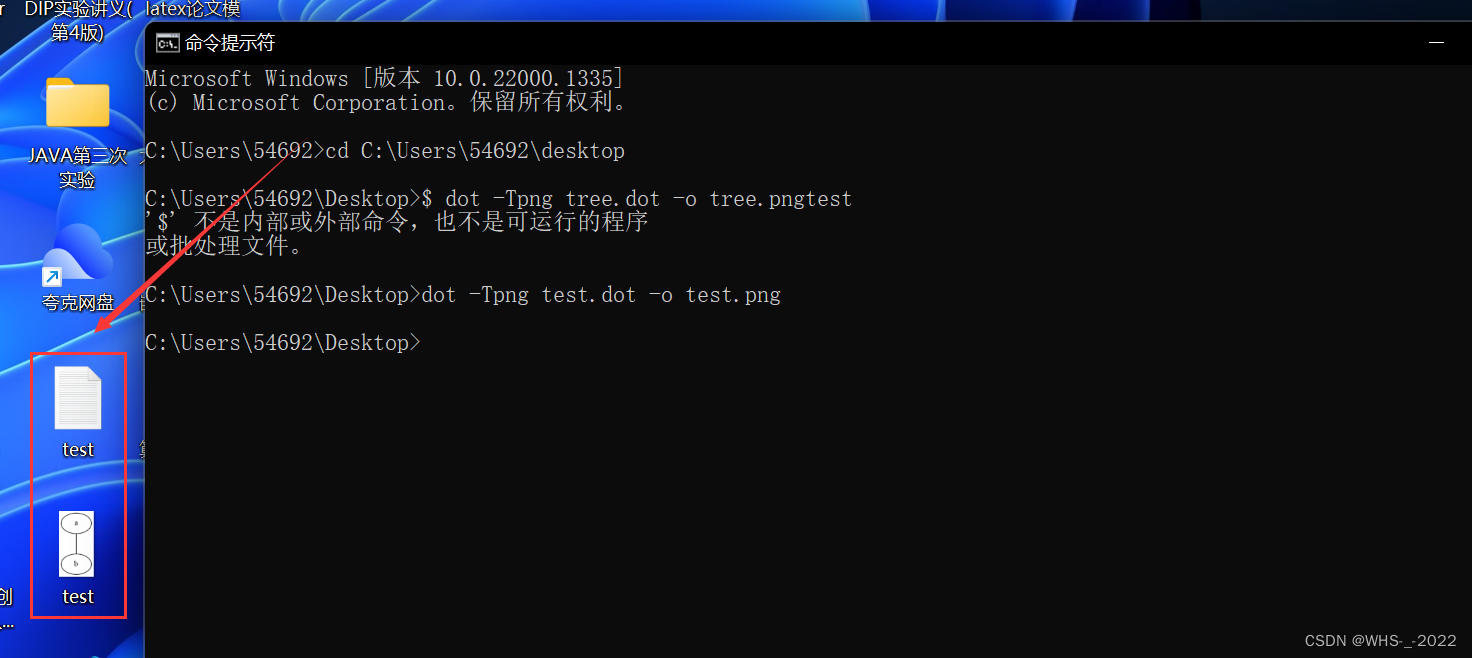
在桌面上保存一个test.dot文件,在命令行中调用如下的命令 dot -Tpng test.dot -o test.png
我们可以发现桌面上果然出现了我们想要的test.png文件
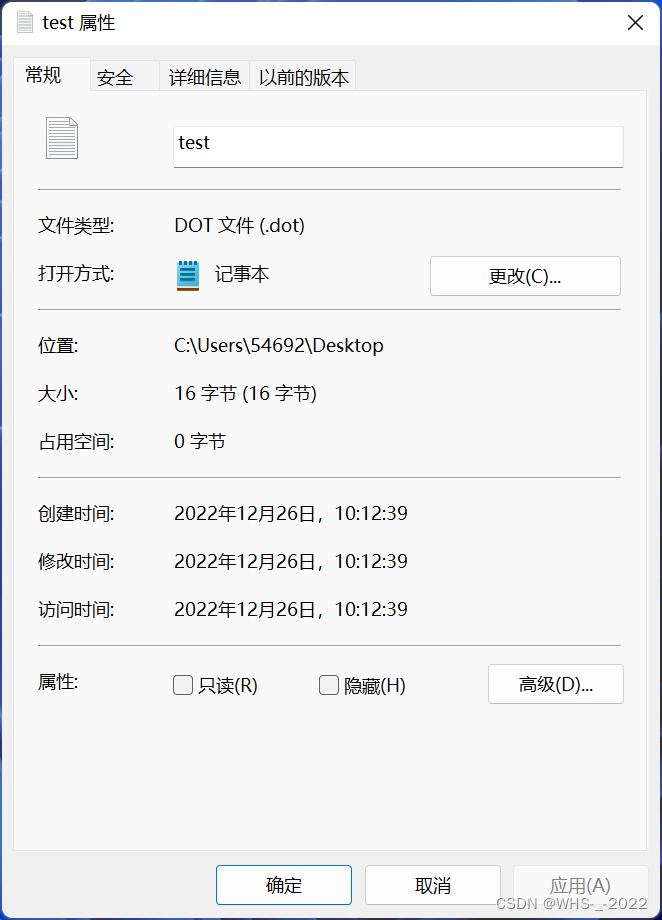
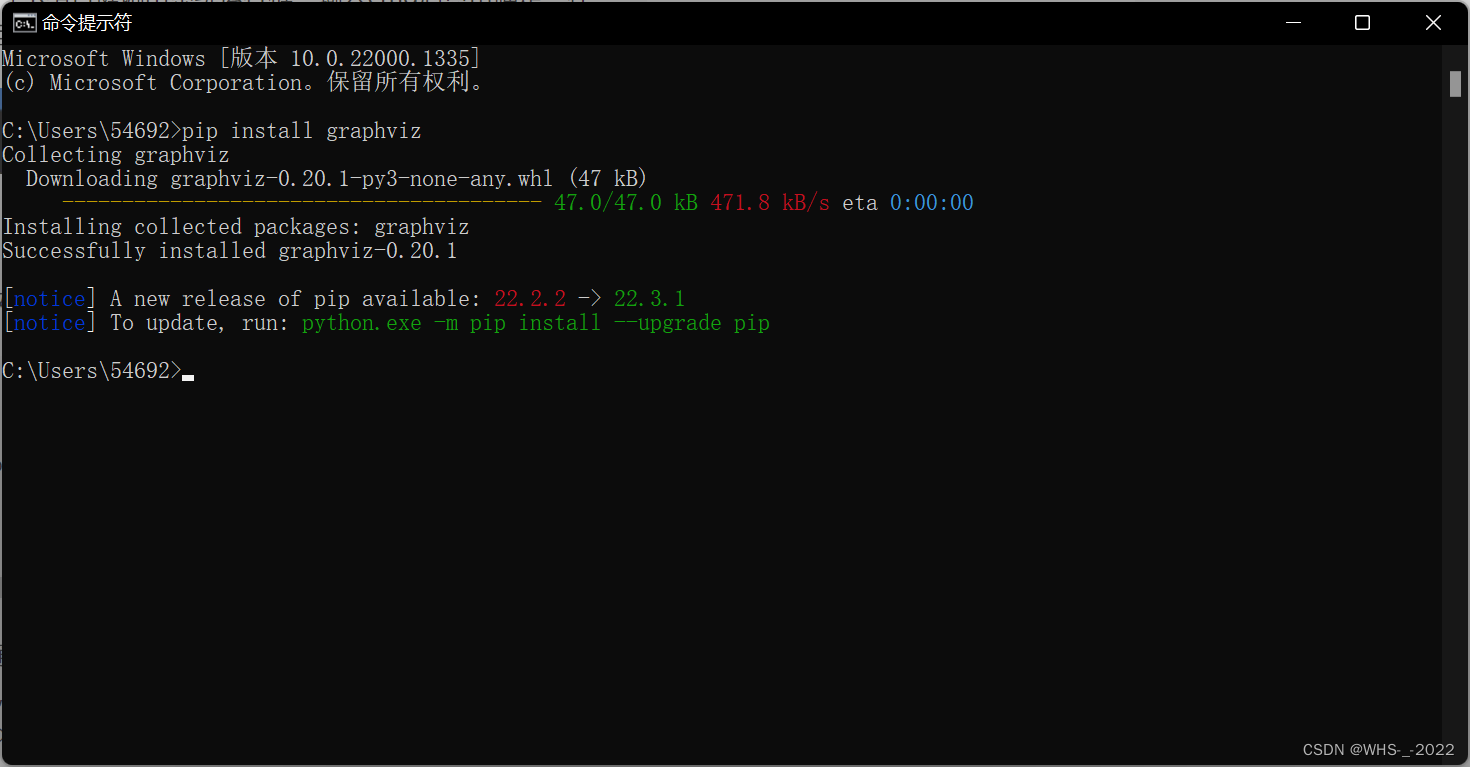
打开test的属性,我们可以看到文件类型是DOT文件,我们可以用Windows自带的文本编辑器打开,但是必须要另存为DOT文件。否则会出现错误 dot: can't open test.dot 4、在Python中使用在命令行输入如下指令 pip install graphviz
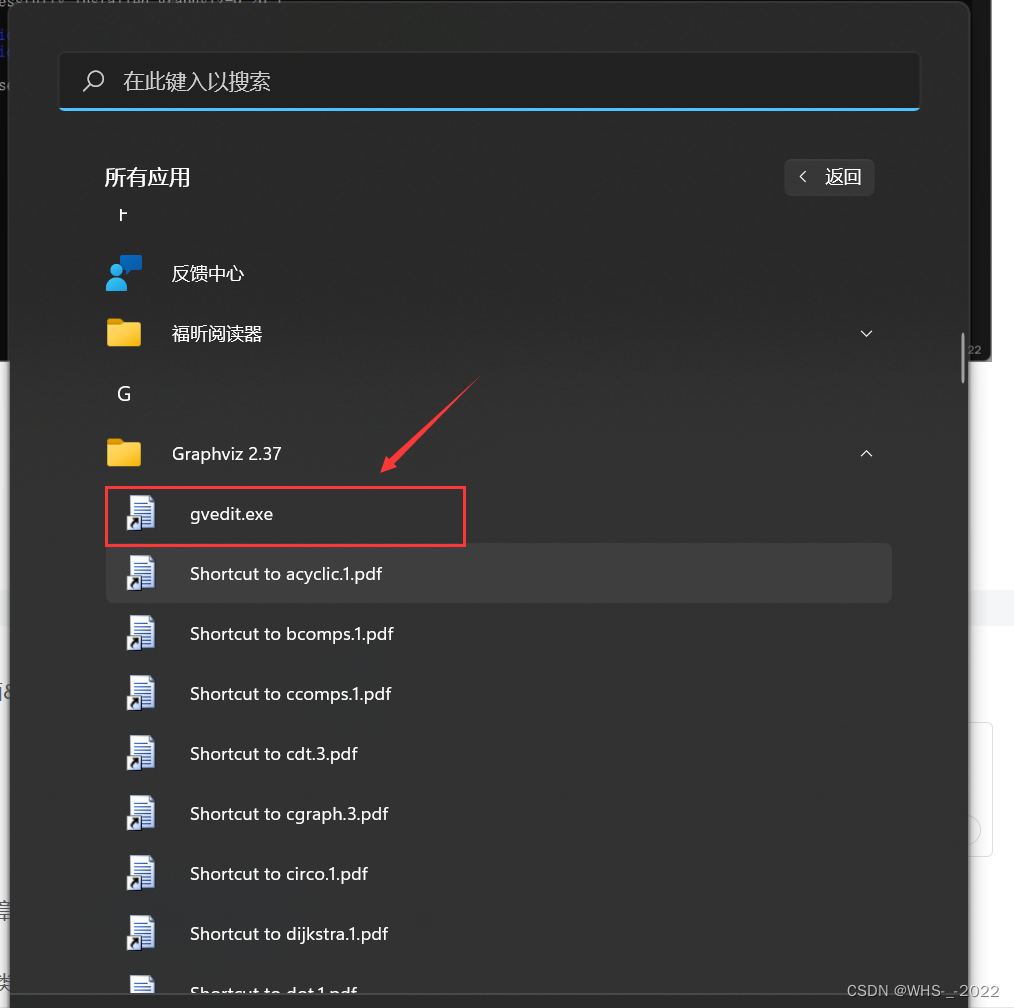
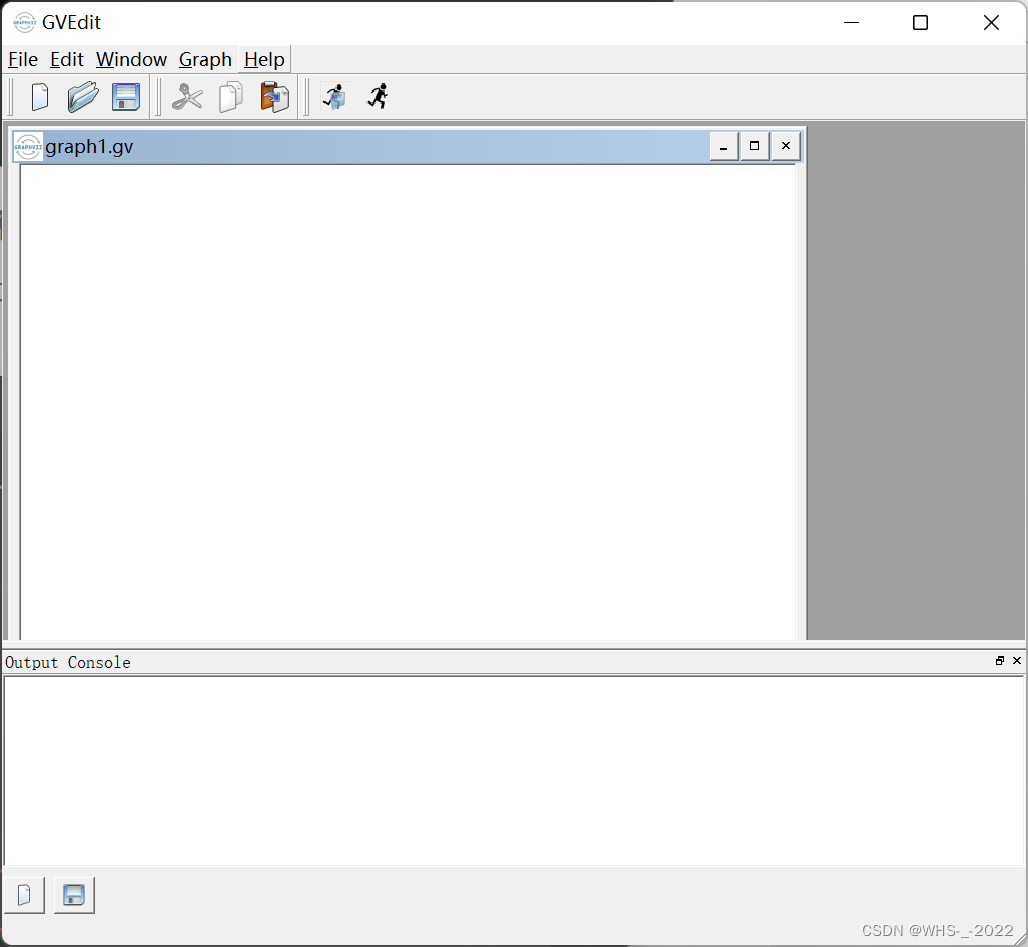
在Windows的所有程序里G开头的文件夹中,点击打开gvedit.exe。这个程序是随着程序一起安装到电脑中的。注意程序要下载msi资源。 graphviz-2.37.20140115.zip_graphviz-HTML5文档类资源-CSDN下载 双击会跳出如下图所示的界面
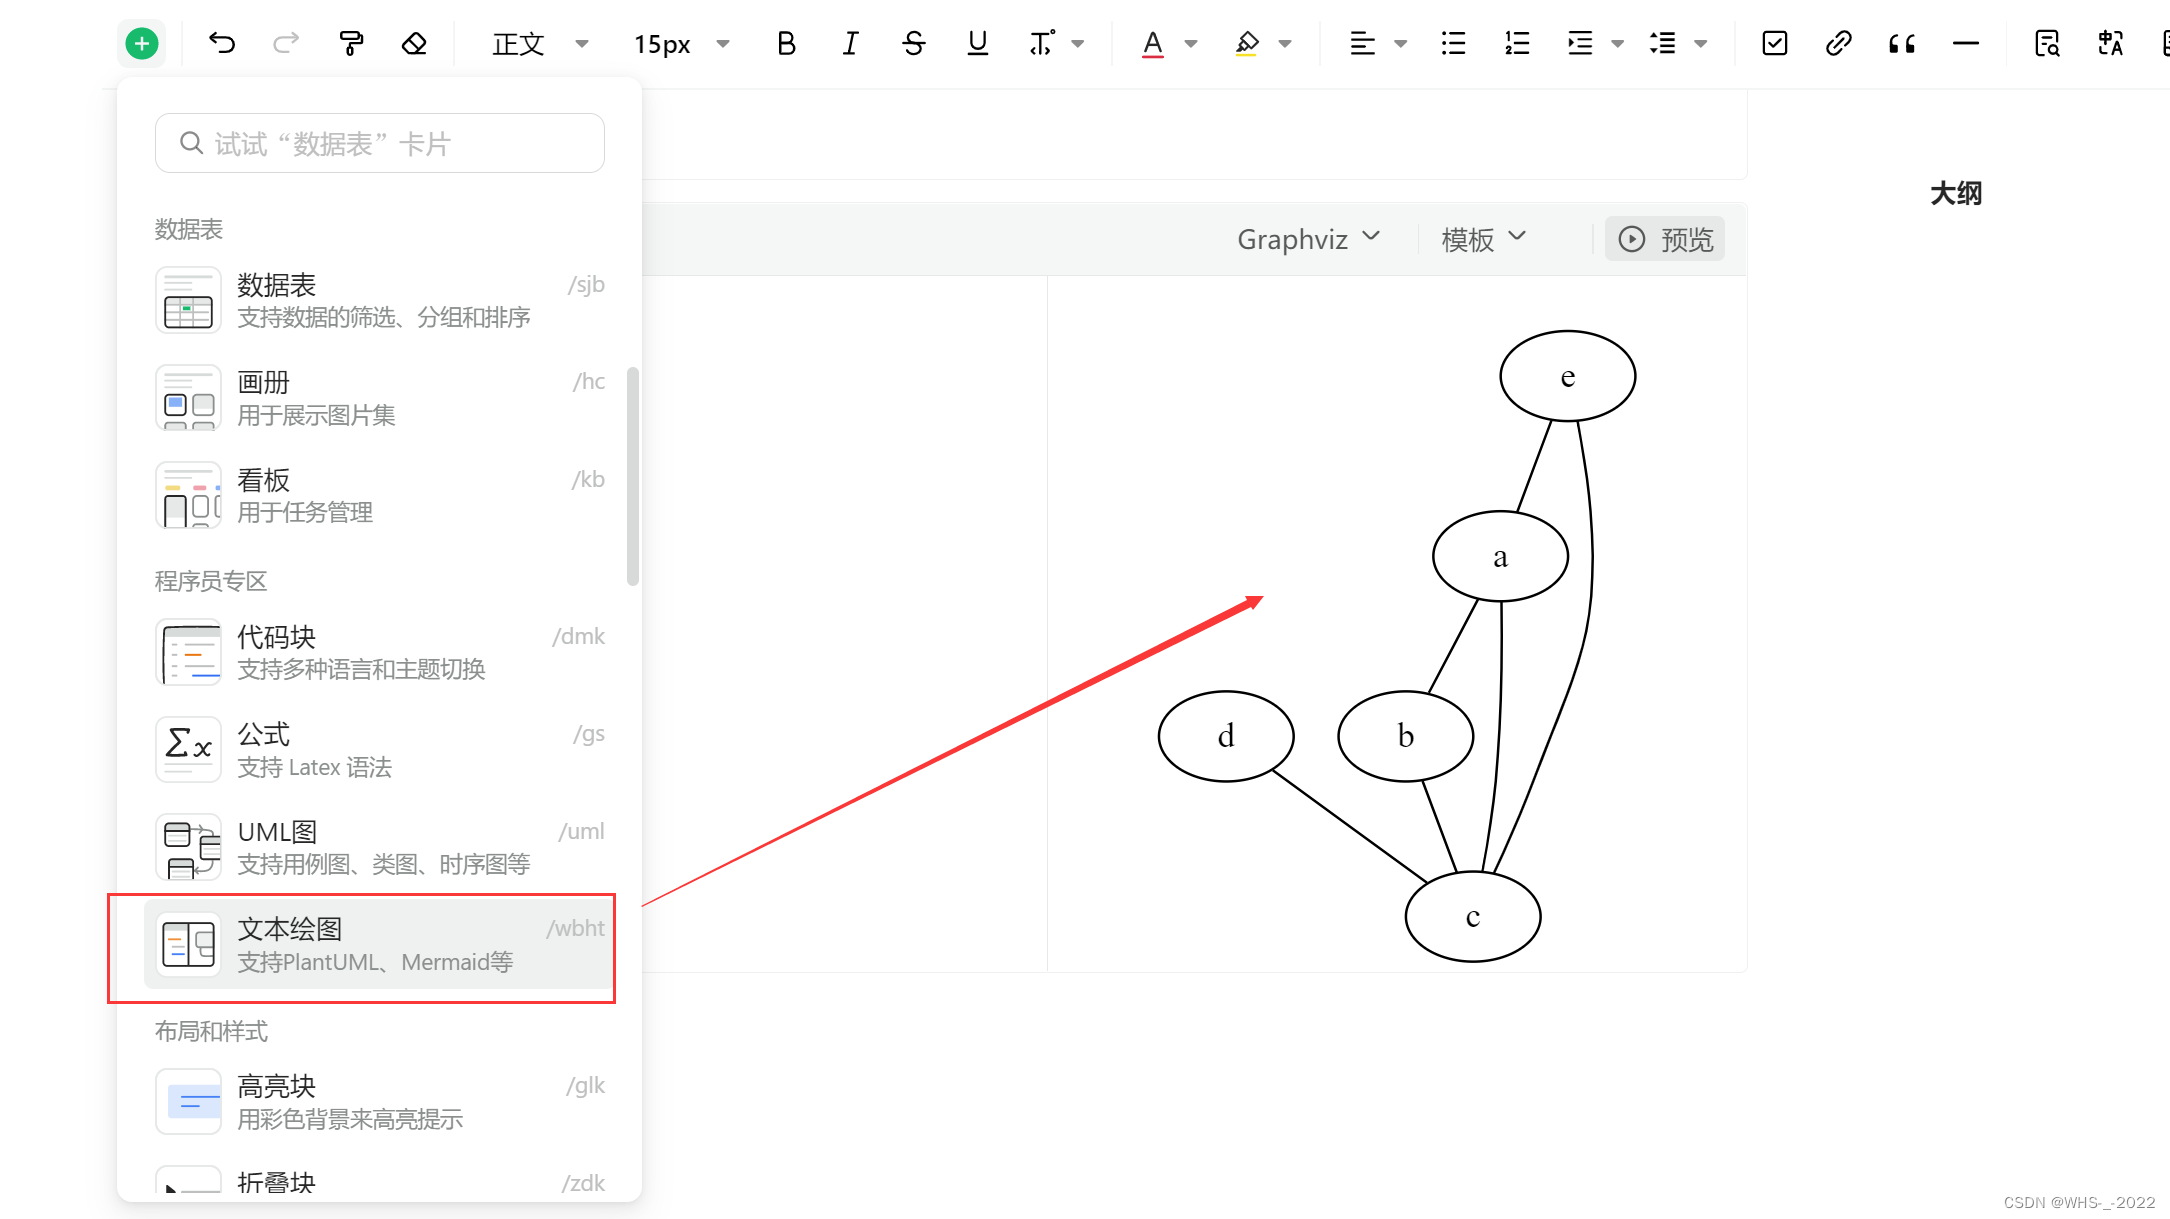
我们要牢记一点,就是dot语言是一种工具,我们目的不是要多精通这种语言,仅仅是为了能够画出自己想要的图片,不要舍本逐末。 6、在语雀中使用语雀自带了文本绘图功能,非常方便
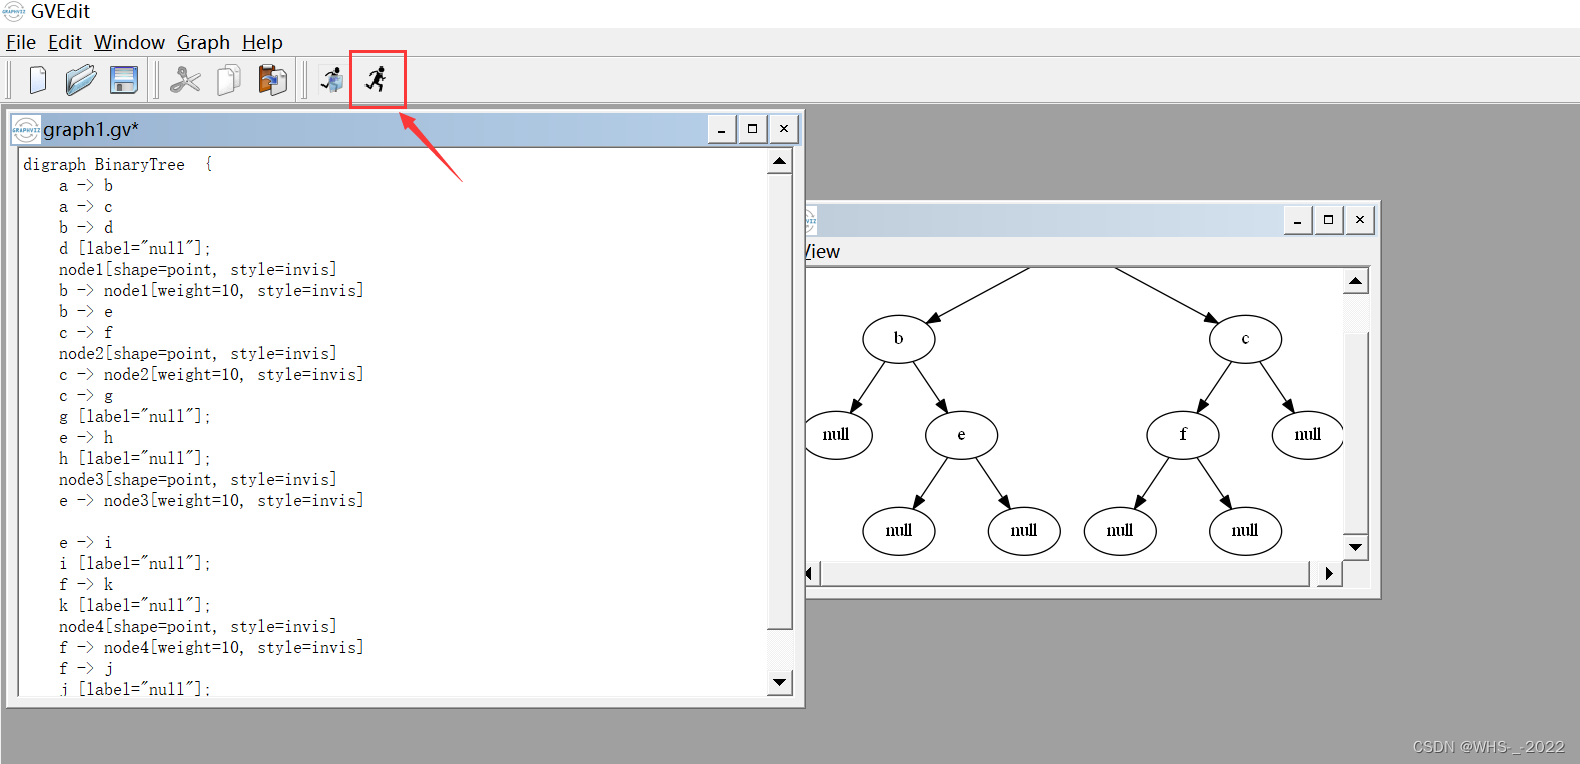
黑色跑步的人的方框代表编译 digraph BinaryTree { a -> b a -> c b -> d d [label="null"]; node1[shape=point, style=invis] b -> node1[weight=10, style=invis] b -> e c -> f node2[shape=point, style=invis] c -> node2[weight=10, style=invis] c -> g g [label="null"]; e -> h h [label="null"]; node3[shape=point, style=invis] e -> node3[weight=10, style=invis] e -> i i [label="null"]; f -> k k [label="null"]; node4[shape=point, style=invis] f -> node4[weight=10, style=invis] f -> j j [label="null"]; } 8、详细语法介绍 8.1 带标签
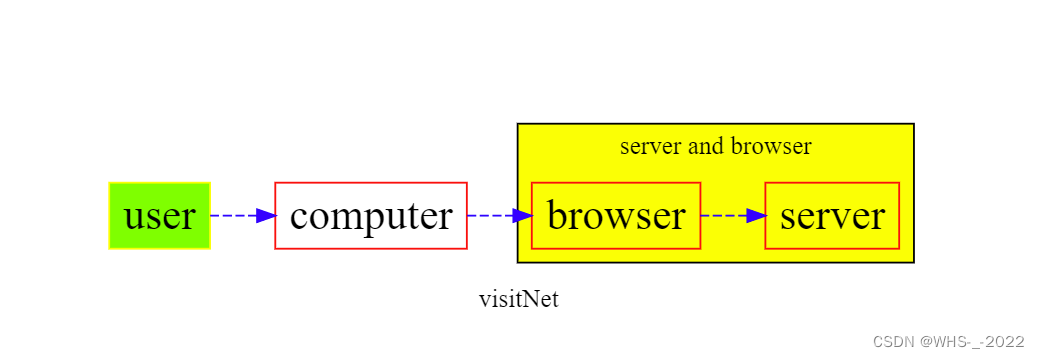
详细可以见官方文档 https://graphviz.gitlab.io/doc/info/shapes.html 8.3子视图
|


【本文地址】
今日新闻 |
推荐新闻 |