【Matter】 esp |
您所在的位置:网站首页 › 安装pycryptodome › 【Matter】 esp |
【Matter】 esp
|
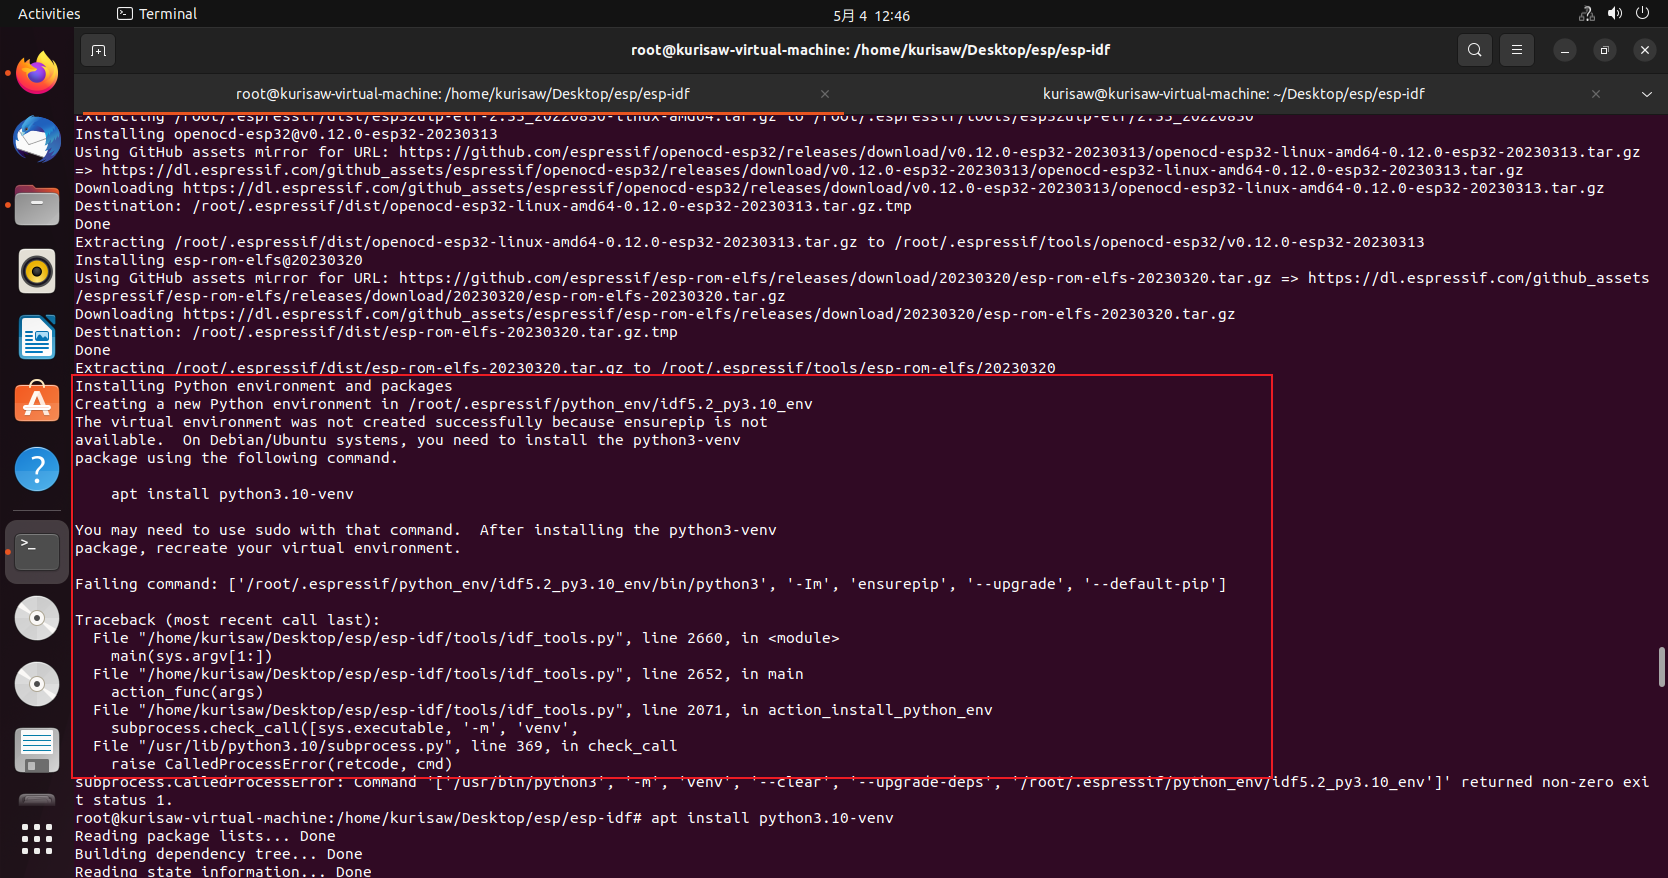
esp-matter开发环境搭建前提准备1.Ubuntu22.04(内存不小于80G)2.科学上网环境 由于后面的 esp-matter 测试的时候需要使用到科学上网环境,所以我们需要提前确保 linux 环境能够使用科学上网。 参考链接:【经验分享】Linux 环境下v2ray的使用 esp-idf 开发环境搭建由于在克隆官方esp-idf仓库的时候一般会发生如下两个错误: Problem1:执行 git submodule 速度慢Problem2:执行install.sh 速度慢所以我们这里特别着重讲解,注意,这里解决问题的顺序与esp-idf环境搭建是一起进行的,读者可以顺着流程走。 1.Problem1 solution首先使用递归克隆命令克隆整个仓库到文件夹下 1 2 3 4 5 mkdir /home/kurisaw/Desktop/esp git clone --recursive https://github.com/espressif/esp-idf.git git submodule update --init --recursive在执行这段命令的时候会存在有些文件无法克隆到本地,或者出现下载仅有几kb的现象,这里我们参考国内这位大神写的脚本 将上面下载的文件删除,执行如下命令: Step 1: 1 git clone https://gitee.com/EspressifSystems/esp-gitee-tools.gitStep 2: 1 2 // 仅克隆 esp-idf,不包含子模块 git clone https://gitee.com/EspressifSystems/esp-idf.git Step 3:可以有两种方式来更新 submodules。 方式一 进入 esp-gitee-tools 目录,export submodule-update.sh 所在路径,方便后期使用,如: 1 2 cd esp-gitee-tools export EGT_PATH=$(pwd)进入 esp-idf 目录执行 submodule-update.sh 脚本: 1 2 cd esp-idf $EGT_PATH/submodule-update.sh方式二 submodule-update.sh 脚本支持将待更新 submodules 的工程路径作为参数传入,例如:submodule-update.sh PATH_OF_PROJ。 假如 Step 2 中 clone 的 esp-idf 位于 ~/git/esp32-sdk/esp-idf 目录,可使用以下方式来更新: 1 2 cd esp-gitee-tools ./submodule-update.sh ~/git/esp32-sdk/esp-idf如果要更新其他工程,可以同样方式。 本人使用上述步骤已完成测试,确实可以很顺畅的完成操作,且中间也没有发生报错。 2.Problem2 solution下面说第二个问题:执行./install.sh速度慢的问题 在 Espressif Systems 的 esp-idf 开发框架中,某些组件的构建过程需要从 GitHub 的 release 页面下载预编译的二进制文件。然而,在中国大陆访问 GitHub 的速度往往较慢并且不稳定,为了改善这个问题,Espressif Systems 将这些预编译的二进制文件托管在国内的服务器上,并提供了一个名为 IDF_GITHUB_ASSETS 的环境变量来指定这个地址。在设置了 IDF_GITHUB_ASSETS 变量之后,构建过程将会从这个指定的地址下载预编译的二进制文件 1 export IDF_GITHUB_ASSETS="dl.espressif.com/github_assets"然后再执行安装命令 1 ./install.sh在这还报了一个错误
我们根据提示安装python3.10-venv,并再次执行安装命令: 1 2 3 apt install python3.10-venv ./install.sh
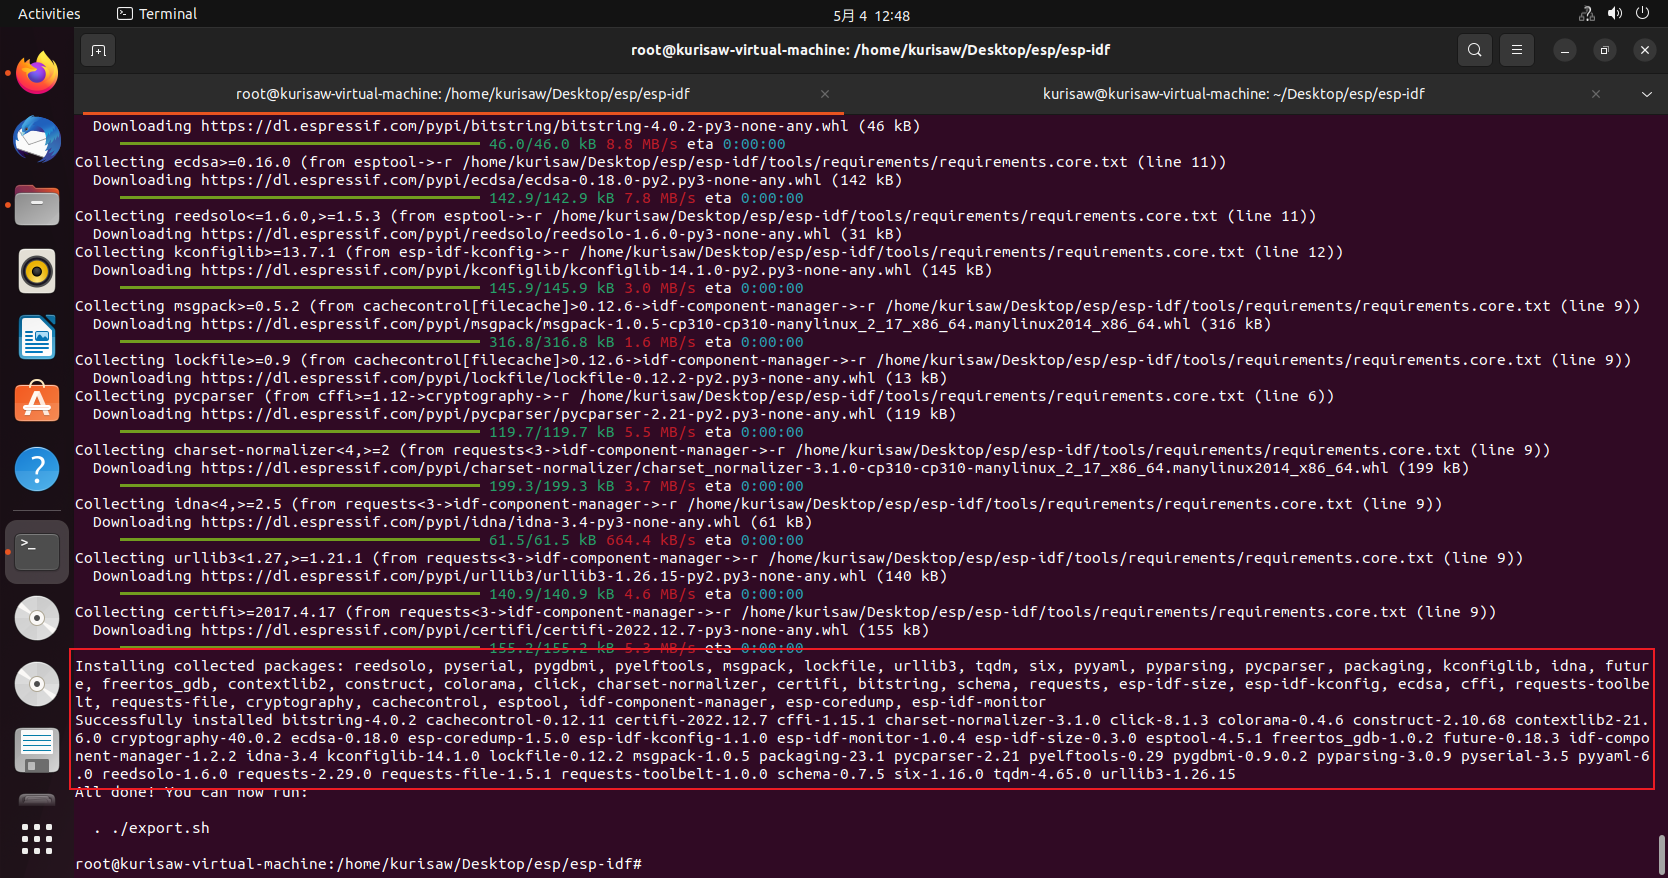
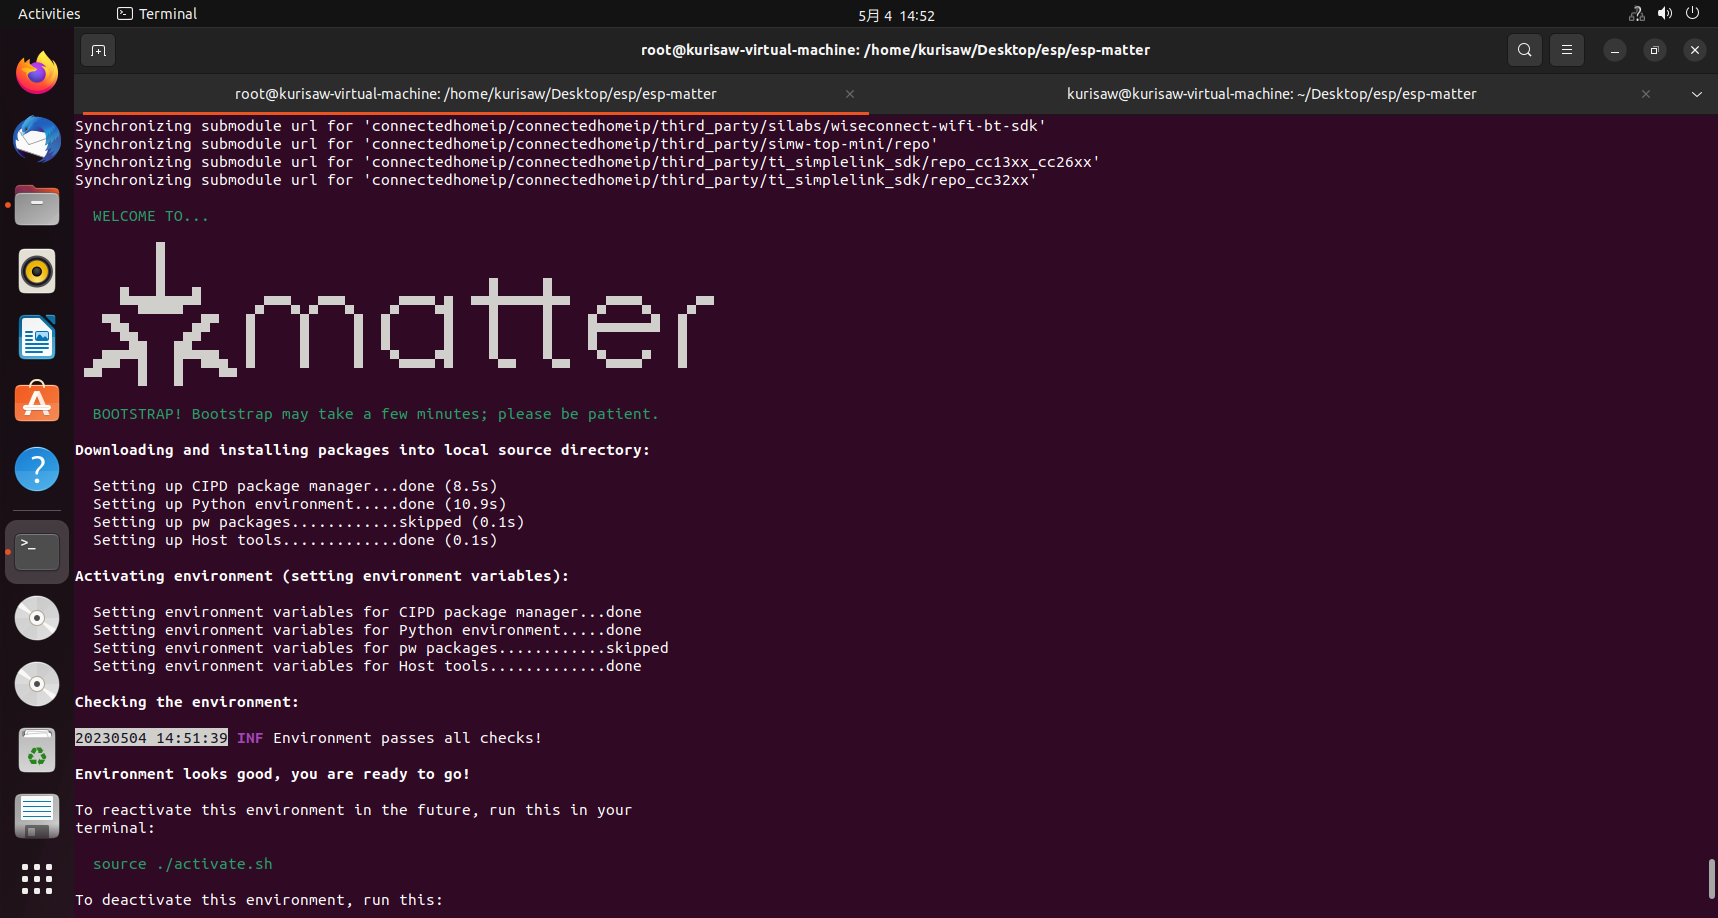
至此,esp-idf 的安装工具就告一段落了。 esp-matter开发环境搭建参考:【乐鑫 Matter SDK GitHub】 1 git clone --recursive https://github.com/espressif/esp-matter.git若过程有报错,请执行下面命令在Git 仓库中获取到所有子模块,并将所有子模块及其下层子模块更新至最新版本。 1 git submodule update --init --recursive执行安装命令: 1 ./install.sh本以为到这就结束了,但不出意外的话意外发生了,在安装过程中发生了报错… 1 2 3 4 5 6 7 8 9 10 11 12 13 14 Building wheel for pycryptodome (setup.py): started error: subprocess-exited-with-error × python setup.py bdist_wheel did not run successfully. │ exit code: 1 ╰─> See above for output. note: This error originates from a subprocess, and is likely not a problem with pip. Building wheel for pycryptodome (setup.py): finished with status 'error' ERROR: Failed building wheel for pycryptodome Running setup.py clean for pycryptodome Building wheel for gevent (pyproject.toml): started ......我们查看install.sh文件 1 2 3 4 5 6 7 8 9 10 11 12 13 14 15 16 17 18 19 20 21 22 23 24 25 26 27 28 29 30 31 32 33 34 35 36 37 38 39 40 41 42 43 44 45 46 47 48 49 50 51 52 53 54 55 56 57 58 59 60 61 62 63 64 65 66 67 68 #!/usr/bin/env bash set -e basedir=$(dirname "$0") ESP_MATTER_PATH=$(cd "${basedir}"; pwd) MATTER_PATH=${ESP_MATTER_PATH}/connectedhomeip/connectedhomeip export ESP_MATTER_PATH echo "" echo "Running Matter Setup" echo "" source ${MATTER_PATH}/scripts/bootstrap.sh echo "" echo "Installing zap-cli" echo "" # Run the zap_download.py and extract the path of installed binary # eg output before cut: "export ZAP_INSTALL_PATH=zap/zap-v2023.03.06-nightly" # output after cut: zap/zap-v2023.03.06-nightly # TODO: Remove the zap-version after https://github.com/project-chip/connectedhomeip/pull/25727 merged zap_path=`python3 ${ESP_MATTER_PATH}/connectedhomeip/connectedhomeip/scripts/tools/zap/zap_download.py \ --sdk-root ${ESP_MATTER_PATH}/connectedhomeip/connectedhomeip --zap RELEASE --zap-version v2023.03.27-nightly \ --extract-root .zap 2>/dev/null | cut -d= -f2` # Check whether the download is successful. if [ -z $zap_path ]; then echo "Failed to install zap-cli" deactivate exit 1 fi # Move files to one directory up, so that binaries will be in $ESP_MATTER_PATH/.zap/ directory and export.sh can leverage the fixed path if [ -d "${ESP_MATTER_PATH}/.zap" ]; then rm -r ${ESP_MATTER_PATH}/.zap fi mkdir ${ESP_MATTER_PATH}/.zap mv $zap_path/* ${ESP_MATTER_PATH}/.zap/ rm -r $zap_path chmod +x ${ESP_MATTER_PATH}/.zap/zap-cli echo "" echo "Building host tools" echo "" gn --root="${MATTER_PATH}" gen ${MATTER_PATH}/out/host ninja -C ${MATTER_PATH}/out/host echo "" echo "Host tools built at: ${MATTER_PATH}/out/host" echo "" echo "" echo "Exit Matter environment" echo "" deactivate echo "" echo "Installing python dependencies for mfg_tool" echo "" python3 -m pip install -r ${ESP_MATTER_PATH}/tools/mfg_tool/requirements.txt echo "" echo "Installing python dependencies for Matter" echo "" python3 -m pip install -r ${ESP_MATTER_PATH}/requirements.txt echo "All done! You can now run:" echo "" echo " . ${basedir}/export.sh" echo ""发现问题出在第10到13行,我尝试安装系统必要的依赖项来解决这个问题,成功解决!命令如下: 1 2 3 4 5 sudo apt install build-essential python3-dev sudo apt-get install pkg-config sudo apt-get install libglib2.0-dev libglib2.0-dev-bin libgio2.0-cil-dev
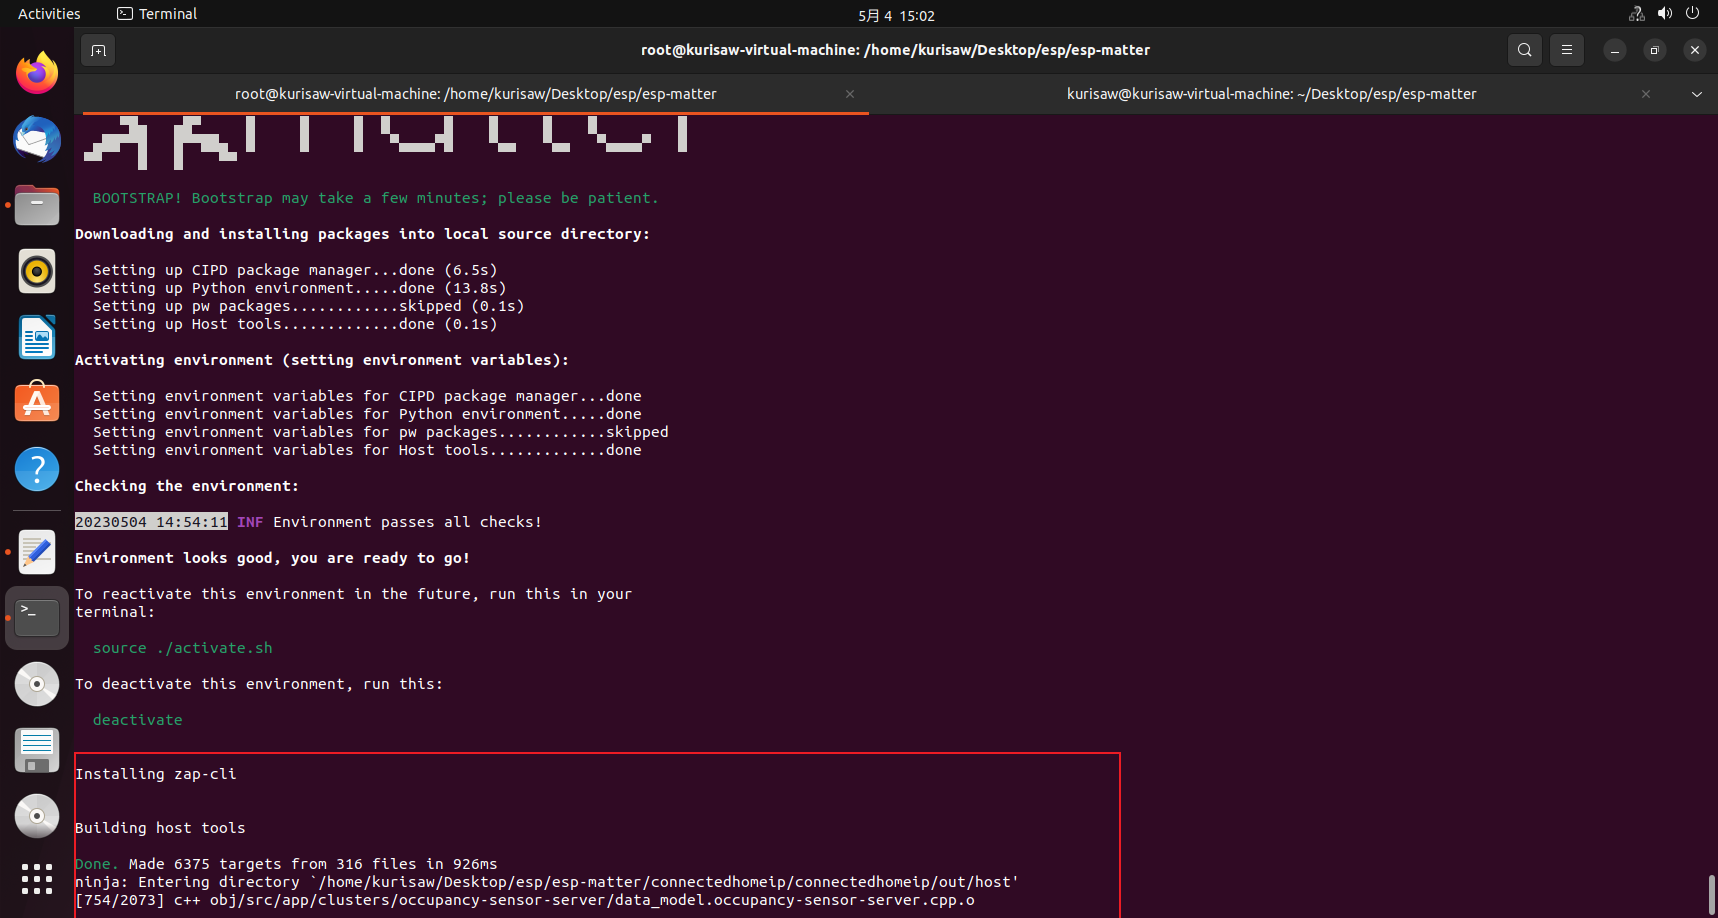
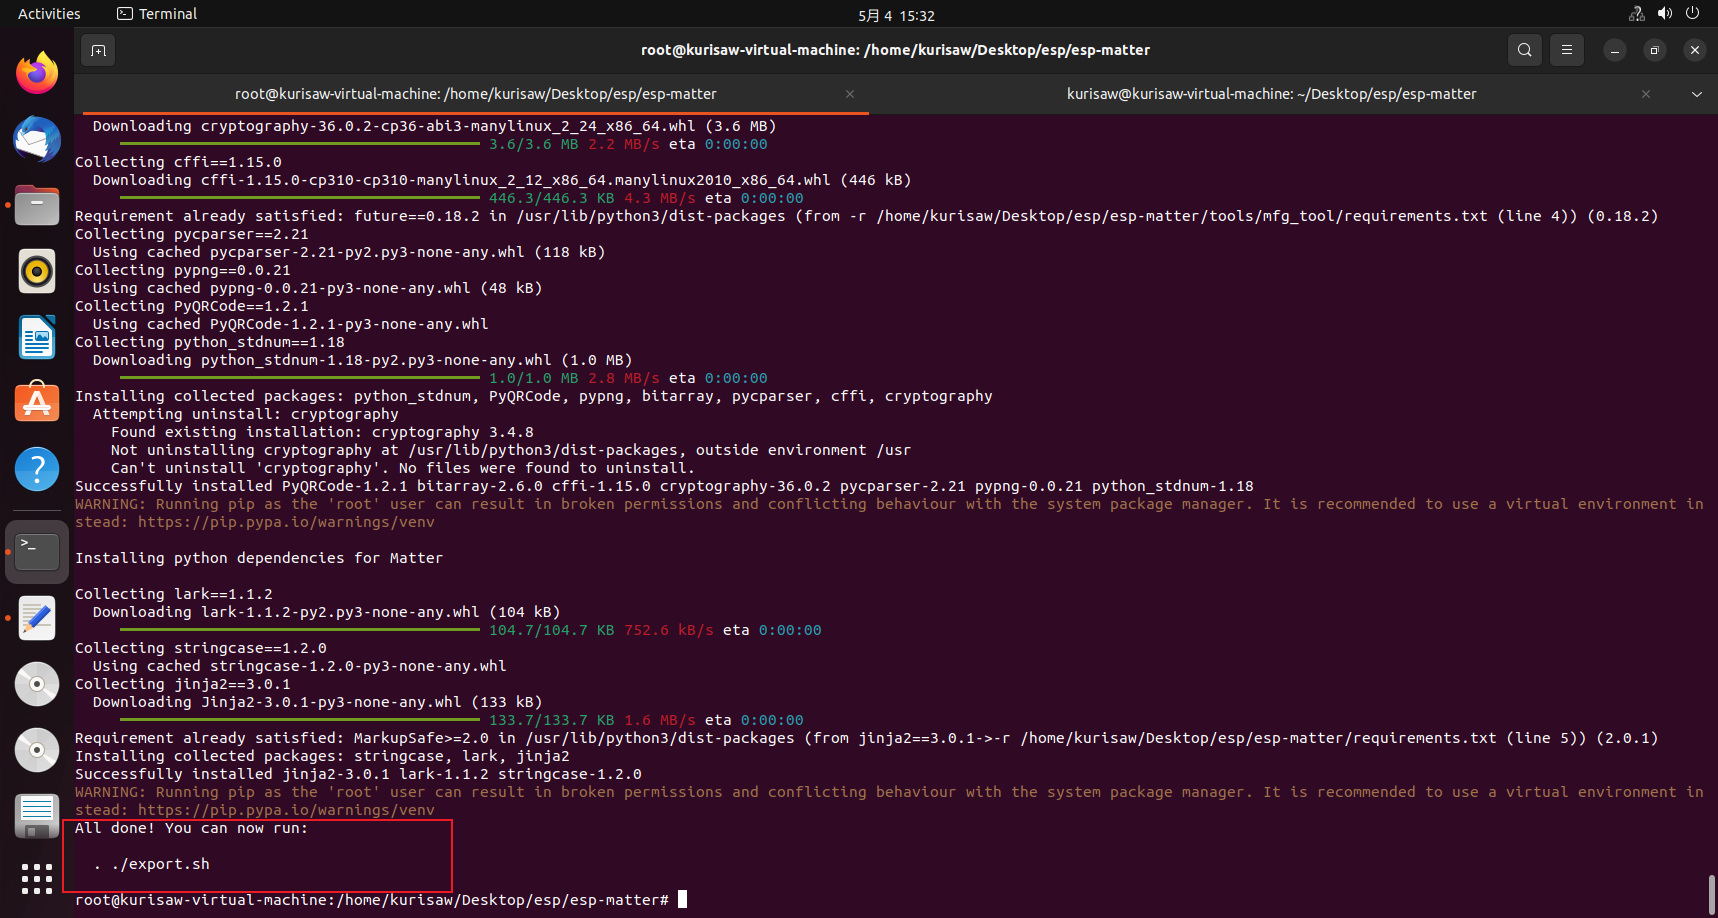
接着在安装zap-cli的时候再次发生报错,需要安装以下依赖库,并再次运行安装脚本命令,等待编译 1 2 3 4 5 sudo apt-get install libssl-dev sudo apt-get install pip ./install.sh
最后看到All done!即代表环境安装成功!
至此,esp-matter开发环境搭建成功! |
【本文地址】