Android使用RecyclerView实现日期分组以及时间轴显示 |
您所在的位置:网站首页 › 安卓实现列表分组分页 › Android使用RecyclerView实现日期分组以及时间轴显示 |
Android使用RecyclerView实现日期分组以及时间轴显示
|
抽空介绍一下如何使用RecyclerView来实现分组列表以及时间轴的显示,先看下效果图:
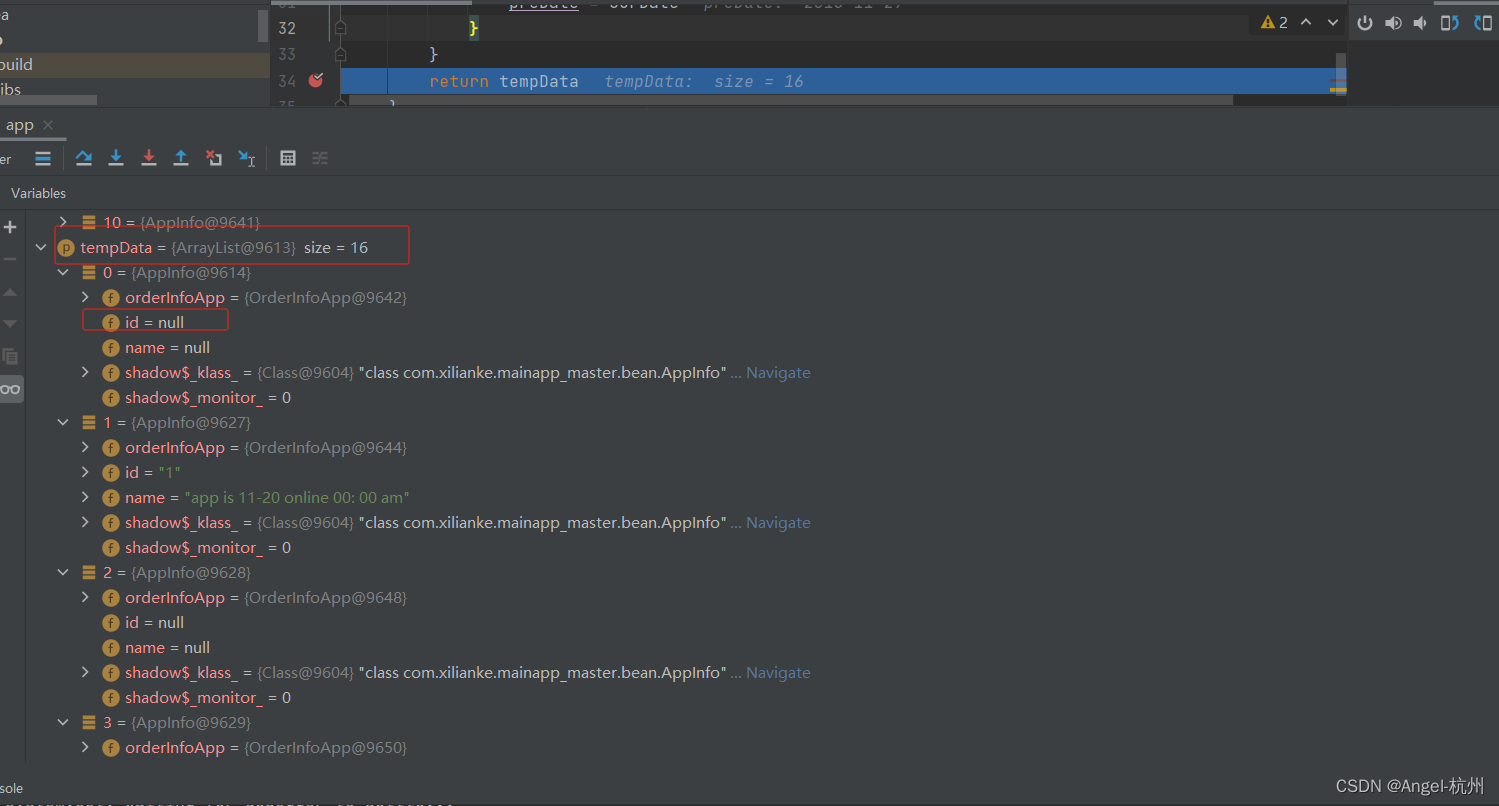
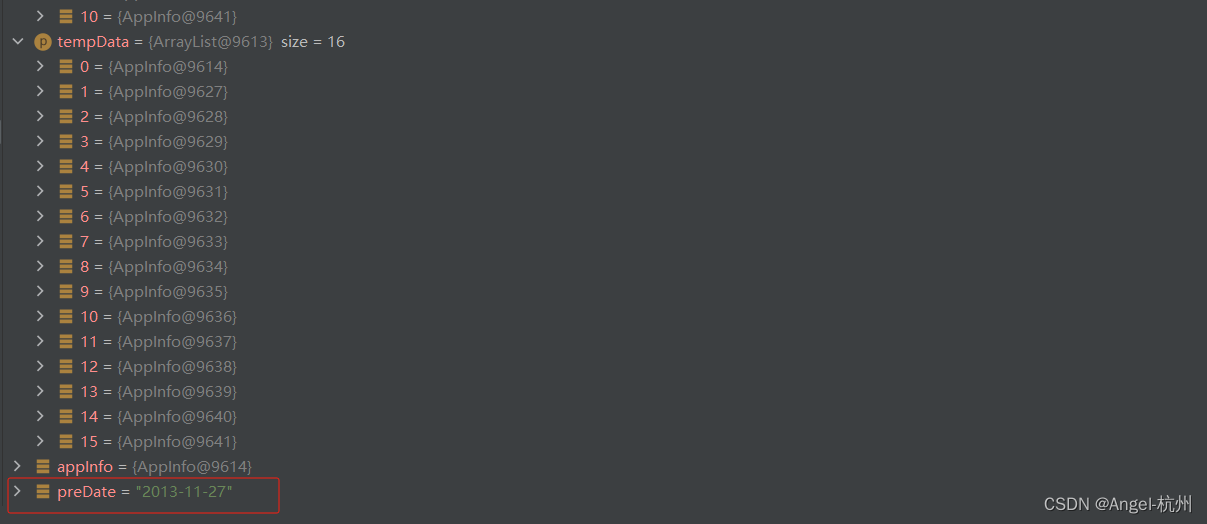
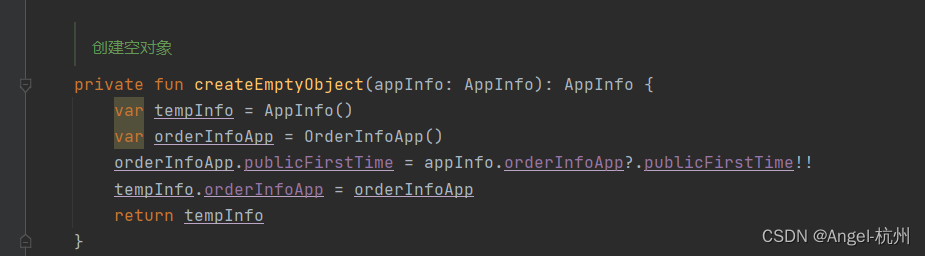
作为Android的小伙伴,在需求方面上,难免遇到实现类似的功能实现,实现起来有一定的难度,RecyclerView进行分组,和时间轴的显示。 重点讲下,RecyclerView如何进行分组,其实就是对数据源集合进行分组: BuildListDataUtil.kt object BuildListDataUtil { /** * 集合进行分组 */ fun buildListData(sourceList:MutableList?): MutableList{ val tempData = ArrayList() val appInfo = createEmptyObject(sourceList!![0]) tempData.add(appInfo) tempData.add(sourceList[0]) var preDate = DateUtils.getTimeStampConvertToDate(sourceList[0] .orderInfoApp?.publicFirstTime!!, DateUtils.PARAMETER_ALL_DATE_TYPE) for (index in 1 until sourceList.size) { val curDate = DateUtils.getTimeStampConvertToDate(sourceList[index] .orderInfoApp?.publicFirstTime!!, DateUtils.PARAMETER_ALL_DATE_TYPE) //日期一致的话,就添加至集合 if (TextUtils.equals(preDate, curDate)) { tempData.add(sourceList[index]) } else { // 日期不一致,则创建新的对象并添加到集合中 val curAppInfo = createEmptyObject(sourceList[index]) tempData.add(curAppInfo) tempData.add(sourceList[index]) preDate = curDate } } return tempData } /** * 创建空对象 */ private fun createEmptyObject(appInfo: AppInfo): AppInfo { var tempInfo = AppInfo() var orderInfoApp = OrderInfoApp() orderInfoApp.publicFirstTime = appInfo.orderInfoApp?.publicFirstTime!! tempInfo.orderInfoApp = orderInfoApp return tempInfo } }我封装了BuildListDataUtil工具类,主要是对数据源集合逻辑进行分组处理,首先根据集合的索引值拿到第一个对象,进行创建空的对象,同时根据时间戳进行赋值,并返回空的对象作为用来展示标题布局的日期标题,并添加到临时的集合中,根据当前的对象的时间戳返回当前的preDate变量,接下来sourceList进行遍历,遍历下一个对象的时间戳返回当前的curDate 变量,和上一个preDate变量进行对比,如果日期一致,就添加到同一集合里面,否则就创建空的对象并添加到集合里面,并且把curDate值赋值给preDate,以此类推。 我打了断点,如下:
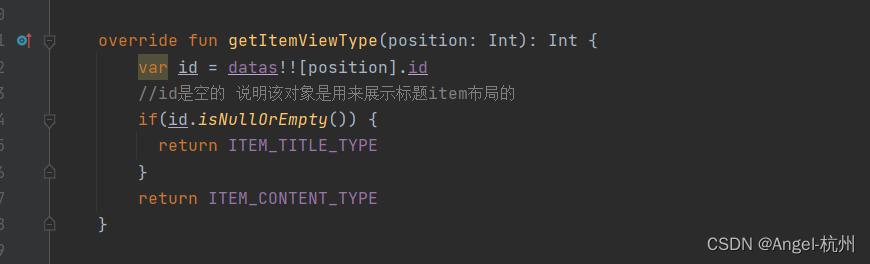
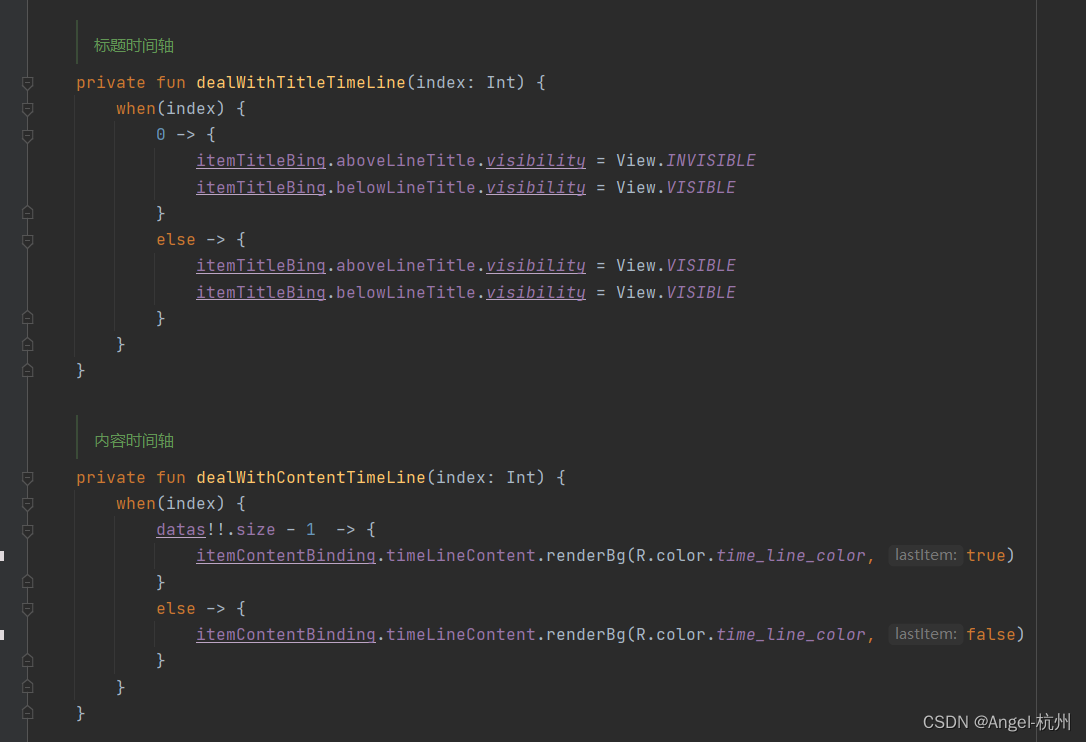
接下来就是把集合分好组的tempData变量返回给外部调用。 重点看下RecycleView的Adapter做了什么。 BuildGroupDateAdapter.kt class BuildGroupDateAdapter constructor(datas:MutableList?): Adapter() { //标题 val ITEM_TITLE_TYPE = 1 //内容 val ITEM_CONTENT_TYPE = 2 private var datas:MutableList? = null private lateinit var itemTitleBing :ItemTitleLayoutBinding private lateinit var itemContentBinding: ItemContentLayoutBinding init { this.datas = datas } override fun onCreateViewHolder(parent: ViewGroup, viewType: Int): ViewHolder { var view :View return when(viewType) { ITEM_TITLE_TYPE -> { itemTitleBing = ItemTitleLayoutBinding.inflate(LayoutInflater.from(parent.context), parent, false) view = itemTitleBing.root TitleViewHolder(view) } else -> { itemContentBinding = ItemContentLayoutBinding .inflate(LayoutInflater.from(parent.context), parent, false) view = itemContentBinding.root ContentViewHolder(view) } } } override fun onBindViewHolder(holder: ViewHolder, position: Int) { when(holder) { is TitleViewHolder -> { val titleDate = getTimeStampConvertToDate( datas ?.get(position)!!.orderInfoApp!!.publicFirstTime, DateUtils.PARAMETER_ALL_DATE_TYPE ) itemTitleBing.tvTitle.text = titleDate dealWithTitleTimeLine(position) } is ContentViewHolder -> { itemContentBinding.tvContent.text = datas!![position].name dealWithContentTimeLine(position) } } } /** * 标题时间轴 */ private fun dealWithTitleTimeLine(index: Int) { when(index) { 0 -> { itemTitleBing.aboveLineTitle.visibility = View.INVISIBLE itemTitleBing.belowLineTitle.visibility = View.VISIBLE } else -> { itemTitleBing.aboveLineTitle.visibility = View.VISIBLE itemTitleBing.belowLineTitle.visibility = View.VISIBLE } } } /** * 内容时间轴 */ private fun dealWithContentTimeLine(index: Int) { when(index) { datas!!.size - 1 -> { itemContentBinding.timeLineContent.renderBg(R.color.time_line_color, true) } else -> { itemContentBinding.timeLineContent.renderBg(R.color.time_line_color, false) } } } override fun getItemCount(): Int { return datas!!.size } override fun getItemViewType(position: Int): Int { var id = datas!![position].id //id是空的 说明该对象是用来展示标题item布局的 if(id.isNullOrEmpty()) { return ITEM_TITLE_TYPE } return ITEM_CONTENT_TYPE } class TitleViewHolder(view: View) : ViewHolder(view) class ContentViewHolder(view: View) : ViewHolder(view) }上面代码逻辑不是很复杂,其实就是创建了两个ViewHolder,一个是用来展示标题的ViewHolder,一个是来展示内容的ViewHolder。 重点看下这个
根据position获取当前对象的id,id是空的用来展示标题item布局的。因为刚讲过,
创建空对象的时候,仅仅是把时间戳赋值给它,并没有赋值给id,因此id是空的话,是用来展示标题的type。 BuildGroupDateActivity.kt class BuildGroupDateActivity : AppCompatActivity() { lateinit var adapter: BuildGroupDateAdapter lateinit var binding: ActivityMainBuildGroupDateBinding override fun onCreate(savedInstanceState: Bundle?) { super.onCreate(savedInstanceState) binding = ActivityMainBuildGroupDateBinding.inflate(layoutInflater) setContentView(binding.root) adapter = BuildGroupDateAdapter(getDatas()) binding.baseRecyclerView.layoutManager = LinearLayoutManager(this) binding.baseRecyclerView.adapter = adapter } private fun getDatas() : MutableList { return BuildListDataUtil.buildListData(TestBuildData.datas()) } }运行此项目,界面上就可以正常展示RecyclerView日期分组了。 接下来,我们看下时间轴怎么实现。 在adapter里面创建了两个ViewHolder,每个ViewHolder创建了item布局,时间线的显示其实就是在布局里面做。 item_title_layout.xml item_content_layout.xml 在该布局里面需要自定义一个View,也就是TimeLineView,需要处理时间线渐变。 TimeLineView.kt class TimeLineView : View { constructor(context: Context) : this(context, null) constructor(context: Context, attributeSet: AttributeSet?) :this (context, attributeSet, 0) constructor(context: Context, attributeSet: AttributeSet?, def: Int):super(context, attributeSet, def) fun renderBg(color: Int,lastItem:Boolean) { if (lastItem) { val gradient = gradientDrawable(color) background = gradient } else { background = context.resources.getDrawable(color) } post { invalidate() } } private fun gradientDrawable(arg: Int): GradientDrawable { val colors = intArrayOf( // arg and 0xFFFFFFFF.toInt(),//0% // arg and 0x7FFFFFFF,//50% arg and 0x33FFFFFF,//80% arg and 0x00FFFFFF,//100% ) val gradientDrawable = GradientDrawable() gradientDrawable.colors = colors gradientDrawable.orientation = GradientDrawable .Orientation.TOP_BOTTOM//从上到下渐变 return gradientDrawable } }
运行此项目,最终的效果就是文章开头的效果图。 我把这次案例进行总结,方便后续可能会使用到,难免会使用RecyclerView分组实现,例如RecyclerView联系人分组实现。
|
【本文地址】