QCustomPlot基础教程(十) |
您所在的位置:网站首页 › 如何更改图例中的文字颜色和字体大小 › QCustomPlot基础教程(十) |
QCustomPlot基础教程(十)
|
目录
1、前言2、显示图例3、设置图例位置4、设置图例背景5、设置图例名称6、设置边框隐藏7、其他设置8、拓展1——将图例统一放在下方9、拓展2——设置图例与曲线同步选中
1、前言
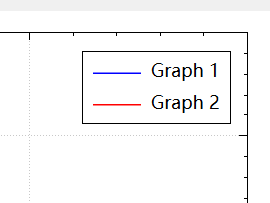
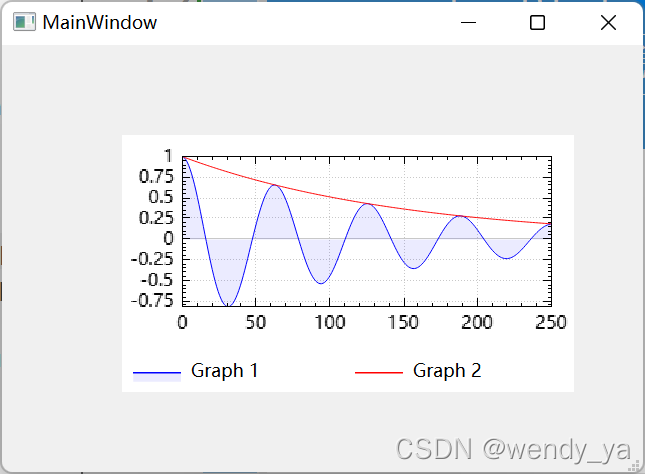
基础部分就不过多介绍了,不懂得可以直接参考:QCustomPlot基础教程(一)——QCustomPlot的安装及基础实例,代码部分也不做过多介绍,代码使用的是QCustomPlot基础教程(二)——在Qt中绘制多个曲线的相关代码。 2、显示图例图例默认不显示,显示图例使用setVisible()函数,代码示例: customPlot->legend->setVisible(true);
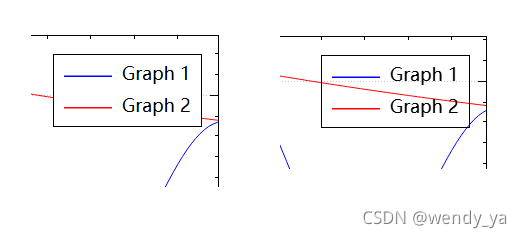
设置图例位置利用setInsetAlignment函数, 常见的图例位置有: 位置描述Qt::AlignLeft居左Qt::AlignHCenter水平居中Qt::AlighRight居右Qt::AlignTop居上Qt::AlignVCenter垂直居中Qt::AlignBottom居下常见设置为让图例居右上,代码如下: customPlot->axisRect()->insetLayout()->setInsetAlignment(0,Qt::AlignTop|Qt::AlignRight); 4、设置图例背景设置图例背景为空白利用如下语句实现: customPlot->legend->setBrush(QColor(255,255,255,0));//设置图例背景运行结果如下: (左图为默认图例背景,右图为图例为透明) 运行结果:
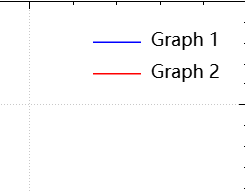
设置第i条直线的名称: customPlot->graph(i)->setName(names);//设置名称若有graphCount条直线,可依次设置其名称: for(int i=0;igraph(i)->setName(names[i]);//设置名称 } 6、设置边框隐藏设置图例的边框利用setBorderPen()函数: void QCPLegend::setBorderPen(const QPen & pen) 设置边框隐藏代码如下: customPlot->legend->setBorderPen(Qt::NoPen);运行结果: 除了上述设置,图例还有其他设置,诸如设置字体,设置间隔等。 设置图例字体代码为: customPlot->legend->setFont(QFont("Helvetica", 9));设置图例间隔代码为: customPlot->legend->setRowSpacing(-3);设置图例文字颜色代码为: customPlot->legend->setTextColor(TextColor);//设置图例文字颜色设置图例中图形与文字距离图例边框的距离代码为: customPlot->legend->setMargins(QMargins(0,0,0,0)); 8、拓展1——将图例统一放在下方代码示例: // 设置图例行优先排列 customPlot->legend->setFillOrder(QCPLayoutGrid::foColumnsFirst); // 设置六个图例自动换行 customPlot->legend->setWrap(6); // 设置图例可见 customPlot->legend->setVisible(true); // 设置图例位置,这里选择显示在QCPAxisRect下方,同理可设置显示在QCustomPlot中任意位置 customPlot->plotLayout()->addElement(1 , 0, customPlot->legend); // 设置显示比例 customPlot->plotLayout()->setRowStretchFactor(1, 0.001); // 设置边框隐藏 customPlot->legend->setBorderPen(Qt::NoPen);
首先,需要设置Qcustomplot的属性: //设置基本坐标轴(左侧Y轴和下方X轴)可拖动、可缩放、曲线可选、legend可选、设置伸缩比例,使所有图例可见 CustomPlot->setInteractions(QCP::iRangeDrag|QCP::iRangeZoom| QCP::iSelectAxes | QCP::iSelectLegend | QCP::iSelectPlottables); //设置legend只能选择图例 CustomPlot->legend->setSelectableParts(QCPLegend::spItems);然后需要编写槽函数: void MainWindow::selectionChanged() { // make top and bottom axes be selected synchronously, and handle axis and tick labels as one selectable object: if (ui->customPlot->xAxis->selectedParts().testFlag(QCPAxis::spAxis) || ui->customPlot->xAxis->selectedParts().testFlag(QCPAxis::spTickLabels) || ui->customPlot->xAxis2->selectedParts().testFlag(QCPAxis::spAxis) || ui->customPlot->xAxis2->selectedParts().testFlag(QCPAxis::spTickLabels)) { ui->customPlot->xAxis2->setSelectedParts(QCPAxis::spAxis|QCPAxis::spTickLabels); ui->customPlot->xAxis->setSelectedParts(QCPAxis::spAxis|QCPAxis::spTickLabels); } // make left and right axes be selected synchronously, and handle axis and tick labels as one selectable object: if (ui->customPlot->yAxis->selectedParts().testFlag(QCPAxis::spAxis) || ui->customPlot->yAxis->selectedParts().testFlag(QCPAxis::spTickLabels) || ui->customPlot->yAxis2->selectedParts().testFlag(QCPAxis::spAxis) || ui->customPlot->yAxis2->selectedParts().testFlag(QCPAxis::spTickLabels)) { ui->customPlot->yAxis2->setSelectedParts(QCPAxis::spAxis|QCPAxis::spTickLabels); ui->customPlot->yAxis->setSelectedParts(QCPAxis::spAxis|QCPAxis::spTickLabels); } // 将图形的选择与相应图例项的选择同步 for (int i=0; icustomPlot->graphCount(); ++i) { QCPGraph *graph = ui->customPlot->graph(i); QCPPlottableLegendItem *item = ui->customPlot->legend->itemWithPlottable(graph); if (item->selected() || graph->selected()) { item->setSelected(true); //注意:这句需要Qcustomplot2.0系列版本 graph->setSelection(QCPDataSelection(graph->data()->dataRange())); //这句1.0系列版本即可 //graph->setSelected(true); } } }最后,在主函数中将信号与槽进行连接: connect(ui->customPlot, SIGNAL(selectionChangedByUser()), this, SLOT(selectionChanged()));selectionChangedByUser()信号在用户更改QCustomPlot中的选择后发出,例如通过单击。 运行结果: 完整代码可以参考:https://download.csdn.net/download/didi_ya/37052519 ok,以上便是本文的全部内容了,如果对你有所帮助,记得点个赞哟~ 参考: 【1】https://www.freesion.com/article/7425347532/ 【2】https://www.qcustomplot.com/index.php/demos/interactionexample 【3】https://blog.csdn.net/qq_43393428/article/details/105135375 |
 设置图例为灰色透明代码如下:
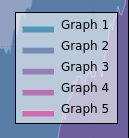

【本文地址】
今日新闻 |
推荐新闻 |