什么是SVN,Linux环境如何安装最新版Svn服务(yum安装1.14.1) |
您所在的位置:网站首页 › 如何安装svn服务器 › 什么是SVN,Linux环境如何安装最新版Svn服务(yum安装1.14.1) |
什么是SVN,Linux环境如何安装最新版Svn服务(yum安装1.14.1)
|
目录
前言1、安装及卸载2.1 查看安装情况2.2 直接安装(不推荐)2.3 最新版本安装(推荐)2.4 卸载
2、创建svn工作目录3、创建svn项目仓库4、为svn仓库设置用户权限4.1 新增用户4.2 配置用户权限
5、配置svnserve.conf6、启动7、新增仓库及用户8、配置开机自启9、配置http服务(非必须)9.1 查看http-svn安装情况9.2 安装9.3 修改subversion.conf配置9.4 创建第一个用户(新增后需要设置权限)9.5 新增、删除用户(新增后需要设置权限)9.6 设置用户权限9.7 配置httpd权限9.9 修改http端口9.9 测试
前言
SVN是subversion的缩写,是一个开放源代码的版本控制系统,通过采用分支管理系统的高效管理,简而言之就是用于多个人共同开发同一个项目,实现共享资源,实现最终集中式的管理。 1、安装及卸载 2.1 查看安装情况 rpm -qa subversion
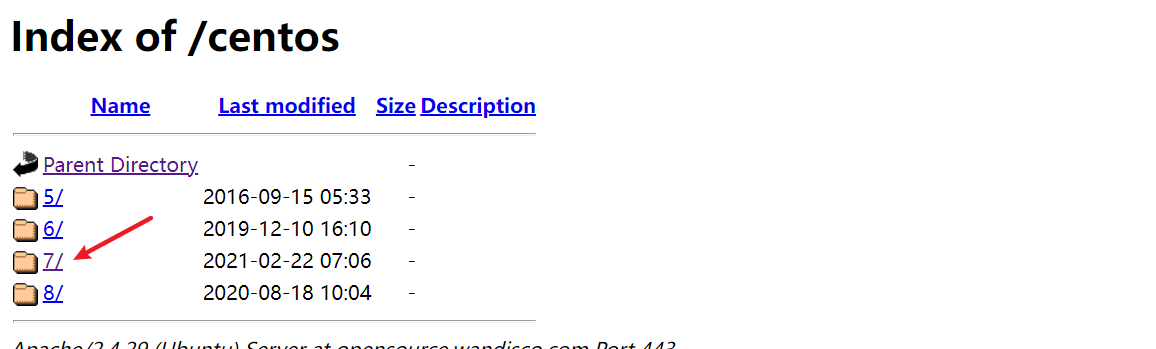
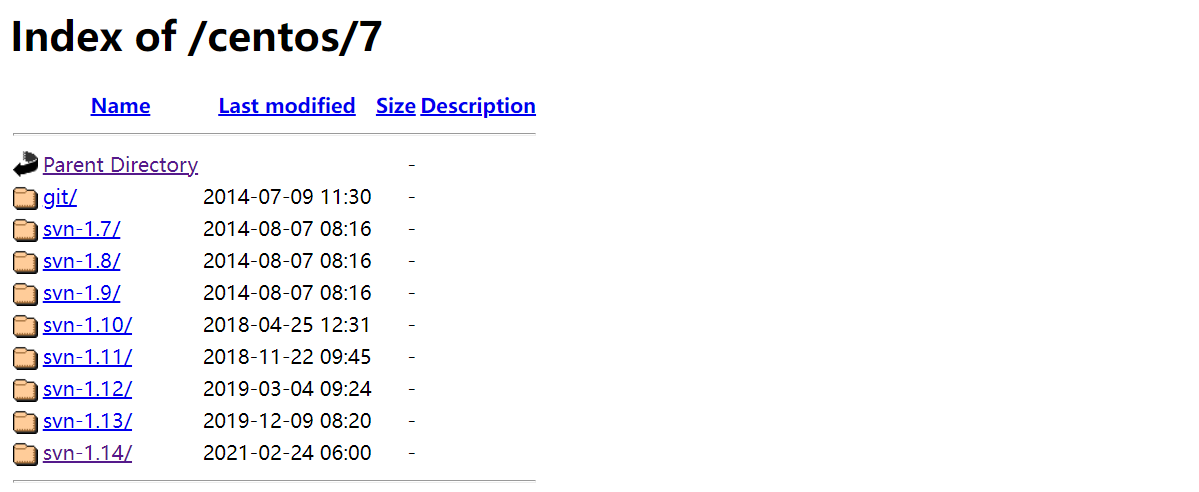
安装方式有两种,一种是yum直接安装,另外一个是通过修改yum安装的方式进行安装; 如果直接使用yum,那么安装的默认版本为1.7.14,如下: 如果已经按照过了老版本,一定要进行卸载操作; 查看版本号:https://opensource.wandisco.com/centos/ 1、配置WandiscoSVN: vim /etc/yum.repos.d/wandisco-svn.repo内容如下: [WandiscoSVN] name=Wandisco SVN Repo baseurl=http://opensource.wandisco.com/centos/$releasever/svn-1.14/RPMS/$basearch/ enabled=1 gpgcheck=0其中svn-1.14表示安装的svn版本号,通过这样的方式就可以覆盖原有的yum安装版本,直接安装最新的1.4.1版本 2、安装: yum -y install subversion
如果服务器已经安装过了svn,通过以下命令进行卸载: yum remove subversion 2、创建svn工作目录 mkdir -p /opt/svn/repos/ 3、创建svn项目仓库比如:新增了一个项目名称叫做:svn-demo,创建仓库的命令如下: svnadmin create /opt/svn/repos/svn-demo目录结构: 当创建完,项目仓库后,目录结构如下图所示: 目录含义: conf:文件夹,存放配置文件 authz:授权文件passwd:用户信息,包含用户名与密码svnserve.conf:svn配置文件,配置账号和权限文件 db:版本数据存储目录hooks:版本库勾子目录locks:存储库锁目录,用来跟踪库的访问 4、为svn仓库设置用户权限 4.1 新增用户在passwd文件中,设置用户密码,格式为userName=Password,比如: admin=123456
在authz文件中,设置用户权限,格式为userName=Auth; 如果设置为*=则表示其他用户无任何权限; 权限由权限目录与用户映射关系组成: [/]: 表示用户可以访问整个目录;[/test] :表示用户只能访问test目录;userName=Auth:表示用户对应的权限值;权限值分为三类: r: 表示读权限w: 表示写权限rw: 表示可读可写权限比如: # admin 具有读写权限,并且可以操作所有目录 [/] admin = rw; *= # admin 具有读写权限,只能操作test目录 [/test] zhangsan = rw; *= 5、配置svnserve.conf vim svnserve.conf内容如下: [general] anon-access = none auth-access = write password-db = passwd authz-db = authz 6、启动 svnserve -d -r /opt/svn/repos --listen-port=3690 --config-file=/opt/svn/repos/svn-demo/conf/svnserve.conf/opt/svn/repos为svn根目录 测试: 访问地址:svn://ip:3690/svn-demo,svn-demo为svn项目仓库名称; 7、新增仓库及用户如果新增一个svn仓库,只需要重复上述的3、4、5、6这四个步骤即可; 可以不用重启svn服务; 8、配置开机自启1、创建svnserver.service文件: vim /lib/systemd/system/svnserve.service2、内容: [Unit] Description=SVN Server service After=network.target [Service] Type=forking ExecStart= /usr/bin/svnserve -d -r /opt/svn/repos --listen-port=3690 --config-file=/opt/svn/repos/svn-demo/conf/svnserve.conf [Install] WantedBy=multi-user.target3、开启自启与启动: systemctl enable svnserve.service systemctl start svnserve.service 9、配置http服务(非必须)完成上述前8步配置后,已经可以正常使用;通过配置http服务后,可以直接在浏览器端进行访问,但是如果要使用http服务,那么需要配置额外的用户和权限; 9.1 查看http-svn安装情况 ls /etc/httpd/modules/ | grep svn
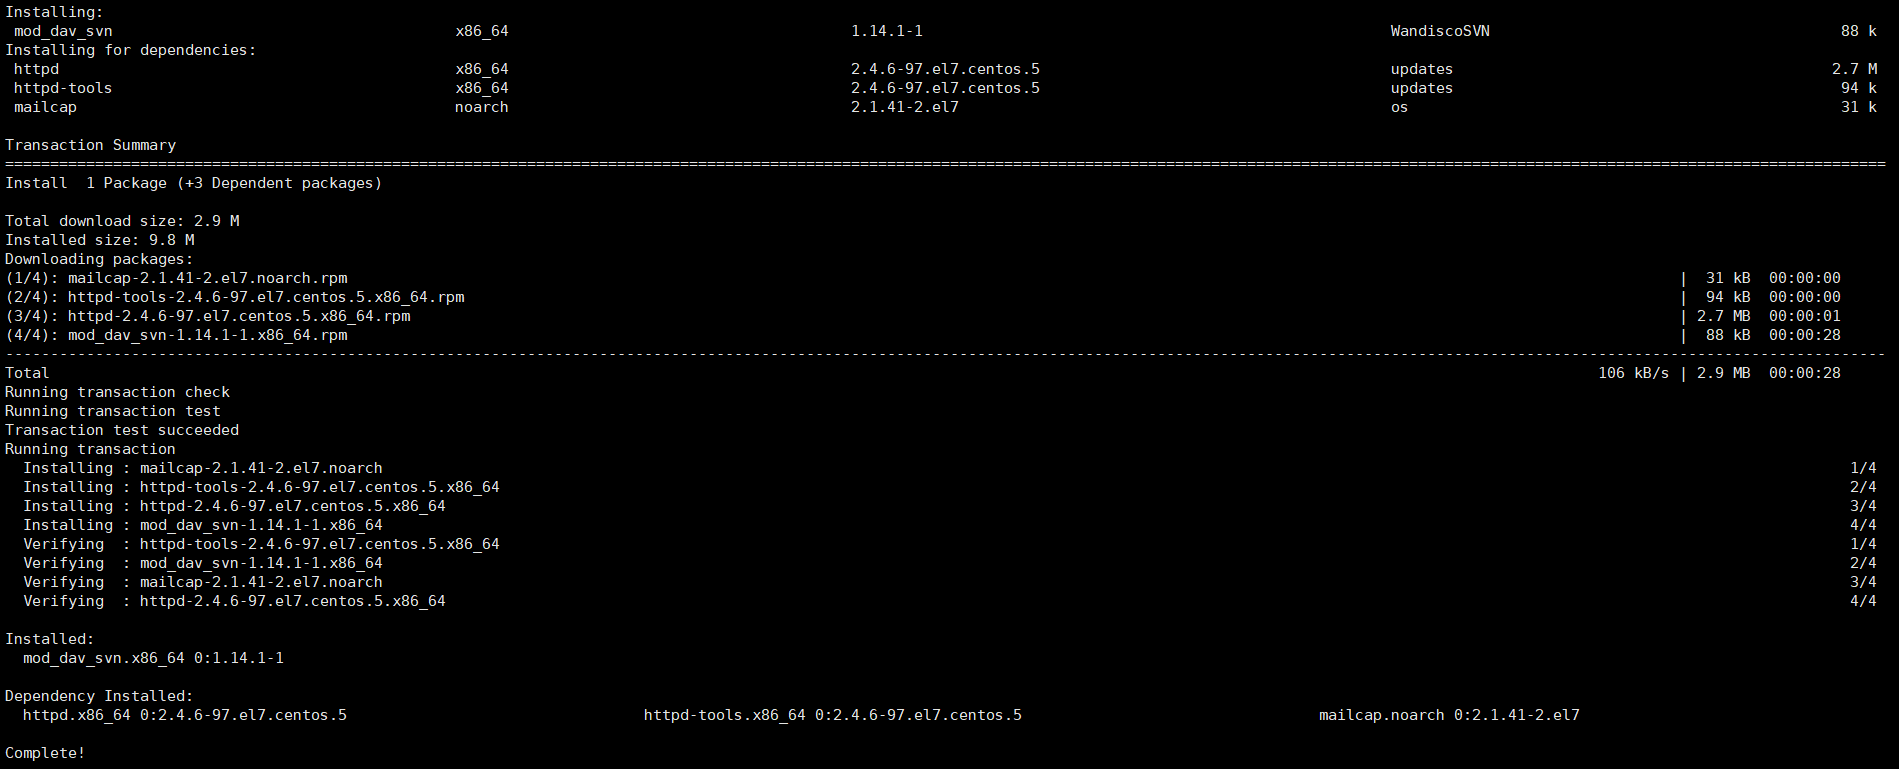
ls: cannot access /etc/httpd/modules/: No such file or directory表示没有安装 9.2 安装 yum -y install mod_dav_svn
修改标签设置与http与svn的映射,一个标签表示一个项目仓库,比如: DAV svn SVNPath /opt/svn/repos/svn-demo/ AuthType Basic AuthName "Subversion repos" AuthUserFile /opt/svn/repos/svn-demo/conf/httpPasswd AuthzSVNAccessFile /opt/svn/repos/svn-demo/conf/authz Require valid-user svn-demo:svn仓库名称;SVNPath:svn仓库路径;AuthType:认证类型;AuthName: 描述名称,任意值即可;AuthUserFile:这个是http协议的访问账户密码文件,通过htpasswd命令创建;AuthzSVNAccessFile:http权限认证文件,与svn的默认权限设置一样;Require: 需要认证用户才可以访问; 9.4 创建第一个用户(新增后需要设置权限)创建命令: # 创建用户 htpasswd -c -m /opt/svn/repos/svn-demo/conf/httpPasswd root -c:创建一个加密文件;只有第一次创建账户密码时使用;-m:默认采用MD5算法对密码进行加密;/opt/svn/repos/svn-demo/conf/httpPasswd:为AuthUserFile配置的路径;root:创建的用户名称;创建用户步骤: 新增用户: # username:用户名, password:密码 htpasswd -mb /opt/svn/repos/svn-demo/conf/httpPasswd username password
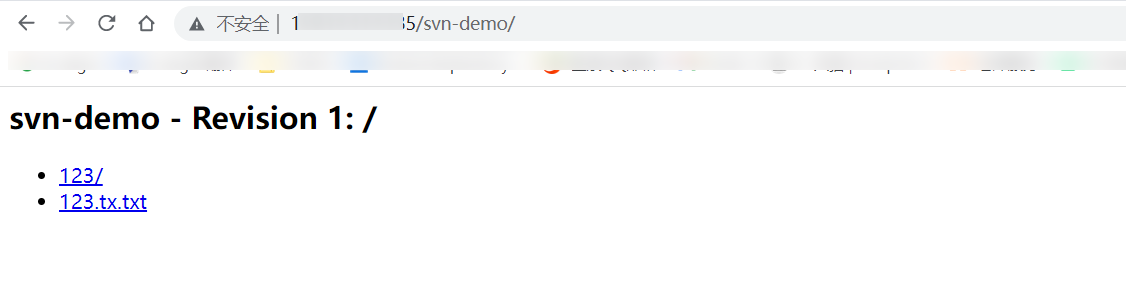
删除用户: # root为用户名 htpasswd -D root 9.6 设置用户权限在authz文件中,设置用户权限,格式为userName=Auth; 如果设置为*=则表示其他用户无任何权限; 权限由权限目录与用户映射关系组成: [/]: 表示用户可以访问整个目录;[/test] :表示用户只能访问test目录;userName=Auth:表示用户对应的权限值;权限值分为三类: r: 表示读权限w: 表示写权限rw: 表示可读可写权限比如: /opt/svn/repos/svn-demo/conf/authz内容: # admin 具有读写权限,并且可以操作所有目录 [/] root= rw; *= # admin 具有读写权限,只能操作test目录 [/test] zhangsan = rw; *= 9.7 配置httpd权限创建一个新的仓库后,也需要重新配置httpd权限 chown -R apache:apache /opt/svn/repos/svn-demo/重启httpd服务: service httpd restart 9.9 修改http端口默认情况下,httpd的默认的端口为80,通过修改httpd.conf进行设置端口; # 修改 vim /etc/httpd/conf/httpd.conf # 内容,比如修改端口为90 Listen 90重启httpd服务: service httpd restart 9.9 测试配置http后,可以直接在浏览器中访问svn项目,比如访问svn-demo; 地址:http://162.14.119.135:90/svn-demo/ |


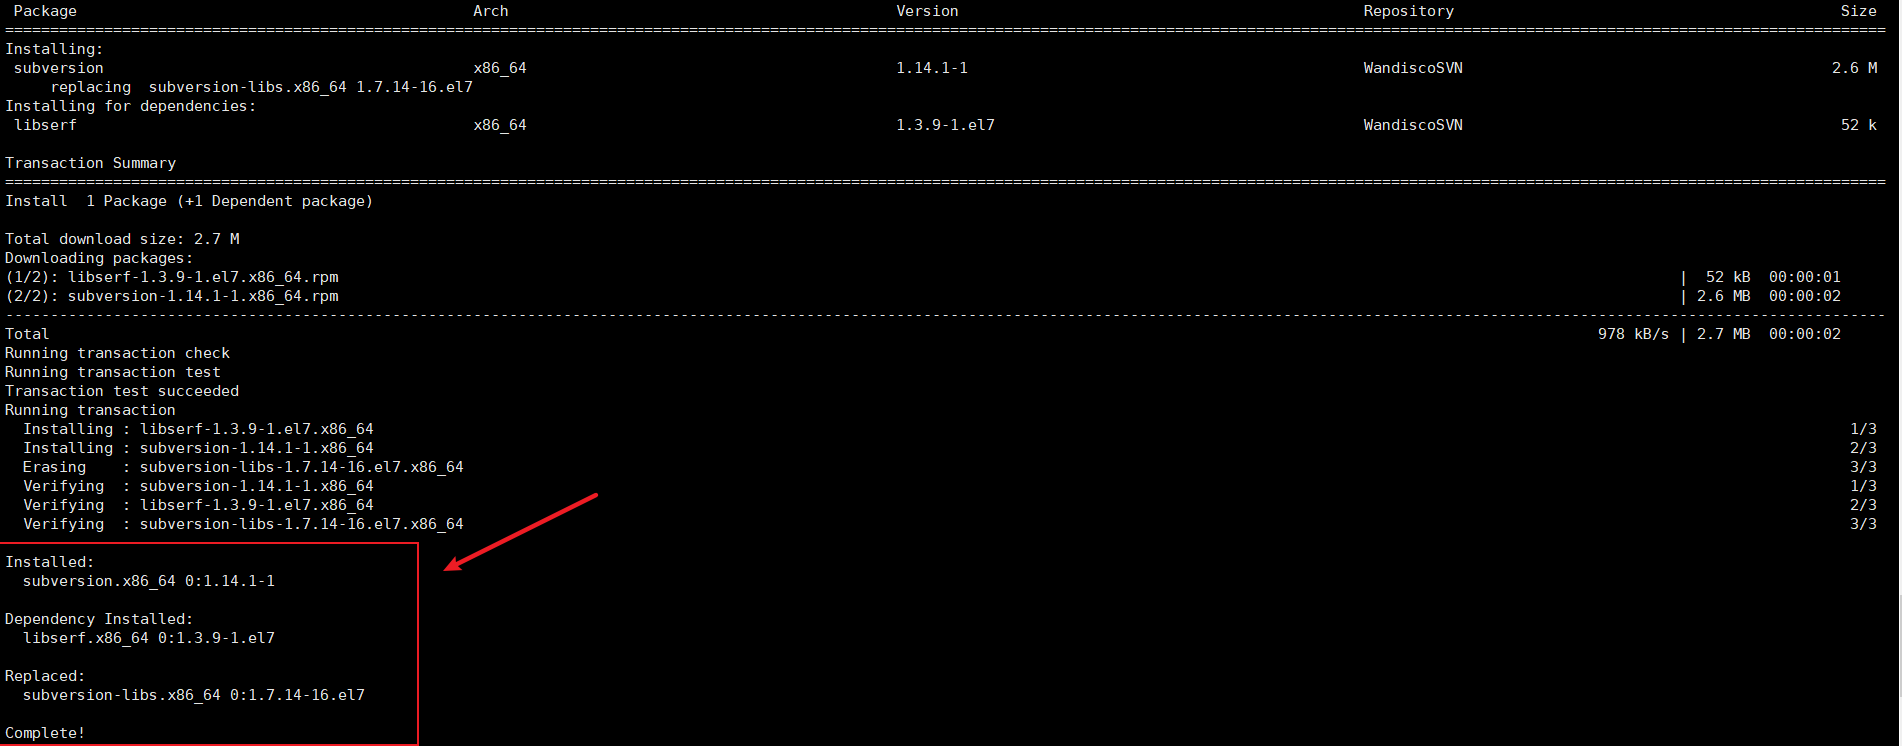


 查看安装结果:


【本文地址】
今日新闻 |
推荐新闻 |