ubuntu base文件系统移植 |
您所在的位置:网站首页 › 基于arm的linux系统移植 › ubuntu base文件系统移植 |
ubuntu base文件系统移植
|
1综合篇点我2uboot移植点我3uboot lcd驱动点我4kernel移植点我5kernel lcd驱动点我6摄像头驱动点我7ubuntu base移植点我8挂载网络文件系统点我9qt移植点我10搭建qt交叉编译点我11wifi移植点我
1 ubuntu-base 获取
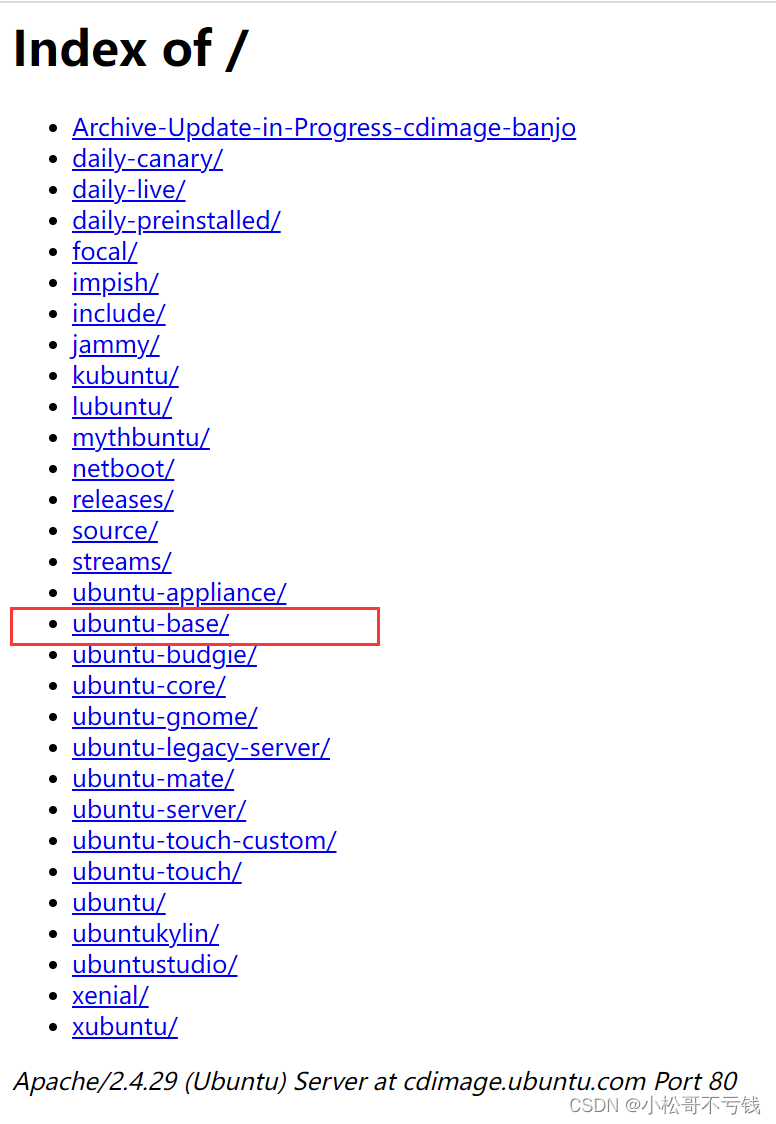
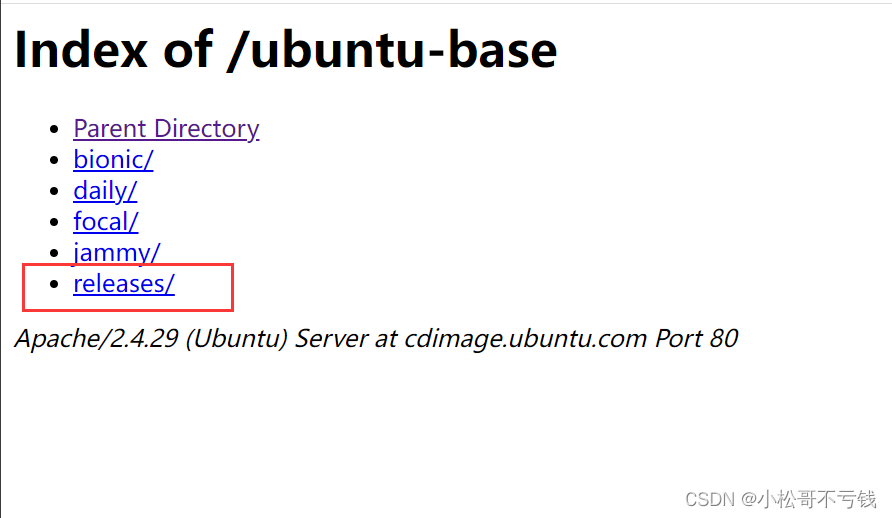
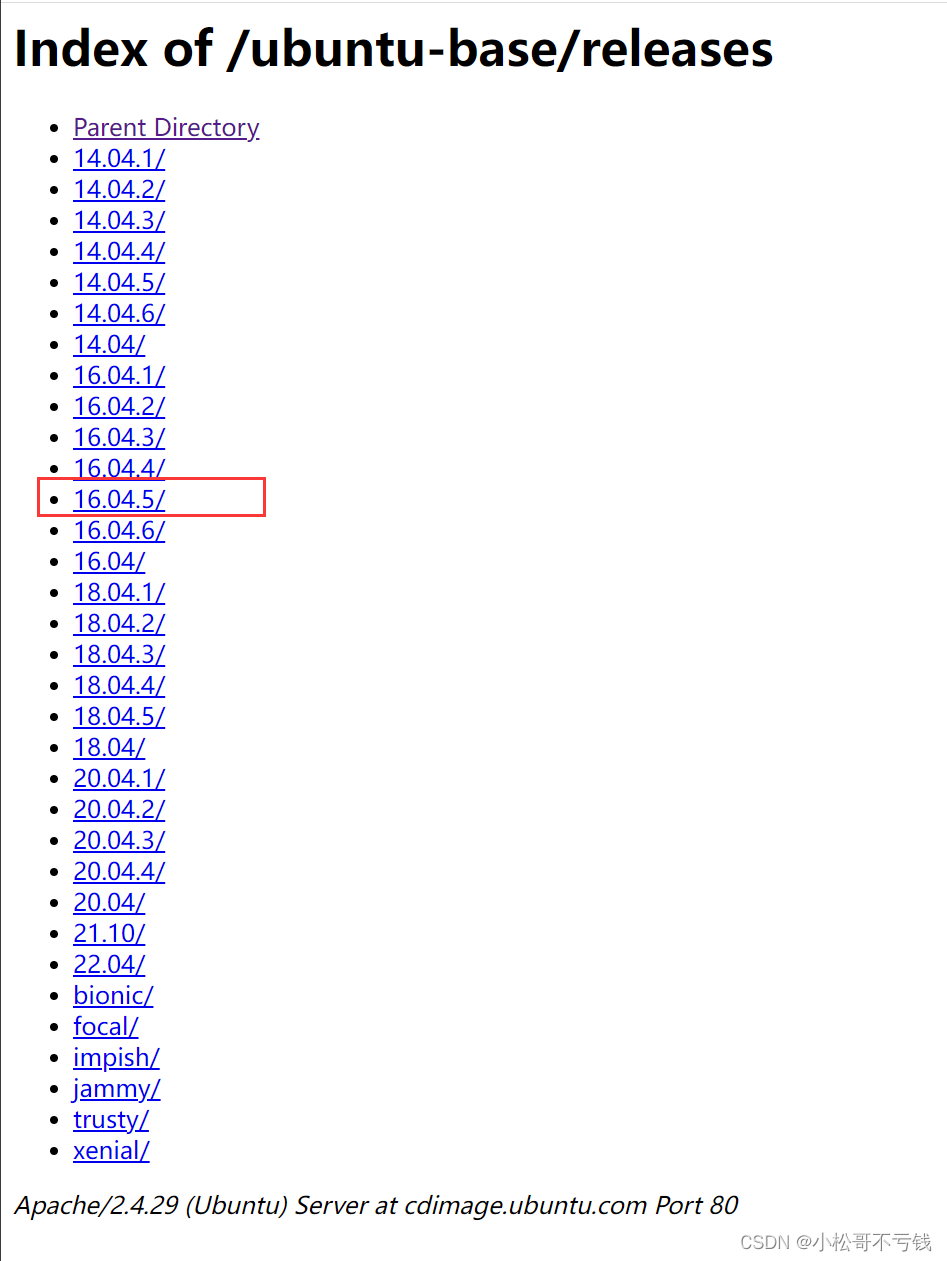
Ubuntu 的移植非常简单,不需要我们编译任何东西,因为 Ubuntu 官方已经将根文件系统制作好了!我们只需要简单配置一下 Ubuntu 官方提供的 base 根文件系统,使其在我们的开发板上跑起来即可。因此我们首先需要下载 Ubuntu-base,本章我们移植 Ubuntu 16.04 版本根文件系统,有兴趣的可以移植其他版本的 Ubuntu 内核,比如 18.04。首先肯定是到Ubuntu 官 方 去 下 载 16.04 的 根 文 件 系 统 , 根 文 件 系 统 下 载 地 址 为 http://cdimage.ubuntu.com/,下载界面如图所示: 点击图中的“releases”,下载 releases 版本的根文件系统,进去以后如图所示: 为了存放 ubuntu base 根文件系统,先在 PC 的 Ubuntu 系统中的 nfs 目录下创建一个名为 rootfs 的目录,命令如下: cd /home/work/imx6ull/ //进入到 imx6ull目录下 mkdir rootfs //创建名为“rootfs”目录将 上 一 小 节 下 载 得 到 的 “ ubuntu-base-16.04.5-base-armhf.tar.gz ” 拷 贝 到 上 面 创 建 的 “rootfs”目录中,然后使用如下命令对其解压缩: sudo tar -vzxf ubuntu-base-16.04.5-base-armhf.tar.gz解压完成以后如图所示: 需要在 PC 的 Ubuntu 上安装 qemu 工具,命令如下: sudo apt-get install qemu-user-static将刚刚安装的 qemu-user-static 拷贝到刚刚解压出来的 ubuntu base 目录中,也就是 ubuntu_rootfs/usr/bin 目录下,命令如下: cd /home/work/imx6ull/rootfs //进入到 rootfs 目录下 sudo cp /usr/bin/qemu-arm-static ./usr/bin/ //拷贝 qemu-arm-static 2.3 设置软件源我们在 ubuntu 下使用 apt-get 安装软件的时候,是从网上下载软件并安装的,因此需要指定软件源。在设置软件源之前先将 Ubuntu 主机下的 DNS 配置文件/etc/resolv.conf 拷贝到根文件系统中,命令如下: cd /home/work/imx6ull/rootfs/ubuntu-base-16.04.5-base-armhf //进入到 rootfs/ubuntu-base-16.04.5-base-armhf 目录下 sudo cp /etc/resolv.conf ./etc/resolv.conf //拷贝 resolv.conf设置软件源,打开根文件系统中的 ubuntu-base-16.04.5-base-armhf/etc/apt/sources.list 文件,在此文件最后面 添加软件源,比如国内常用的清华源、中科大源等等,这些软件源可以直接在网上查找。 注意 这里要用 ubuntu16.04 的 ARM 源,不能找成了 X86 的源。 #中科大源 deb http://mirrors.ustc.edu.cn/ubuntu-ports/ xenial main multiverse restricted universe deb http://mirrors.ustc.edu.cn/ubuntu-ports/ xenial-backports main multiverse restricted universe deb http://mirrors.ustc.edu.cn/ubuntu-ports/ xenial-proposed main multiverse restricted universe deb http://mirrors.ustc.edu.cn/ubuntu-ports/ xenial-security main multiverse restricted universe deb http://mirrors.ustc.edu.cn/ubuntu-ports/ xenial-updates main multiverse restricted universe deb-src http://mirrors.ustc.edu.cn/ubuntu-ports/ xenial main multiverse restricted universe deb-src http://mirrors.ustc.edu.cn/ubuntu-ports/ xenial-backports main multiverse restricted universe deb-src http://mirrors.ustc.edu.cn/ubuntu-ports/ xenial-proposed main multiverse restricted universe deb-src http://mirrors.ustc.edu.cn/ubuntu-ports/ xenial-security main multiverse restricted universe deb-src http://mirrors.ustc.edu.cn/ubuntu-ports/ xenial-updates main multiverse restricted universe将示例代码中的源添加到 sources.list 文件中即可。 2.4 在主机挂载并配置根文件系统 2.4.1 在主机挂载根文件系统接下来将上面制作的根文件系统挂载到主机上,需要挂载 proc、 sys、 dev、 dev/pts 等文件系统,最后使用 chroot 将主机的根文件系统切换到我们前面制作的根文件系统中。这里我们通过两个脚本文件来完成挂载和卸载操作,首先是挂载脚本 mount.sh,在 rootfs目录下创建一个名为 mount.sh 的 shell 脚本,然后在里面输入如下所示内容: 1 #!/bin/bash 2 echo "MOUNTING" 3 sudo mount -t proc /proc /home/work/imx6ull/rootfs/ubuntu-base-16.04.5-base-armhf/proc 4 sudo mount -t sysfs /sys /home/work/imx6ull/rootfs/ubuntu-base-16.04.5-base-armhf/sys 5 sudo mount -o bind /dev /home/work/imx6ull/rootfs/ubuntu-base-16.04.5-base-armhf/dev 6 sudo mount -o bind /dev/pts /home/work/imx6ull/rootfs/ubuntu-base-16.04.5-base-armhf/dev/pts 7 sudo chroot /home/work/imx6ull/rootfs/ubuntu-base-16.04.5-base-armhf再编写一个卸载的脚本文件,新建名为 unmount.sh 的 shell 脚本,在里面输入如下所示内容: 1 #!/bin/bash 2 echo "UNMOUNTING" 3 sudo umount home/work/imx6ull/rootfs/ubuntu-base-16.04.5-base-armhf/proc 4 sudo umount home/work/imx6ull/rootfs/ubuntu-base-16.04.5-base-armhf/sys 5 sudo umount /home/work/imx6ull/rootfs/ubuntu-base-16.04.5-base-armhf/dev/pts 6 sudo umount home/work/imx6ull/rootfs/ubuntu-base-16.04.5-base-armhf/dev最后给予 mount.sh 和 unmount.sh 这两个 shell 脚本可执行权限,命令如下: sudo chmod 777 mount.sh unmount.sh一切准备就绪以后执行 mount.sh 脚本,将制作的根文件系统挂载到主机下,输入如下命令: ./mount.sh挂载成功以后如图所示: 由于 ubuntu base 是一个最小根文件系统,很多命令和软件都没有,因此我们需要先安装一下常用的命令和软件,输入如下命令(注意!是在电脑的 Ubuntu 下输入这些命令,因为现在电脑的 Ubuntu 正挂载着我们移植的 Ubuntu-base 根文件系统): apt update apt install sudo apt install vim apt install kmod apt install net-tools apt install ethtool apt install ifupdown apt install language-pack-en-base apt install rsyslog apt install htop apt install iputils-ping我们就先安装这些命令和软件,保证 ubuntu base 根文件系统能够在开发板上正常启动即可,等启动以后再根据实际情况继续安装其他的命令和软件。 2.4.3 设置 root 用户密码设置一下 root 用户的密码,这里我设置简单一点, root 用户密码也设置为“root”,相当于 用户名和密码一样,命令如下: passwd root //设置 root 用户密码 2.4.4 设置本机名称和 IP 地址输入如下命令设置本机名称和 IP 地址: echo "alientek_imx6ul" > /etc/hostname echo "127.0.0.1 localhost" >> /etc/hosts echo "127.0.0.1 alientek_imx6ul" >> /etc/hosts 2.4.5 设置串口终端ubuntu 根文件系统在开发板上启动以后我们通常也希望串口终端正常工作,需要创建一个链接。首先确定自己所使用的串口设备文件,比如我的 开发 板 使 用 的 UART1 对 应 的 串 口 设 备 文 件 为 ttymxc0 , 我 们 需 要 添 加 一 个 名 为 [email protected] 的链接,链接到 [email protected] 服务上,输入如下命令: ln -s /lib/systemd/system/[email protected] /etc/systemd/system/getty.target.wants/getty@ttymxc0. service设置好以后就可以退出根文件系统了,输入如下命令退出: exit退出以后再执行一下 unmount.sh 脚本取消挂载,命令如下: ./unmount.sh至此, ubuntu base 根文件系统就已经制作好了,接下来就是挂载到开发板上去测试。 3 ubuntu 根文件系统测试 3.1 nfs 挂载测试根文件系统已经制作完成了,接下来就是测试,先用 nfs 挂载根文件系统,前期nfs配置可参照https://blog.csdn.net/L1643319918/article/details/120348410?spm=1001.2014.3001.5502配置,在 uboot 里面设置 bootargs 环境变量的值如下: setenv bootargs ‘console=tty1 console=ttymxc0,115200 root=/dev/nfs nfsroot=192.168.1.253:/home/work/imx6ull/rootfs/ubuntu-base-16.04.5-base-armhf rw ip=192.168.1.251:192.168.1.253:192.168.1.1:255.255. 255.0::eth0:off’ saveenv //保存环境变量设置根文件系统为我们前面制作的 ubuntu rootfs。设置完成以后重启开发 板,这个时候就会进入到 ubuntu 根文件系统中。 3.2 ubuntu 根文件系统烧写通过 nfs 挂载根文件系统测试成功,接下来就可以使用 MfgTool 将 ubuntu 根文件系统烧写到开发板上的 EMMC 或者 NAND 中。 3.3 打包 ubuntu 根文件系统首先打包 ubuntu 根文件系统,命令如下: cd ubuntu-base-16.04.5-base-armhf //进入到 ubuntu 根文件系统 tar -vcjf ubuntu-base-16.04.5-base-armhf.tar.bz2 * //打包根文件系统 |
【本文地址】
今日新闻 |
推荐新闻 |
 点击图 中的 ubuntu-base,进入到 ubuntu-base 下载界面,如图所示:
 我们选择 16.04.5,点击以后进入如图所示界面:
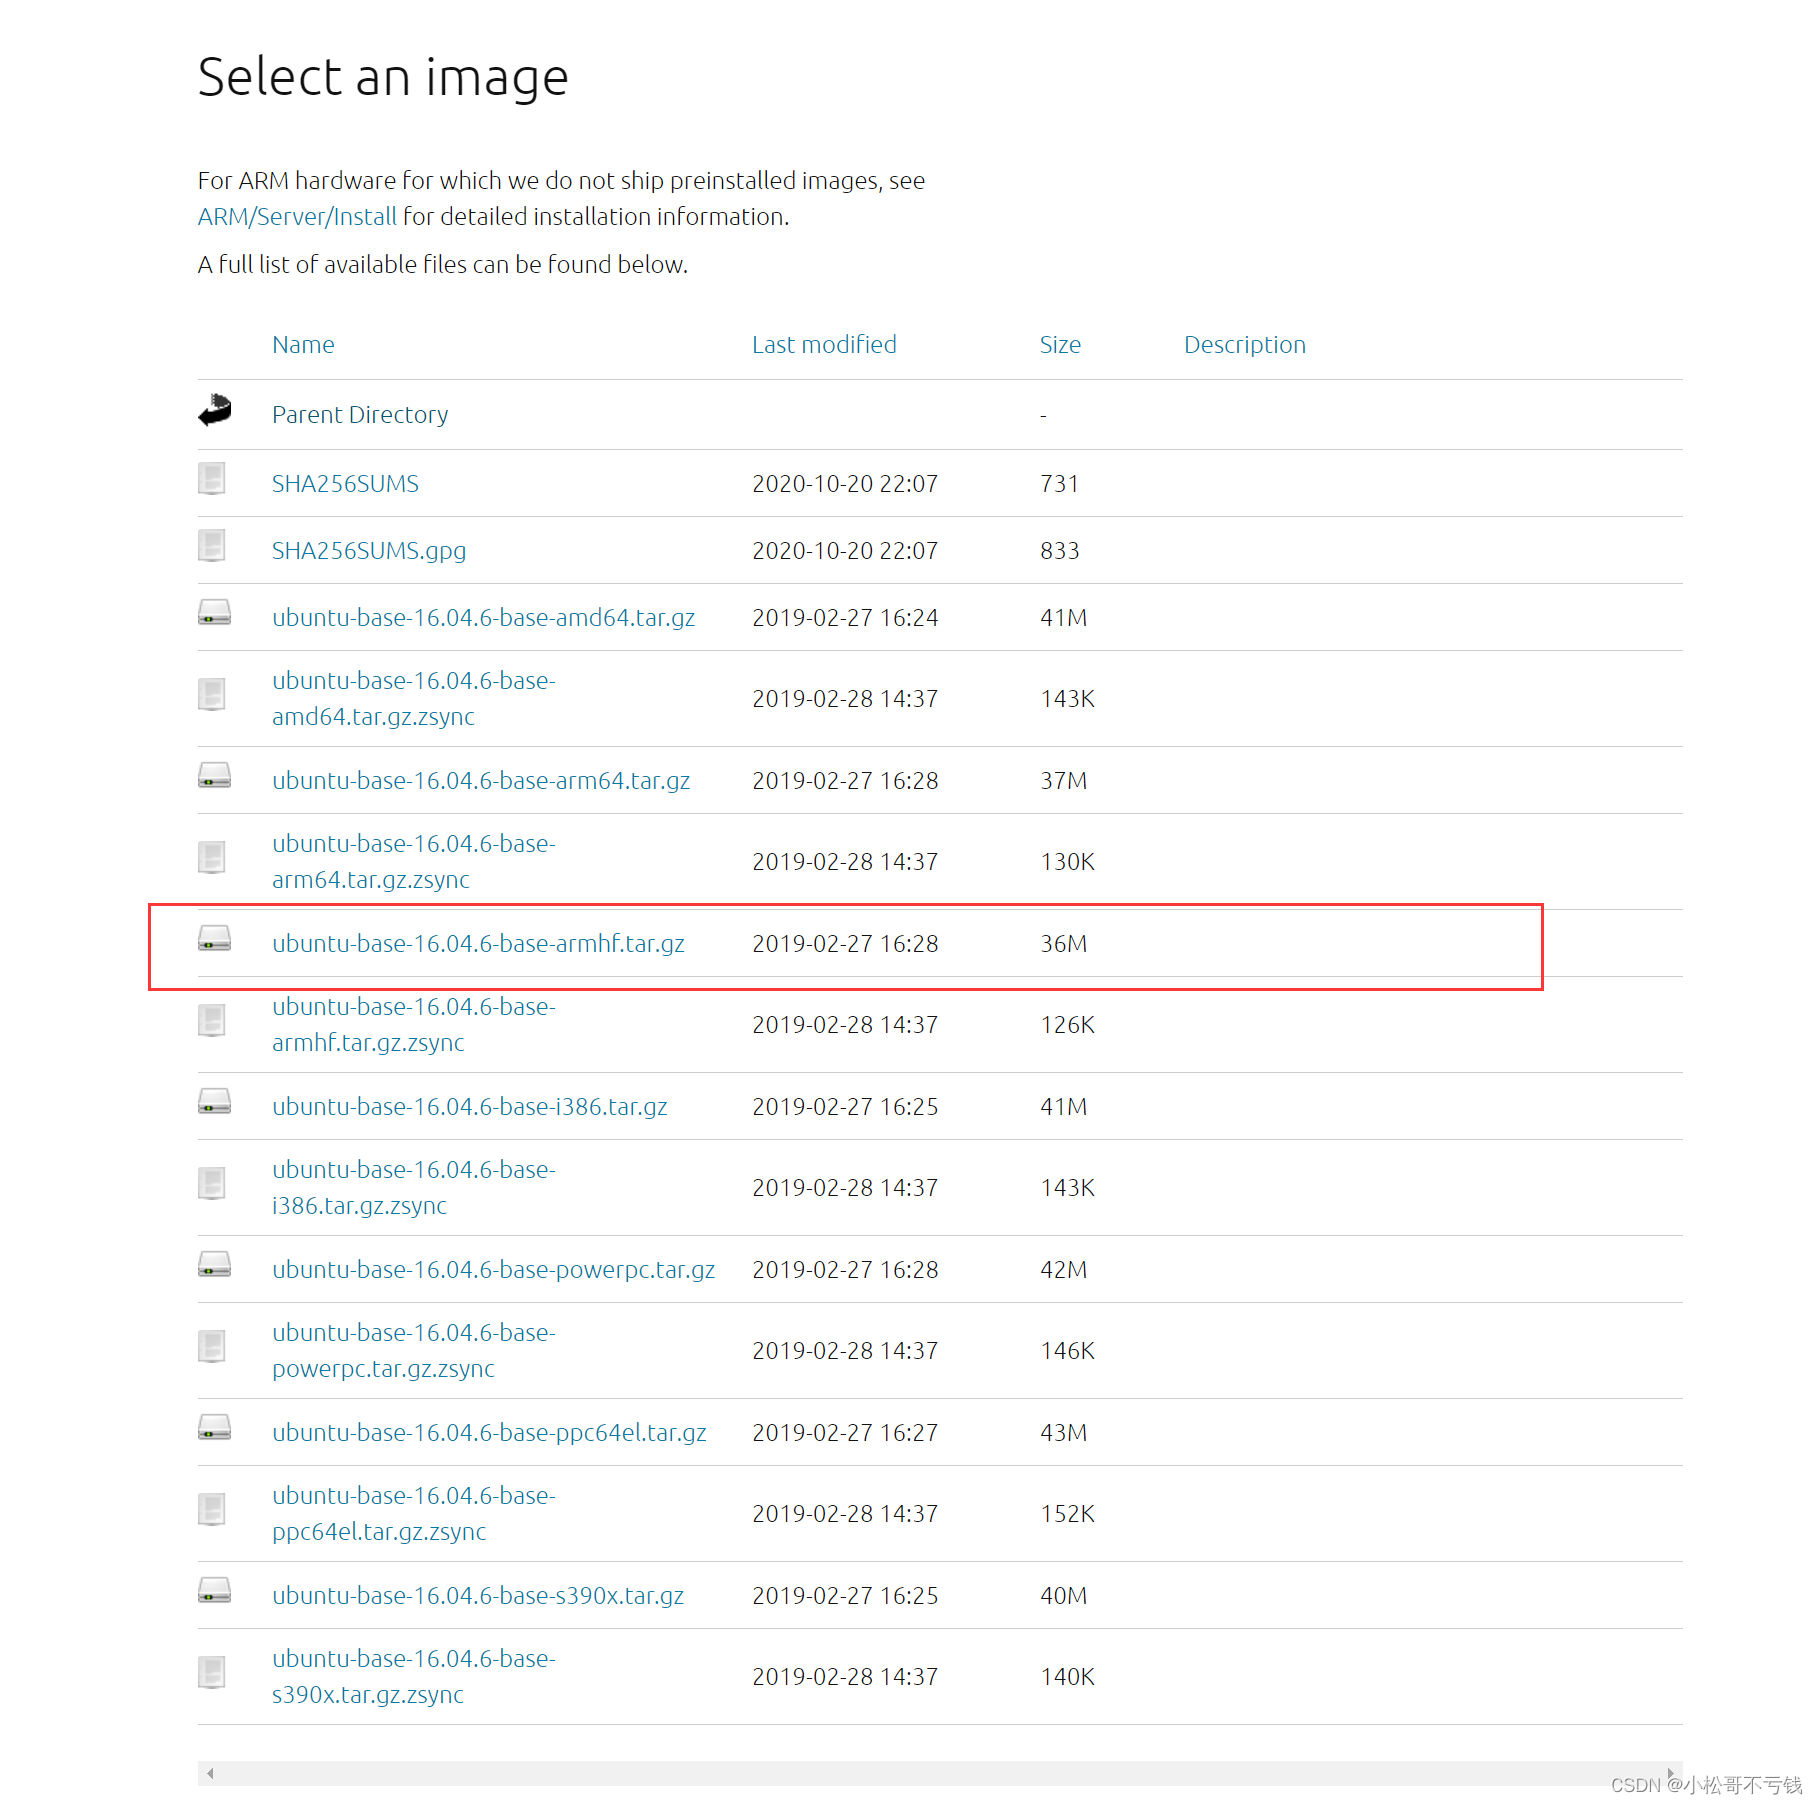
 从图 可以看出, Ubuntu 针对不同的 CPU 架构提供相应的 ubuntu base 根文件系统, 有 amd64(64 位 X86)、 armhf、 i386(32 位 X86)、 powerpc、 ppc64el 等系统的。 I.MX6ULL 是 CortexA 内核的 CPU,并且有硬件浮点运算单元,因此选择 armhf 版本。在图 中找到“ubuntubase-16.04.5-base-armhf.tar.gz”,也就是 16.04.5 版本的 ubuntu base 根文件系统,将其下载下来。
 从图可以看出, ubuntu base 解压以后就是大家最常见的 linux 根文件系统,但是 目前还不能直接使用,还需要对其做一些其他的配置。
 从图可以看出,当前终端已经将根文件系统切换到了我们上面制作的ubuntu-base-16.04.5-base-armhf根文件系统中