安卓Android |
您所在的位置:网站首页 › 北京摩托车二手车交易市场电话 › 安卓Android |
安卓Android
|
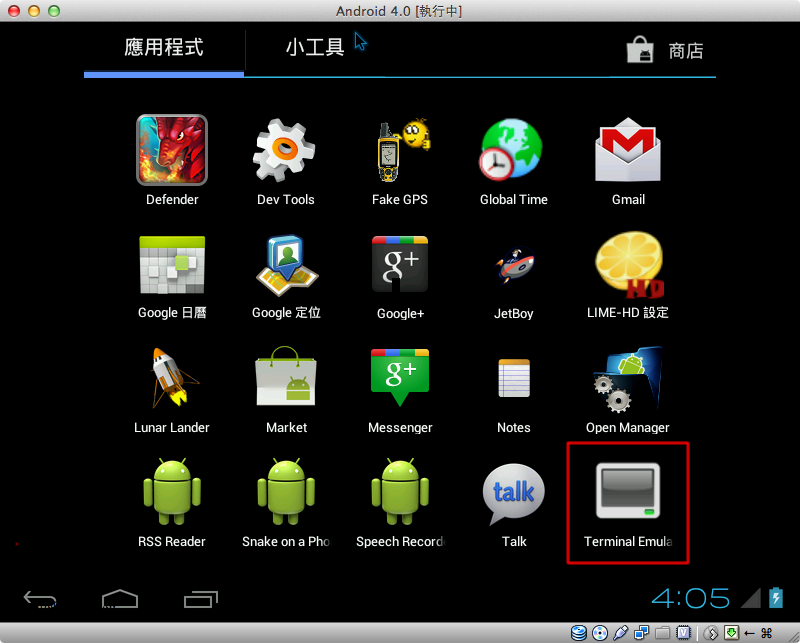
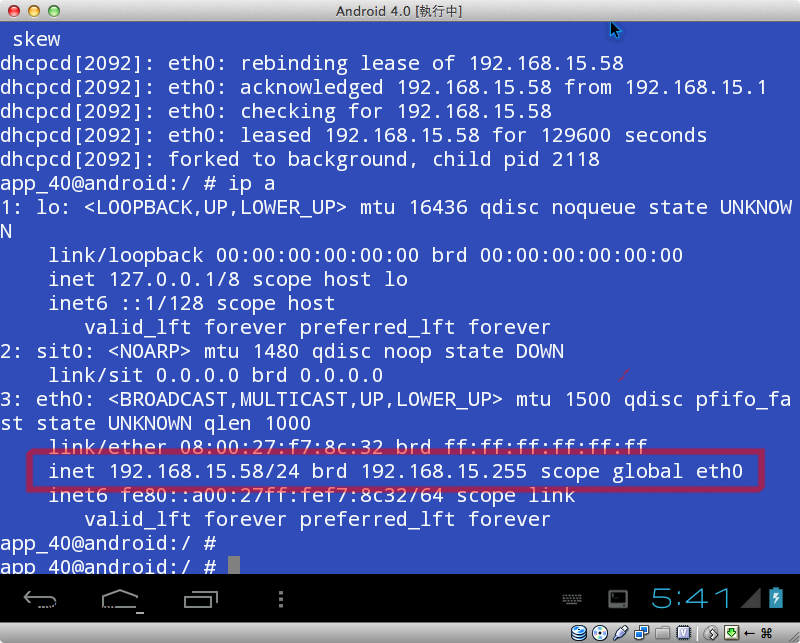
剛安裝好的 Android-x86 4.0 是無法連線到網路的,因為還未設定網路的 IP 位址,這裡必須要手動地設定 IP 位置。 在 App 清單中開啟 Terminal Emulator。 開啟後會出現終端機介面,接著輸入 ip a 就會列出目前的網路卡。這裡可以看到 eth0 目前是還沒有設定 IP 的狀態
設定 IP 可以透過手動設定 IP 或者也可以透過 DHCP。 透過 DHCP 取得 IP 如果你的網路環境有 DHCP Server 的話,透過 DHCP 的方式取得 IP 是最簡單的方式。 在終端機輸入 su dhcpcd eth0
接著就會自動取得 IP,可以再輸入 ip a,這時就會看到 eth0 已經透過 DHCP的方式取得 IP。
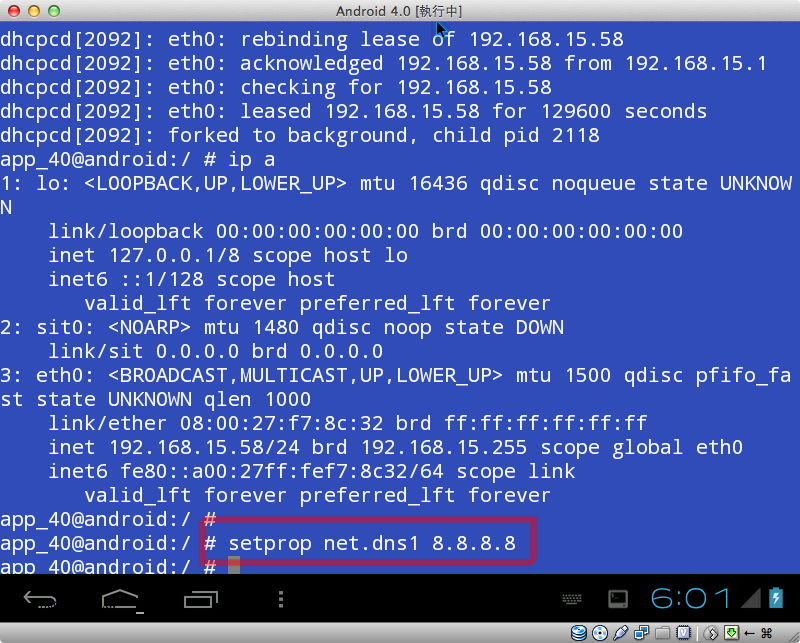
手動設定 IP 當然也可以透過手動設定 IP 的方式來設定 IP。 在終端機輸入 su ifconfig eth0 192.168.10.250 netmask 255.255.255.0 up route add default gw 192.168.10.1 dev eth0 #设置IP root@android:/ # ifconfig eth0 192.168.0.173 netmask 255.255.255.0 ifconfig eth0 192.168.0.173 netmask 255.255.255.0 ifconfig wlan0 192.168.1.119 netmask 255.255.255.0 #添加网关 route add default gw 192.168.1.250 dev wlan0 root@android:/ # route add default gw 192.168.0.1 dev eth0 #設定 DNS Server,接著再設定 DNS Server setprop net.eth0.dns1 192.168.1.250 setprop net.eth0.dns2 192.168.1.1 root@android:/ # setprop net.eth0.dns1 8.8.8.8 root@android:/ # setprop net.eth0.dns2 8.8.4.4 在終端機輸入 setprop net.dns1 8.8.8.8
設定完後就可以使用內建的瀏覽器上網試試看網路是否有設定成功。
到了這邊,安裝 Android-x86 4.0 的步驟就已經告一段落了,雖然可以上網,但是還是不能設定 Google 帳號,因為 Android-x86 4.0 只認得 WiFi 裝置,所以沒有 WiFi 裝置就會被當成沒有網路連線,希望這個功能可以在之後的版本被修正。 实例手机连接:转自 http://www.biemmeitalia.net/blog/android-network-configuration/ 通过shell命令设置(获取)IP、网关、dns信息,需要获取root权限 查看所有网络信息 C:\>adb shell root@android:/ # netcfg netcfg ip6tnl0 DOWN 0.0.0.0/0 0x00000080 00:00:00: 00:00:00 gre0 DOWN 0.0.0.0/0 0x00000080 00:00:00: 00:00:00 eth0 UP 192.168.0.180/24 0x00001043 00:00:00: ec:0a:00 sit0 DOWN 0.0.0.0/0 0x00000080 00:00:00: 00:00:00 lo UP 127.0.0.1/8 0x00000049 00:00:00: 00:00:00 tunl0 DOWN 0.0.0.0/0 0x00000080 00:00:00: 00:00:00查看eth0 root@android:/ # ifconfig eth0 ifconfig eth0 eth0: ip 192.168.0.180 mask 255.255.255.0 flags [up broadcast running multicast]查看dns root@android:/ # getprop net.eth0.dns1 getprop net.eth0.dns1 8.8.8.8 root@android:/ # getprop net.eth0.dns2 getprop net.eth0.dns2 8.8.4.4设置ip root@android:/ # ifconfig eth0 192.168.0.173 netmask 255.255.255.0 ifconfig eth0 192.168.0.173 netmask 255.255.255.0 root@android:/ # ifconfig eth0 ifconfig eth0 eth0: ip 192.168.0.173 mask 255.255.255.0 flags [up broadcast running multicast]设置网关Gateway root@android:/ # route add default gw 192.168.0.1 dev eth0 route add default gw 192.168.0.1 dev eth0添加dns root@android:/ # setprop net.eth0.dns1 8.8.8.8 setprop net.eth0.dns1 8.8.8.8 root@android:/ # setprop net.eth0.dns2 8.8.4.4 setprop net.eth0.dns2 8.8.4.4查看eth配置信息 root@android:/ # getprop | grep eth0 getprop | grep eth0 [dhcp.eth0.dns1]: [192.168.0.1] [dhcp.eth0.dns2]: [] [dhcp.eth0.dns3]: [] [dhcp.eth0.dns4]: [] [dhcp.eth0.gateway]: [192.168.0.1] [dhcp.eth0.ipaddress]: [192.168.0.180] [dhcp.eth0.leasetime]: [3600] [dhcp.eth0.mask]: [255.255.255.0] [dhcp.eth0.pid]: [13800] [dhcp.eth0.reason]: [PREINIT] [dhcp.eth0.result]: [failed] [dhcp.eth0.server]: [192.168.0.1] [dhcp.eth0.vendorInfo]: [] [net.change]: [net.eth0.dns2] [net.eth0.dns1]: [8.8.8.8] [net.eth0.dns2]: [8.8.4.4]
|


【本文地址】
今日新闻 |
推荐新闻 |