简易版即时通讯系统 |
您所在的位置:网站首页 › 前后端交互数据加密技术 › 简易版即时通讯系统 |
简易版即时通讯系统
|
写在前面 之前了解了即时通讯设计的基本方案,感觉蛮有意思,但一直没有实现;这两天参照网上的教程实现了一些小功能,此项目未经严格测试,仅供娱乐,切勿当真!。 技术架构主要技术:vue+springboot+mybatis-plus 网上教程是前后端不分离项目,我还是想做前后端分离的,之后可以考虑集成到其他项目中去。 交互设计数据库设计用户表: 记录用户基本信息,这里给出必要的几个字段即可
消息表: 主要用于记录用户之间发送的消息,其中包括,发送者id,接收者id,发送内容等
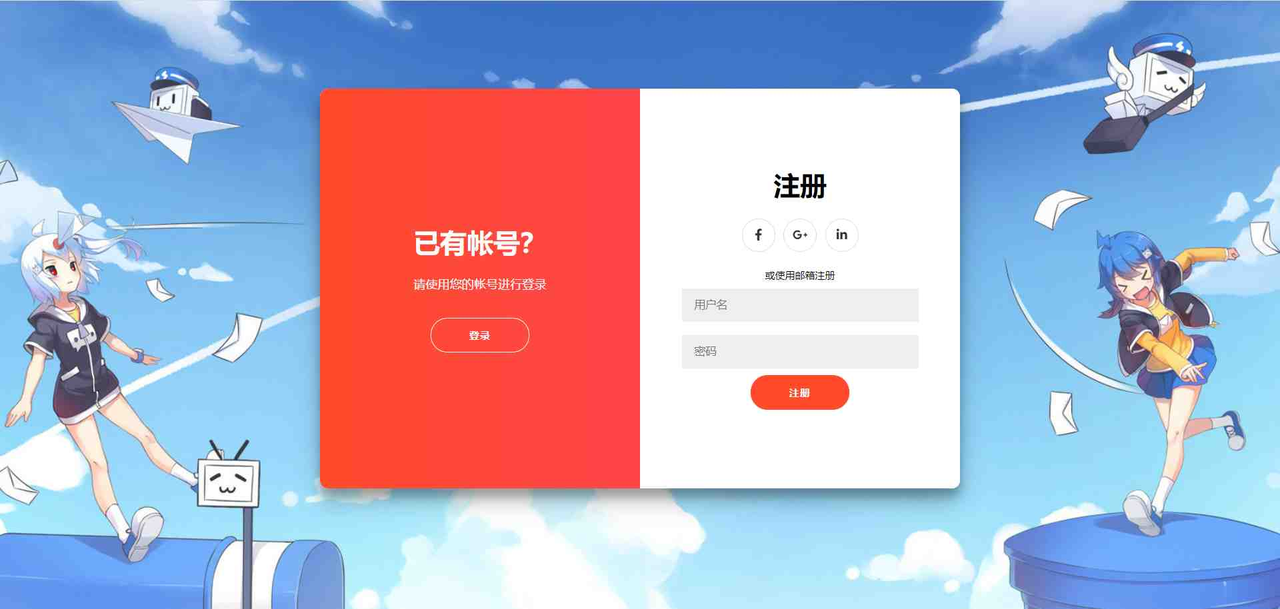
因为即时通讯系统需要前后端互相配合,因此接口的设计和传输对象的设计比较重要,这里给出po和vo的设计 持久化对象: 用户对象 1234567891011121314151617181920212223242526272829303132333435363738394041package com.wolfman.wolfchat.po;import com.baomidou.mybatisplus.annotation.IdType;import com.baomidou.mybatisplus.annotation.TableId;import com.baomidou.mybatisplus.annotation.TableName;import com.baomidou.mybatisplus.extension.activerecord.Model;import lombok.Data;import lombok.EqualsAndHashCode;/** * @Title * @Description * @Author WolfMan * @Date 2022/1/14 12:54 * @Email [email protected] */@Data@TableName("user")@EqualsAndHashCode(callSuper = true)public class User extends Model { private static final long serialVersionUID = 1L; /** * 主键id */ @TableId(value = "id", type = IdType.AUTO) private Integer id; /** * 用户名 */ private String username; /** * 密码 */ private String password; /** * 头像 */ private String avatar;} 消息对象 12345678910111213141516171819202122232425262728293031323334353637383940414243444546474849505152535455565758596061626364656667package com.wolfman.wolfchat.po;import com.baomidou.mybatisplus.annotation.IdType;import com.baomidou.mybatisplus.annotation.TableField;import com.baomidou.mybatisplus.annotation.TableId;import com.baomidou.mybatisplus.annotation.TableName;import com.baomidou.mybatisplus.extension.activerecord.Model;import lombok.Data;import lombok.EqualsAndHashCode;import java.util.Date;/** * @Title * @Description * @Author WolfMan * @Date 2022/1/15 0:41 * @Email [email protected] */@Data@TableName("message")@EqualsAndHashCode(callSuper = true)public class Message extends Model { private static final long serialVersionUID = 1L; /** * 主键id */ @TableId(value = "id", type = IdType.AUTO) private Integer id; /** * 发送者id */ @TableField("fromUserId") private Integer fromUserId; /** * 接收者id */ @TableField("toUserId") private Integer toUserId; /** * 发送内容 */ private String message; /** * 发送时间 */ @TableField("createTime") private Date createTime; /*-------------------非持久化属性-------------------*/ /** * 是否为系统消息 */ @TableField(exist = false) private Boolean isSystem; /** * 发送者 */ @TableField(exist = false) private User fromUser;} 值传输对象: 1234567891011121314151617181920212223242526272829303132333435363738394041424344454647484950515253545556575859606162636465666768package com.wolfman.wolfchat.vo;import lombok.Data;/** * @Title * @Description * @Author WolfMan * @Date 2022/1/15 0:42 * @Email [email protected] */@Datapublic class Result { /** * 操作是否成功 */ private boolean flag; /** * 信息 */ private String message; /** * 数据 */ private Object data; private Result(Object data) { this.flag = true; this.message = "success"; this.data = data; } private Result(String message, Object data) { this.flag = true; this.message = message; this.data = data; } private Result(String message) { this.flag = false; if (message == null) { return; } this.message = message; } public static Result success(Object data) { return new Result(data); } public static Result success(String message, Object data) { return new Result(message, data); } public static Result error(String message) { return new Result(message); } @Override public String toString() { return "Result{" + "flag=" + flag + ", message='" + message + '\'' + ", data=" + data + '}'; }} 主要实现主要使用websocket完成,通过前后端分别实现websocket的几个关键方法,即可实现交互。关键方法有: onOpen,当连接建立时,调用此方法 onMessage,当消息发送时,调用此方法 onClose,当连接断开时,调用此方法 onError,当链接错误时,调用此方法通过配合以上方法,即可实现简易的即时通讯系统。 后台实现引入webSocket坐标12345 org.springframework.boot spring-boot-starter-websocket 配置webSocket1234567891011121314151617181920212223242526272829303132333435363738394041package com.wolfman.wolfchat.config;import com.wolfman.wolfchat.component.WebSocketServer;import com.wolfman.wolfchat.service.MessageService;import com.wolfman.wolfchat.service.UserService;import org.springframework.context.annotation.Bean;import org.springframework.context.annotation.Configuration;import org.springframework.web.socket.server.standard.ServerEndpointExporter;import javax.annotation.Resource;/** * @Title * @Description * @Author WolfMan * @Date 2022/1/15 0:41 * @Email [email protected] */@Configurationpublic class WebSocketConfig { @Resource UserService userService; @Resource MessageService messageService; /** * 注入一个ServerEndpointExporter,该Bean会自动注册使用@ServerEndpoint注解申明的websocket endpoint */ @Bean public ServerEndpointExporter serverEndpointExporter() { return new ServerEndpointExporter(); } @Bean public void setBeanList() { WebSocketServer.userService = userService; WebSocketServer.messageService = messageService; }}配置文件中除了注入了ServerEndpointExporter外,还注入了两个service,用于我们之后对消息的持久化。 实现ServerEndpointExporter我们需要实现一个带@ServerEndpoint注解的类,之后该类会自动注入到spring容器中。主要实现为: 123456789101112131415161718192021222324252627282930313233343536373839404142434445464748495051525354555657585960616263646566676869707172737475767778798081828384858687888990919293949596979899100101102103104105106107108109110111112113114115116117118119120121122123124125126127128129130131132133134135136137138139140141142143144145146147148149150151152153package com.wolfman.wolfchat.component;import com.alibaba.fastjson.JSON;import com.wolfman.wolfchat.annotation.NeedAuthentication;import com.wolfman.wolfchat.po.Message;import com.wolfman.wolfchat.po.User;import com.wolfman.wolfchat.service.MessageService;import com.wolfman.wolfchat.service.UserService;import org.springframework.stereotype.Component;import javax.websocket.*;import javax.websocket.server.PathParam;import javax.websocket.server.ServerEndpoint;import java.io.IOException;import java.util.*;import java.util.concurrent.ConcurrentHashMap;/** * @Title * @Description * @Author WolfMan * @Date 2022/1/14 14:40 * @Email [email protected] */@Component@ServerEndpoint(value = "/wolfchat/{userId}")public class WebSocketServer { /** * 记录当前在线连接数 */ public static final Map sessionMap = new ConcurrentHashMap(); /** * 记录当前在线用户信息 */ public static final Map userMap = new ConcurrentHashMap(); /** * 用于查询用户 */ public static UserService userService; /** * 用于持久化消息 */ public static MessageService messageService; /** * 连接建立成功调用的方法 * * @param session * @param userId */ @OnOpen @NeedAuthentication public void onOpen(Session session, @PathParam("userId") Integer userId) throws IOException { User user = userService.selectByUserId(userId); if (user == null) { return; } //加入当前在线链接用户 userMap.put(userId, user); sessionMap.put(userId, session); // 后台发送消息给所有的客户端 sendMessageToAll(); } /** * 连接关闭调用的方法 */ @OnClose @NeedAuthentication public void onClose(@PathParam("userId") Integer userId) throws IOException { userMap.remove(userId); sessionMap.remove(userId); //推送最新在线信息 sendMessageToAll(); } /** * 收到客户端消息后调用的方法 * * @param content */ @OnMessage @NeedAuthentication public void onMessage(String content) throws IOException { Message message = JSON.parseObject(content, Message.class); User u = userService.selectByUserId(message.getToUserId()); //用户不存在 if (u == null) { return; } //不是系统消息 message.setIsSystem(false); //保存到数据库 message.setCreateTime(new Date()); messageService.save(message); // 根据 to用户名来获取 session,再通过session发送消息文本 Session targetSession = sessionMap.get(message.getToUserId()); if (targetSession == null) { return; } //重新构建消息 User fromUser = userMap.get(message.getFromUserId()); HashMap map = new HashMap(2); map.put("fromUser", fromUser); map.put("message", message.getMessage()); message.setMessage(JSON.toJSONString(map)); sendMessageToOne(message, targetSession); } /** * 连接错误调用的方法 * * @param error */ @OnError @NeedAuthentication public void onError(Throwable error) { error.printStackTrace(); } /** * 向所有用户发送信息 * * @throws IOException */ private void sendMessageToAll() throws IOException { List userList = new ArrayList(userMap.values()); Message message = new Message(); //是系统消息 message.setIsSystem(true); message.setMessage(JSON.toJSONString(userList)); for (Session session : sessionMap.values()) { sendMessageToOne(message, session); } } /** * 向某个用户发送信息 * * @param message * @param targetSession */ private synchronized void sendMessageToOne(Message message, Session targetSession) throws IOException { targetSession.getBasicRemote().sendText(JSON.toJSONString(message)); }}@ServerEndpoint(value = "/wolfchat/{userId}")注解的value值,指明了之后前端需要建立连接时的链接,可附带参数变量。 前台实现前台实现要比后台麻烦很多,需要各种判断。 建立连接建立连接非常简单,new 一个WebSocket对象即可,参数就是目标链接: 12let socketUrl = "ws://localhost:8888/wolfchat/" + this.currentUser.id;this.socket = new WebSocket(socketUrl);接下来便是一系列的消息处理: 12345678//打开连接this.onopen();//接收消息this.onmessage();//关闭连接this.onclose();//发生错误this.onerror(); 消息处理以下是各个消息处理的实现: 一、onopen() 123456onopen() { //打开事件 this.socket.onopen = function () { console.log("websocket已打开"); };},二、onclose() 123456onclose() { //关闭事件 this.socket.onclose = function () { console.log("websocket已关闭"); };},三、onerror() 123456onerror() { //发生了错误事件 this.socket.onerror = function () { console.log("websocket发生了错误"); }},四、onmessage() 12345678910111213141516171819202122232425onmessage() { let _this = this; // 浏览器端收消息,获得从服务端发送过来的文本消息 this.socket.onmessage = function (message) { // 对收到的json数据进行解析 message = JSON.parse(message.data) // 如果是系统消息 if (message.isSystem) { // 获取当前连接的所有用户信息 // _this.userList = JSON.parse(message.message); _this.addUserList(JSON.parse(message.message)); } else { //更新最新消息 _this.updateLatestMessage(message); //构建消息内容 message = JSON.parse(message.message) // 如果是用户消息 if (message.fromUser.id === _this.targetUser.id) { // 构建消息内容 _this.messageList.push(message); } _this.scrollToBottom(); } };},在此方法中,需要判断当前接收到的消息是广播消息,还是单播消息。 效果演示一、注册界面
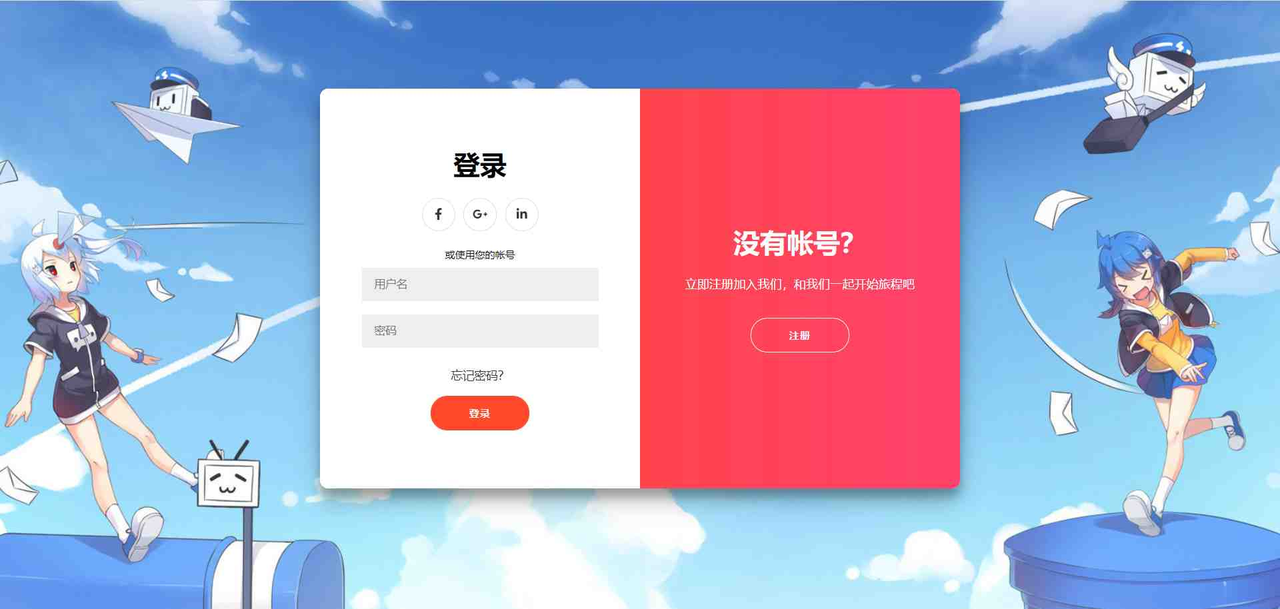
二、登录界面
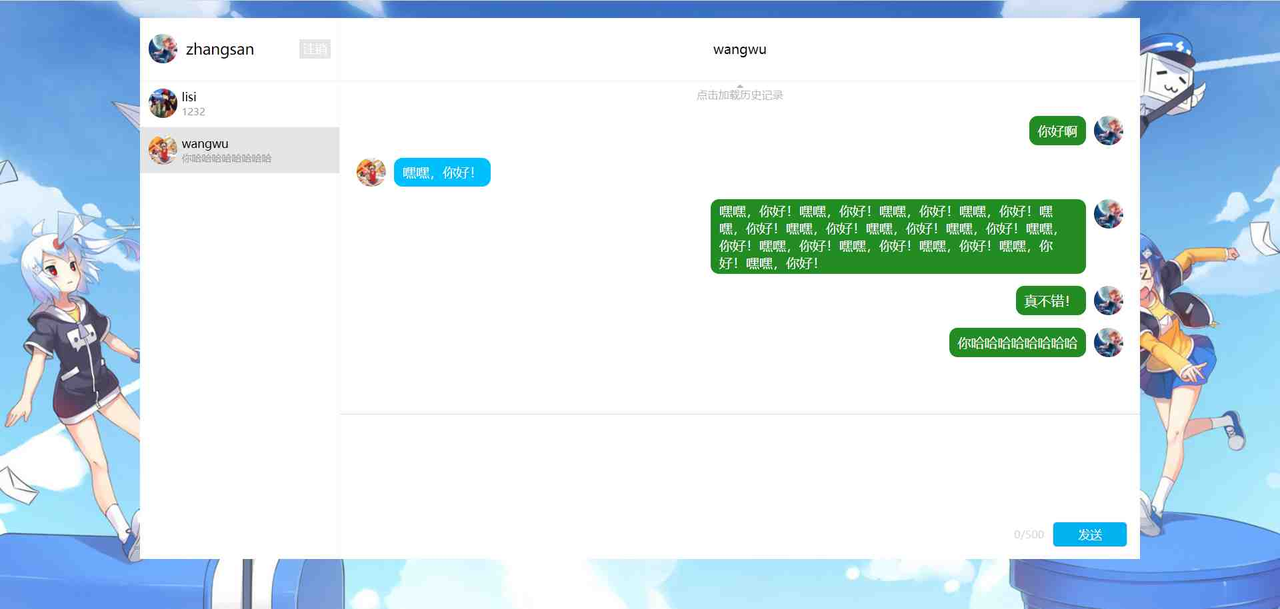
三、聊天界面
写完后读了一遍,我讲的啥玩意儿😥😥,希望谅解谅解,感谢你能看到最后,最后附上源码,一句话——All in the code 前台代码:简易版即时通讯系统-前台代码 后台代码:简易版即时通讯系统-后台代码 参考链接: https://www.bilibili.com/video/BV1r54y1D72U https://www.bilibili.com/video/BV12Q4y1q7VP |


【本文地址】