教你利用阿里云服务器搭建一个随时随地的Web IDE |
您所在的位置:网站首页 › 云编译器部署 › 教你利用阿里云服务器搭建一个随时随地的Web IDE |
教你利用阿里云服务器搭建一个随时随地的Web IDE
|
前言
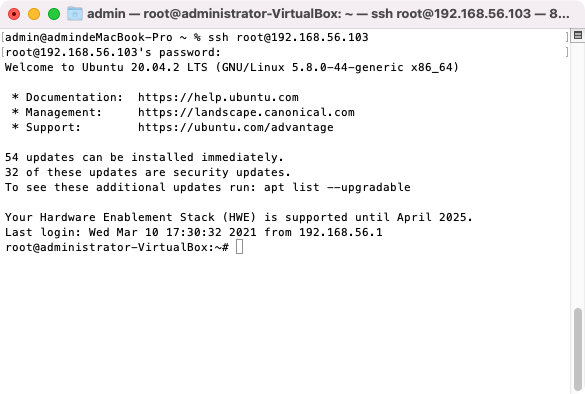
我们在学习各种编程语言的时候,总是要安装不同的IDE,需要去配置各种环境变量,而且对于配置比较低的电脑来说,打开各种IDE后风扇就会开始疯狂旋转,在这种噪音下很难专心去敲代码。 如果问我编程工具中哪个比较好用,我首推的自然就是Visual Studio,Visual Studio支持的语言众多,还可以配合众多插件提高效率,深得我心。 如果如果,类似Visual Studio的IDE还可以部署在服务器上,你的编程成本可以削减到只剩下一个浏览器呢? 这次给大家介绍code-server和Theia这两种ide的安装方式。 开通云服务器相信大家已经通过阿里云高校计划领取了一台属于自己的免费服务器,没有领取的同学也可以点击这里进行领取。 如果你不符合阿里云高校计划免费领取服务器的条件,可以点击这里享受新老用户专属的优惠福利 开始安装 通用过程(TIPS:由于我的阿里云服务器目前正在运行服务,暂无闲置的服务器,所以用虚拟机演示。) 连接服务器。 打开Unix、Linux下的Terminal,Windows系统下打开CMD或者Power Shell,键入 ssh 用户名@ip地址,回车,键入密码(输入不可见)回车。
更新软件源中的软件。 sudo apt-get update sudo apt-get upgrade
安装Docker 关于Docker的使用方式可以参见菜鸟Docker教程或者官方文档。 curl -fsSL https://get.docker.com | bash -s docker --mirror Aliyun给Docker换源 sudo vim /etc/docker/daemon.json #打开编辑器键入i并复制以下内容: {"debug":true,"experimental":true,"registry-mirrors":["https://docker.mirrors.ustc.edu.cn","https://hub-mirror.c.163.com"]}键入esc,英文状态下的!wq,敲回车返回bash systemctl docker restart #重启docker以使得配置生效安装Docker Compose sudo curl -L https://github.com/docker/compose/releases/download/1.21.2/docker-compose-`uname -s`-`uname -m` -o /usr/local/bin/docker-compose #下载合适版本的Compose,如无法下载,可以提前下载好传到服务器,并改名移动到/usr/local/bin下 sudo chmod +x /usr/local/bin/docker-compose #设置权限 docker-compose --version #查看是否安装成功
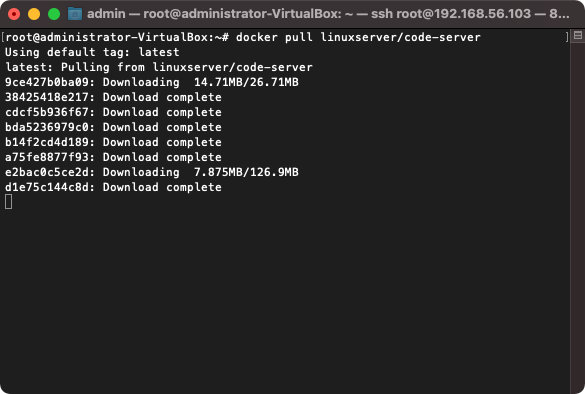
code-server项目地址 本次使用的是linuxserver团队制作的coder-server的docker容器 安装 docker pull linuxserver/code-server #拉取对应的docker镜像
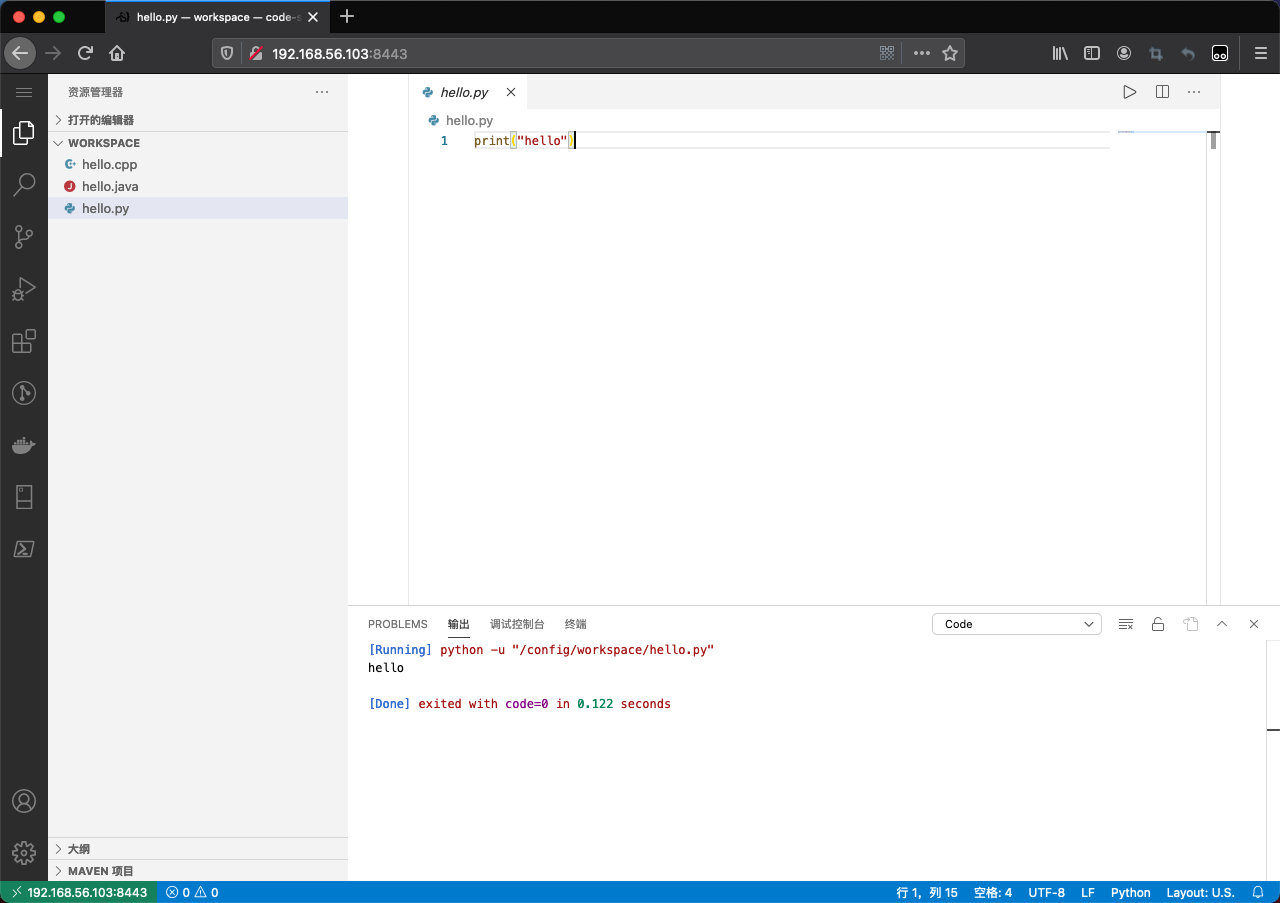
访问方式:https://服务器IP地址:端口号/?token=设置的ide密码 例如:http://192.168.56.103:8443/
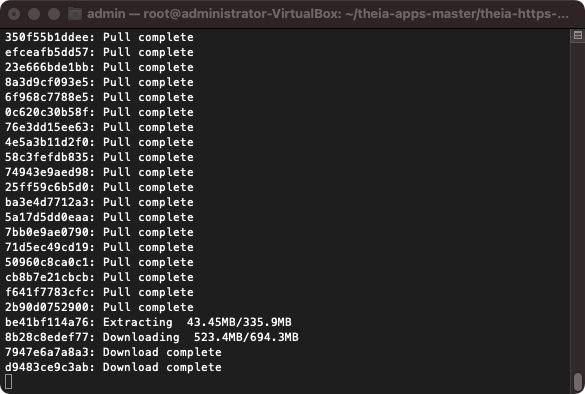
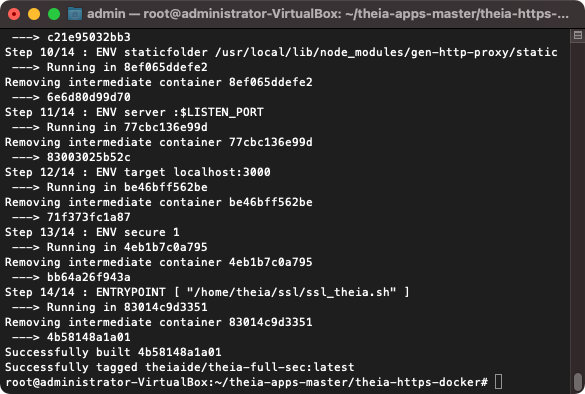
Theia项目地址 Theia官方安装教程 安装安装Theia git clone https://github.com/theia-ide/theia-apps.git #从GitHub上克隆仓库到本地,如无法下载,可以提前下载好传到服务器解压 cd theia-apps/theia-https-docker docker build . --build-arg app=theia-full -t theiaide/theia-full-sec然后就是漫长的等待……
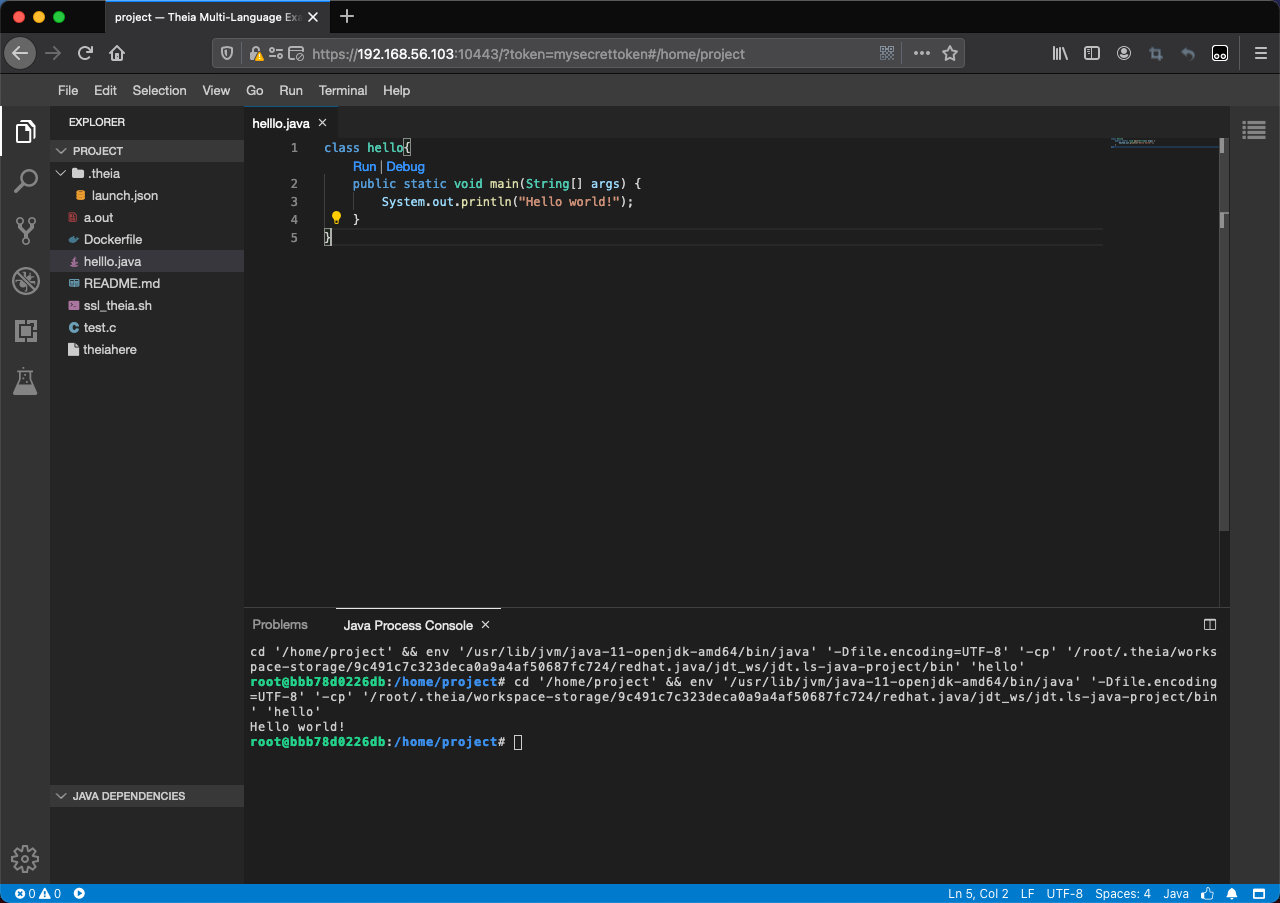
设置工作目录 mkdir /home/project #新建目录 chomod -R 1000 /home/project #更改权限,将属主更改成1000 启动 至此已经部署完毕,可以启动啦~ docker run --user=root --init -it -p 10443:10443 -e token=mysecrettoken -v "$(pwd):/home/project:cached" theiaide/theia-full-sec参数说明: –user:要运行ide的用户名 -p:docker映射内外端口号 token:ide的密码 $(pwd):/home/project:指向工作目录 theiaide/theia-full-sec 容器名字 访问方式:https://服务器IP地址:端口号/?token=设置的ide密码 就像:https://192.168.56.103:10443/?token=mysecrettoken
这两种都大同小异,看个人喜好。不过我更偏向于code-server,安装比较简单,和Visual Studio一样可以装各种插件,有内味了。 怎么样,你学废了吗? |


【本文地址】