How to Draw a Lion |
您所在的位置:网站首页 › wps第一列排序 › How to Draw a Lion |
How to Draw a Lion
 In This Article
Video: How to Draw a Lion – An Easy Step-by-Step Guide for Kids
Lion Drawing for Kids – 13 Easy & Simple Steps
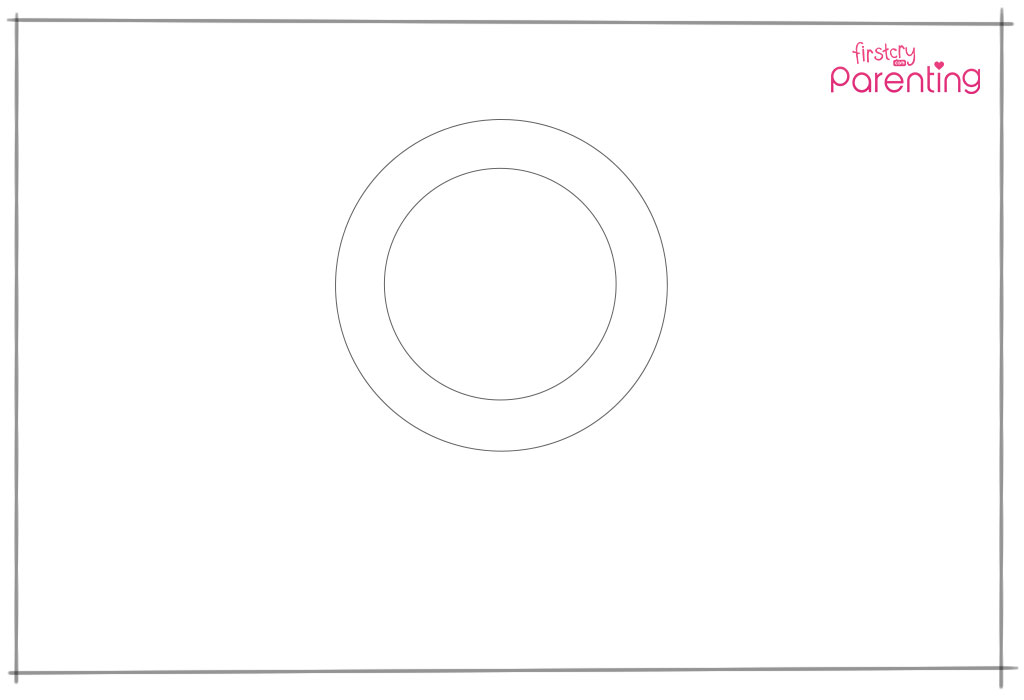
Step 1: Draw a lion face.
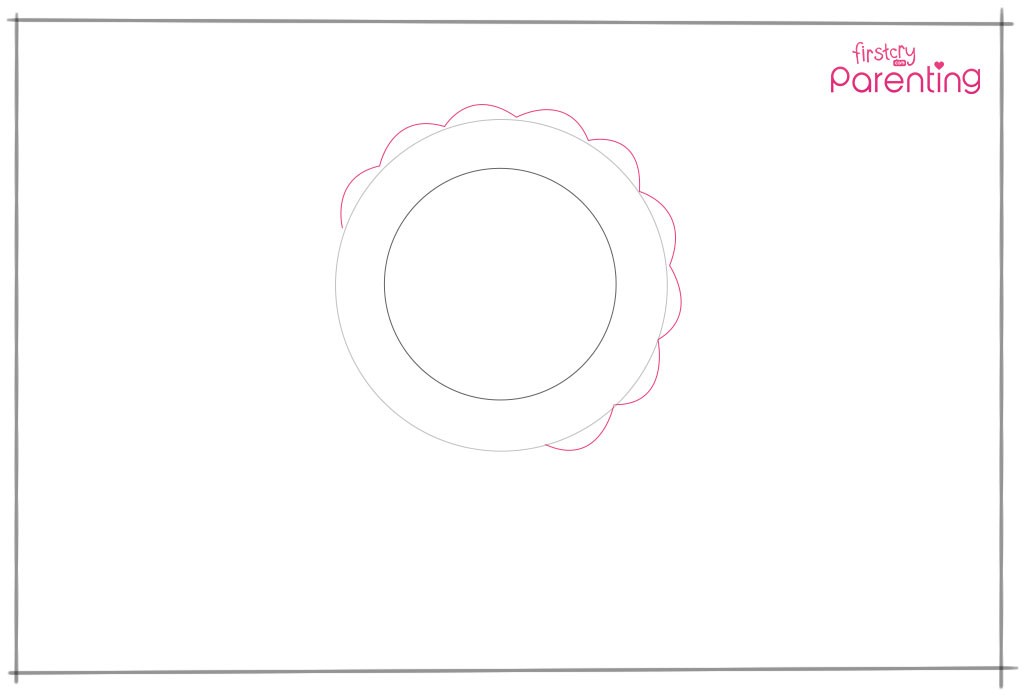
Step 2: Draw the mane of the lion.
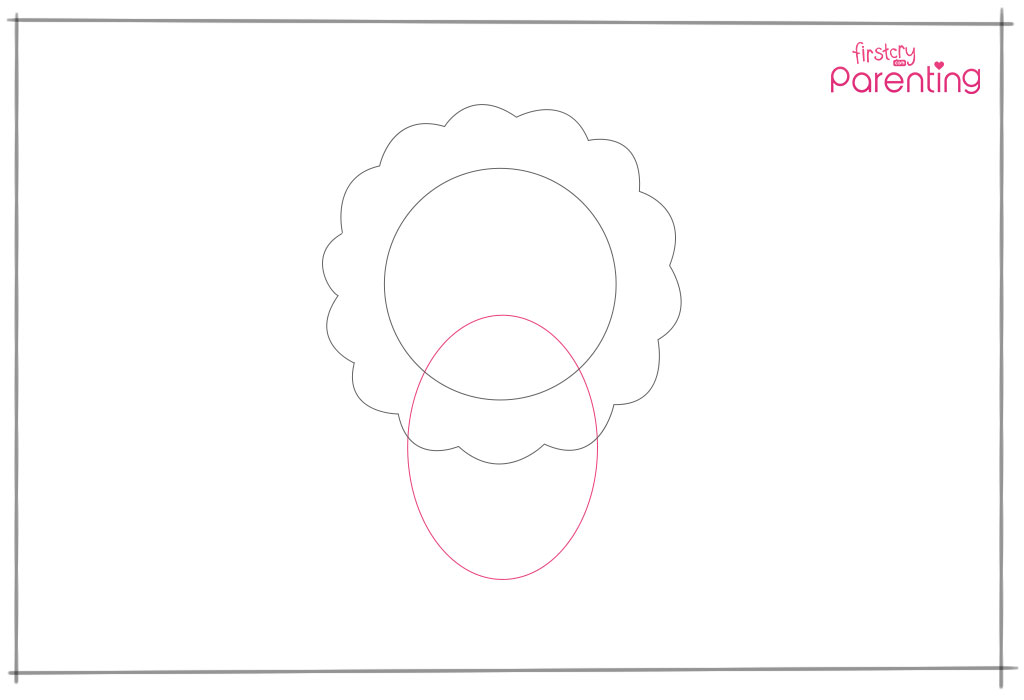
Step 3: Draw an egg-shape.
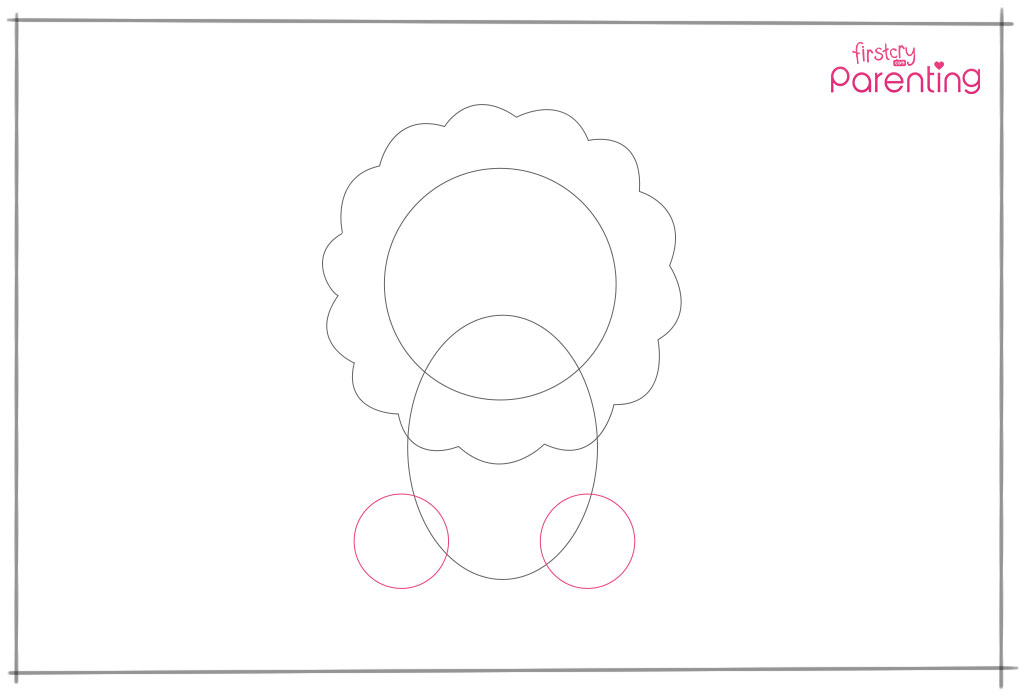
Step 4: Draw two small circles on the left and right sides of the oval shape.
Step 5: Draw two arcs inside the oval shape.
Step 6: Erase the top-half of the oval shape.
Step 7: You will get a U-shape.
Step 8: Draw the lion’s feet.
Step 9: Draw the tail of the lion.
Step 10: Draw the facial features.
Step 11: Draw the tongue of the lion.
Step 12: Colour the nose and tongue of the lion.
Step 13: Colour the body of the lion.
In This Article
Video: How to Draw a Lion – An Easy Step-by-Step Guide for Kids
Lion Drawing for Kids – 13 Easy & Simple Steps
Step 1: Draw a lion face.
Step 2: Draw the mane of the lion.
Step 3: Draw an egg-shape.
Step 4: Draw two small circles on the left and right sides of the oval shape.
Step 5: Draw two arcs inside the oval shape.
Step 6: Erase the top-half of the oval shape.
Step 7: You will get a U-shape.
Step 8: Draw the lion’s feet.
Step 9: Draw the tail of the lion.
Step 10: Draw the facial features.
Step 11: Draw the tongue of the lion.
Step 12: Colour the nose and tongue of the lion.
Step 13: Colour the body of the lion.
Last Updated on May 12, 2020 Does your little one enjoy arts and crafts? With a little nudge in the right direction, he could turn into the next little Picasso! Drawing and colouring reach a level of excellence when practised often, if not daily. If you’re looking to hone your little one’s artistic talent, a drawing a day is a step in the right direction. Video: How to Draw a Lion – An Easy Step-by-Step Guide for KidsThis step-by-step guide is a great way to get your child to learn a new drawing. This one is simple and turns out great! Ready to see how simple it is to draw a lion? What You Will Need 1 pencil 1 eraser An A4 size plain paper/ plain white sheet Colours Lion Drawing for Kids – 13 Easy & Simple Steps Step 1: Draw a lion face.Draw a circle with a diameter of 5 cm or more on a plain sheet. To draw a lion face, make a small circle inside this circle. The space between the two circles should be about 1 cm. The outer circle should be sketched lightly so that it can be erased later.
Draw frill-like semi-circles on the circumference of the bigger circle to draw the mane of the lion. Then erase the outer circle.
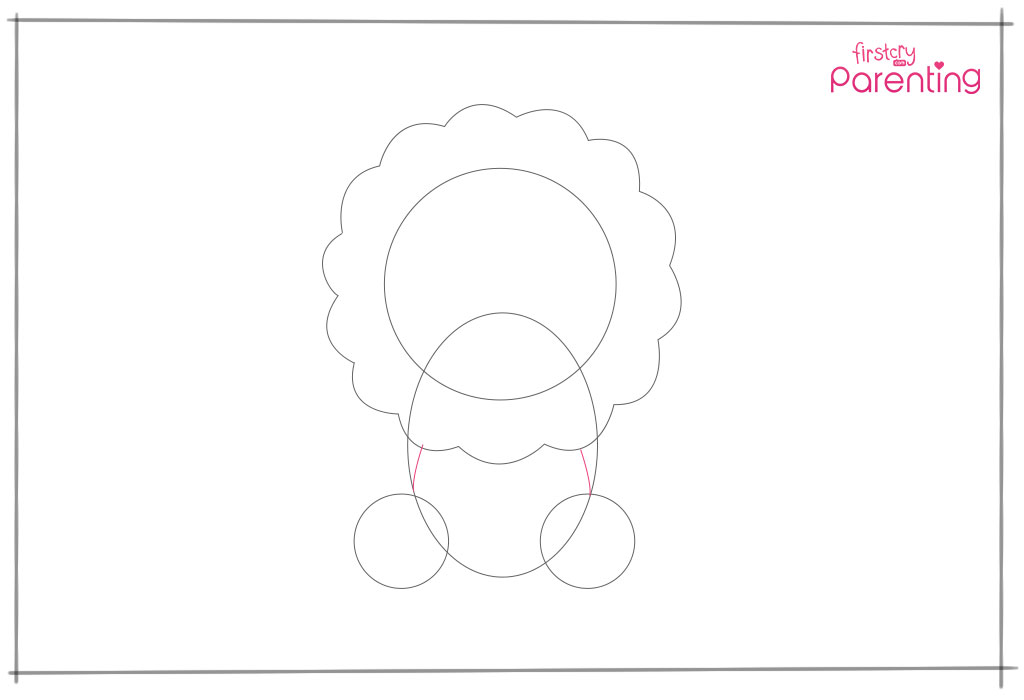
Draw an oval or egg-like structure starting from 1 cm below the centre of the circle as shown in the illustration.
Draw two small circles along the base of the oval shape. The two circles should be drawn on the left and right side of the oval shape respectively such that they intersect with the oval shape as shown in the image.
Draw two arcs inside the oval shape on the left and right sides respectively, as shown in the image.
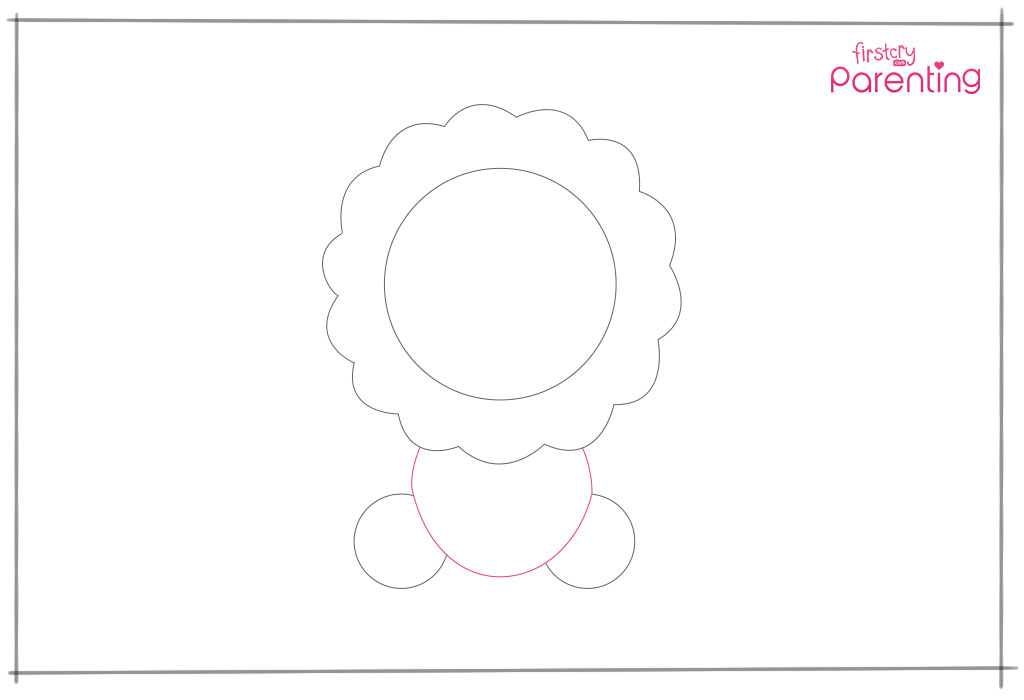
Erase the above half of the oval shape.
You will get a U-shape, which will form the base or the body of the lion.
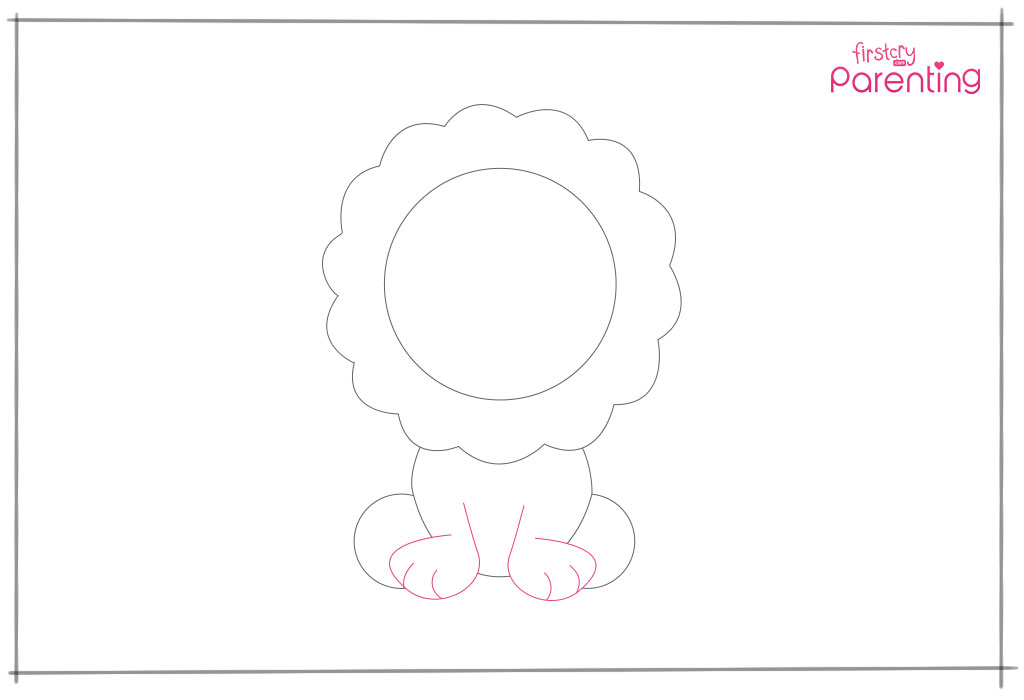
To make the lion’s legs and feet, draw a ‘J’ on the left as shown in the image and an ‘L’ on the right. Draw two arcs on both the feet as illustrated.
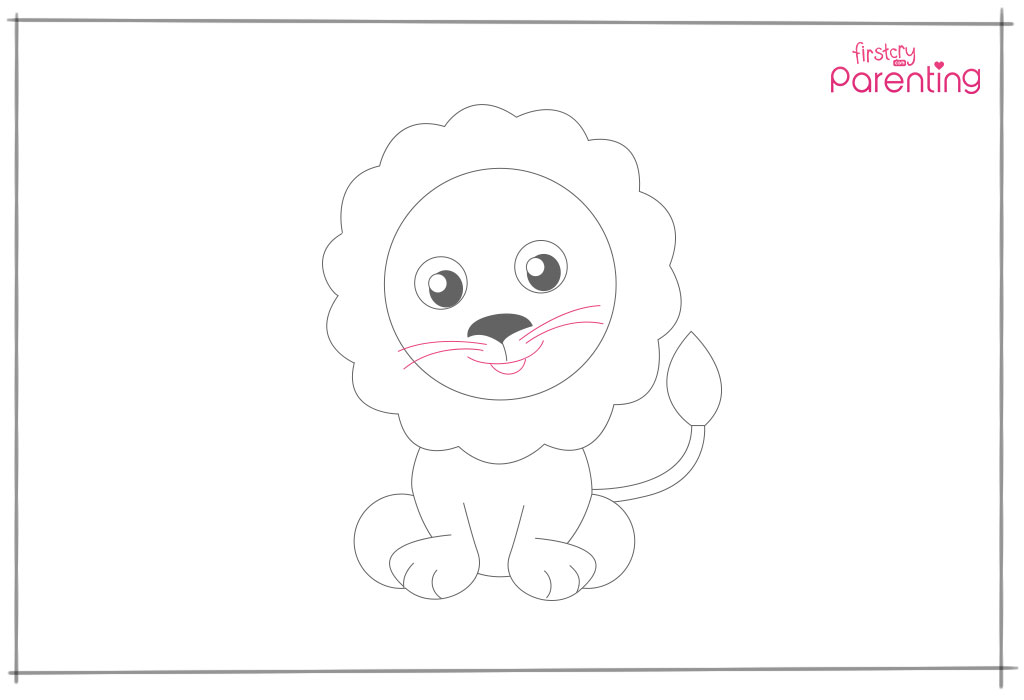
Now to make the tail of the lion, draw two parallel lines going upwards on the right. Draw a leaf-like shape on the end of the lines.
Draw a small line from the centre of the lion’s nose and draw a half-circle curved upwards (towards the nose). Draw a small semi-circle underneath to make the tongue of the lion. Next, draw two whiskers on each side as shown in the image.
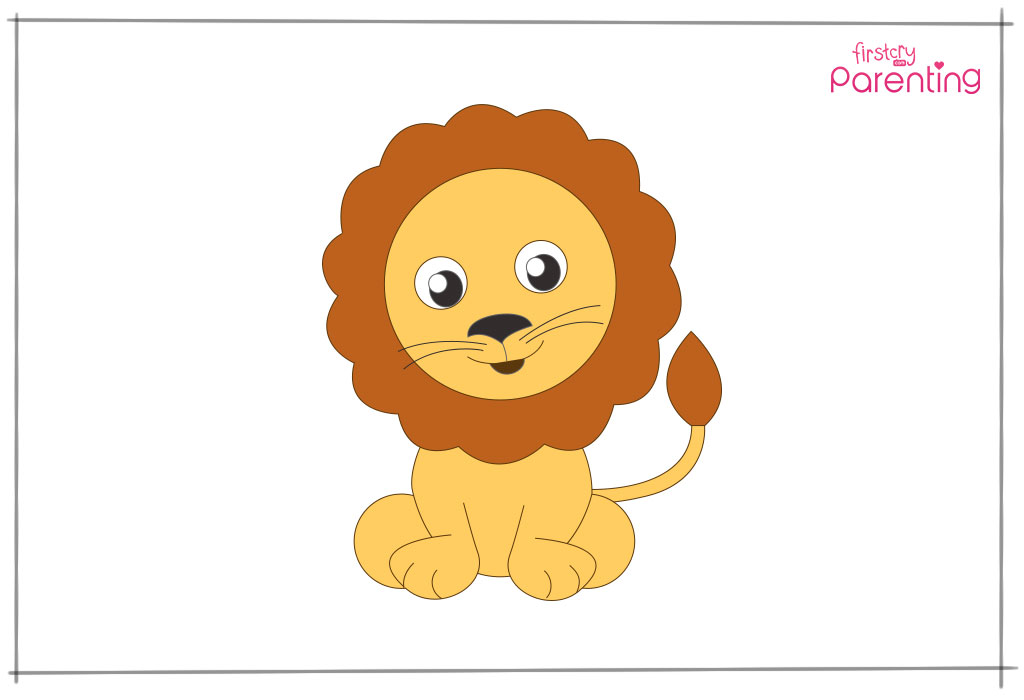
Colour the tongue and the nose of the lion black.
Colour the body of the lion mustard yellow and his mane and tail brown.
In 13 simple steps, your kids will have learned how to draw a lion. With some practice (and patience), your kiddo will learn how to draw a lion and other animal figures. And once he gets the hang of it, he can teach his friends too! |


【本文地址】
今日新闻 |
推荐新闻 |