【踩坑】Windows11安装WSL2,然后装miniconda |
您所在的位置:网站首页 › windows11安装那个版本 › 【踩坑】Windows11安装WSL2,然后装miniconda |
【踩坑】Windows11安装WSL2,然后装miniconda
|
Windows11安装WSL2
跟着官方文档一步步来就完事了,你要在vscode上用还是用docker都有教程微软WSL文档 遇到问题 Installing, this may take a few minutes… WslRegisterDistribution failed with error: 0x80370102 Please enable the Virtual Machine Platform Windows feature and ensure virtualization is enabled in the BIOS. For information please visit https://aka.ms/enablevirtualization Press any key to continue… https://www.cnblogs.com/miracle-luna/p/17077177.html 是由Win11控制面板可能没有HyperV选项引起 在Win11搜索框,PowerShell 输入 systeminfo 命令 能够看到出现了很多处理器的信息,最末尾有个 Hyper-V 要求,如果四个全为 “是”,则表示支持 Hyper-V 功能 桌面新建一个记事本文件,将它的后缀改成cmd或bat,复制下面的代码 pushd "%~dp0" dir /b %SystemRoot%\servicing\Packages\*Hyper-V*.mum >hyper-v.txt for /f %%i in ('findstr /i . hyper-v.txt 2^>nul') do dism /online /norestart /add-package:"%SystemRoot%\servicing\Packages\%%i" del hyper-v.txt Dism /online /enable-feature /featurename:Microsoft-Hyper-V-All /LimitAccess /ALL然后,右键选择:以管理员身份运行。 miniconda安装 https://blog.csdn.net/qq_42951560/article/details/109152114 |
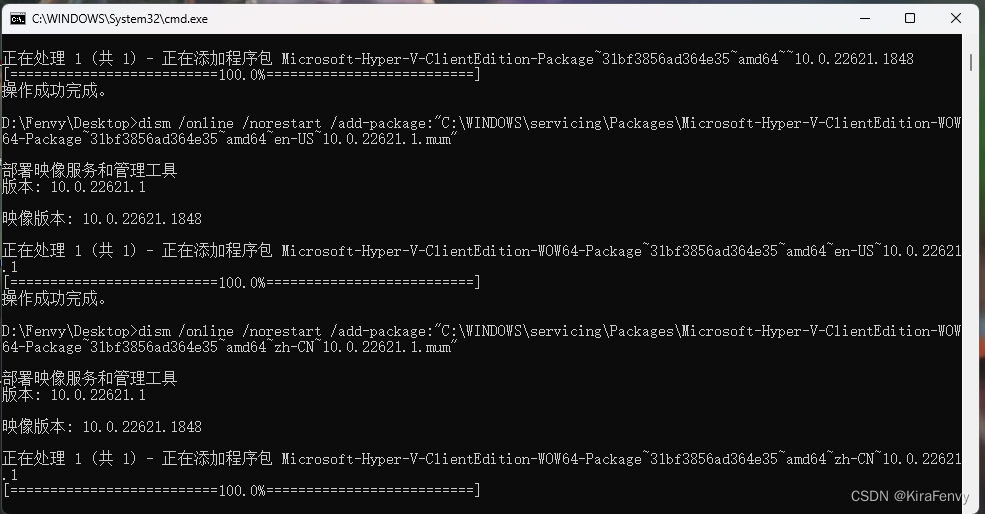 代码执行结束后,重启电脑就可以了。
【本文地址】
今日新闻 |
推荐新闻 |