搭建spring |
您所在的位置:网站首页 › vue和springboot怎么交互 › 搭建spring |
搭建spring
|
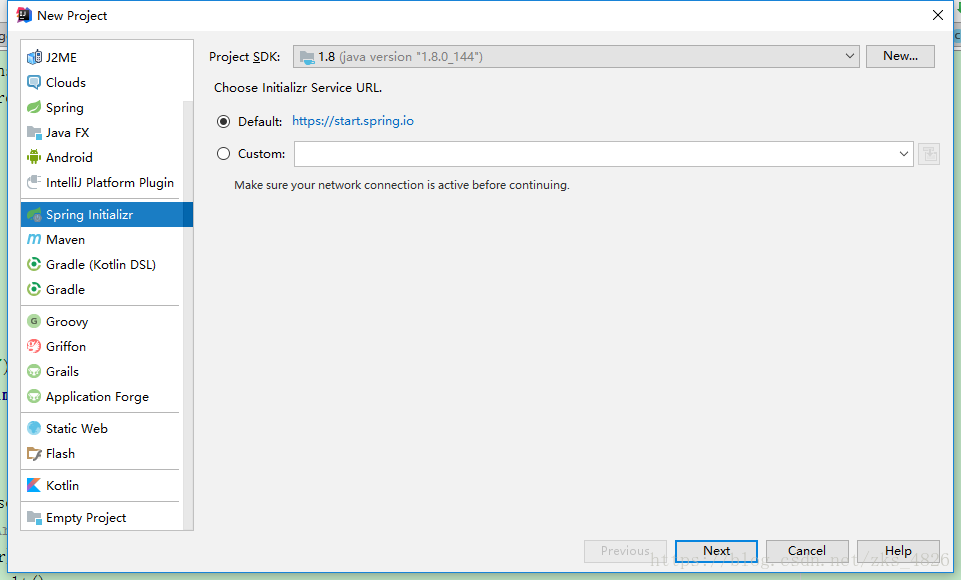
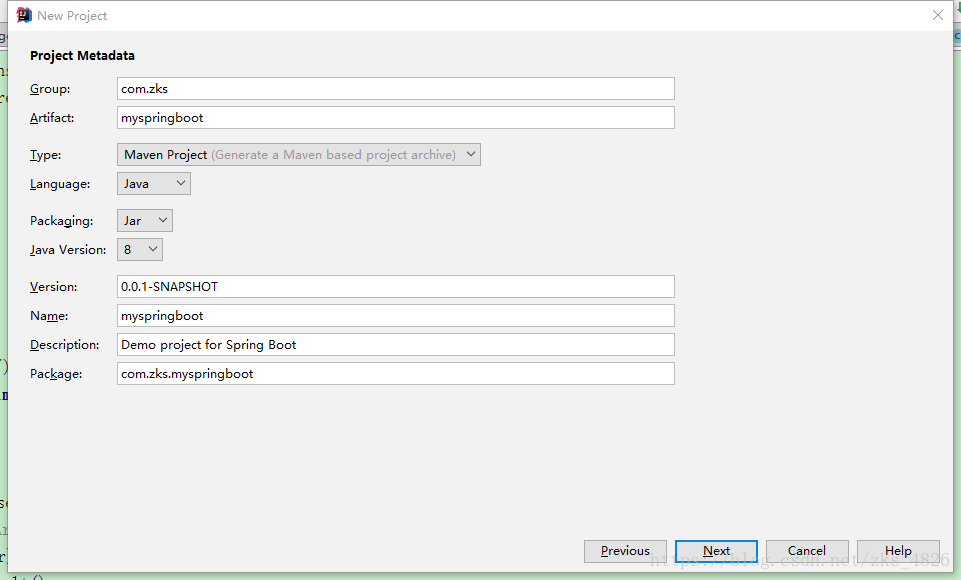
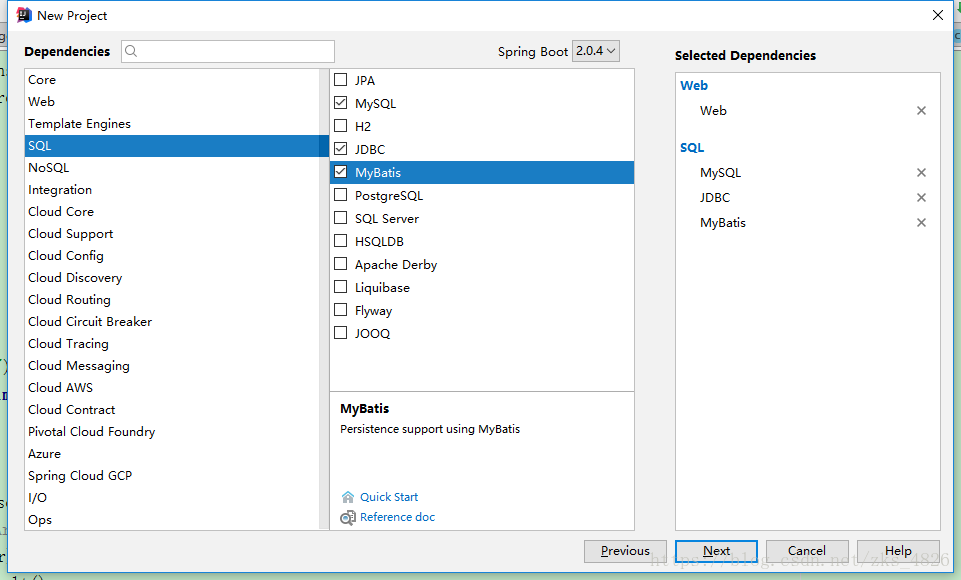
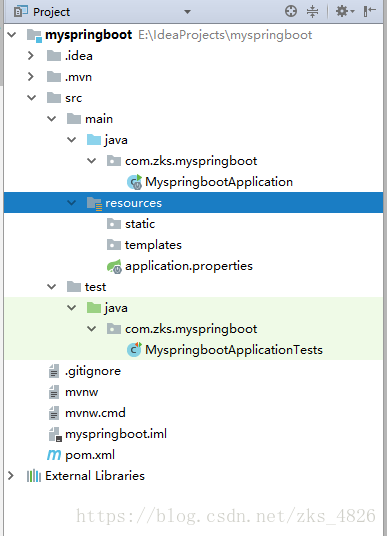
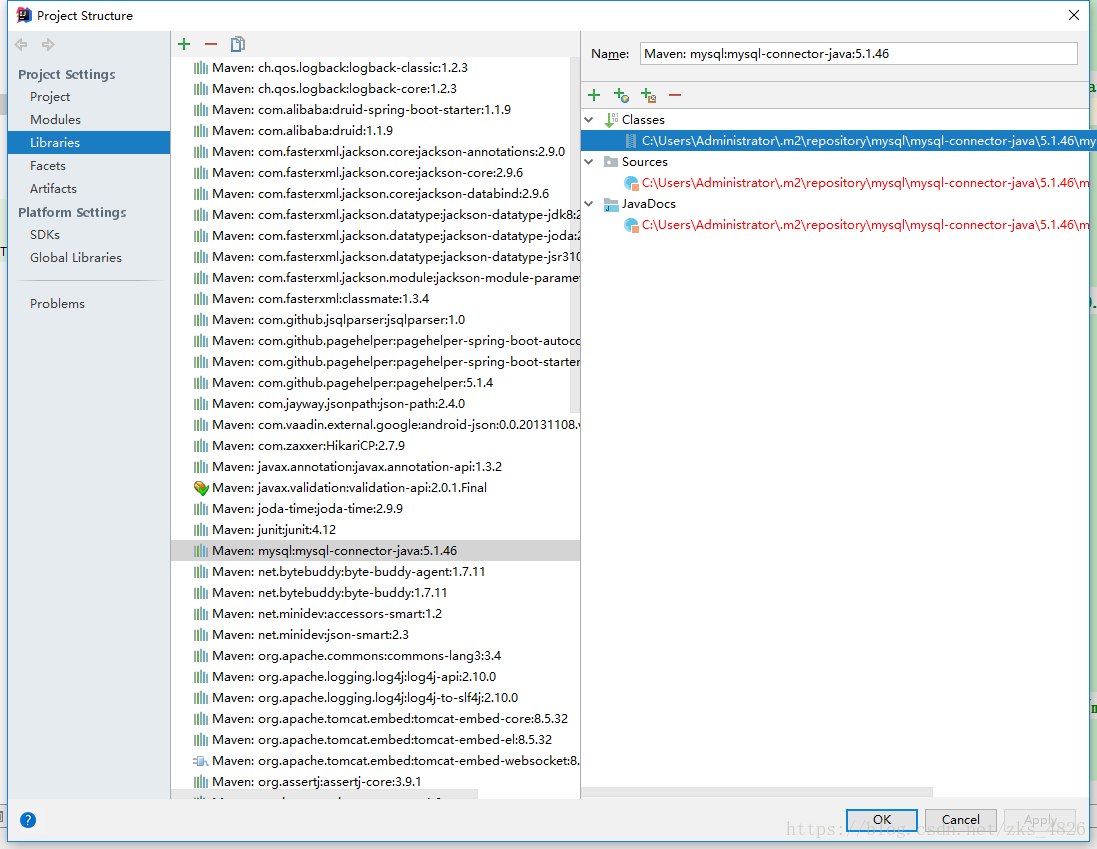
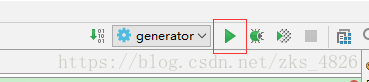
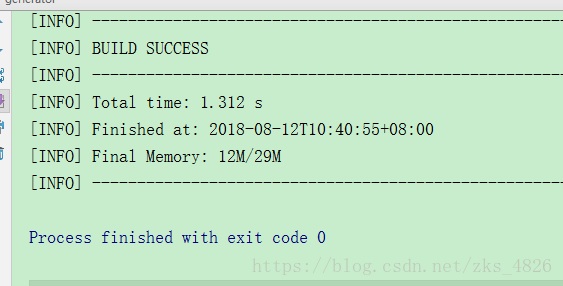
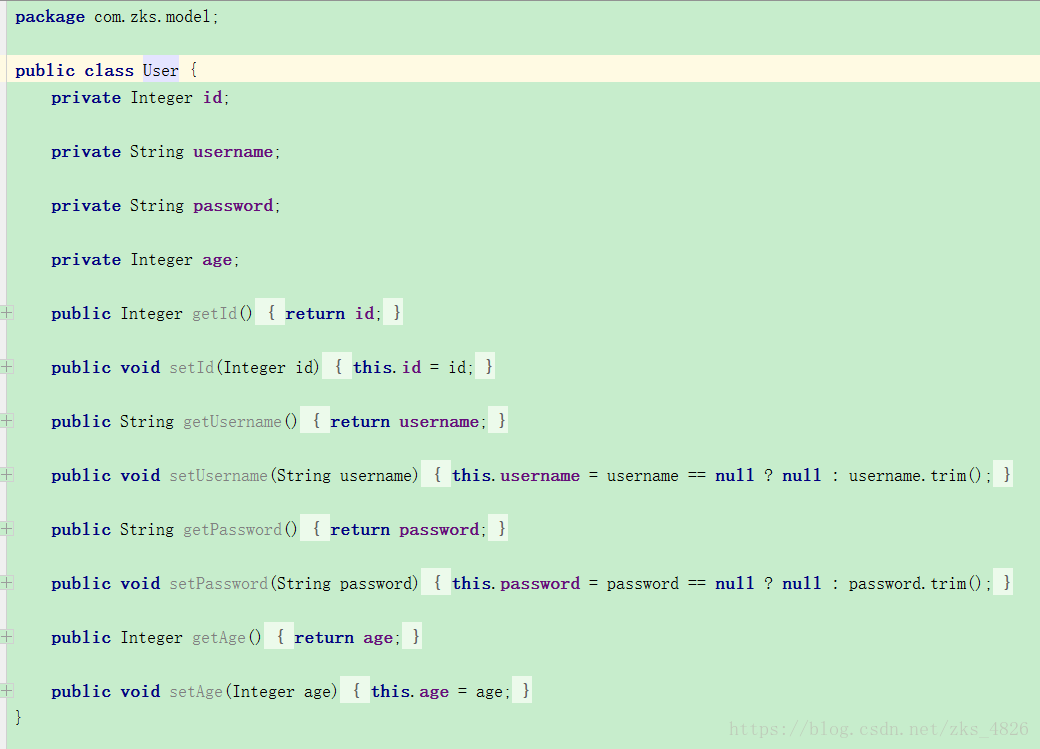
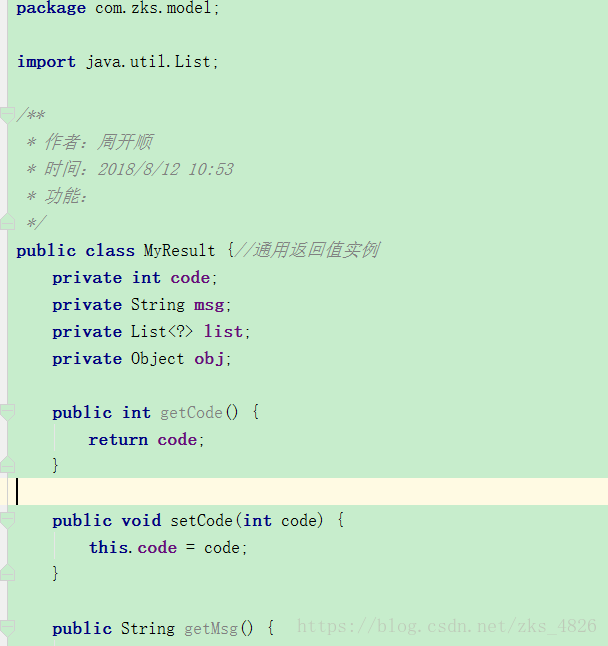
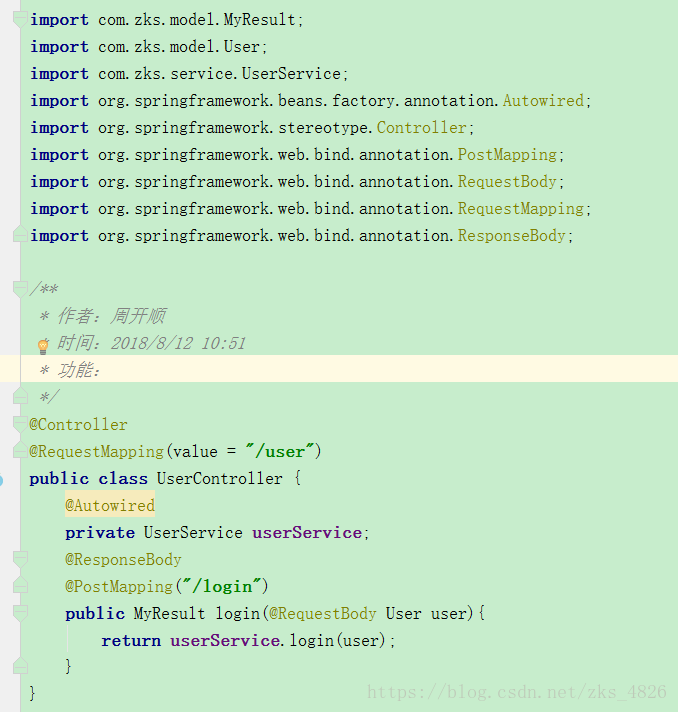
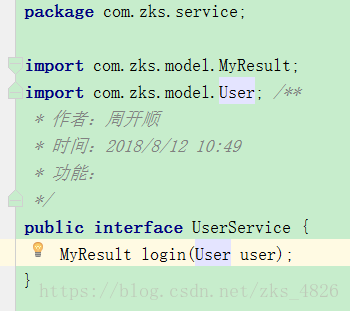
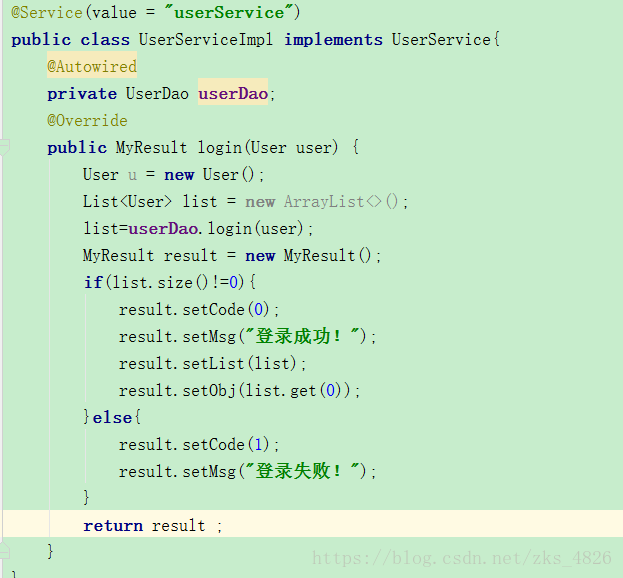
一、环境、工具 jdk1.8 maven spring-boot idea VSVode vue 二、搭建后台spring-boot框架 步骤: 1、new- project选择Spring Initializr next 2、创建项目文件结构以及jdk版本 3、选择项目需要的依赖 next然后finish 4、创建完毕的文件结构如图 5、对pom.xml更改,信息如下 4.0.0 com.zks myspringboot 0.0.1-SNAPSHOT jar myspringboot Demo project for Spring Boot org.springframework.boot spring-boot-starter-parent 2.0.4.RELEASE UTF-8 UTF-8 1.8 org.springframework.boot spring-boot-starter-web org.mybatis.spring.boot mybatis-spring-boot-starter 1.3.2 mysql mysql-connector-java runtime org.springframework.boot spring-boot-starter-test test org.apache.commons commons-lang3 3.4 com.fasterxml.jackson.core jackson-core com.fasterxml.jackson.core jackson-databind com.fasterxml.jackson.datatype jackson-datatype-joda com.fasterxml.jackson.module jackson-module-parameter-names com.github.pagehelper pagehelper-spring-boot-starter 1.2.5 com.alibaba druid-spring-boot-starter 1.1.9 org.springframework.boot spring-boot-maven-plugin org.mybatis.generator mybatis-generator-maven-plugin 1.3.2 ${basedir}/src/main/resources/generator/generatorConfig.xml true true6、在resources文件夹下删除application.properties文件并添加新的application.yml文件,信息如下 server: port: 8880 #端口号 spring: datasource: name: zksdb #数据库名称 type: com.alibaba.druid.pool.DruidDataSource #druid相关配置 druid: #监控统计拦截的filters filters: stat driver-class-name: com.mysql.jdbc.Driver #基本属性 url: jdbc:mysql://127.0.0.1:3306/zksdb?useUnicode=true&characterEncoding=UTF-8&allowMultiQueries=true username: root password: 123456 #配置初始化大小/最小/最大 initial-size: 1 min-idle: 1 max-active: 20 #获取连接等待超时时间 max-wait: 60000 #间隔多久进行一次检测,检测需要关闭的空闲连接 time-between-eviction-runs-millis: 60000 #一个连接在池中最小生存的时间 min-evictable-idle-time-millis: 300000 validation-query: SELECT 'x' test-while-idle: true test-on-borrow: false test-on-return: false #打开PSCache,并指定每个连接上PSCache的大小。oracle设为true,mysql设为false。分库分表较多推荐设置为false pool-prepared-statements: false max-pool-prepared-statement-per-connection-size: 20 ## 该配置节点为独立的节点,有很多同学容易将这个配置放在spring的节点下,导致配置无法被识别 mybatis: mapper-locations: classpath:mapper/*.xml #注意:一定要对应mapper映射xml文件的所在路径 type-aliases-package: com.winterchen.model # 注意:对应实体类的路径 #pagehelper pagehelper: helperDialect: mysql reasonable: true supportMethodsArguments: true params: count=countSql returnPageInfo: check 7、更改项目启动类 package com.zks.myspringboot; import org.mybatis.spring.annotation.MapperScan; import org.springframework.boot.SpringApplication; import org.springframework.boot.autoconfigure.SpringBootApplication; @SpringBootApplication @MapperScan("com.zks.dao") public class MyspringbootApplication { public static void main(String[] args) { SpringApplication.run(MyspringbootApplication.class, args); } }8、创建数据库以及表,详情如下 9、使用mybatis generator自动生成代码 配置pom.xml文件中generator插件所需要的配置文件${basedir}/src/main/resources/generator/generatorConfig.xml 信息如下: 关于如何查找本地数据库驱动包 file-Project Stricture 如图便是我们需要的地址; 然后点击run-Edit Configurations 添加配置(maven需手动添加) 然后Apply OK 运行。(注意:同一张表不要多次运行,因为mapper映射文件会生成多次代码) 如图表示没有报错运行代码生成成功。 因为生成的是UserMapper,这里需要改成UserDao(个人喜欢用UserDao) 生成代码如下 User.java UserMapper(我已改为UserDao) 10、注意MyspringbootApplication文件的路径位置,需如图所示 11、创建UserController、UserService、UserServiceImpl,MyResult详情如下 MyResult UserController controller层传递对象参数时记得前面加@RequestBody注解 UserService UserServiceImpl
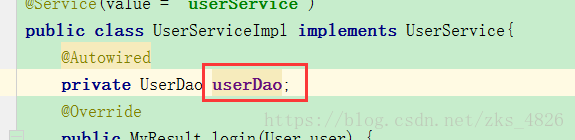
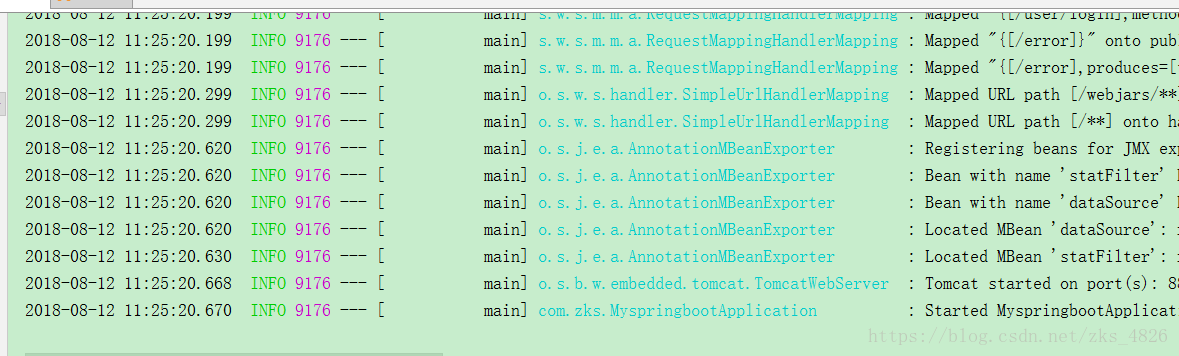
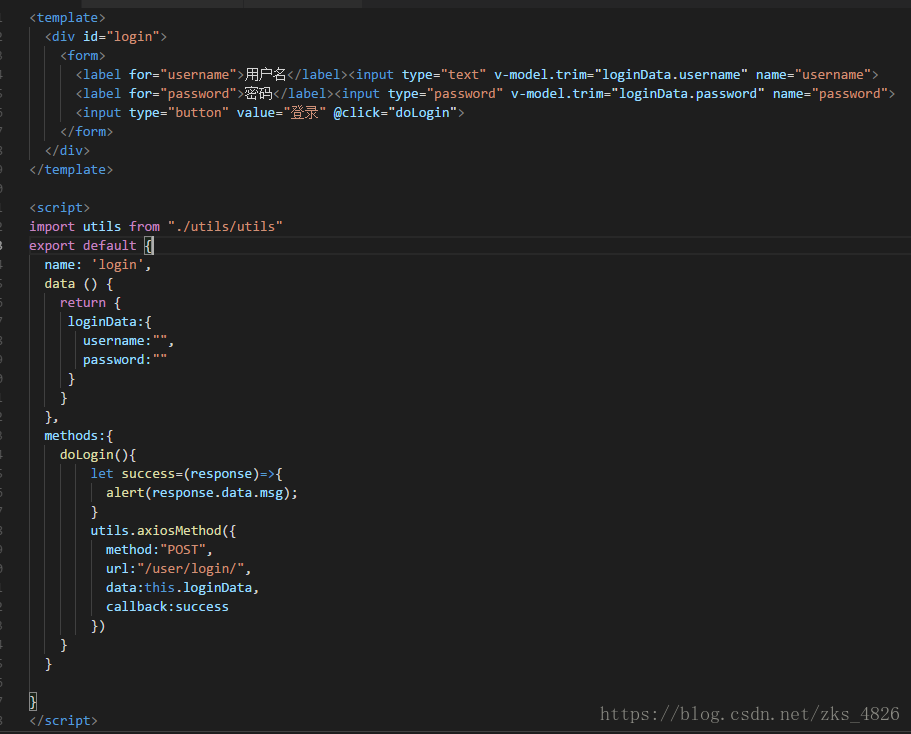
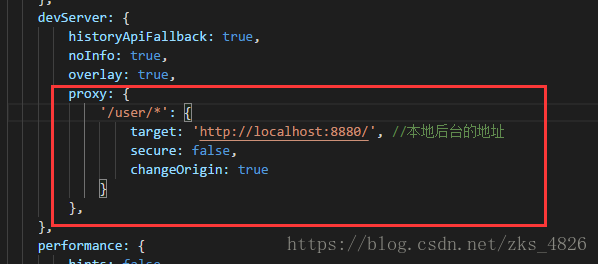
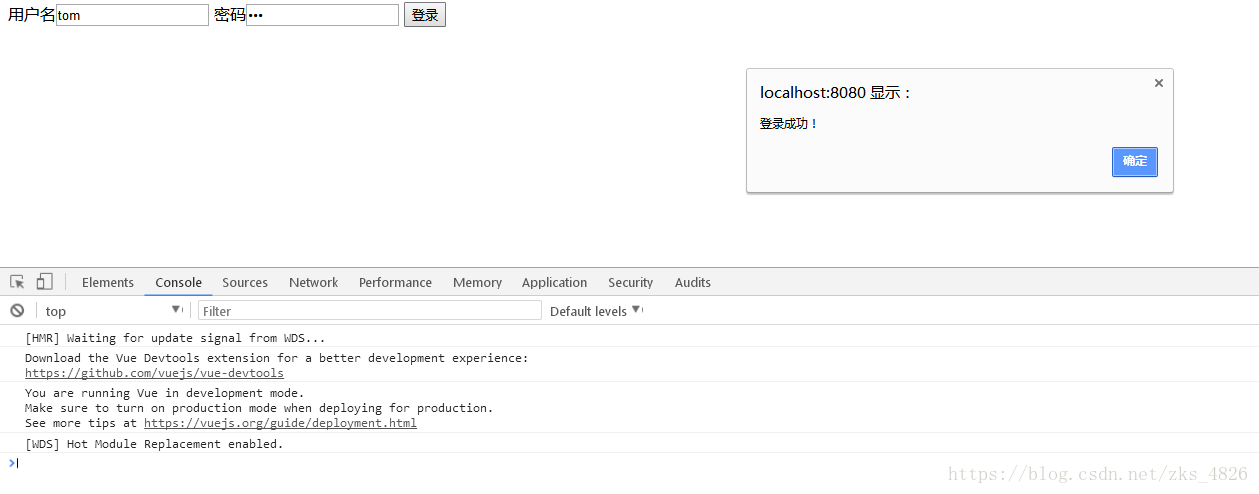
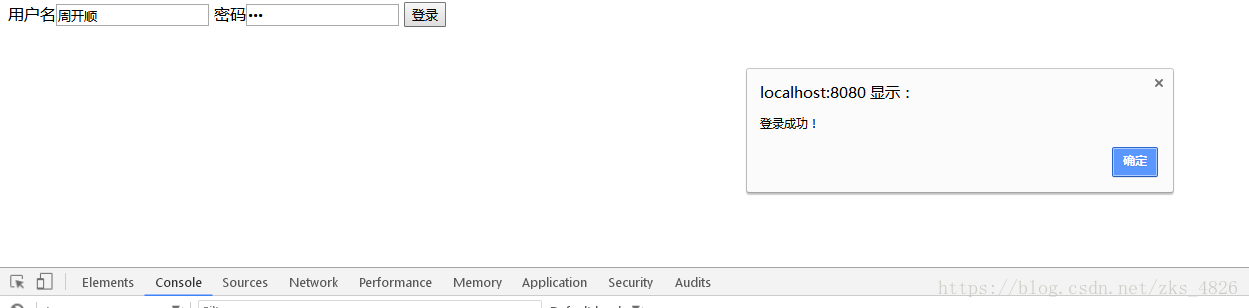
错误就没了 启动项目无报错,后台搭建成功 三、搭建前端vue部分(前提安装node环境) 打开VSCode工作目录下,输入vue init webpack-simple 项目名称,回车,等待下载模板 如图下载完毕 项目名称、描述、下依赖、启动项目完毕 浏览器localhost:8080看到vue表示成功 接下来即可书写登录请求(我就直接在app.vue下写的) 登录页代码如下 其中需要添加一个utils文件夹以及一个utils.js文件,文件如下 还需要在webpack.config.js下添加跨域请求 代码如下: 此处的8880对应application.yml文件中的 这时候就需要下载跨域请求用的axios jar包 控制台cnpm install axios --save-dev 至此前后端都已经搭建完毕,启动项目即可访问
|


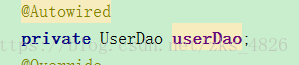 此处可能会报错,但是并不影响,若想清除此处报错如下图所示
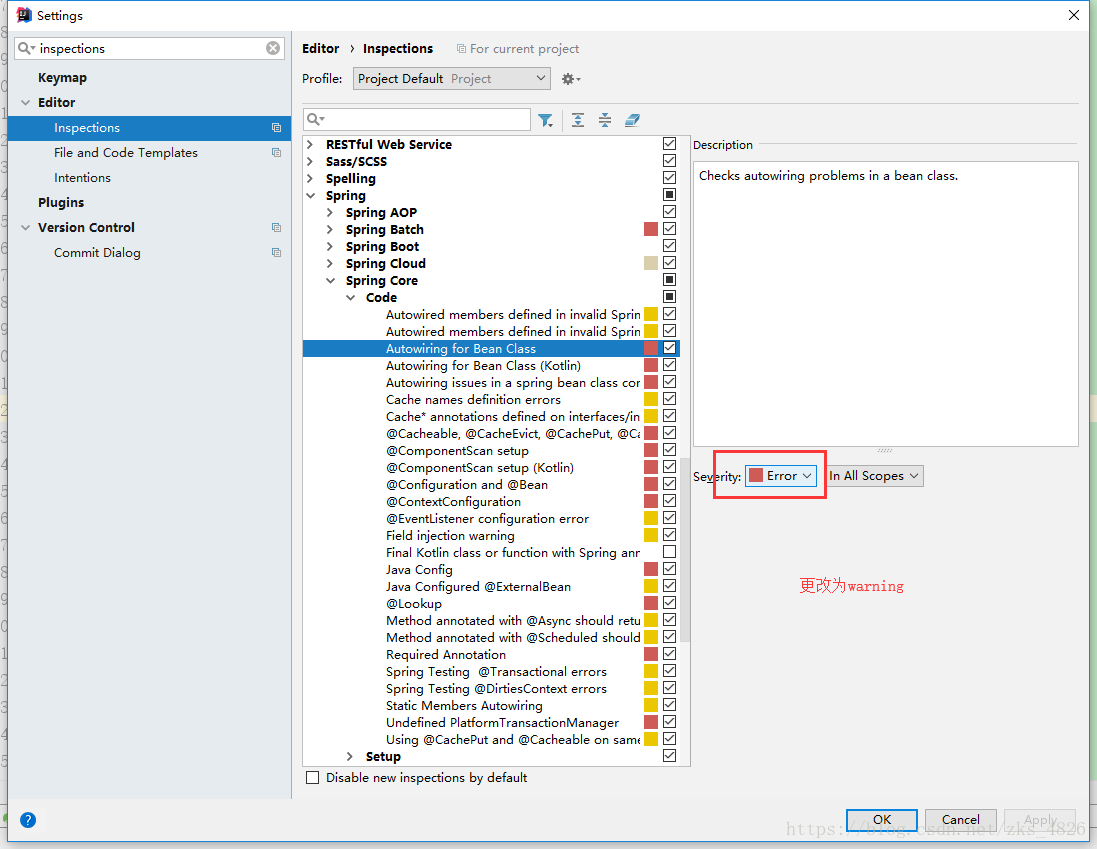


【本文地址】
今日新闻 |
推荐新闻 |