vscode配置python环境以及使用json文件配置默认解释器、代码自动保存、pydesigner、kite |
您所在的位置:网站首页 › vscode调试python配置 › vscode配置python环境以及使用json文件配置默认解释器、代码自动保存、pydesigner、kite |
vscode配置python环境以及使用json文件配置默认解释器、代码自动保存、pydesigner、kite
|
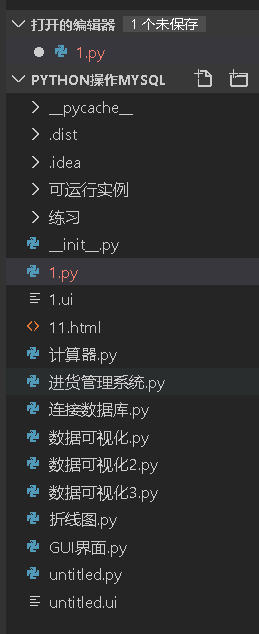
真香警告!感觉这篇博客流程下来,我从一个pycharm小迷弟变成了vscode小迷弟!vscode真的非常方便,其实主要是因为它的轻量级,运行速度快,有的时候使用pycharm更换python解释器要等很久,但是vscode就是一瞬间的事情~ 转载请标明出处: https://blog.csdn.net/weixin_43141320/article/details/105943590 vscode常用快捷键: https://www.cnblogs.com/schut/p/10461840.html 安装插件:不同文件生成不同的图标在没有安装这个插件之前,看看图标: 下面安装这个插件:
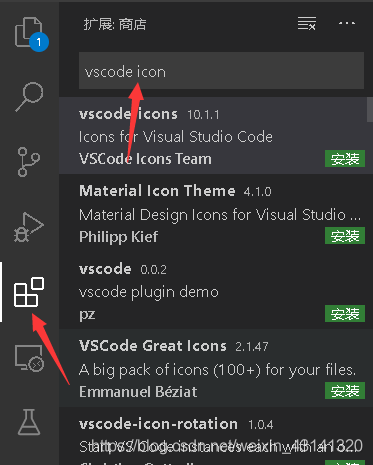
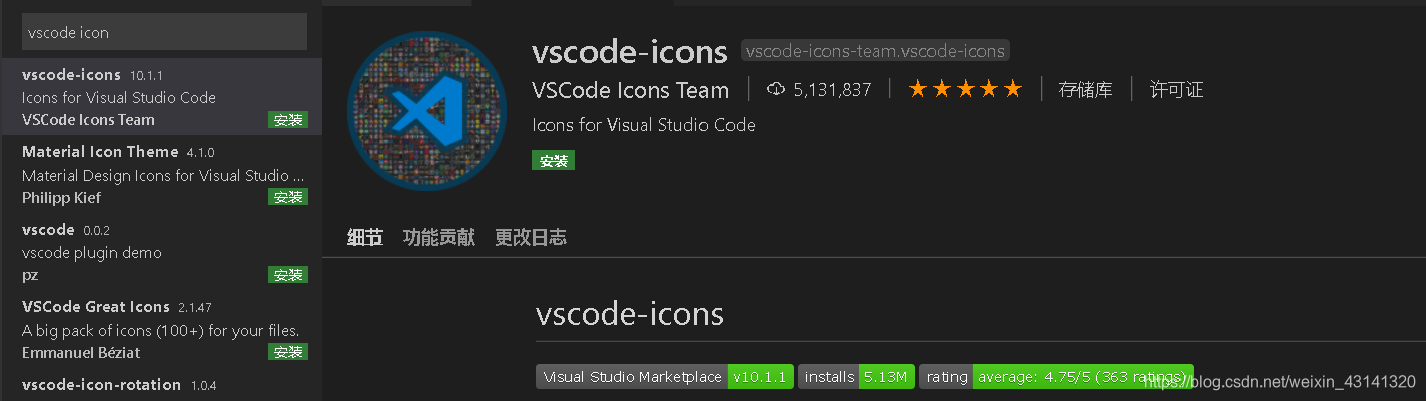
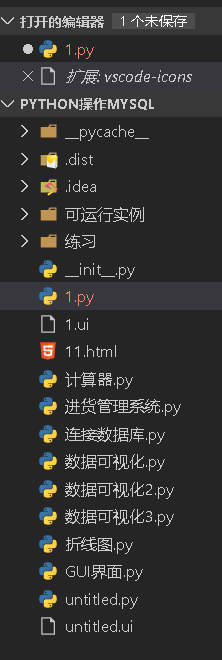
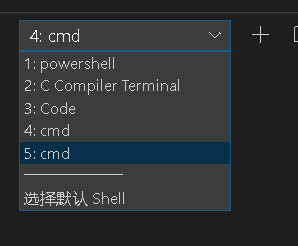
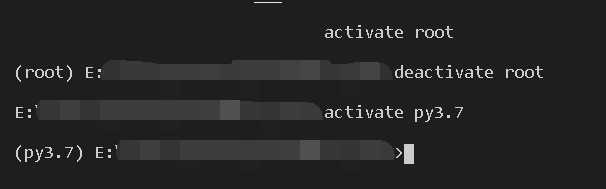
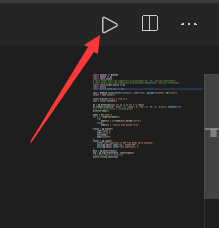
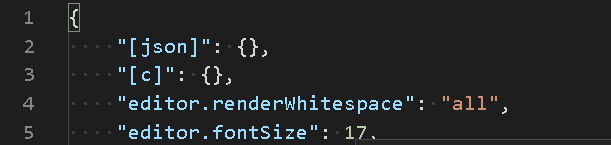
在左边的一栏中点击插件安装的选项,然后输入vscode icon ,然后点击第一个: 因为我安装的是最新版的vscode(1.44.2),貌似安装插件之后是自动激活的, 点击安装,安装成功之后: 同样在左边搜索“python”插件,然后安装,接下来运行代码: 如果你习惯于使用cmd,可以点击左下角的加号,然后就会新增一个shell,即这里的cmd 点击cmd之后,如果你的电脑之前安装了anaconda,而且创建了若干个虚拟环境,你可以激活或者关闭指定的虚拟环境,打开cmd shell之后他会默认到主环境里找python解释器运行python代码,但是我习惯使用我的名为py3.7的虚拟环境: 然后直接点击右上角的运行标志可以直接运行: 点击左上角【文件】,点击【首选项】,点击【设置】,出现这样的界面: 这些配置实质上是用json文件形式编码的,我们可以点击左上角的这个图标打开json文件:
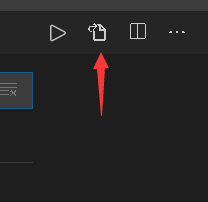
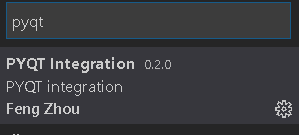
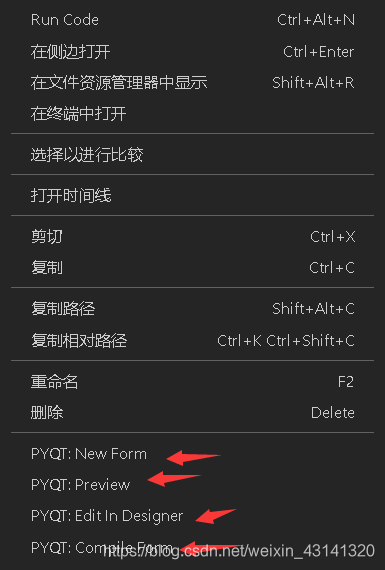
比如这里的17指的是我的代码字体大小为17,可以直接从这里修改。 如果我希望每一次它打开的命令行默认是cmd而不是powershell如何操作呢? 在搜索栏上面输入terminal.integrated 往下翻找到shell.windows: 这里显示它默认打开的是powershell,然后打开settings.json,输入: "terminal.integrated.shell.windows" 他会自动匹配出来: C:\WINDOWS\System32\WindowsPowerShell\v1.0\powershell.exe 然后我们将它修改成: "terminal.integrated.shell.windows": "C:\\WINDOWS\\System32\\cmd.exe", 然后保存即可。然后前面讲到了打开cmd默认打开的是系统主环境下的python解释器,我现在想将其修改成我习惯的虚拟环境下的python解释器如何实现呢?同样,在json文件中输入: "python.pythonPath": "python" 其实你输入前半部分的“键”,他就会自动出现后面的内容,然后发现它所对应的是“python”,因为我们当初安装python的时候将系统主环境里的解释器设置了环境变量,这里直接显示的是python,意思是直接使用环境变量里的python解释器。如果更改这一默认配置的话,可以将右边的“python”改成:E:\\python_environment\\py3.7\\python.exe,这个路径是我的虚拟环境的python解释器所在的路径(注意双斜杠)。然后保存即可,今后运行python代码就不会默认使用主环境下的python解释器,而是指定环境下的python解释器。 配置自动保存在json 文件下输入:"files.autoSave"他就会自动出现后半段,然后改成:"files.autoSave":"afterDelay"即可自动保存,当然不用每一次都先打开json文件,使用本例来说,可以使用快捷键ctrl+shift+p然后在上面输入autosave然后点击下面出现的自动保存即可,然后检查一遍,打开json文件可以发现它多了一行关于自动保存的键值对。 有关更多“files.autoSave”的值的说明参见这里: https://code.visualstudio.com/docs/editor/codebasics#_save-auto-save 配置pydesigner、pyqt5:上面配置了这么多其实已经很完备了,但是怎么能够少了拖拽控件的配置呢?操作方式如下: 首先安装pyqt integration: 然后通过前面介绍的方式打开设置,然后在上面搜索栏中输入: pyqt 需要配置的有三个: 首先配置pyuic5,这需要找到你的pyuic5.exe可执行文件所在的位置,我的在这里: D:\\Program Files\\Anaconda3\\envs\\py3.7\\Scripts\\pyuic5.exe 可以去你的Scripts文件夹下寻找,找到之后将它的绝对路劲copy过去,注意如果你直接将路径copy在上面截图的地方,那么要用单斜杠。我这个直接从json文件下copy过来的,所以是双斜杠。 第二个配置其实是你从.ui文件生成.py文件的文件名和位置,可以根据自己的需要配置。 第三个配置是你的pyqtdesigner所在的位置,我的绝对路径是: D:\\Program Files\\Anaconda3\\envs\\py3.7\\Lib\\site-packages\\pyqt5_tools\\Qt\\bin\\designer.exe 可以参考我的路径去寻找。这些配置完成保存之后,打开json文件会发现在json文件中也相应的更新了配置,所以如果你想直接在json文件中配置也是可以的,但是要将路径的单斜杠换成双斜杠。 这三个配置好了之后,找到任意一个文件右键,看到最后四行: 他们的含义分别是: 创建一个新窗口,预览,编辑,编译产生py文件 显然最后一个编译要求你的文件至少是.ui文件。 将我的1.ui文件编译之后,成功生成了.py文件: 如果嫌弃前面的“Ui_”,可以通过上面提到的方式将前面的"Ui_"去掉,改成如下:
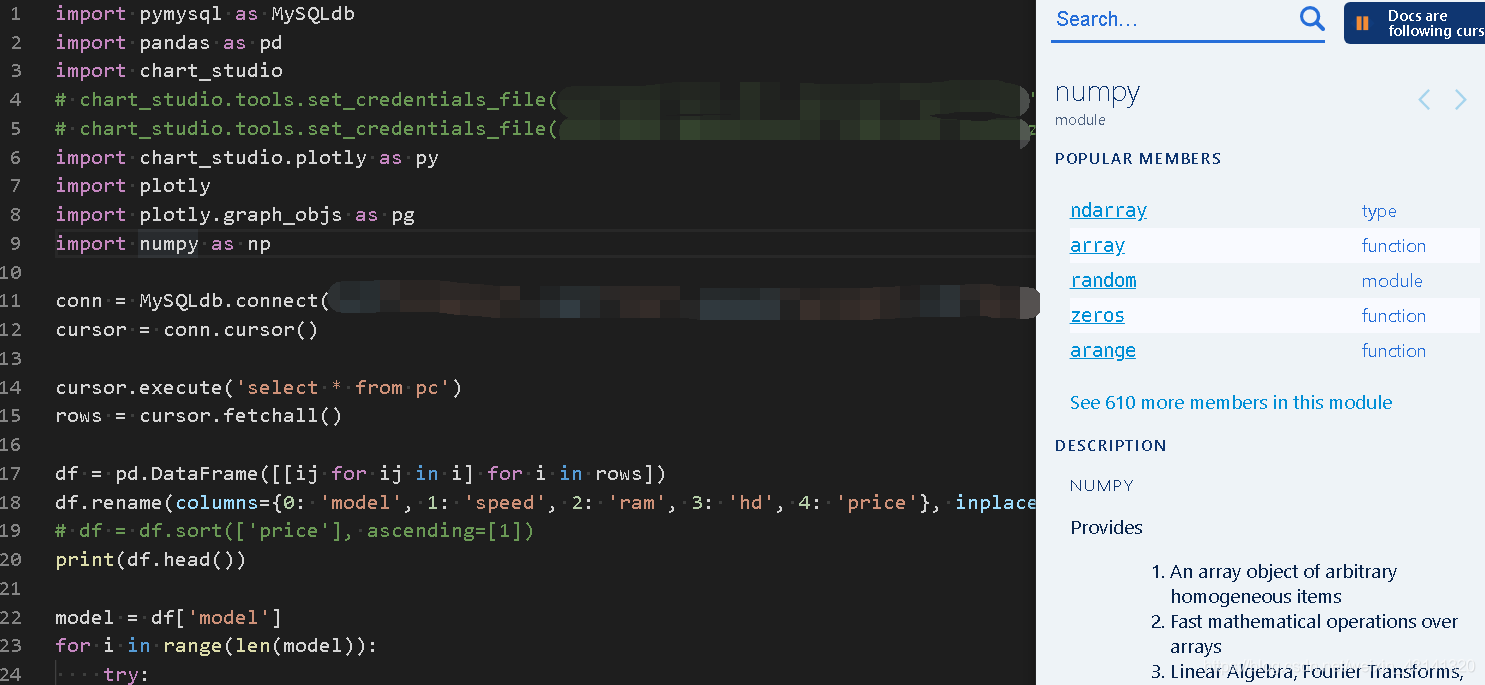
看看多和谐~ kite插件的安装常用python的小伙伴可能听说过kite,“真香”,直接上kite官网下载这个免费的针对python量身定制的使用机器学习设计的自动补全超级神器,然后在vscode的左边直接搜索kite插件安装就可以使用了,它可以按照使用者的习惯自动补全,还可以非常方便地查看某个函数的使用文档。比如我想导入numpy库: 看看Numpy的使用:将光标停在numpy那里,然后按ctrl+shift+p点击 kite:Docs At Cursor
看右边~ 就问你香不香,简直好用得不能不能了~ 关于kite的使用参见这里: https://help.kite.com/category/46-vs-code-integration 接下来,开启你开挂的python之路吧~ 最后分别附上在vscode和sublime打开kite之后会出现的kite_tutorial.py文件: vscode(热键:ctrl+space(查看推荐), ctrl+shift+space(查看函数的参数使用方法), Hover your mouse over “dumps” and then click “Docs”. Or put your cursor over “dumps”, press ctrl+shift+p, and run the command “Kite: Docs At Cursor”. json.dumps): # Welcome to... # # `hmy+. ://: # .mMMMMMNho:` NMMm # :NMMMMMMMMMMMds/.` NMMm :ss: # +NMMMMMMMMMMMMMMMMmy+ NMMm -MMMM- --- # `oMMMMMMMMMMMMMMMMMMMMo NMMm /ss/ :MMM+ # `yMMMMMMMMNshmNMMMMMMMN` NMMm /MMM+ # .dMMMMMMMMm/hmhssydmMMM+ NMMm `/yhhy. shhy ohmMMMmhhhh. ./ydmmmdho- # omMMMMMMMd/mMMMMMmhsosy` NMMm .omMMmo. mMMN odmMMMmdddd. omMNdsoshNMNy` # .+dMMMMy/mMMMMMMMMMMm- NMMm-yNMMh/` mMMN /MMM+ sMMN:` `:NMMy # `-ymo/NMMMMMMMMMMMd NMMMNMMN/ mMMN :MMM+ MMMNdddddddNMMN # ``hMMMMMMMMMMMM: NMMm+mMMNs. mMMN :MMM+ MMMh//: # `:yNMMMMMMMMh NMMm `/dMMNy- mMMN :MMM+ `. sMMNo` `-: # .+mMMMMMM- NMMm `/dMMNy- mMMN .MMMNddNN/ +NMMNdhydNNMs # `:yMMMy yhhs `/hhhh shhs :ymmmdho: `/sdmmmmhs/` # `om. """ Kite is your Python programming copilot. Kite will try to show you the right information at the right time as you code to prevent you from context switching out of your current line of thought. This tutorial will teach you how to use all of Kite's core features. You should be able to learn everything in 5 minutes. If you get stuck at any point, please email [email protected] and we'll help you debug. """ """ PART 0: BEFORE WE START ==================================================== Kite's VS Code extension will by default try to start the Kite backend when the editor first starts. You can change this behavior by opening settings, searching for "Kite:", and changing "Kite: Start Kite Engine On Startup". Look for the 𝕜𝕚𝕥𝕖 indiciator in the bottom right corner of VS Code's status bar — It will tell you if Kite is ready and working. If the indicator reads "not running", then you'll have to start the Kite Engine manually before proceeding with the rest of this tutorial. """ """ PART 1: CODE COMPLETIONS =================================================== Kite analyzes your code and uses machine learning to show you completions for what you're going to type next. If you have your editor configured to show autocompletions, then Kite will show you completions automatically as you type. If you don't have autocompletions on, you can press ctrl+space to request completions at any time. You can toggle autocompletions in the editor settings by changing "Editor: Suggest On Trigger Characters". Look for Kite's "⟠" symbol on the right-hand side to see which completions are coming from Kite. """ # 1a. Name completions # # Kite can suggest names of symbols to use, such as names of packages or names # of variables in scope. # TRY IT # ------ # • Put your cursor at the end of the line marked with " |


【本文地址】
今日新闻 |
推荐新闻 |