【2022.11.17】N5105安装PVE系统,关联proxmox |
您所在的位置:网站首页 › vmbr0是什么 › 【2022.11.17】N5105安装PVE系统,关联proxmox |
【2022.11.17】N5105安装PVE系统,关联proxmox
|
下载、安装PVE系统
先去PVE官网下载新版的ISO文件:Proxmox VE 7.2 ISO Installer 写入磁盘后直接进入BIOS,选择U盘启动 选择同意
选择磁盘
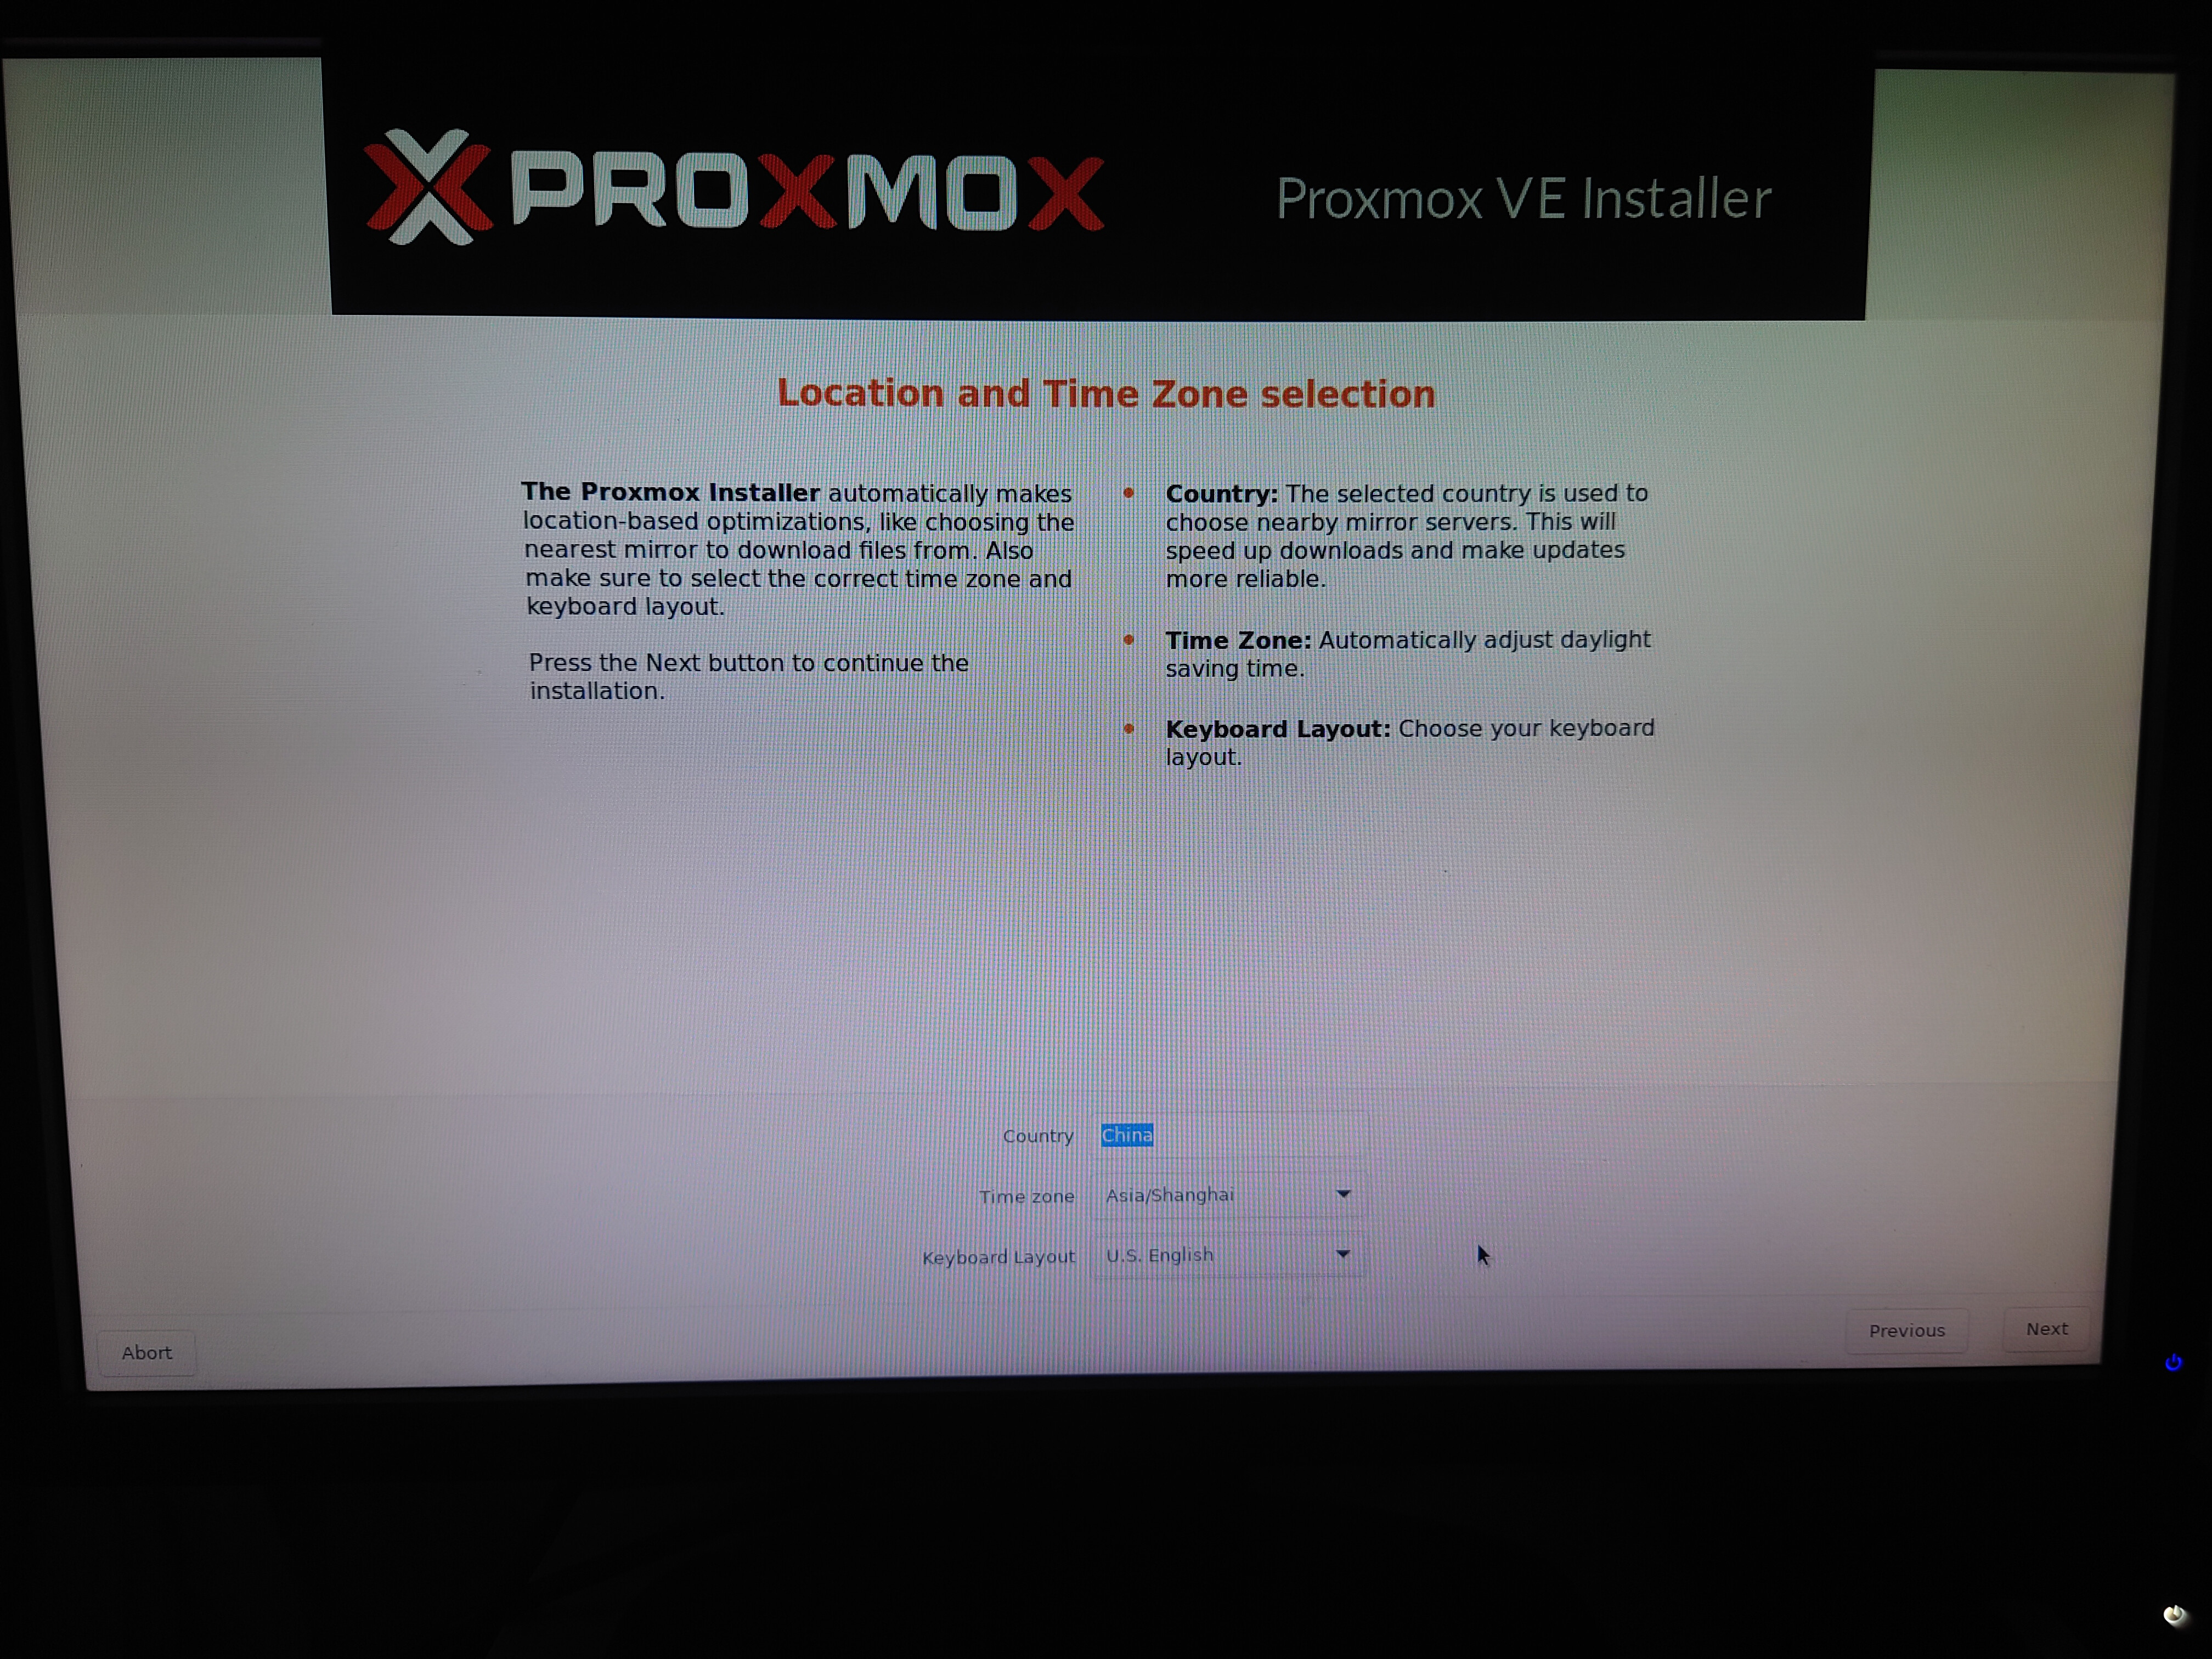
如果有网络的话,不用选择,没网络的话选择中国,其他默认
输入密码和email,报警的时候可以发送到这个邮箱
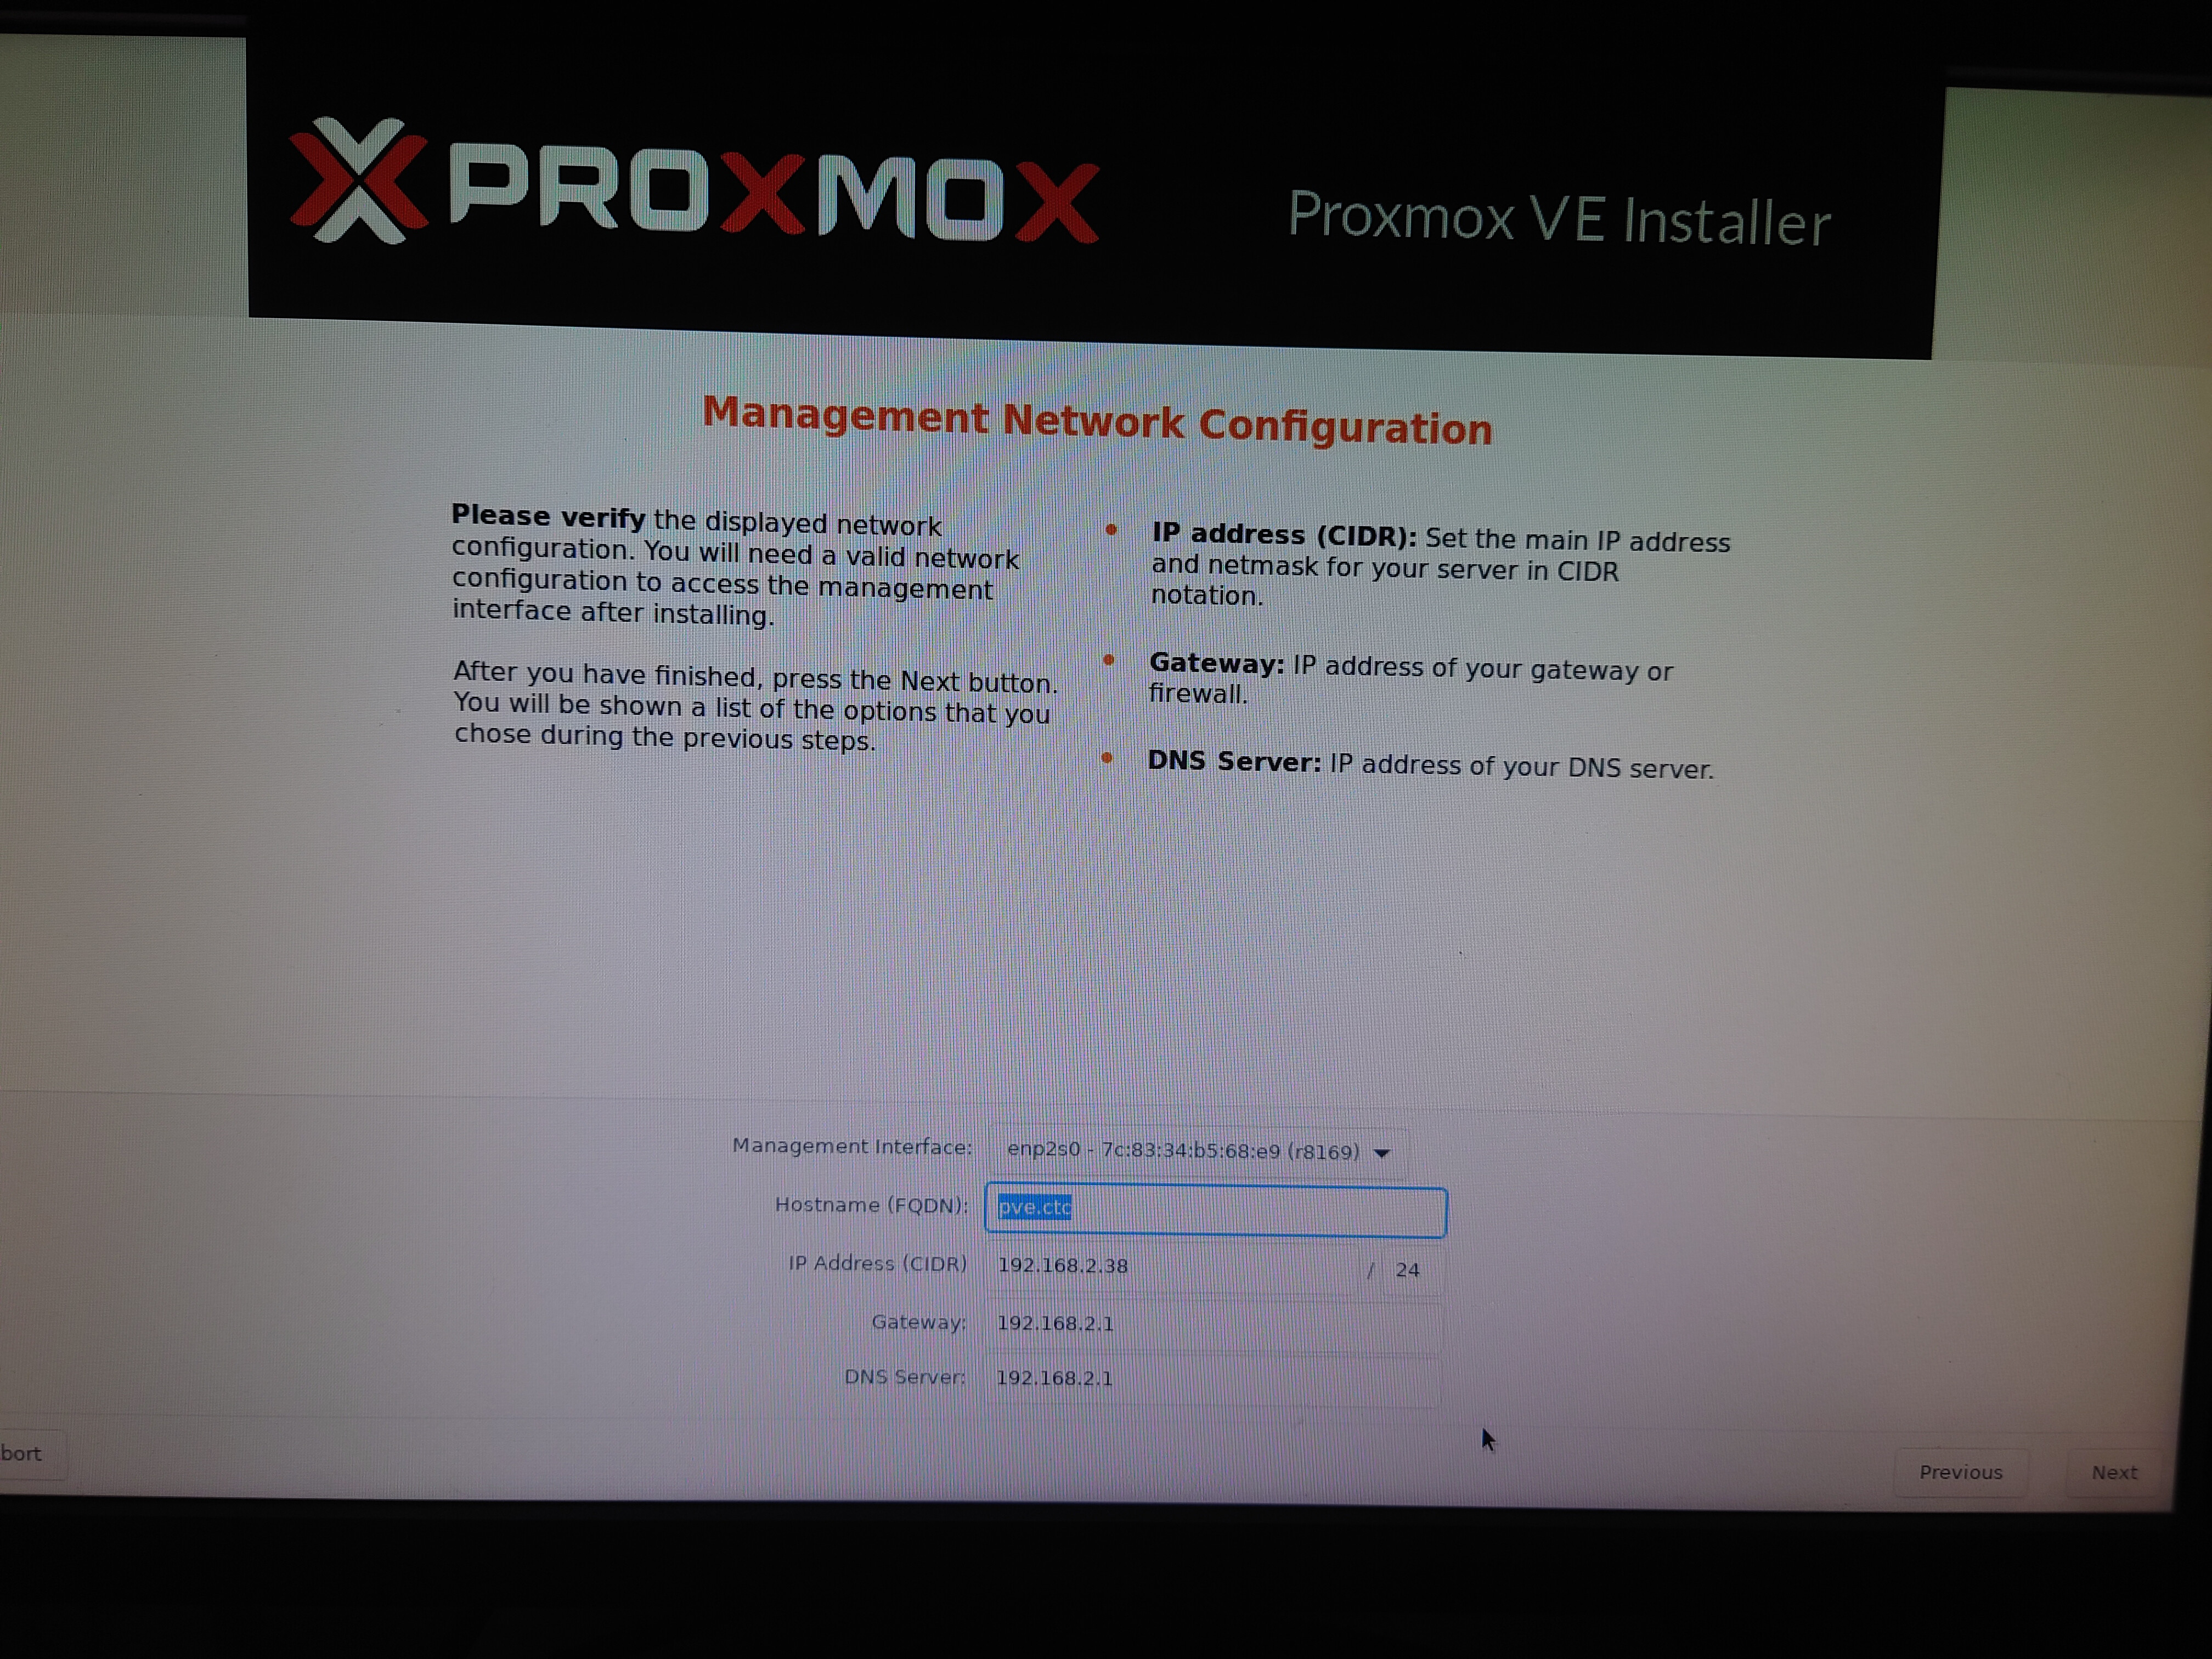
然后选择IP,一般不用选,DHCP分配好了,但是最好在路由里固定IP地址,并且记下你的网卡名称,我这里是enp2s0
然后开始安装,之后重启,拔掉U盘
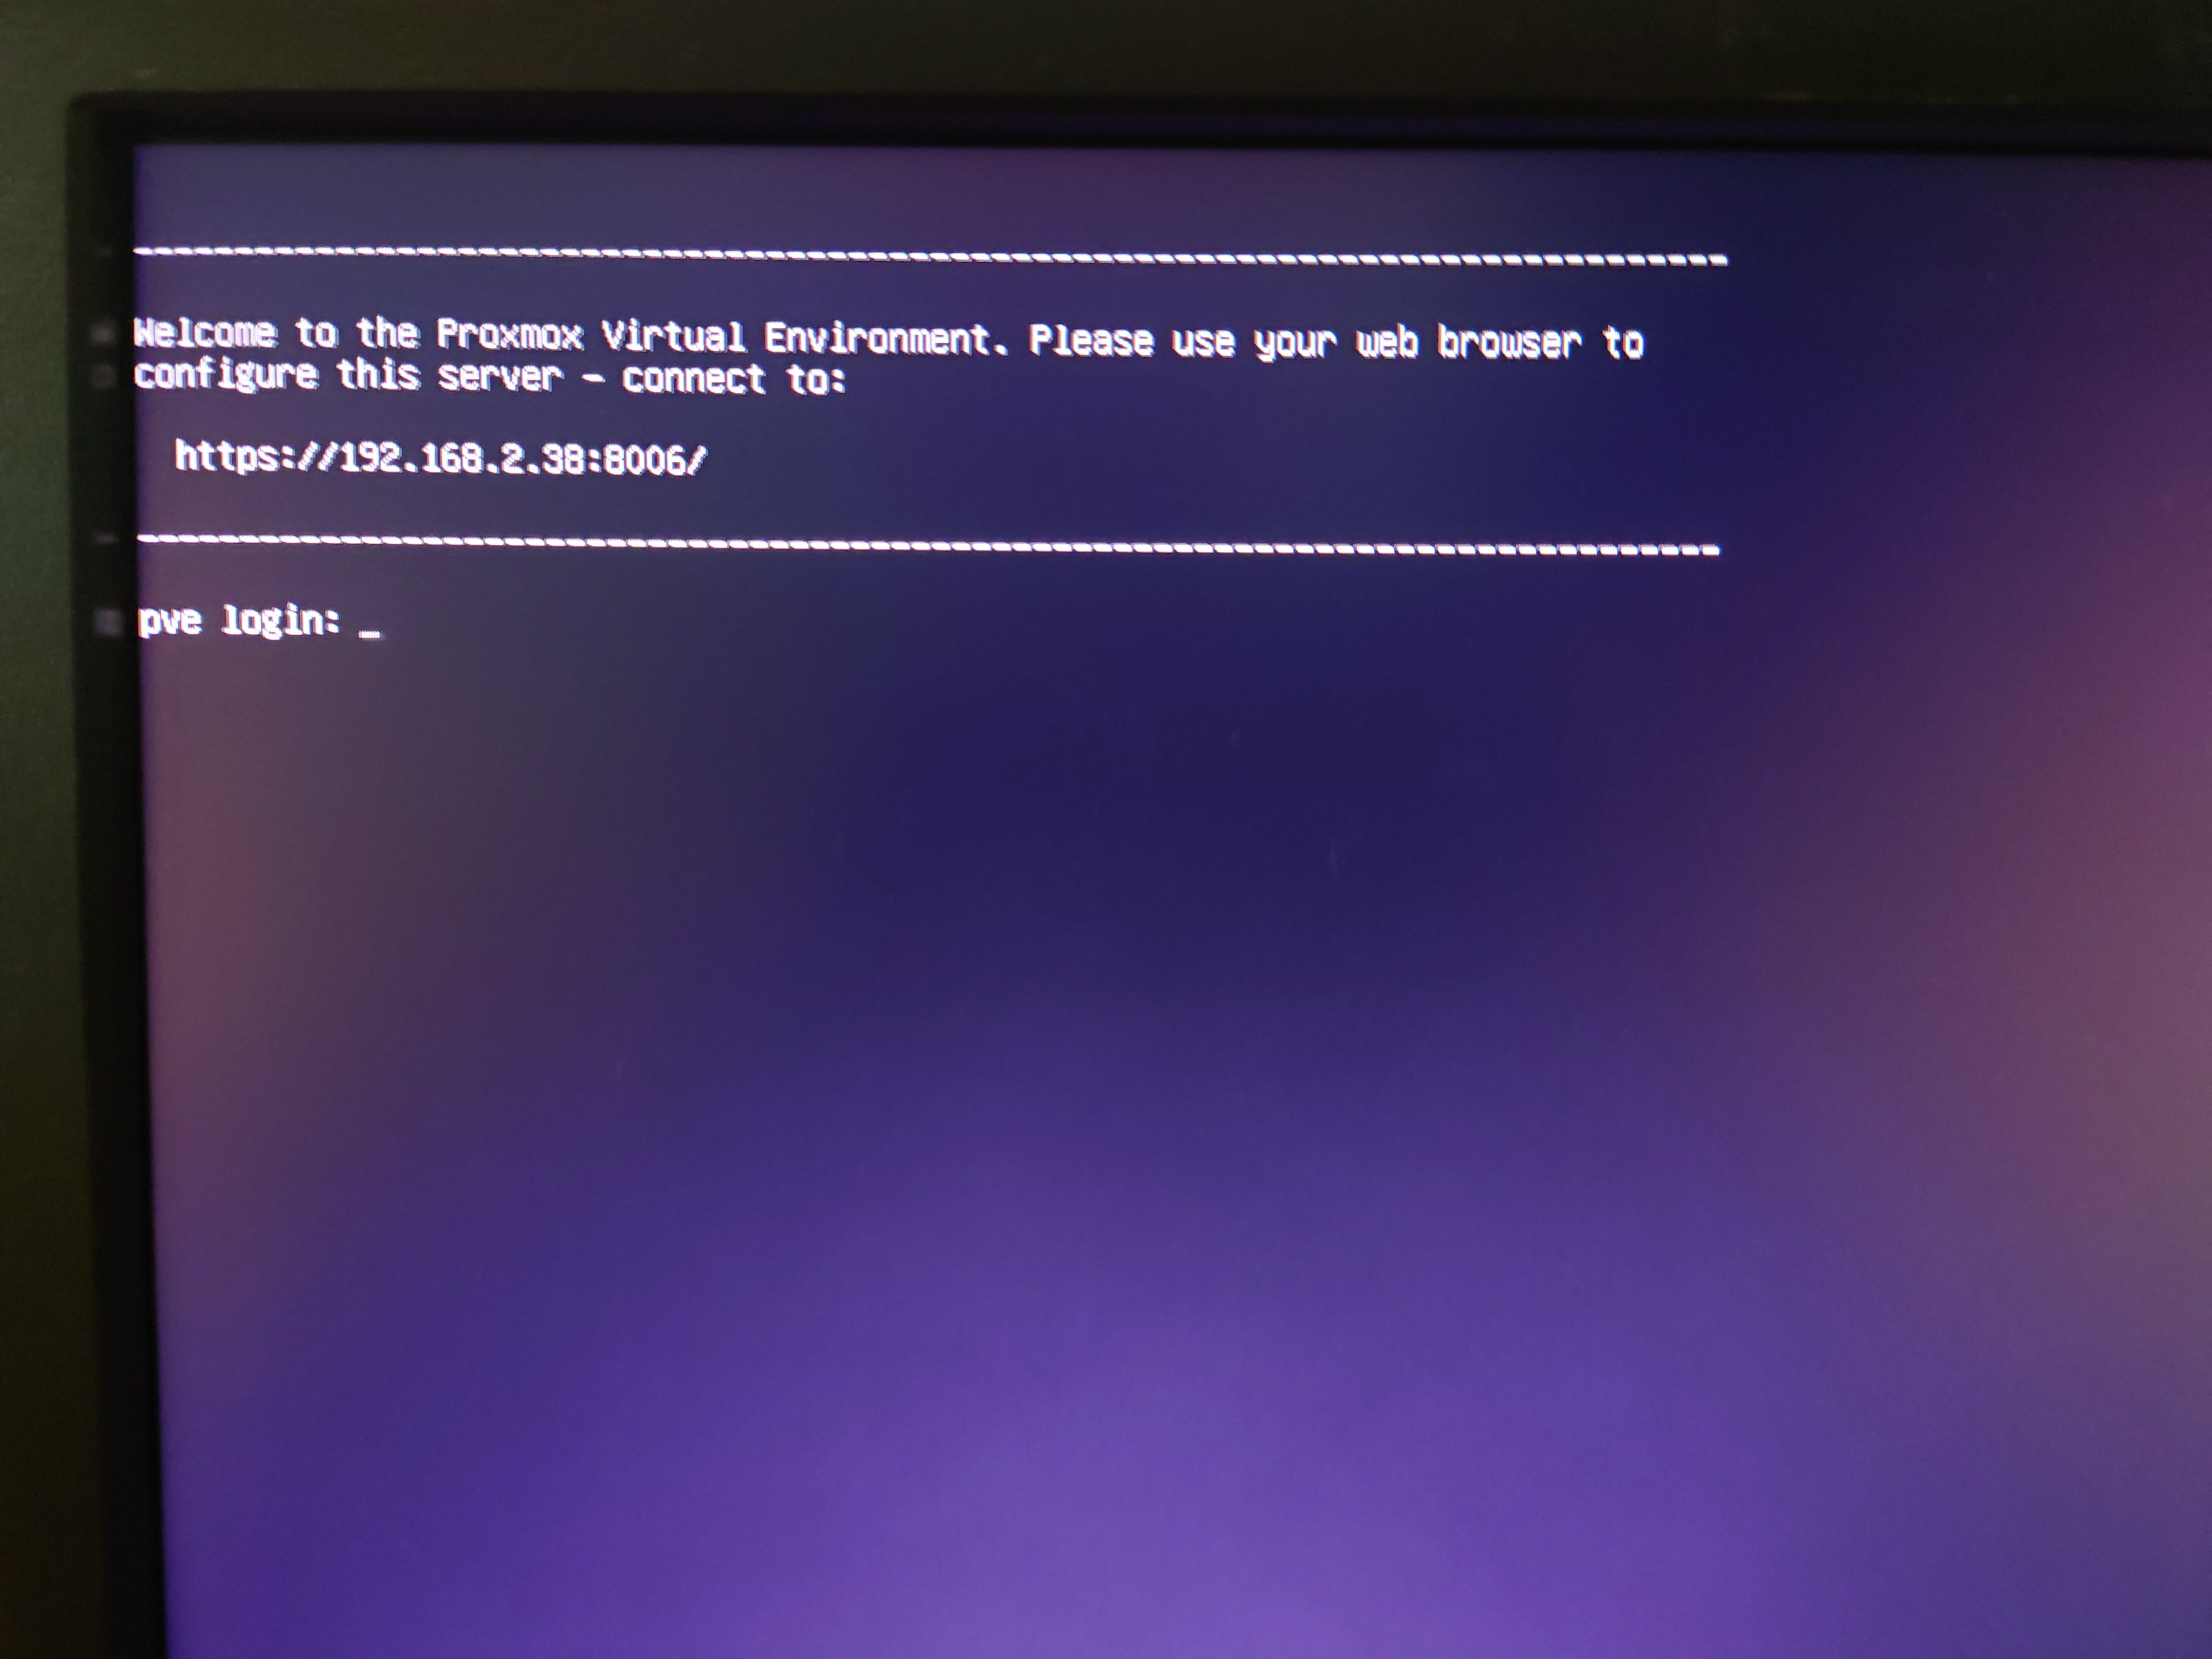
开机后得知其访问的IP地址和端口,剩下的在网页上面操作 比如我这里,https://192.168.2.38:8006/
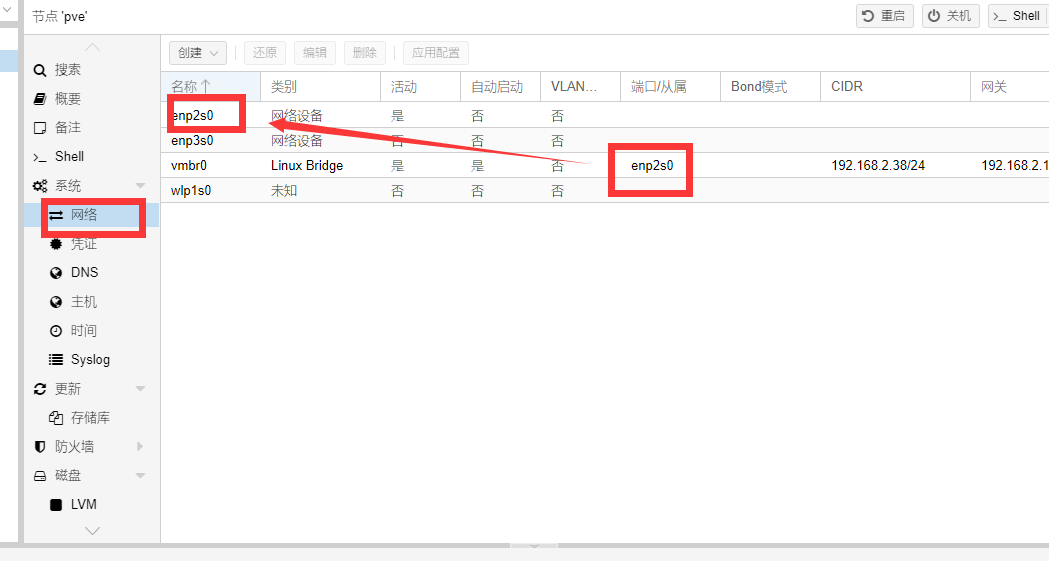
进入PVE的本体SHELL,换成pve国内源,加快下载速度 wget https://mirrors.ustc.edu.cn/proxmox/debian/proxmox-release-bullseye.gpg -O /etc/apt/trusted.gpg.d/proxmox-release-bullseye.gpg echo "#deb https://enterprise.proxmox.com/debian/pve bullseye pve-enterprise" > /etc/apt/sources.list.d/pve-enterprise.list echo "deb https://mirrors.ustc.edu.cn/proxmox/debian/pve bullseye pve-no-subscription" > /etc/apt/sources.list.d/pve-no-subscription.list换Debian源 mv /etc/apt/sources.list /etc/apt/sources.list.bk nano /etc/apt/sources.list将以下内容加入 deb http://mirrors.ustc.edu.cn/debian stable main contrib non-free # deb-src http://mirrors.ustc.edu.cn/debian stable main contrib non-free deb http://mirrors.ustc.edu.cn/debian stable-updates main contrib non-free # deb-src http://mirrors.ustc.edu.cn/debian stable-updates main contrib non-free # deb http://mirrors.ustc.edu.cn/debian stable-proposed-updates main contrib non-free # deb-src http://mirrors.ustc.edu.cn/debian stable-proposed-updates main contrib non-freectrl+x y enter保存退出,更新源,upgrade可能会比较慢一些 apt update apt upgrade -y 网络配置 apt install ethtool -y在网络可以看到,我的vmbr0是从enp2s0虚拟出来的网桥
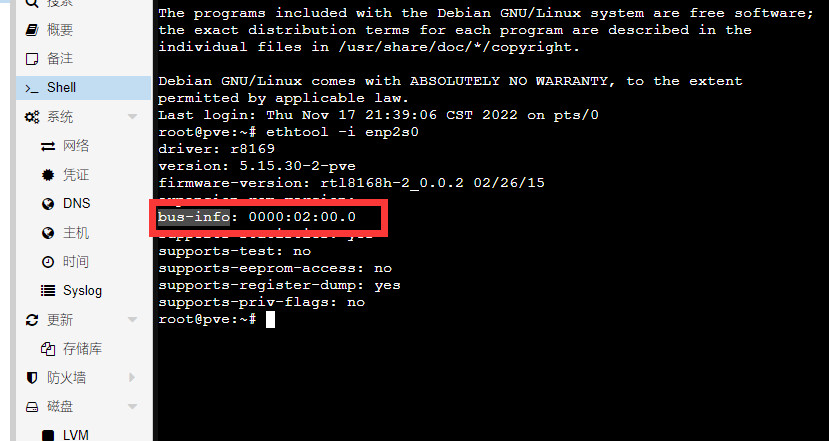
然后记下你的网络 在PVE的shell里面输入,可以在bus-info查看设备位置 ethtool -i 系统设备名,上方看到的非网桥名称
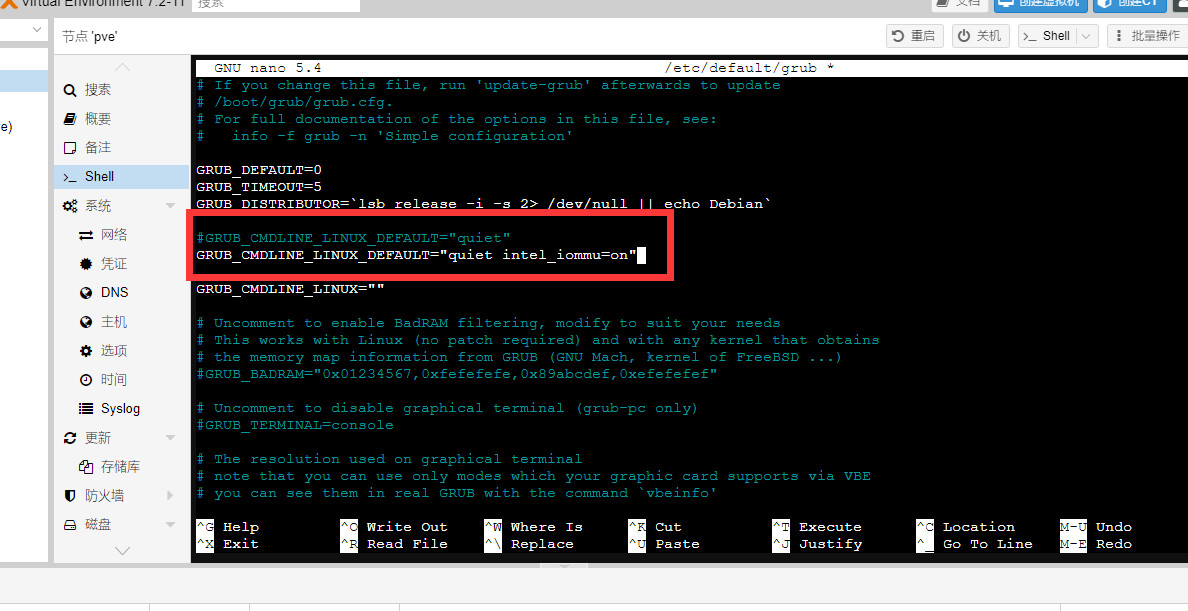
将内容记下 硬件标识 系统设备名 设备位置 软路由内设备名 靠近电源口 enp2s0 0000:02:00.0 远离电源口 enp3s0 0000:03:00.0 无线网卡 wlp1s0 0000:01:00.0 开启硬件直通 nano /etc/default/grub注释掉一行代码,并加入新的一行代码 # GRUB_CMDLINE_LINUX_DEFAULT="quiet" GRUB_CMDLINE_LINUX_DEFAULT="quiet intel_iommu=on"
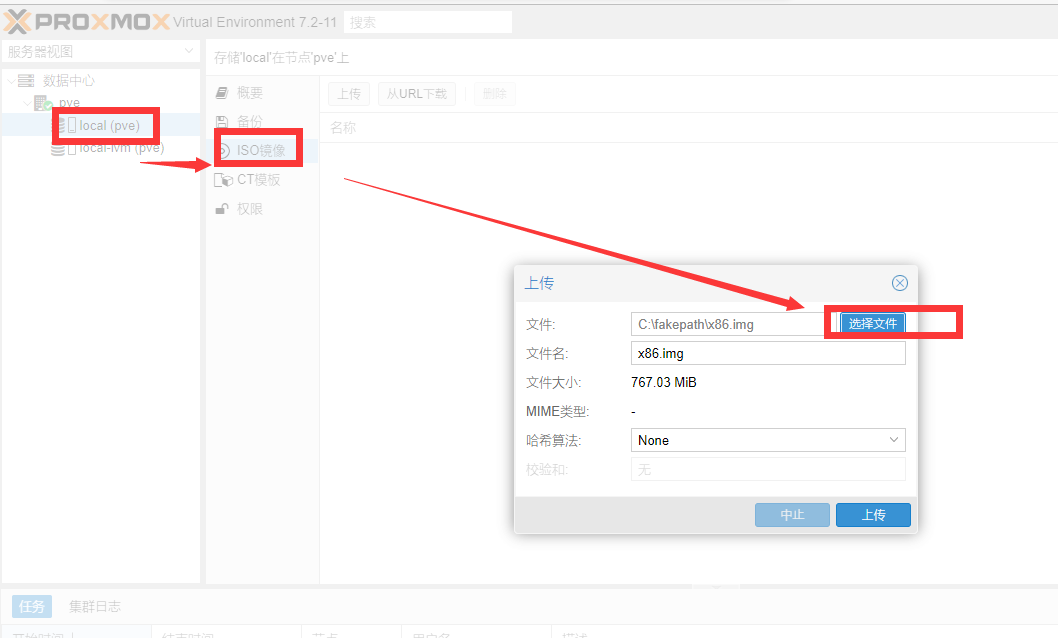
保存退出 然后更新grup update-grub 下载openwrt下载链接:Releases · klever1988/nanopi-openwrt · GitHub 选择最新版的x86.img.gz 创建虚拟机上传ISO
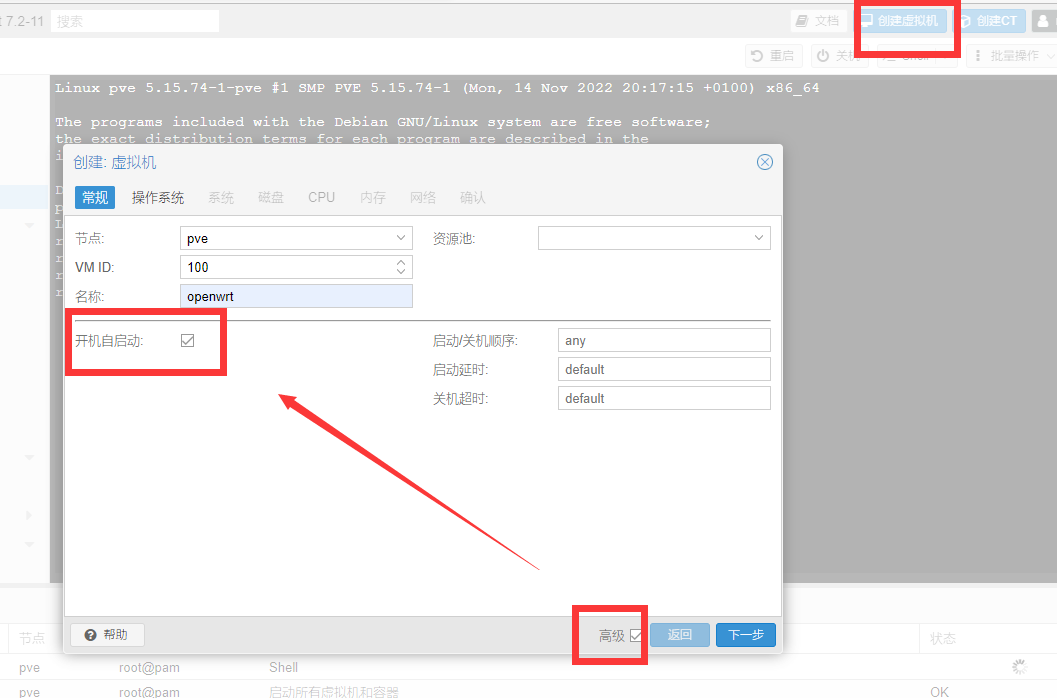
创建虚拟机
选择操作系统
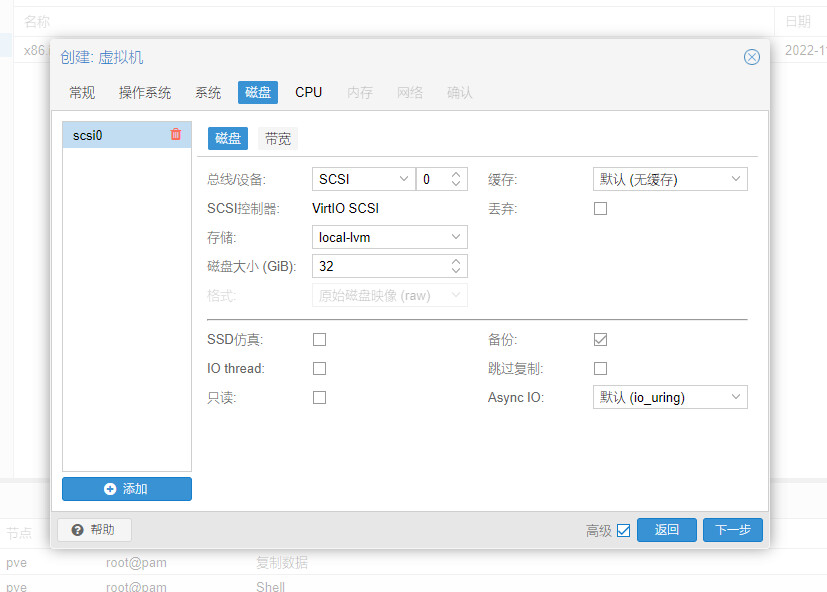
下一步系统,默认 下一步磁盘,默认32G也够了
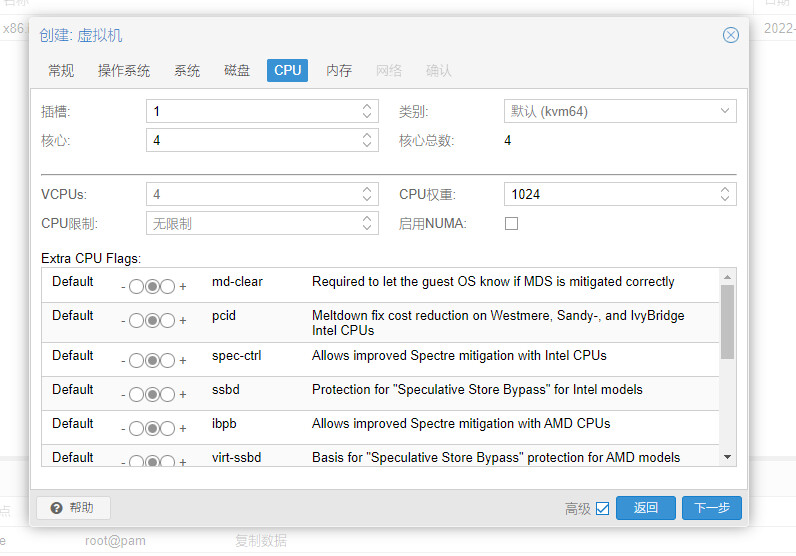
CPU加到4核
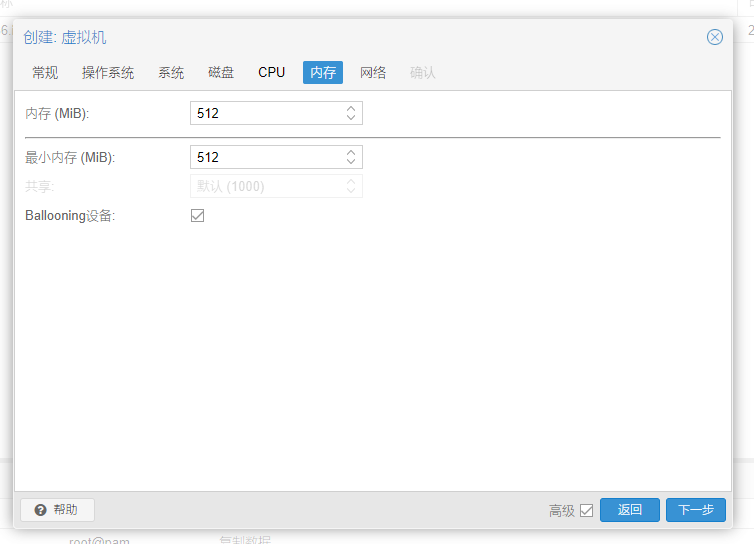
内存的话,半G就行
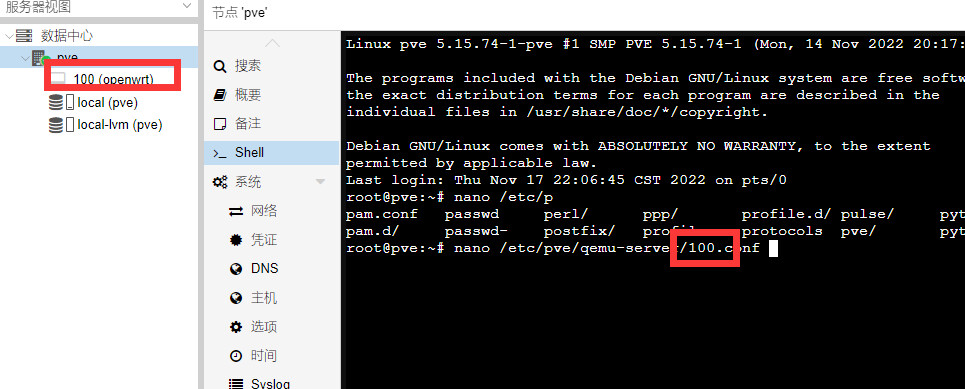
网络默认 完成 SHELL配置虚拟机回到PVE的shell nano /etc/pve/qemu-server/[虚拟机编号].conf这个虚拟机编号见下图
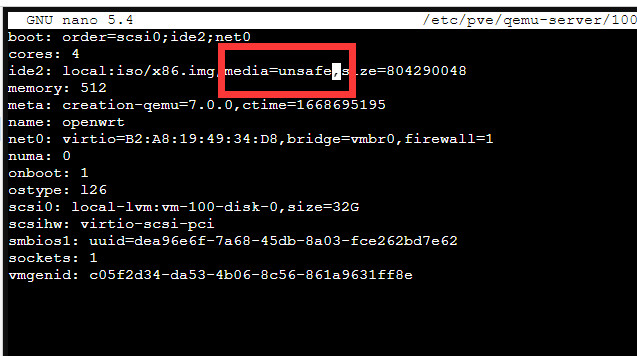
修改media=cdrom为cache=unsafe,图上没有改
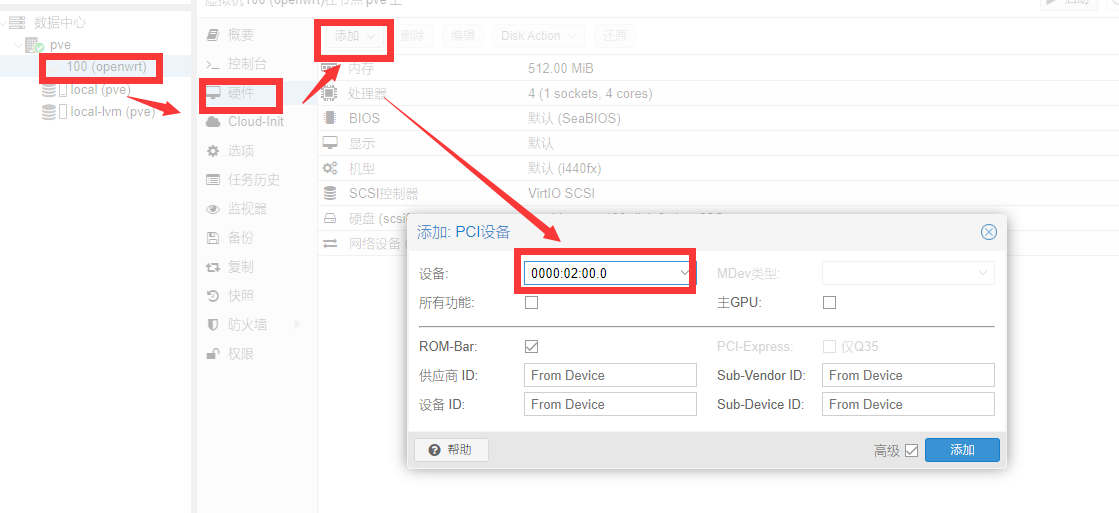
添加PCI设备
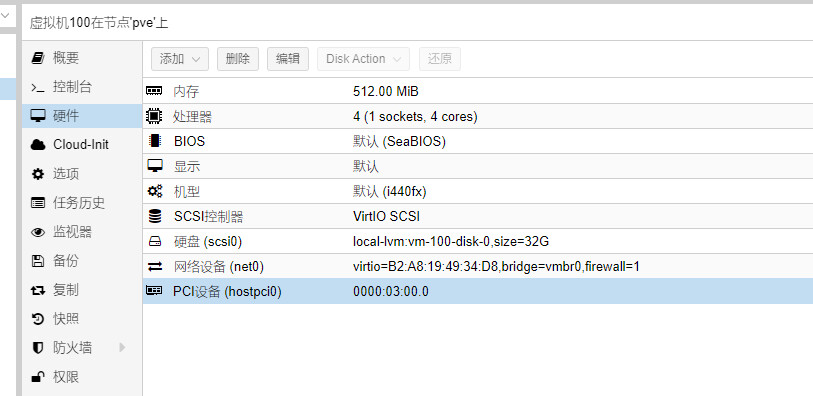
对照上方的表格,因为 硬件标识 系统设备名 设备位置 软路由内设备名 靠近电源口 enp2s0 0000:02:00.0 eth0,WAN(桥接) 远离电源口 enp3s0 0000:03:00.0 eth1,LAN 无线网卡 wlp1s0 0000:01:00.0我要选择 0000:03:00.0作为LAN口 请注意,因为net0是以vmbr0作为基础,vmbr0是enp2s0虚拟出来的,所以PCI设备不能选 enp2s0对应的0000:02:00.0
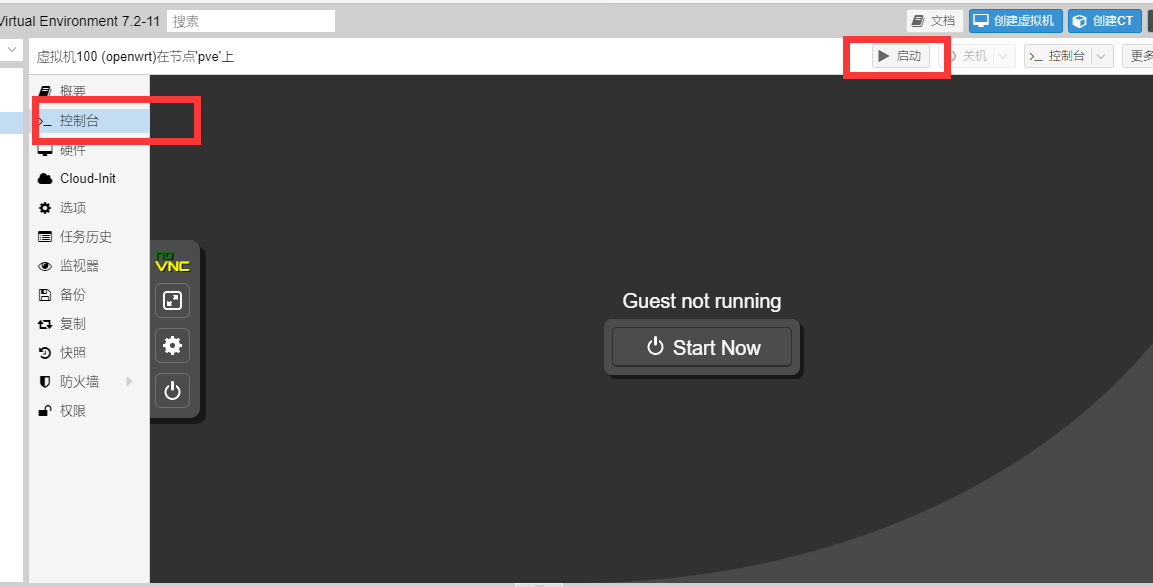
开启虚拟机
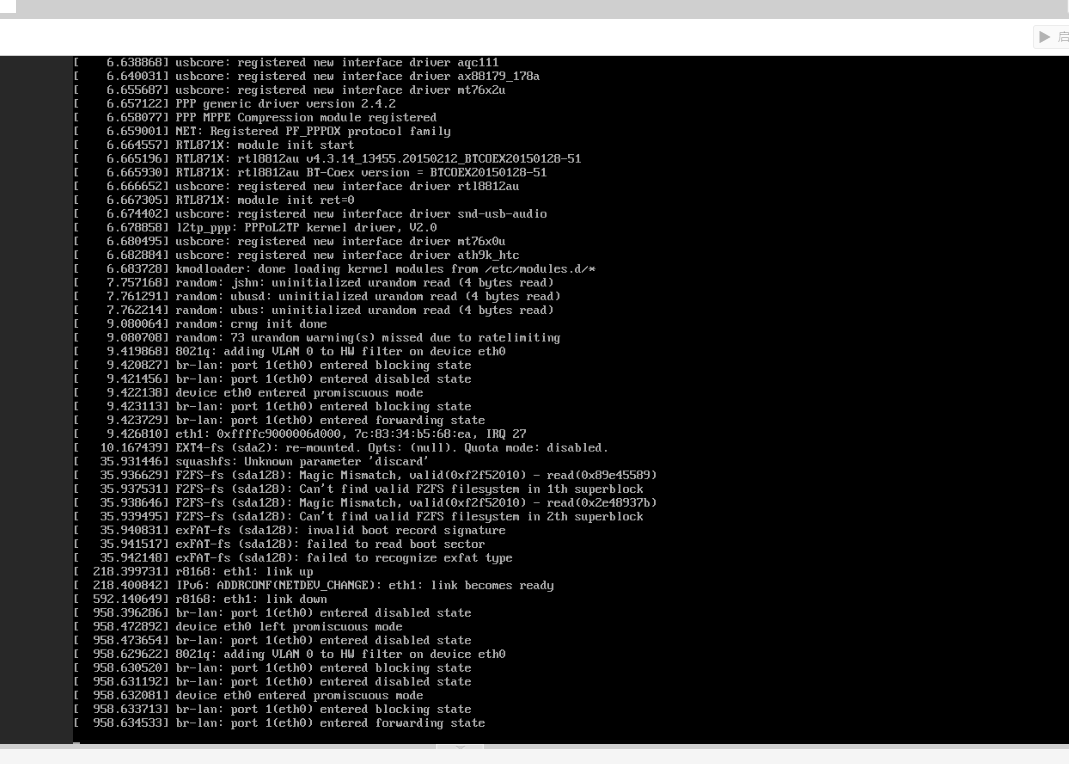
成功后这样,跳出一堆命令行
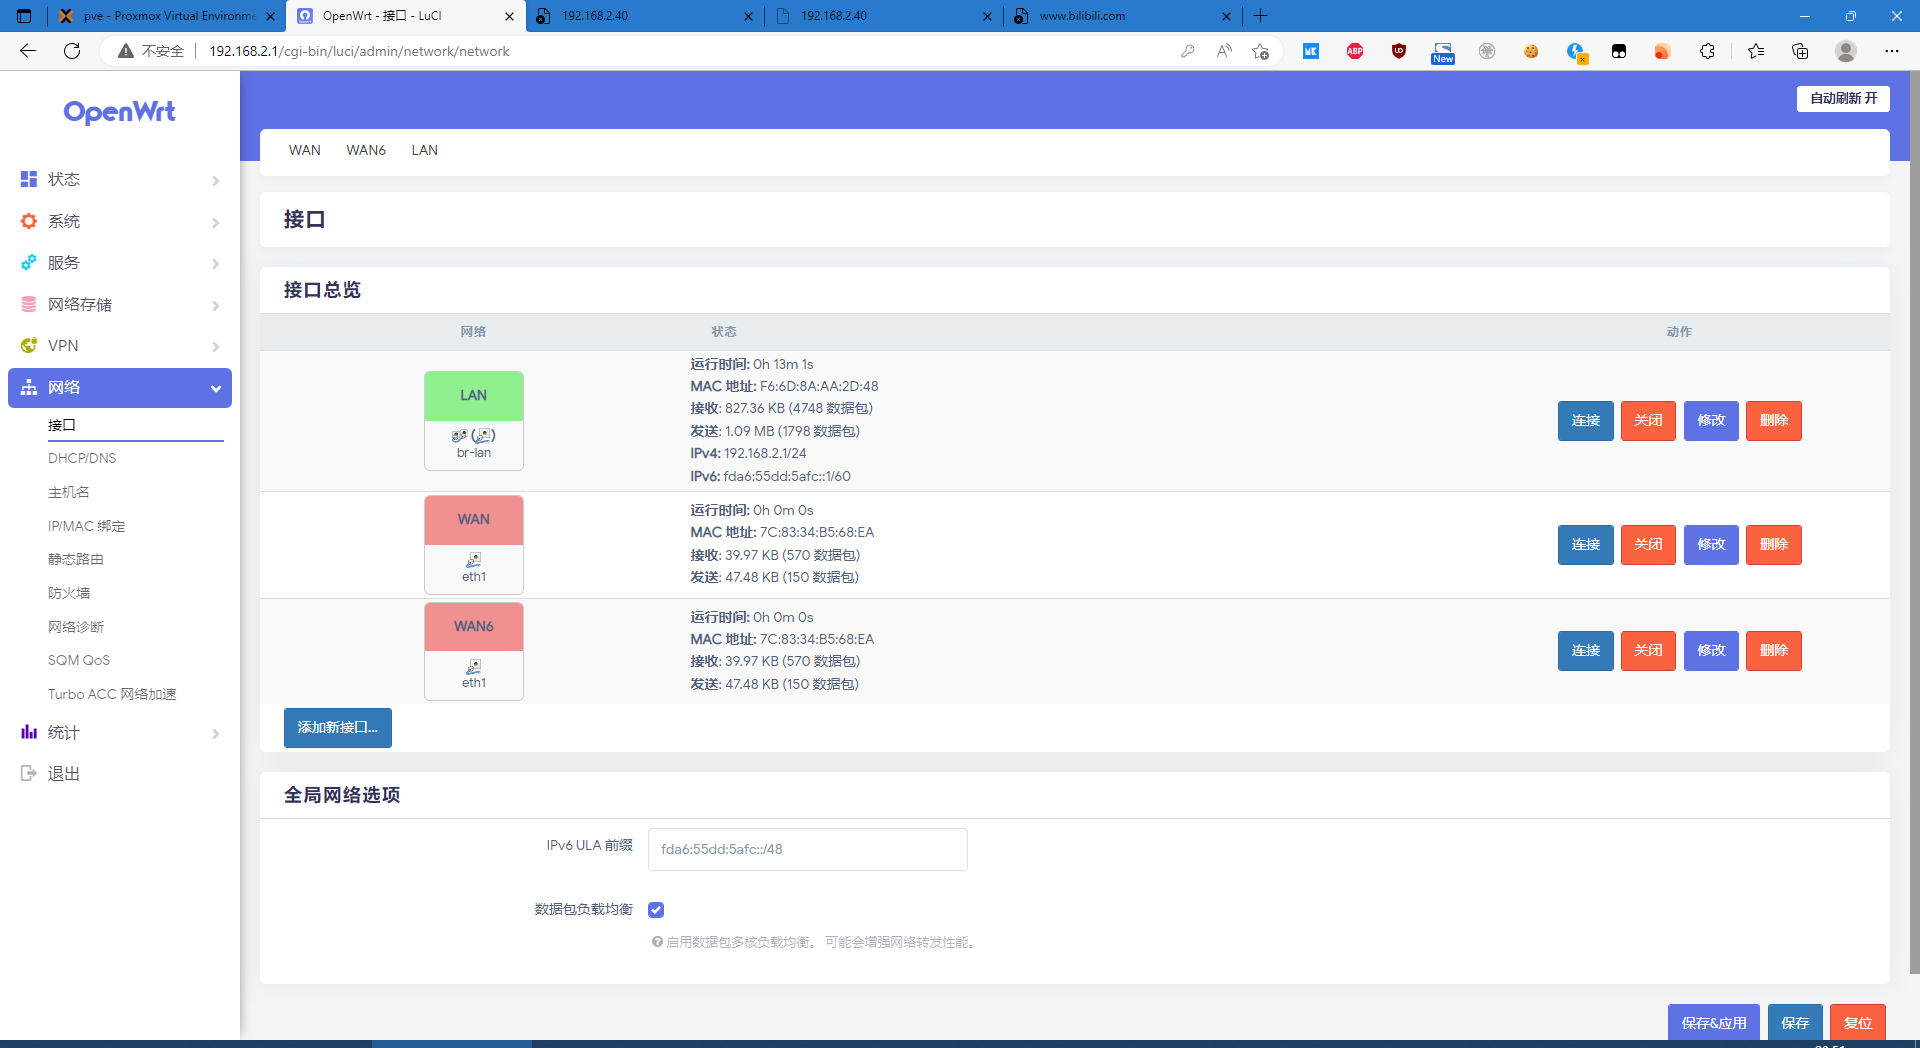
但是这时候是连不上网的,因为固件的源地址设置为192.168.2.1,所以你现在是进不了这个系统的 需要把原来的接口拔下来,然后用一台电脑插上去,将IP配置为192.168.2.xx,然后进入openwrt进行修改
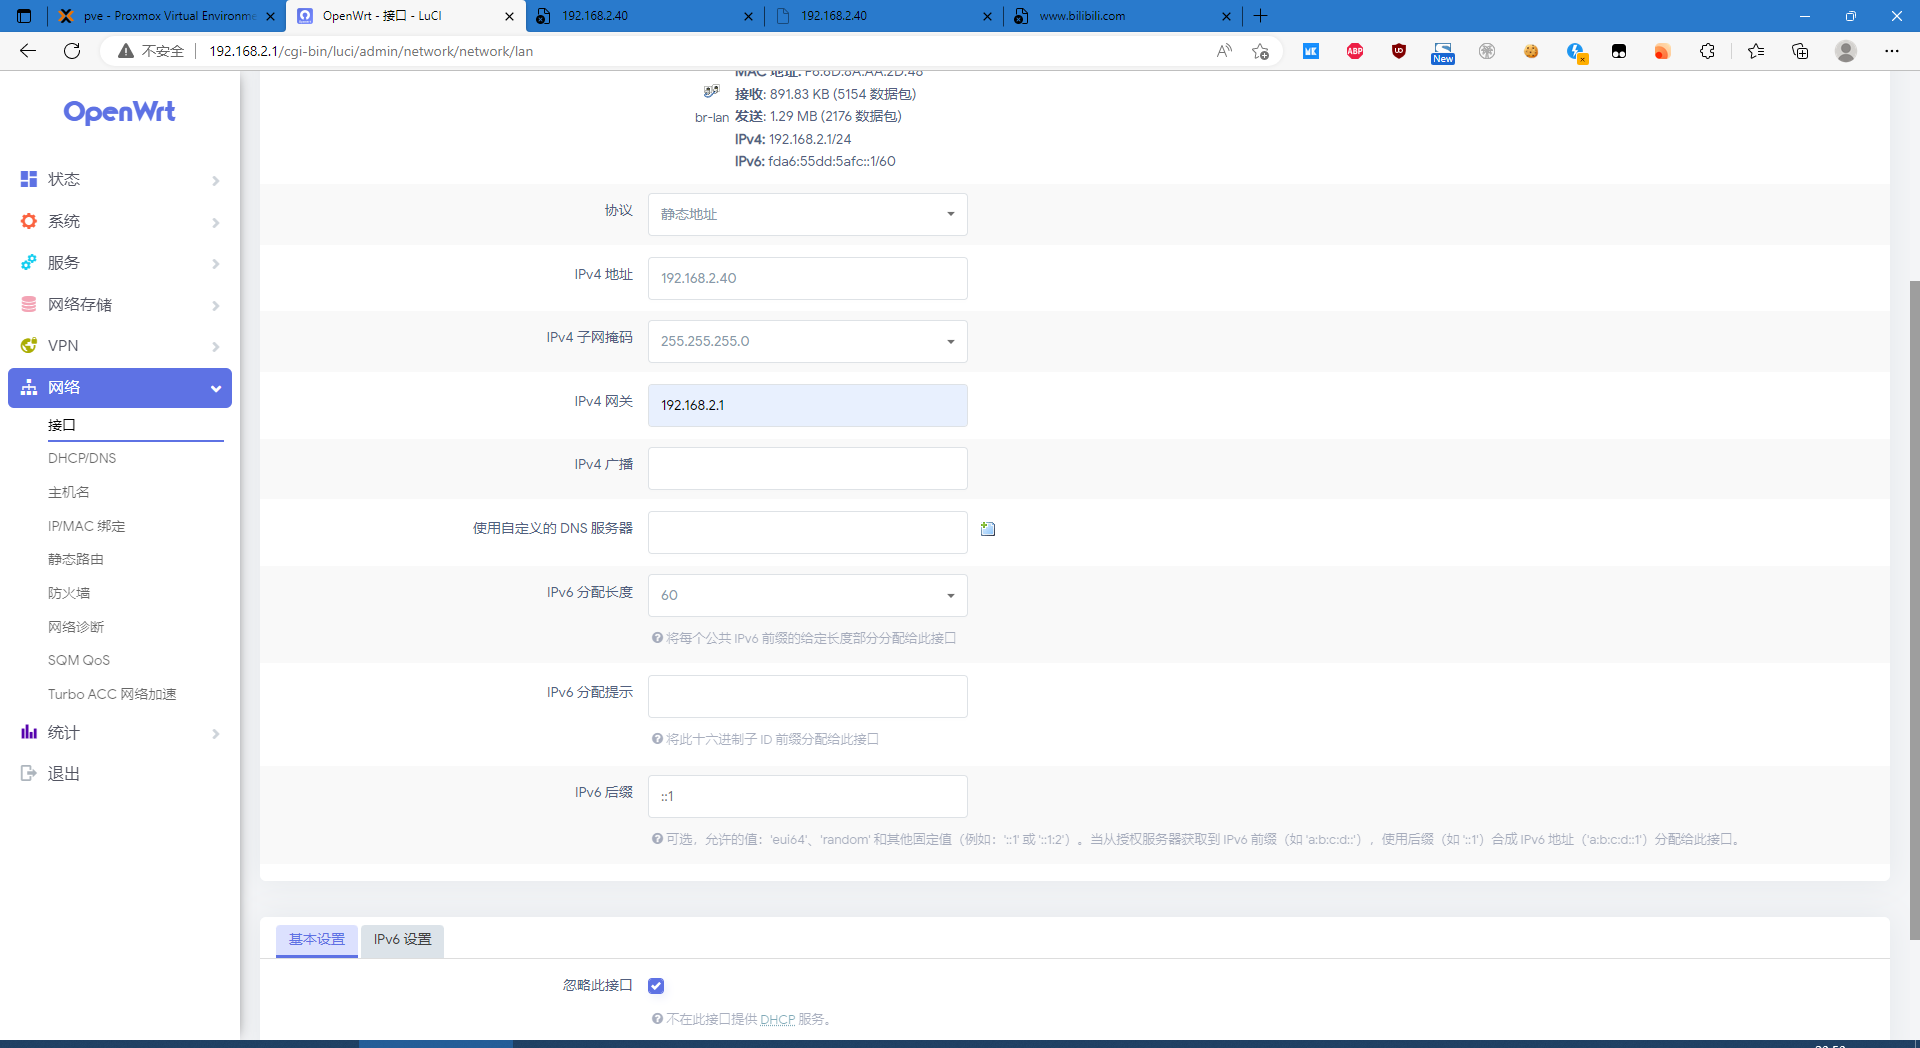
我在这里修改为40,然后指向原来的网关1,关闭DHCP服务
现在断开连接,重新连接路由器和n5105,现在就可以通过40来访问这个openwrt系统了 |


【本文地址】