Windows安装arm64架构的麒麟V10 |
您所在的位置:网站首页 › virtio源码 › Windows安装arm64架构的麒麟V10 |
Windows安装arm64架构的麒麟V10
|
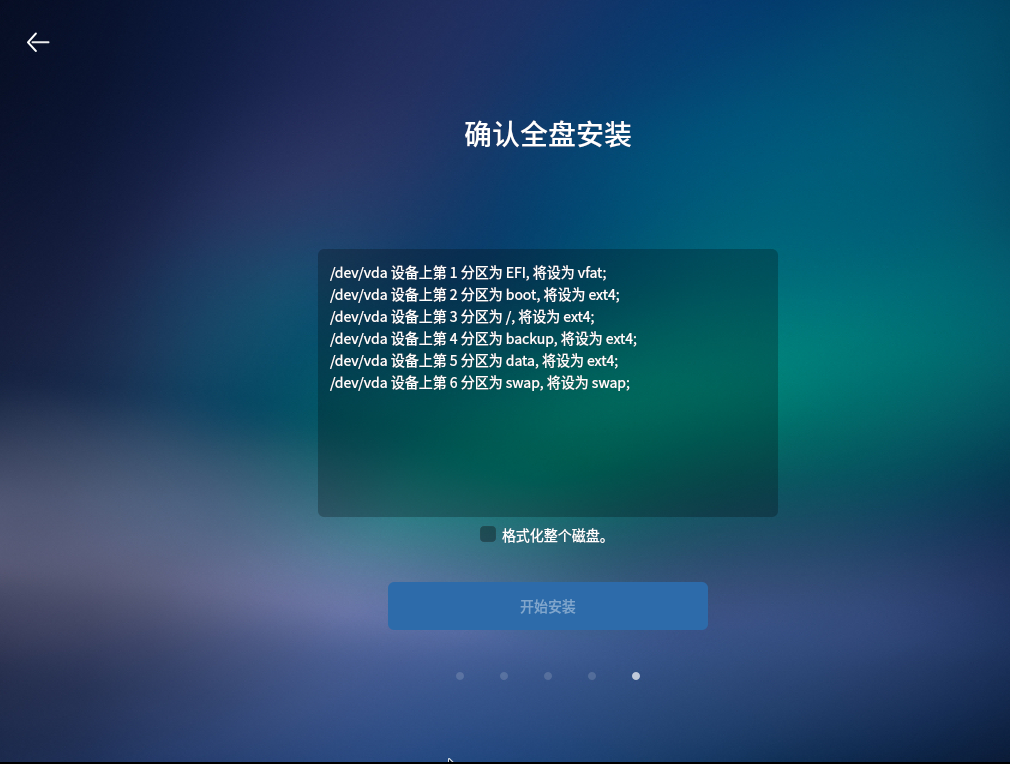
一、下载QEMU 二、下载麒麟V10桌面版 三、安装QEMU 安装的时候注意最好不要放在Program Files目录下,后面运行命令行会因为空格,需要特殊处理。 具体QEMU的版本,我用了最新的qemu-w64-setup-20210825.exe 四、创建镜像文件 命令很简单:qemu-img create d:\Kylin\KylinDesktopV10.img 60G 五、安装镜像 主要是bios文件的选择: 1 qemu-system-aarch64.exe -m 6333 -cpu cortex-a72 -smp 2,cores=2,threads=1,sockets=1 -M virt -bios d:\qemu\MyBios\QEMU_EFI.fd -net nic,model=pcnet -device nec-usb-xhci -device usb-kbd -device usb-mouse -device VGA -drive if=none,file=d:\KYLIN\ISO\Kylin-Desktop-V10-SP1-Release-2107-arm64.iso,id=cdrom,media=cdrom -device virtio-scsi-device -device scsi-cd,drive=cdrom -drive file=d:\KYLIN\KylinDesktopV10.img,if=none,format=raw,id=hd0 -device virtio-blk-device,drive=hd0 后面就是银河麒麟的安装,安装过程很慢很慢。
六、启动镜像 qemu-system-aarch64.exe -m 8192 -cpu cortex-a72 -smp 2,cores=2,threads=1,sockets=1 -M virt -bios d:\qemu\MyBios\QEMU_EFI.fd -device nec-usb-xhci -device usb-kbd -device usb-mouse -device VGA -device virtio-scsi-device -drive if=none, file=D:\KYLIN\KylinDesktopV10.img,id=hd0 -device virtio-blk-device,drive=hd0总结: 1、安装过程不难; 2、x86下模拟arm,性能太差。 |
【本文地址】
今日新闻 |
推荐新闻 |