unity中camera摄像头控制详解 |
您所在的位置:网站首页 › unity怎么调整摄像机 › unity中camera摄像头控制详解 |
unity中camera摄像头控制详解
|
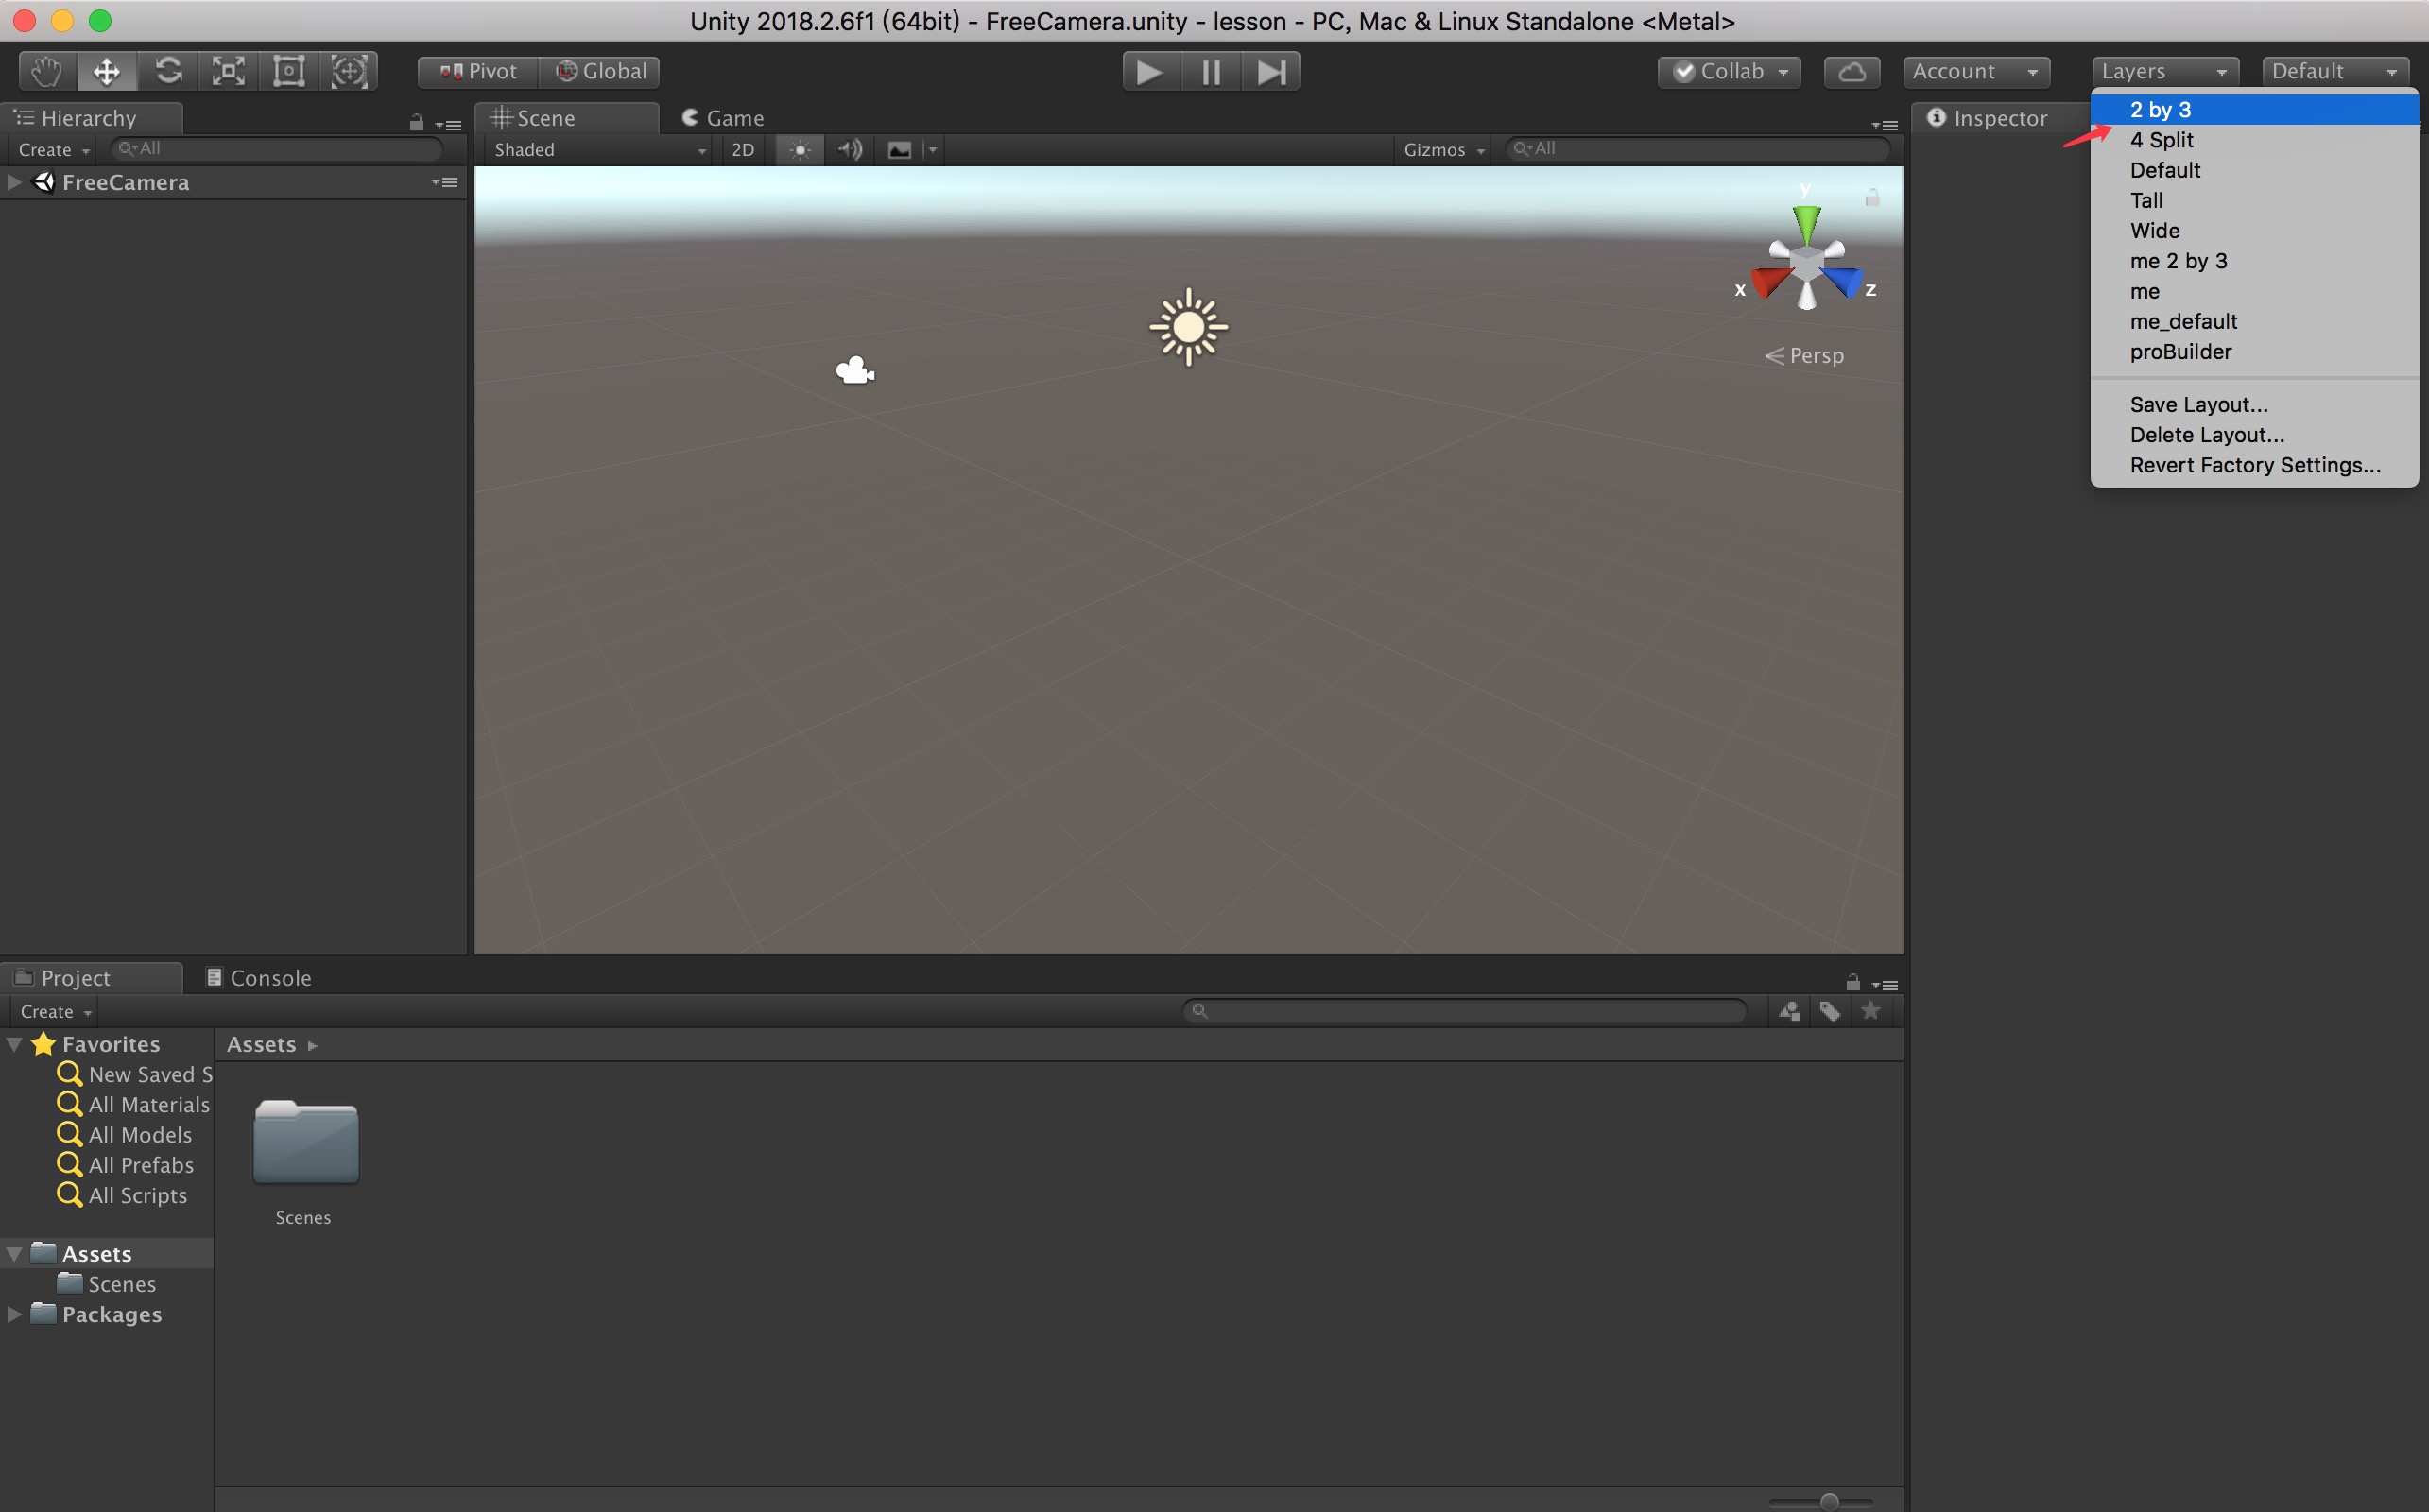
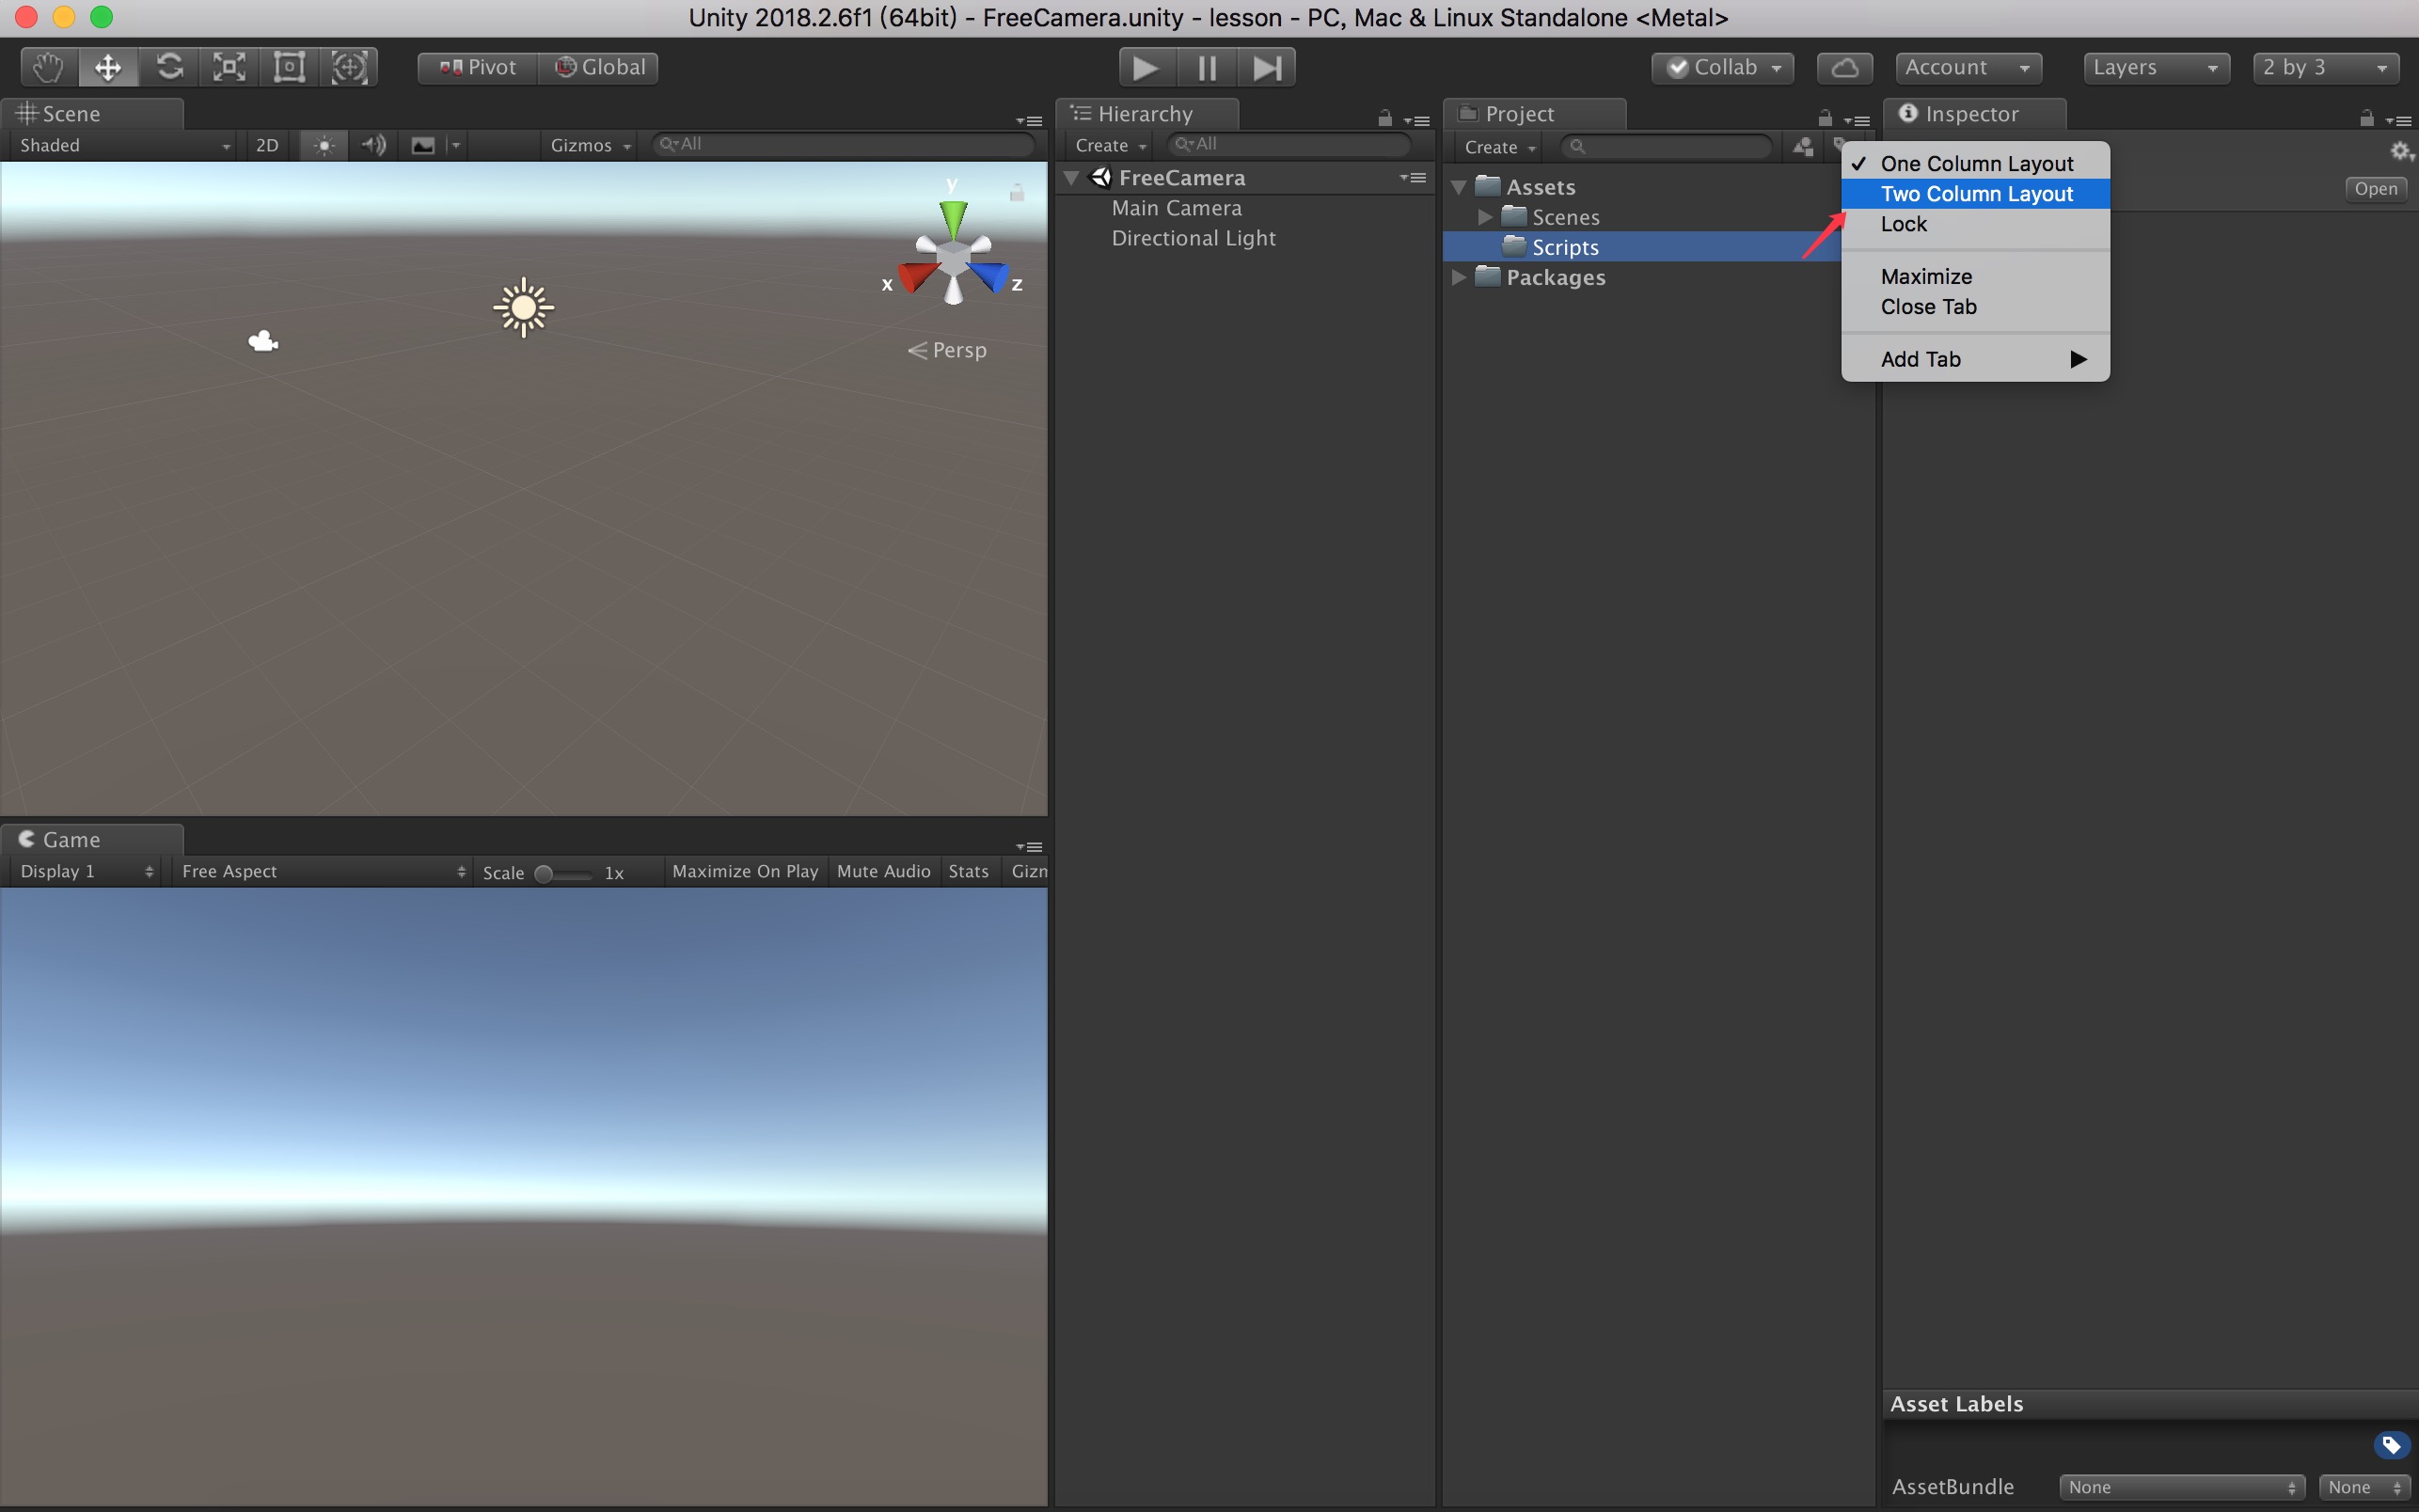
目录 1. 缘起2. 开发 2.1. 建立项目2.2. 旋转 2.2.1. 四元数2.3. 移动 2.3.1. 向量操作2.4. 镜头拉伸2.5. 复位2.6. 优化1 缘起我们的产品是使用unity开发水利BIM(水利建筑信息模型),项目中需要控制摄像 头对模型进行360度查看,请注意所有操作都是移动摄像头,不是移动模型。摄 像头能进行移动、旋转、改变焦距操作,类似于SketchUp的控制操作: 摄像头移动时,根据当前旋转方向(Rotation)进行移动摄像头距离模型越远,摄像头移动速度越快,距离越近,移动速度越慢摄像头最初放置在距离模型中心点正前方distance距离(即z轴),摄像头旋转方向(Rotaion) 改变后,再根据旋转方向(Rotation)在z轴移动distance距离;用户看到的就是模型围绕自己得中心点进行 360度旋转摄像头移动后,比如向左平移了left距离(即x轴),那么摄像头旋转时,摄像 头旋转方向(Rotaion),再根据旋转方向(Rotation)在x轴移动left距离,z轴distance 移动距离;用户看到的就是模型围绕旋转的中心点是:模型中心点向左平移left距离的那个点如果摄像头移动后,摄像头在旋转过程中,移动距离会逐步减小,最终摄像 头会回到最初位置;用户看到的就是随着旋转,模型回到屏幕中心这些需求其实挺简单,本想在网上找到一个现成的例子,但是发现网上关于摄像 头的资料要么太简单,要么有错误,关键地方含糊其词,代码也写得不规范,因 此自己研究了下,把摄像头这种控制搞清楚了,在这里分享一下。 这里使用的unity版本是2018.2.6f1,使用mac系统,编译环境使用Rider2018.2,但是摄像头没有特殊功能,估计unity5以上,windows或mac下都可以适用。 2 开发2.1 建立项目 首先建立一个名为FreeCamera的空项目,在右上角的Layout下拉框中把布局改为 "2 by 3",在中间名为Project的tab右上角Column Layout下拉框把Project布局 改为"Two Column Layout",这是我常用的布局方式。
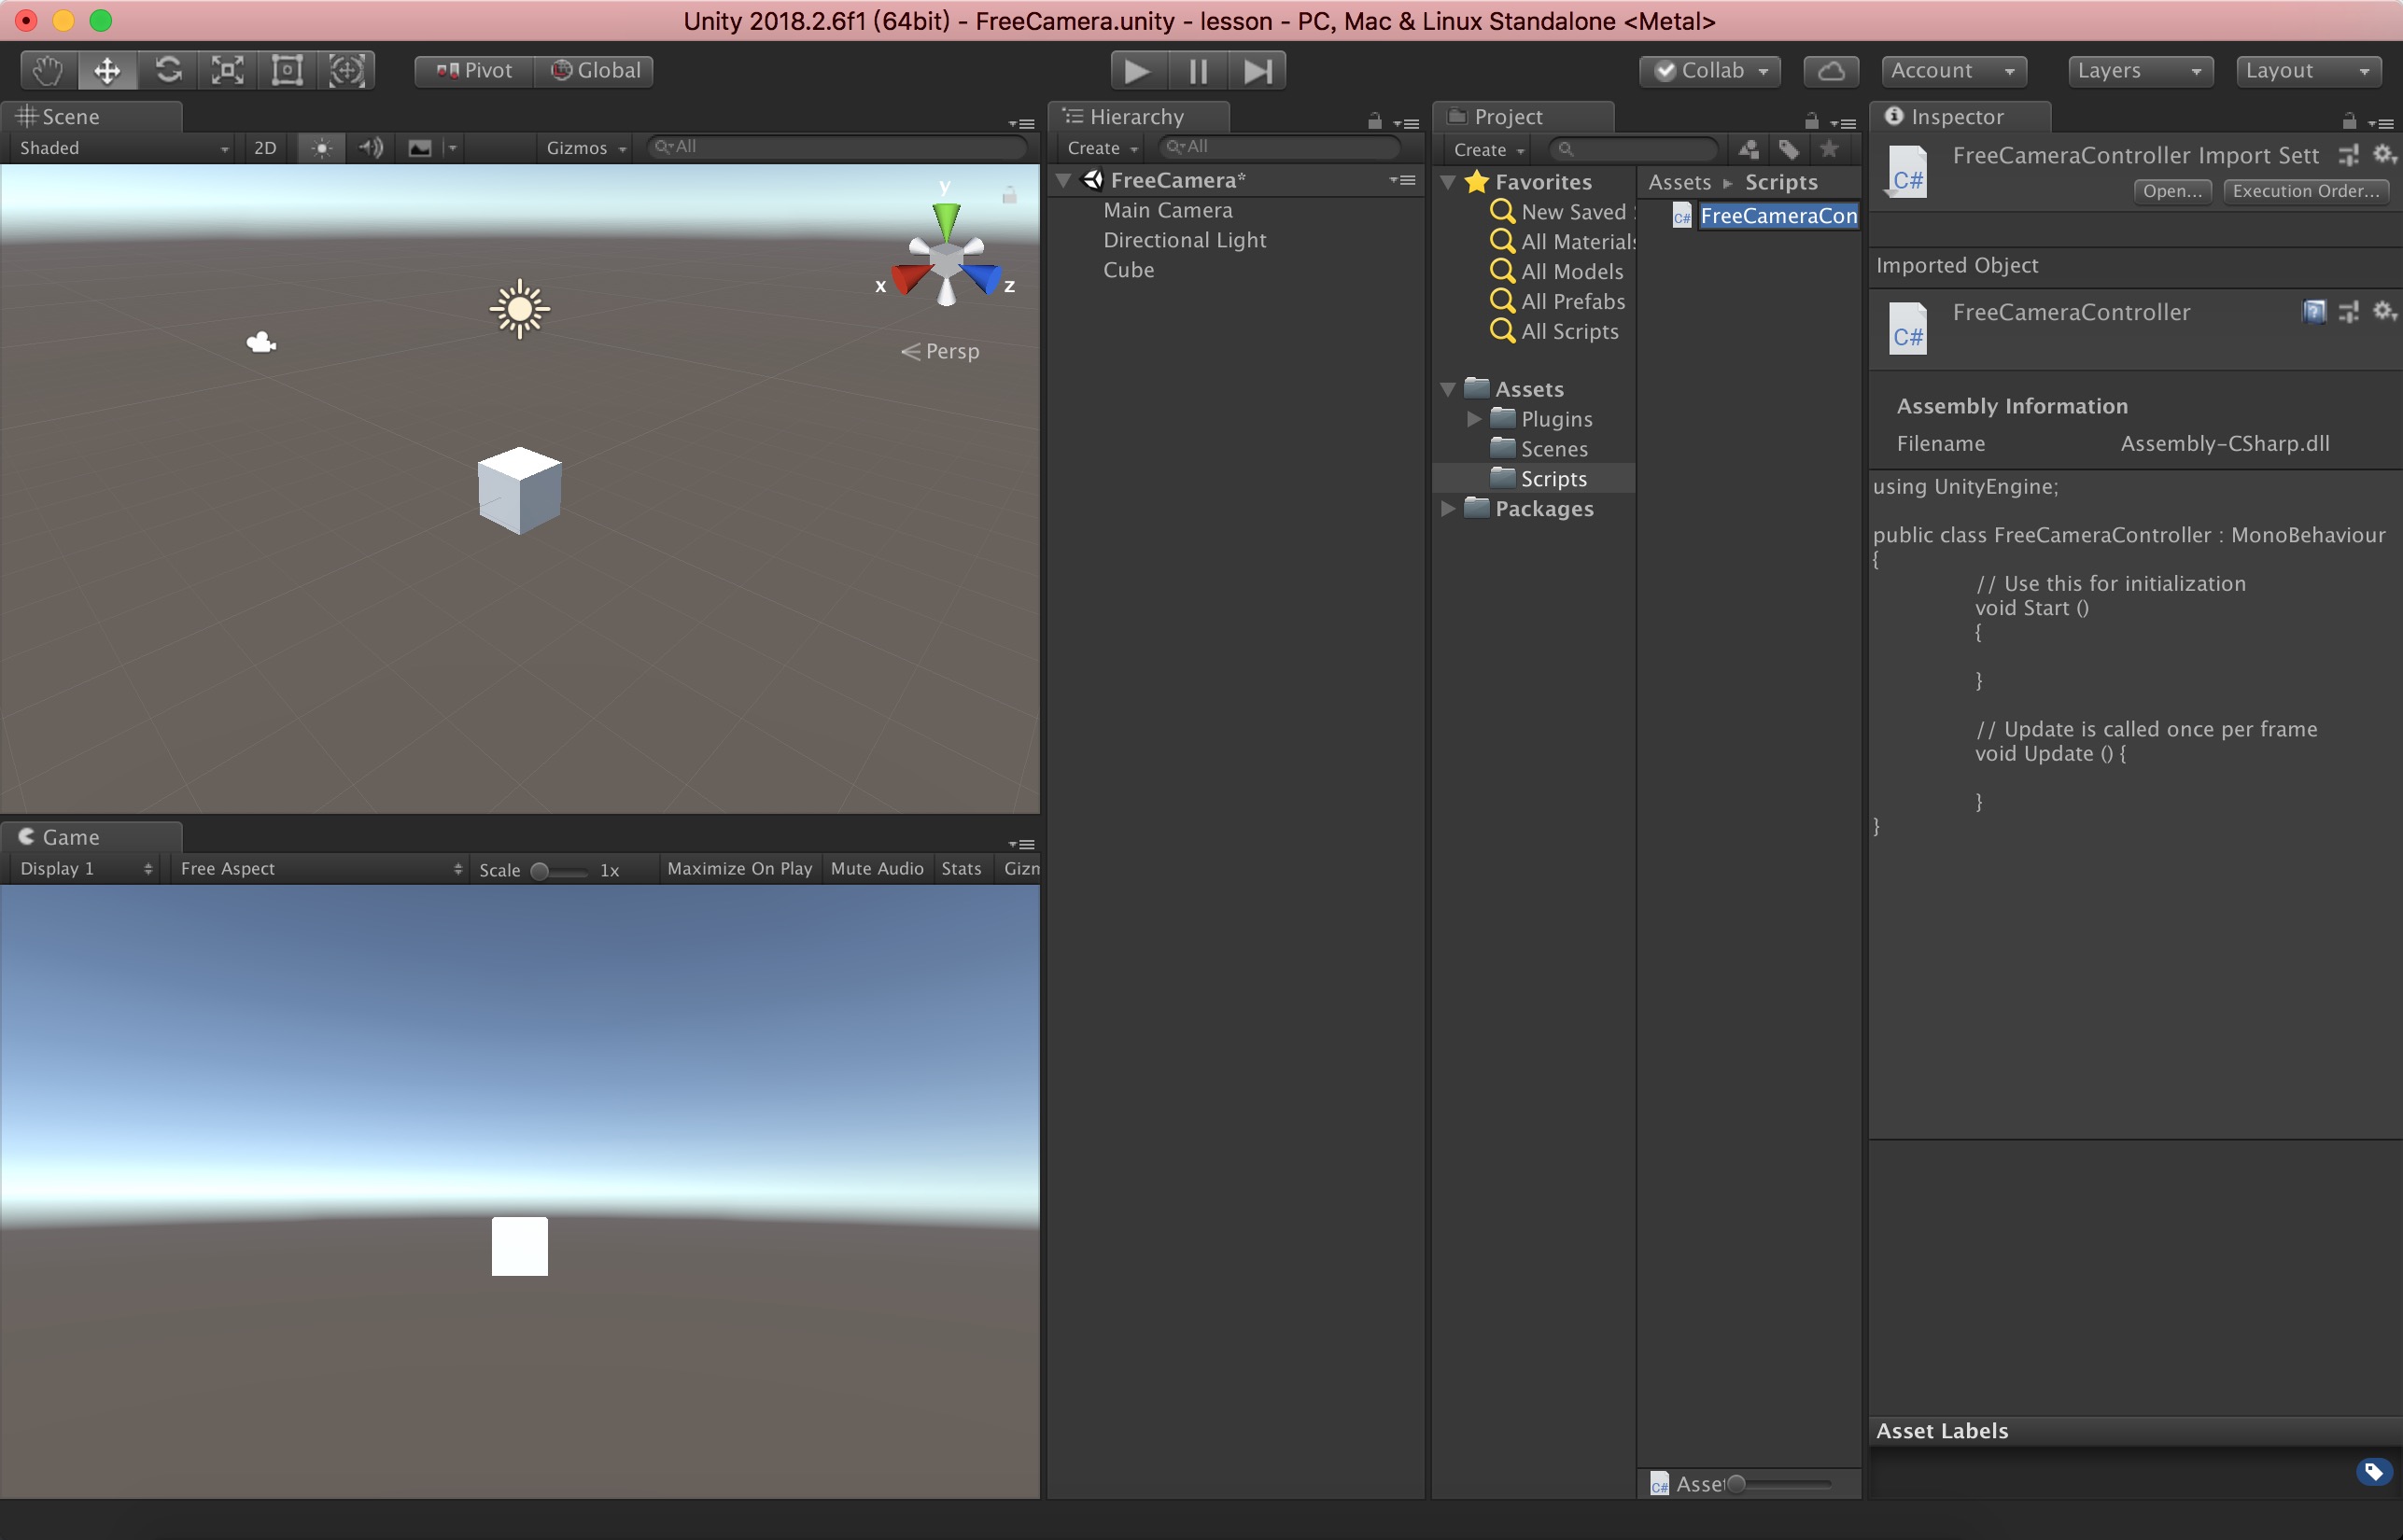
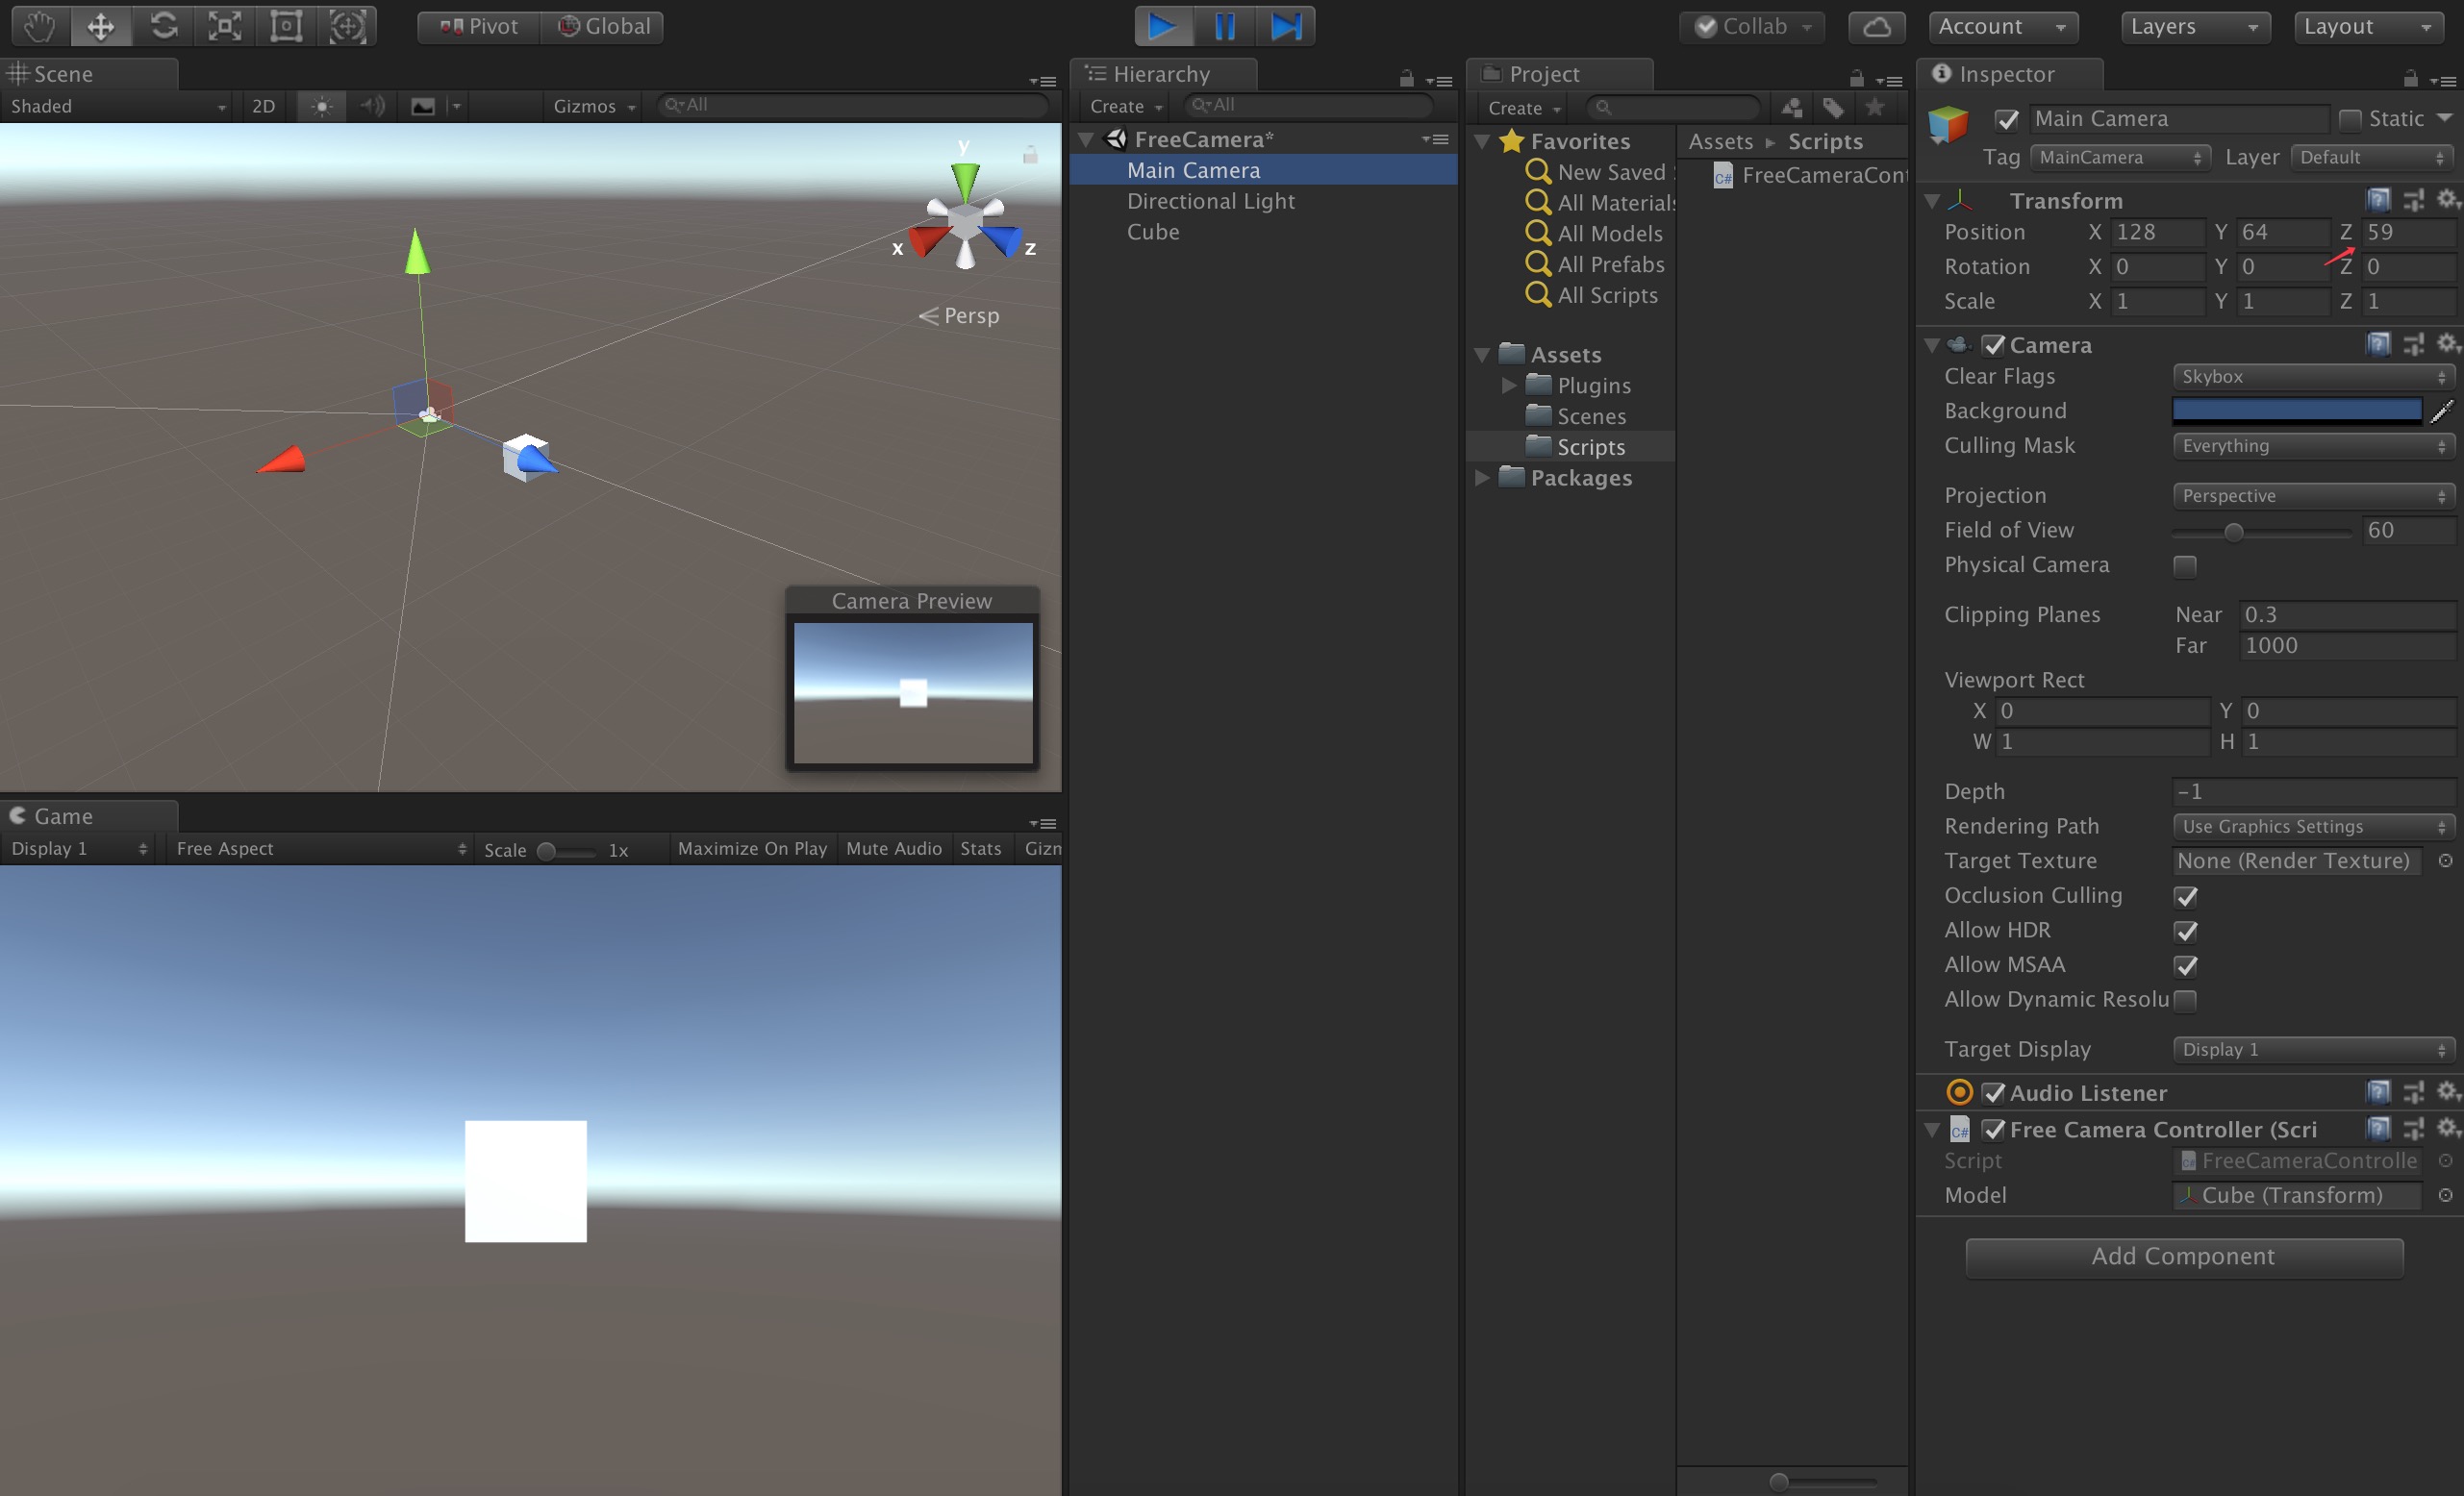
在Hierarchy的tab内点击右键,按右键在3D Object中建立一个Cube作为模型; 在Project的tab内Assets上点击右键,建立一个文件夹Scripts,在文件夹上点 击右键建立一个FreeCameraController.cs的脚本。
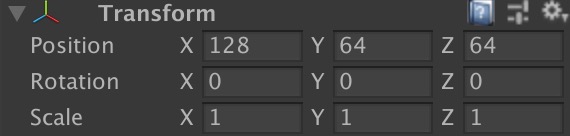
打开脚本,现在脚本只有Start()和Update()两个空函数,首先明确脚本是挂载 在摄像头上的,模型(Cube)位置未知,那么摄像头的初始位置如何定在距离模型 中心点正前方呢,脚本必须知道模型的位置,因此脚本定义Transform属性,就 是模型,属性名为model,public类型,我们实现一下。 using UnityEngine; /** * 自由摄像头 * 2018-10-03 by flysic, [email protected] */ public class FreeCameraController : MonoBehaviour { // 模型 public Transform model; // 默认距离 private const float default_distance = 5f; // Use this for initialization void Start () { // 旋转归零 transform.rotation = Quaternion.identity; // 初始位置是模型 Vector3 position = model.position; position.z -= default_distance; transform.position = position; } // Update is called once per frame void Update () { } }代码里default_distance是默认摄像头和模型的距离,首先旋转Rotation归零, 位置Position是模型的位置基础上在z轴减去默认距离,即在模型正前方 default_distance距离。 我们在unity中设置一下,在Hierarchy的tab中选中Main Camera,在Inspector 的tab中最后位置点击Add Component按钮,选择"Free Camera Controller"脚本; 在Hierarchy的tab中选中Cube,拖拽到脚本的Model属性上;在Hierarchy的tab 中选中Cube,把Cube的Positon改为(128,64,64)。
现在,我们运行一下看看效果,摄像头果然移动到了模型的正前方,仔细观察现 在摄像头Positon,x,y轴位置和模型一样,z轴位置果然减去了 default_distance。
我们现在需要让摄像头围着模型进行360度旋转,先尝试一下,使用鼠标右键移 动时,让摄像头的随着鼠标方向旋转。 using UnityEngine; /** * 自由摄像头 * 2018-10-03 by flysic, [email protected] */ public class FreeCameraController : MonoBehaviour { // 模型 public Transform model; // 默认距离 private const float default_distance = 5f; // Use this for initialization void Start () { // 旋转归零 transform.rotation = Quaternion.identity; // 初始位置是模型 Vector3 position = model.position; position.z -= default_distance; transform.position = position; } // Update is called once per frame void Update() { float dx = Input.GetAxis("Mouse X"); float dy = Input.GetAxis("Mouse Y"); // 鼠标右键旋转 if (Input.GetMouseButton(1)) { if (Mathf.Abs(dx) > 0 || Mathf.Abs(dy) > 0) { // 获取摄像机欧拉角 Vector3 angles = transform.rotation.eulerAngles; // 欧拉角表示按照坐标顺序旋转,比如angles.x=30,表示按x轴旋转30°,dy改变引起x轴的变化 angles.x = Mathf.Repeat(angles.x + 180f, 360f) - 180f; angles.y += dx; angles.x -= dy; // 设置摄像头旋转 Quaternion rotation = Quaternion.identity; rotation.eulerAngles = new Vector3(angles.x, angles.y, 0); transform.rotation = rotation; } } } } 我们这里使用了四元数和欧拉角之间的转换,具体详情见后面的四元数这节。
为什么摄像头没有针对模型进行360度旋转?因为我们只是改变了摄像头的本身 的旋转方向,但是摄像头和模型的朝向发生了改变,原来是正对着模型,旋转后 改变了朝向;和模型距离也发生了改变,选来和模型距离是defaule_distance, 旋转后,距离发生了改变。要达到360度旋转,要保证摄像头在旋转时,和模型 朝向不变,距离不变。 我们把Update函数改变一下: // Update is called once per frame void Update() { float dx = Input.GetAxis("Mouse X"); float dy = Input.GetAxis("Mouse Y"); // 鼠标右键旋转 if (Input.GetMouseButton(1)) { if (Mathf.Abs(dx) > 0 || Mathf.Abs(dy) > 0) { // 获取摄像机欧拉角 Vector3 angles = transform.rotation.eulerAngles; // 欧拉角表示按照坐标顺序旋转,比如angles.x=30,表示按x轴旋转30°,dy改变引起x轴的变化 angles.x = Mathf.Repeat(angles.x + 180f, 360f) - 180f; angles.y += dx; angles.x -= dy; // 设置摄像头旋转 Quaternion rotation = Quaternion.identity; rotation.eulerAngles = new Vector3(angles.x, angles.y, 0); transform.rotation = rotation; // 重新设置摄像头位置 Vector3 position = model.position; Vector3 distance = rotation * new Vector3(0, 0, default_distance); transform.position = position - distance; } }
看最后两句,摄像头最终的位置由模型位置、摄像头旋转角度、距离共同决定, 摄像头位置(transform.position)就是在模型位置(model.position)上朝着摄像 头旋转方向(transform.rotation)后退默认距离(default_distance),注意不 是在z轴方向回退!怎么达到这个目的呢,就是使用了旋转方向(rotation)和向 量(Vector3(0,0,default_distance))相乘,相当于在z轴后退了 default_disatnce距离后,又进行了旋转。 transform.position = position - rotation * new Vector3(0, 0, default_distance);position减去这个旋转后的向量,相当于摄像头位置在模型位置(model.position)上朝着摄像 头旋转方向(transform.rotation)后退默认距离(default_distance)。要说清楚详情,要介绍一下两个概念: 2.2.1 四元数 在Unity的Transform的Rotation对应的就是欧拉角,一共分为3个轴,x、 y和z,而每一个数值对应的是绕对应的轴旋转的度数。
如上图所示,表示按照坐标顺序旋转,X轴旋转30°,Y轴旋转90°,Z轴旋转 10°。欧拉角的优点:只需使用3个值,即三个坐标轴的旋转角度;缺点:必须 严格按照顺序进行旋转(顺序不同结果就不同;容易造成“万向节锁”现象,造 成这个现象的原因是因为欧拉旋转是按顺序先后旋转坐标轴的,并非同时旋转, 所以当旋转中某些坐标重合就会发生万向节锁,这时就会丢失一个方向上的选择 能力,除非打破原来的旋转顺序或者三个坐标轴同时旋转;由于万向节锁的存在, 欧拉旋转无法实现球面平滑插值。 四元数是用于表示旋转的一种方式,而且transform中的rotation属性的数据类 型就是四元数,那么四元数该如何表示呢?从本质上来讲,四元数就是一个高阶 复数,也就是一个四维空间。话说当时十九世纪的时候,爱尔兰的数学家 Hamilton一直在研究如何将复数从2D扩展至3D,他一直以为扩展至3D应该有两个 虚部(可是他错了,哈哈)。有一天他在路上突发奇想,我们搞搞三个虚部的试 试!结果他就成功了,于是乎他就把答案刻在了Broome桥上。说到这里,也就明 白了,四元数其实就是定义了一个有三个虚部的复数w xi yj zk。记法 [w,(x,y,z)]。四元数优点:可以避免万向节锁现象;只需要一个4维的四元数就 可以执行绕任意过原点的向量的旋转,方便快捷,在某些实现下比旋转矩阵效率 更高;可以提供平滑插值;缺点:比欧拉旋转稍微复杂了一点点,因为多了一个 维度;理解更困难,不直观。四元数与欧拉角转换: // 获取摄像机欧拉角 Vector3 angles = transform.eulerAngles; // 设置摄像头欧拉角 targetRotation.eulerAngles = new Vector3(euler.y, euler.x, 0);现在让我们再看Update里的旋转代码: if (Mathf.Abs(dx) > 0 || Mathf.Abs(dy) > 0) { // 获取摄像机欧拉角 Vector3 angles = transform.rotation.eulerAngles; // 欧拉角表示按照坐标顺序旋转,比如angles.x=30,表示按x轴旋转30°,dy改变引起x轴的变化 angles.x = Mathf.Repeat(angles.x + 180f, 360f) - 180f; angles.y += dx; angles.x -= dy; // 设置摄像头旋转 Quaternion rotation = Quaternion.identity; rotation.eulerAngles = new Vector3(angles.x, angles.y, 0); transform.rotation = rotation; // 重新设置摄像头位置 Vector3 position = model.position; Vector3 distance = rotation * new Vector3(0, 0, default_distance); transform.position = position - distance; }首先我们从四元数(transform.rotation)取得欧拉角angles,由于欧拉角表示按 照坐标顺序旋转,比如angles.x=30,表示按x轴旋转30°,dy改变引起欧拉角的 x轴的变化,所以angles.y+=dx,然后再设置摄像头旋转,即设置摄像头四元数 rotation,现在明白了设置旋转的写法了吧。 下面是重点,重新设置摄像头位置,我们看到rotation*new Vector3(0,0,default_distance)这句,一个Quaternion实例和一个Vector3相乘 的运算,作用是对参数坐标点进行rotation变换,也就是说对 Vector3(0,0,default_distance)进行rotation旋转,最后一句 transform.position = position - distance,进行一个Vector3的向量计算, 最终结果就是摄像头沿着选中后的方向移动-distance的距离,就是我们要的结果。 如果对向量计算不清楚,请看下面的向量计算这节在进行下面开发之前我们把程序西安优化一下,我们不在Update函数里直接修改 摄像头旋转和位置,而是记录旋转变化,在FixUpdate函数里设置摄像头最终的 旋转和位置,Update和FixedUpdate的区别:Update跟当前平台的帧数有关,而 FixedUpdate是真实时间,所以处理物理逻辑的时候要把代码放在FixedUpdate而 不是Update。 using UnityEngine; /** * 自由摄像头 * 2018-10-03 by flysic, [email protected] */ public class FreeCameraController : MonoBehaviour { // 模型 public Transform model; // 默认距离 private const float default_distance = 5f; // 计算移动 private Vector3 position; // 计算旋转 private Quaternion rotation; // Use this for initialization void Start () { // 旋转归零 transform.rotation = Quaternion.identity; // 初始位置是模型 position = model.position; } // Update is called once per frame void Update() { float dx = Input.GetAxis("Mouse X"); float dy = Input.GetAxis("Mouse Y"); // 鼠标右键旋转 if (Input.GetMouseButton(1)) { if (Mathf.Abs(dx) > 0 || Mathf.Abs(dy) > 0) { // 获取摄像机欧拉角 Vector3 angles = transform.rotation.eulerAngles; // 欧拉角表示按照坐标顺序旋转,比如angles.x=30,表示按x轴旋转30°,dy改变引起x轴的变化 angles.x = Mathf.Repeat(angles.x + 180f, 360f) - 180f; angles.y += dx; angles.x -= dy; // 计算摄像头旋转 rotation.eulerAngles = new Vector3(angles.x, angles.y, 0); } } } private void FixedUpdate() { // 设置摄像头旋转 transform.rotation = rotation; // 设置摄像头位置 transform.position = position - rotation * new Vector3(0, 0, default_distance); } }最上面定义了两个私有属性,private Vector positon,private Quaternion rotation,position在Start函数里记录模型的位置(目前不变化,后面移动时要 变化),rotation用于记录Update里计算的旋转,FixedUpdate函数里根据 rotation、position、default_distance计算摄像头最终的位置。 我们操作一下发现,虽然旋转达到要求,但是操作感觉很生硬,现在给旋转加上 速度和阻尼,效果就会好很多。 using UnityEngine; /** * 自由摄像头 * 2018-10-03 by flysic, [email protected] */ public class FreeCameraController : MonoBehaviour { // 模型 public Transform model; // 旋转速度 public float rotateSpeed = 32f; public float rotateLerp = 8; // 计算移动 private Vector3 position; // 计算旋转 private Quaternion rotation, targetRotation; // 默认距离 private const float default_distance = 5f; // Use this for initialization void Start () { // 旋转归零 transform.rotation = Quaternion.identity; // 初始位置是模型 position = model.position; } // Update is called once per frame void Update() { float dx = Input.GetAxis("Mouse X"); float dy = Input.GetAxis("Mouse Y"); // 鼠标右键旋转 if (Input.GetMouseButton(1)) { dx *= rotateSpeed; dy *= rotateSpeed; if (Mathf.Abs(dx) > 0 || Mathf.Abs(dy) > 0) { // 获取摄像机欧拉角 Vector3 angles = transform.rotation.eulerAngles; // 欧拉角表示按照坐标顺序旋转,比如angles.x=30,表示按x轴旋转30°,dy改变引起x轴的变化 angles.x = Mathf.Repeat(angles.x + 180f, 360f) - 180f; angles.y += dx; angles.x -= dy; // 计算摄像头旋转 targetRotation.eulerAngles = new Vector3(angles.x, angles.y, 0); } } } private void FixedUpdate() { rotation = Quaternion.Slerp(rotation, targetRotation, Time.deltaTime * rotateLerp); // 设置摄像头旋转 transform.rotation = rotation; // 设置摄像头位置 transform.position = position - rotation * new Vector3(0, 0, default_distance); } }
最上面增加了旋转速度(rotateSpeed)和苏尼(rotateLerp),rotateSpeed越高旋 转越快,rotateLerp越高阻尼越小,阻尼使用了四元数的球面差值(前面说过, 只有四元数能做到球面差值),使旋转有个渐变过程,大家可以在Inspector的 tabFree Camera Controller脚本处修改参数尝试最佳的设置;定义了新的变量 targetRotation,用于计算最终旋转,配合rotation实现阻尼效果;positon目 前只是记录模型位置,后面移动时就会改变。 2.3 移动前面我们定义了变量position,记录了模型的初始位置,可以假设position是一 个虚拟物体的位置,初始位置恰好和模型(model)位置重合,随着鼠标左键的操作,虚拟物体位置发生变化,摄像头的位 置根据虚拟物体位置计算得来见代码。 注意,模型(model)本身不移动,只是虚拟物体位置(position)发生变化,positon既不是模型位置,也不是摄像头位置 using UnityEngine; /** * 自由摄像头 * 2018-10-03 by flysic, [email protected] */ public class FreeCameraController : MonoBehaviour { // 模型 public Transform model; // 旋转速度 public float rotateSpeed = 32f; public float rotateLerp = 8; // 移动速度 public float moveSpeed = 1f; public float moveLerp = 10f; // 计算移动 private Vector3 position, targetPosition; // 计算旋转 private Quaternion rotation, targetRotation; // 默认距离 private const float default_distance = 5f; // Use this for initialization void Start () { // 旋转归零 targetRotation = Quaternion.identity; // 初始位置是模型 targetPosition = model.position; } // Update is called once per frame void Update() { float dx = Input.GetAxis("Mouse X"); float dy = Input.GetAxis("Mouse Y"); // 鼠标左键移动 if (Input.GetMouseButton(0)) { dx *= moveSpeed; dy *= moveSpeed; targetPosition -= transform.up * dy + transform.right * dx; } // 鼠标右键旋转 if (Input.GetMouseButton(1)) { dx *= rotateSpeed; dy *= rotateSpeed; if (Mathf.Abs(dx) > 0 || Mathf.Abs(dy) > 0) { // 获取摄像机欧拉角 Vector3 angles = transform.rotation.eulerAngles; // 欧拉角表示按照坐标顺序旋转,比如angles.x=30,表示按x轴旋转30°,dy改变引起x轴的变化 angles.x = Mathf.Repeat(angles.x + 180f, 360f) - 180f; angles.y += dx; angles.x -= dy; // 计算摄像头旋转 targetRotation.eulerAngles = new Vector3(angles.x, angles.y, 0); } } } private void FixedUpdate() { rotation = Quaternion.Slerp(rotation, targetRotation, Time.deltaTime * rotateLerp); position = Vector3.Lerp(position, targetPosition, Time.deltaTime * moveLerp); // 设置摄像头旋转 transform.rotation = rotation; // 设置摄像头位置 transform.position = position - rotation * new Vector3(0, 0, default_distance); } }位置也定义了新的变量targetPosition,和position配合实现阻尼效果,鼠标左 键点击移动会产生移动效果,注意看这句:targetPosition -= transform.up * dy + transform.right * dx,使用一连串的Vecor3向量操作实现了完美的移动 操作,首先,这里使用的是transform.up和dy相乘,而不是Vector3.up, transform.up是世界坐标系的,Vector3.up是本地坐标系的,对transform.up进 行移动时附加了摄像头的旋转信息,所以摄像头旋转后,移动也是正确的; Vector3.up移动方向是固定的,旋转后移动方向就错了。
2.3.1 向量操作 Unity中得Vector3实际上是向量,在数学中向量的定义是:既有大小又有方向的 量叫作向量。在空间中,向量可以用一段有方向的线段来表示。向量在Unity中 的应用十分广泛,可用于描述具有大小和方向两个属性的物理量。 向量相关概念 模(magnitude):向量的长度,简单的说就是这条线有多长,就是你用尺子量出来的数据标准化(normalizing):保持方向不变,将向量的模变为1向量的运算 加减:向量的加法(减法)为各分量分别相加(相减),表示位置变化叠加,这 里transform.up * dy + transform.right * dx就是将y轴和x轴的移动向量 相加,最后在targetPositon减去这个结果数乘:向量与一个标量相乘称为数乘。数乘可以对向量的长度进行缩放,如 果标量大于0,那么向量的方向不变;若标量小于0,则向量的方向会变为反 方向,程序中例子是transform.up*dy2.4 镜头拉伸下面就是改变镜头拉伸了,也就是改变摄像头和模型的距离,这个比较简单,通过中间的滚轮改变。 using UnityEngine; /** * 自由摄像头 * 2018-10-03 by flysic, [email protected] */ public class FreeCameraController : MonoBehaviour { // 模型 public Transform model; // 旋转速度 public float rotateSpeed = 32f; public float rotateLerp = 8; // 移动速度 public float moveSpeed = 1f; public float moveLerp = 10f; // 镜头拉伸速度 public float zoomSpeed = 10f; public float zoomLerp = 4f; // 计算移动 private Vector3 position, targetPosition; // 计算旋转 private Quaternion rotation, targetRotation; // 计算距离 private float distance, targetDistance; // 默认距离 private const float default_distance = 5f; // Use this for initialization void Start () { // 旋转归零 targetRotation = Quaternion.identity; // 初始位置是模型 targetPosition = model.position; // 初始镜头拉伸 targetDistance = default_distance; } // Update is called once per frame void Update() { float dx = Input.GetAxis("Mouse X"); float dy = Input.GetAxis("Mouse Y"); // 鼠标左键移动 if (Input.GetMouseButton(0)) { dx *= moveSpeed; dy *= moveSpeed; targetPosition -= transform.up * dy + transform.right * dx; } // 鼠标右键旋转 if (Input.GetMouseButton(1)) { dx *= rotateSpeed; dy *= rotateSpeed; if (Mathf.Abs(dx) > 0 || Mathf.Abs(dy) > 0) { // 获取摄像机欧拉角 Vector3 angles = transform.rotation.eulerAngles; // 欧拉角表示按照坐标顺序旋转,比如angles.x=30,表示按x轴旋转30°,dy改变引起x轴的变化 angles.x = Mathf.Repeat(angles.x + 180f, 360f) - 180f; angles.y += dx; angles.x -= dy; // 计算摄像头旋转 targetRotation.eulerAngles = new Vector3(angles.x, angles.y, 0); } } // 鼠标滚轮拉伸 targetDistance -= Input.GetAxis("Mouse ScrollWheel") * zoomSpeed; } private void FixedUpdate() { rotation = Quaternion.Slerp(rotation, targetRotation, Time.deltaTime * rotateLerp); position = Vector3.Lerp(position, targetPosition, Time.deltaTime * moveLerp); distance = Mathf.Lerp(distance, targetDistance, Time.deltaTime * zoomLerp); // 设置摄像头旋转 transform.rotation = rotation; // 设置摄像头位置 transform.position = position - rotation * new Vector3(0, 0, distance); } }也是定义两个变量distance、targetDistance,还有拉伸速度,拉伸阻尼。 2.5 复位 观察SketchUp操作,发现当模型被移动的比较远时,旋转时模型位置会很快复位 移到中间,这个功能会有用,帮助找到移出屏幕的模型,我们尝试制作一下。在鼠标右键代码逻辑里,增加两句。 // 鼠标右键旋转 if (Input.GetMouseButton(1)) { dx *= rotateSpeed; dy *= rotateSpeed; if (Mathf.Abs(dx) > 0 || Mathf.Abs(dy) > 0) { // 获取摄像机欧拉角 Vector3 angles = transform.rotation.eulerAngles; // 欧拉角表示按照坐标顺序旋转,比如angles.x=30,表示按x轴旋转30°,dy改变引起x轴的变化 angles.x = Mathf.Repeat(angles.x + 180f, 360f) - 180f; angles.y += dx; angles.x -= dy; // 计算摄像头旋转 targetRotation.eulerAngles = new Vector3(angles.x, angles.y, 0); // 随着旋转,摄像头位置自动恢复 Vector3 temp_position = Vector3.Lerp(targetPosition, model.position, Time.deltaTime * moveLerp); targetPosition = Vector3.Lerp(targetPosition, temp_position, Time.deltaTime * moveLerp); } }随着旋转,虚拟的物体位置会逐步变成模型初始位置。 2.6 优化 摄像头基本功能就实现完了,但是还有几点细节需要优化: y轴旋转需要控制一下,旋转范围应在-89度至89度,这样模型会在Y轴被翻转超过360度,会产生异常情况Input.GetAxis("Mouse X"),Input.GetAxis("Mouse Y")的异常波动需要处 理,当使用alt+tab切换程序时这个问题非常明显模型移动不仅需要鼠标左键控制,还需要键盘控制移动速度应该和模型距离有关系,距离越远,移动速度越快,距离越近,移动速度越慢最终程序如下,我觉得这是摄像头控制比较详尽的文章了,大家有什么问题意见欢迎沟通! using UnityEngine; /** * 自由摄像头 * 2018-10-03 by flysic, [email protected] */ public class FreeCameraController : MonoBehaviour { // 模型 public Transform model; // 旋转速度 public float rotateSpeed = 32f; public float rotateLerp = 8; // 移动速度 public float moveSpeed = 1f; public float moveLerp = 10f; // 镜头拉伸速度 public float zoomSpeed = 10f; public float zoomLerp = 4f; // 计算移动 private Vector3 position, targetPosition; // 计算旋转 private Quaternion rotation, targetRotation; // 计算距离 private float distance, targetDistance; // 默认距离 private const float default_distance = 5f; // y轴旋转范围 private const float min_angle_y = -89f; private const float max_angle_y = 89f; // Use this for initialization void Start () { // 旋转归零 targetRotation = Quaternion.identity; // 初始位置是模型 targetPosition = model.position; // 初始镜头拉伸 targetDistance = default_distance; } // Update is called once per frame void Update() { float dx = Input.GetAxis("Mouse X"); float dy = Input.GetAxis("Mouse Y"); // 异常波动 if (Mathf.Abs(dx) > 5f || Mathf.Abs(dy) > 5f) { return; } float d_target_distance = targetDistance; if (d_target_distance < 2f) { d_target_distance = 2f; } // 鼠标左键移动 if (Input.GetMouseButton(0)) { dx *= moveSpeed * d_target_distance / default_distance; dy *= moveSpeed * d_target_distance / default_distance; targetPosition -= transform.up * dy + transform.right * dx; } // 鼠标右键旋转 if (Input.GetMouseButton(1)) { dx *= rotateSpeed; dy *= rotateSpeed; if (Mathf.Abs(dx) > 0 || Mathf.Abs(dy) > 0) { // 获取摄像机欧拉角 Vector3 angles = transform.rotation.eulerAngles; // 欧拉角表示按照坐标顺序旋转,比如angles.x=30,表示按x轴旋转30°,dy改变引起x轴的变化 angles.x = Mathf.Repeat(angles.x + 180f, 360f) - 180f; angles.y += dx; angles.x -= dy; angles.x = ClampAngle(angles.x, min_angle_y, max_angle_y); // 计算摄像头旋转 targetRotation.eulerAngles = new Vector3(angles.x, angles.y, 0); // 随着旋转,摄像头位置自动恢复 Vector3 temp_position = Vector3.Lerp(targetPosition, model.position, Time.deltaTime * moveLerp); targetPosition = Vector3.Lerp(targetPosition, temp_position, Time.deltaTime * moveLerp); } } // 上移 if (Input.GetKey(KeyCode.UpArrow) || Input.GetKey(KeyCode.W)) { targetPosition -= transform.up * d_target_distance / (2f * default_distance); } // 下移 if (Input.GetKey(KeyCode.DownArrow) || Input.GetKey(KeyCode.S)) { targetPosition += transform.up * d_target_distance / (2f * default_distance); } // 左移 if (Input.GetKey(KeyCode.LeftArrow) || Input.GetKey(KeyCode.A)) { targetPosition += transform.right * d_target_distance / (2f * default_distance); } // 右移 if (Input.GetKey(KeyCode.RightArrow) || Input.GetKey(KeyCode.D)) { targetPosition -= transform.right * d_target_distance / (2f * default_distance); } // 鼠标滚轮拉伸 targetDistance -= Input.GetAxis("Mouse ScrollWheel") * zoomSpeed; } // 控制旋转角度范围:min max float ClampAngle(float angle, float min, float max) { // 控制旋转角度不超过360 if (angle < -360f) angle += 360f; if (angle > 360f) angle -= 360f; return Mathf.Clamp(angle, min, max); } private void FixedUpdate() { rotation = Quaternion.Slerp(rotation, targetRotation, Time.deltaTime * rotateLerp); position = Vector3.Lerp(position, targetPosition, Time.deltaTime * moveLerp); distance = Mathf.Lerp(distance, targetDistance, Time.deltaTime * zoomLerp); // 设置摄像头旋转 transform.rotation = rotation; // 设置摄像头位置 transform.position = position - rotation * new Vector3(0, 0, distance); } }Author: flysic Created: 2018-10-05 Fri 17:00 Validate 分类: csharp, unity |

【本文地址】
今日新闻 |
推荐新闻 |