AI绘画部署 |
您所在的位置:网站首页 › torch多久出结果 › AI绘画部署 |
AI绘画部署
|
引言
最近,在很多地方都看到了各个大佬用AI生成的神图,索性从网上搜集资料部署一下体验一下AI绘画的魅力。本文基于huggingface API在colab上构建AI绘画。 使用步骤 1.huggingface原始环境地址https://colab.research.google.com/github/huggingface/notebooks/blob/main/diffusers/stable_diffusion.ipynb#scrollTo=AAVZStIokTVv 点击右上角 连接 安装相关依赖库,包括 diffusers、scipy、ftfy、transformers 和 accelerate。
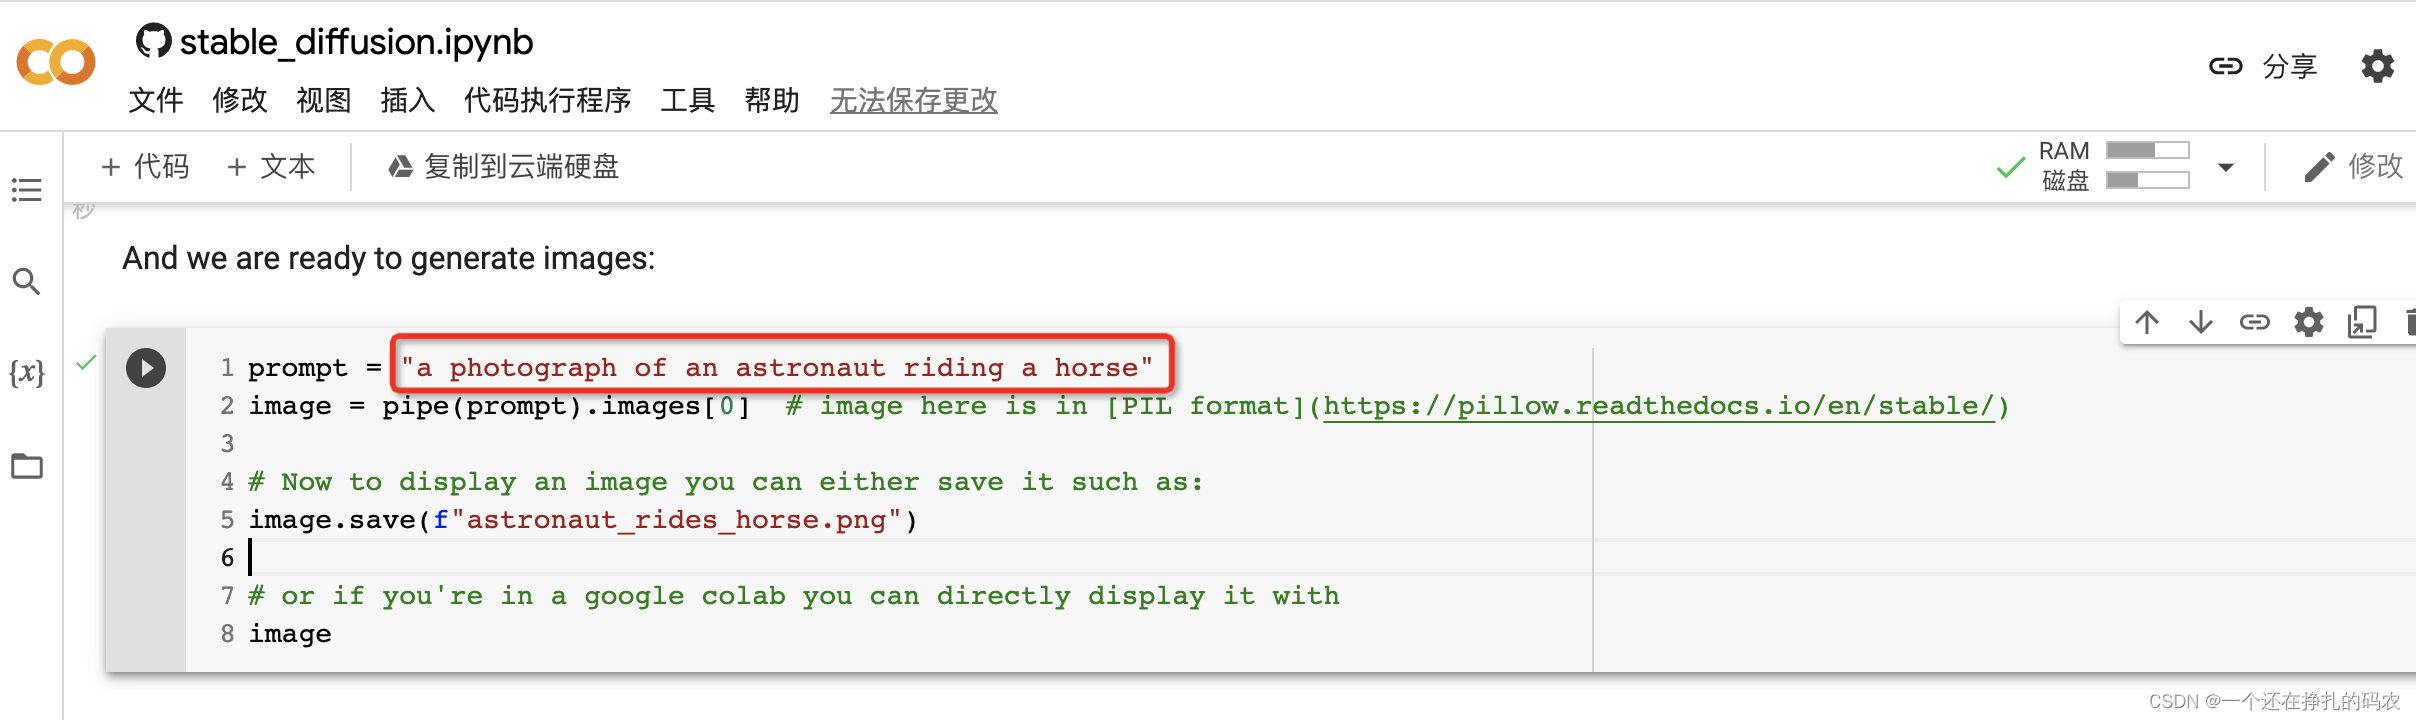
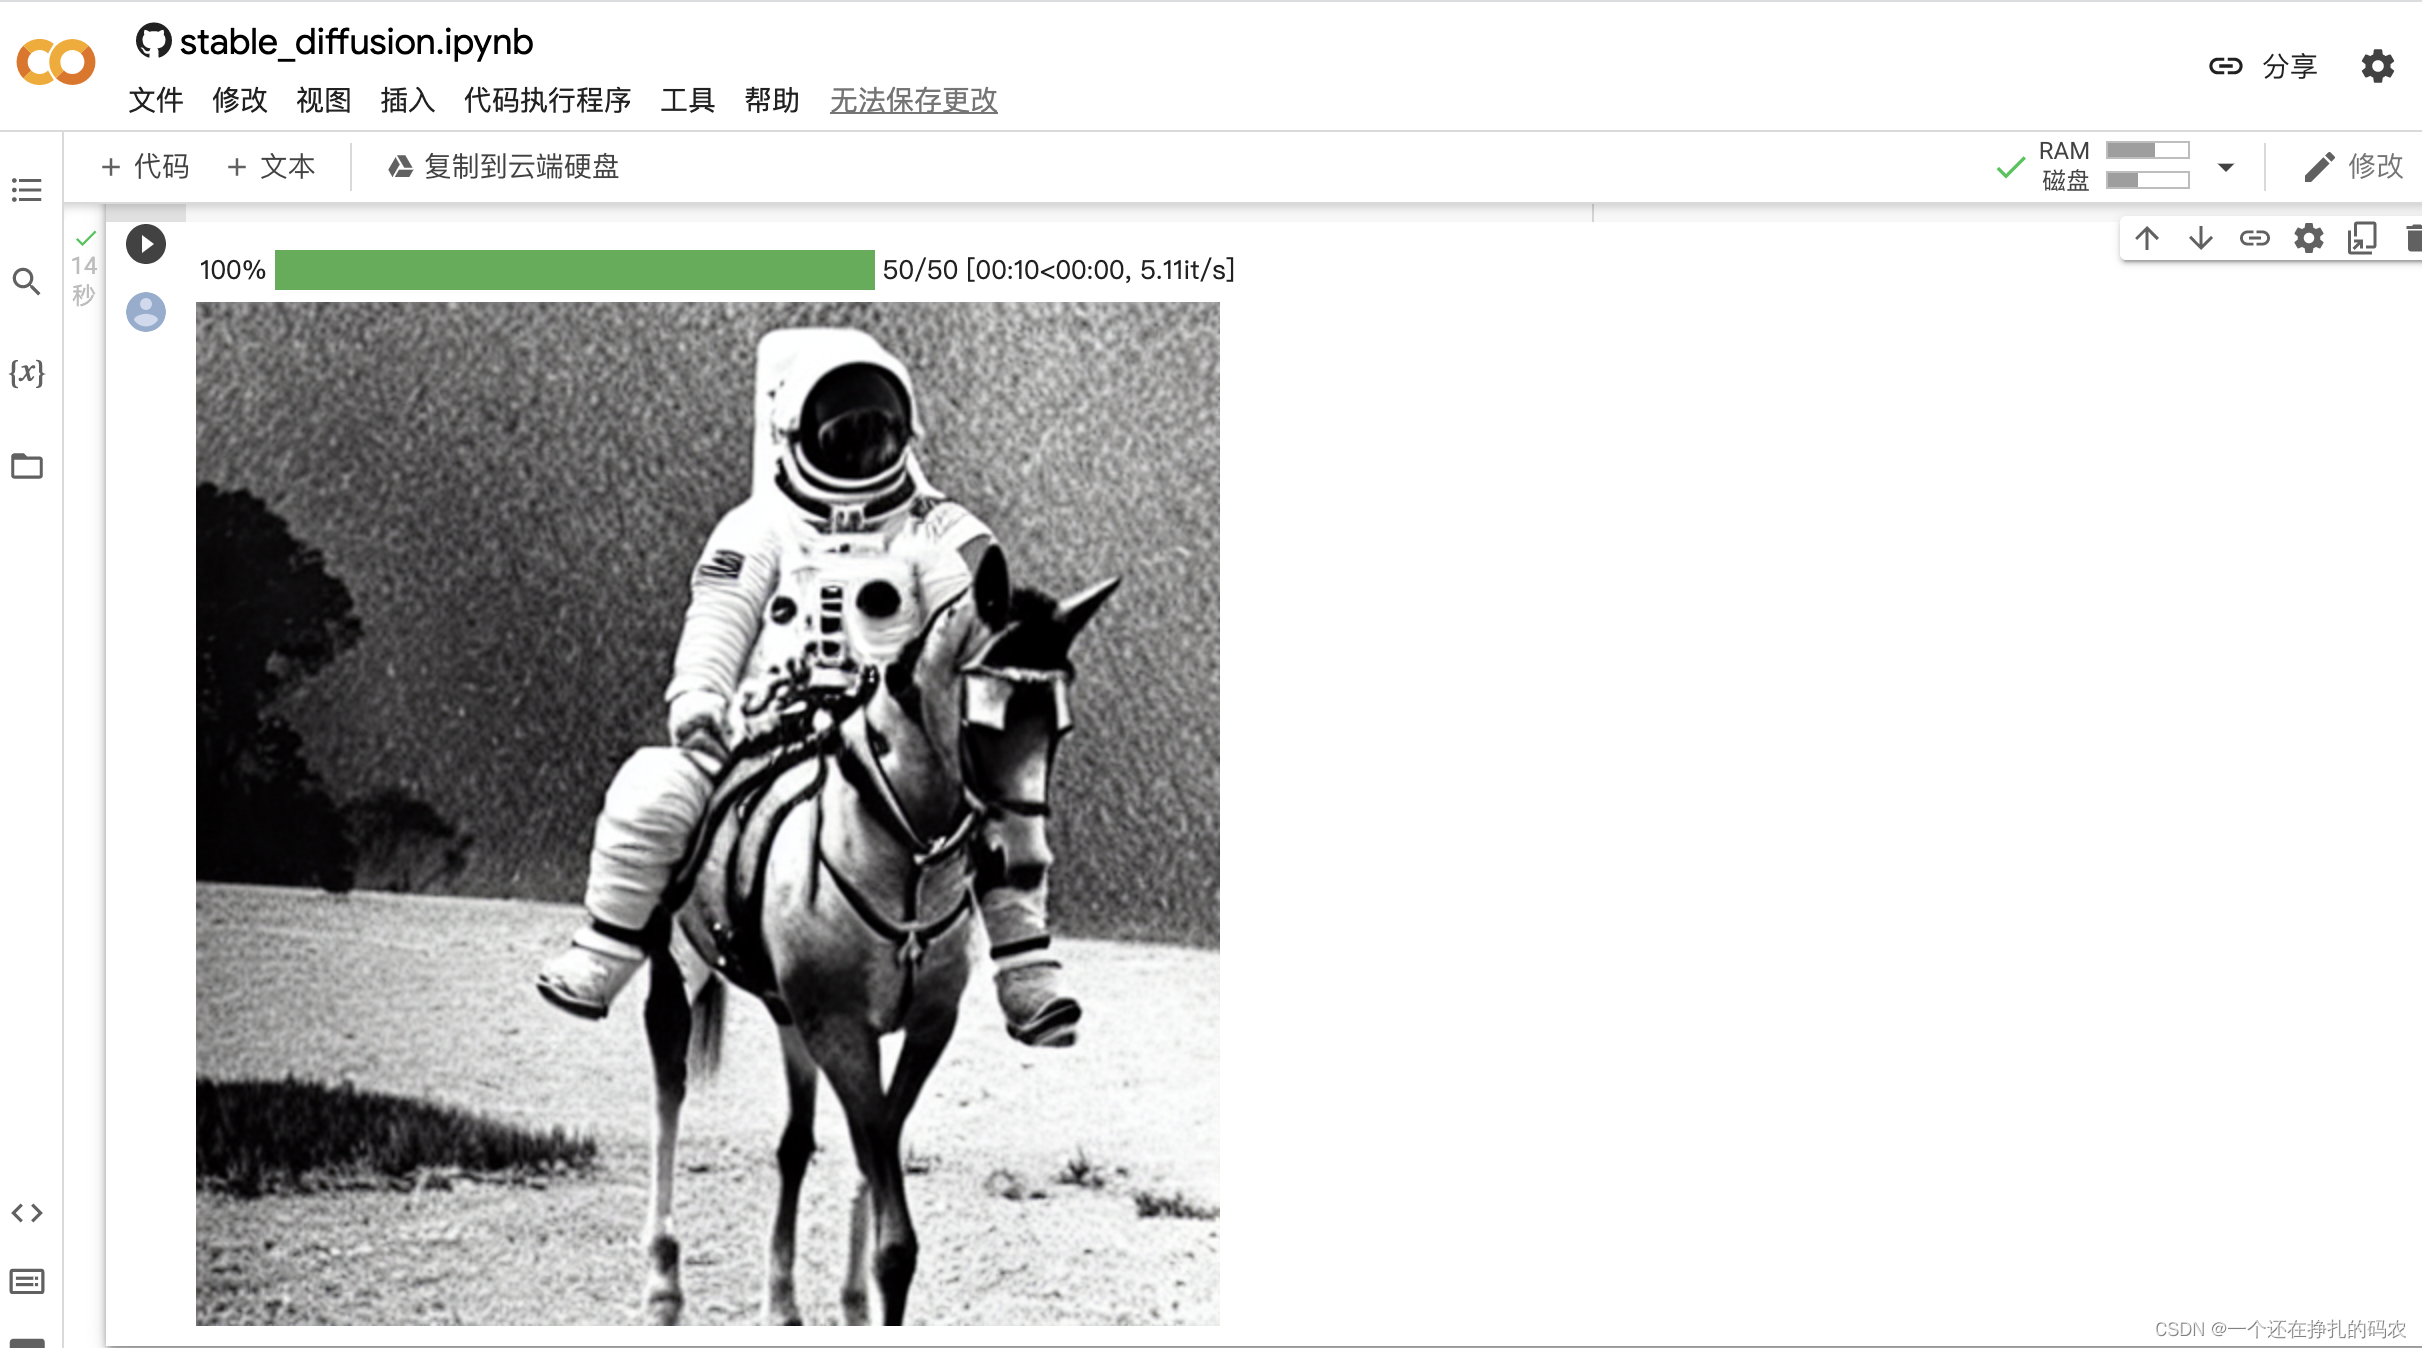
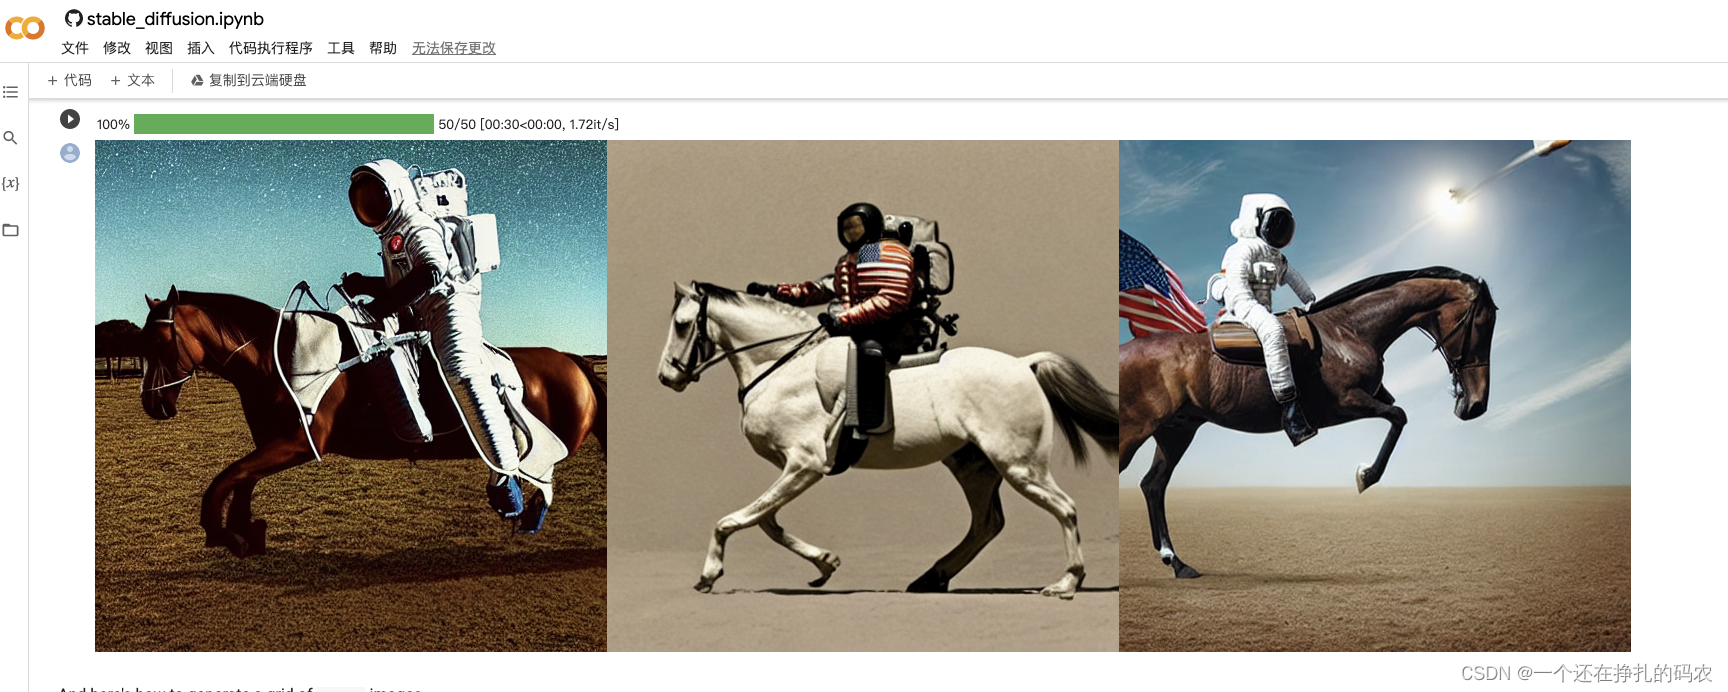
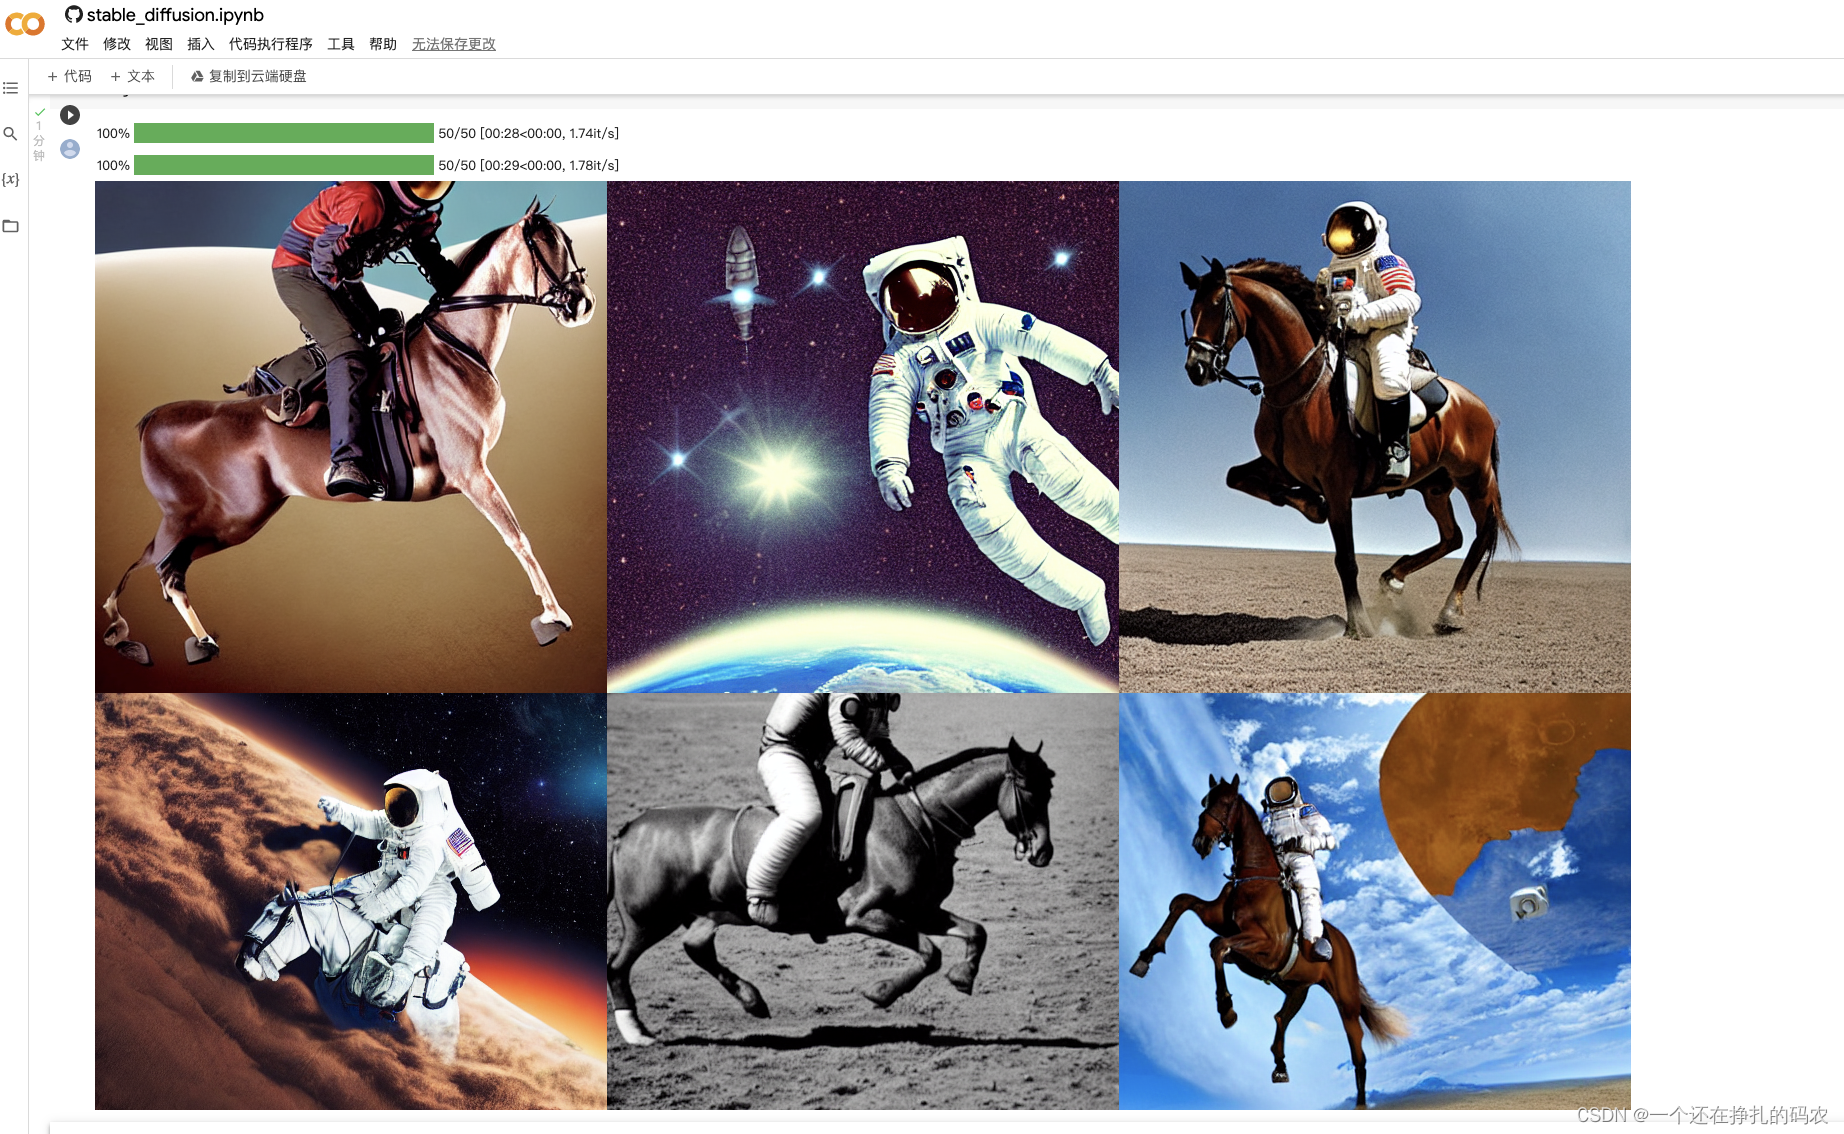
主流模型如下: CompVis/stable-diffusion-v1-4 runwayml/stable-diffusion-v1-5 stabilityai/stable-diffusion-2-1-base stabilityai/stable-diffusion-2-1 可通过修改配置加载各个模型。通过对生成的多组图片对比,V2版本效果整体好于V1,生成的图片质量更好,但是占用资源相对更高。 通过修改prompt,生成你想要的图片 如果要为相同的文本提示生成多个图像,只需重复多次输入相同的文本即可。我们可以把文本的列表发送到模型中,让我们编写一个助手函数来显示多个图像 from PIL import Image def image_grid(imgs, rows, cols): assert len(imgs) == rows*cols w, h = imgs[0].size grid = Image.new('RGB', size=(cols*w, rows*h)) grid_w, grid_h = grid.size for i, img in enumerate(imgs): grid.paste(img, box=(i%cols*w, i//cols*h)) return grid num_images = 3 prompt = ["a photograph of an astronaut riding a horse"] * num_images images = pipe(prompt).images grid = image_grid(images, rows=1, cols=3) grid
还可以生成n*m张图像: num_cols = 3 num_rows = 2 prompt = ["a photograph of an astronaut riding a horse"] * num_cols all_images = [] for i in range(num_rows): images = pipe(prompt).images all_images.extend(images) grid = image_grid(all_images, rows=num_rows, cols=num_cols) grid
多次运行上面的单元格每次都会给你一个不同的图像。 如果想要确定性输出,可以将随机种子传递给管道。 每次使用相同的种子都会得到相同的图像结果。 import torch generator = torch.Generator("cuda").manual_seed(1024) image = pipe(prompt, generator=generator).images[0] image 迭代次数可以使用 num_inference_steps 参数更改推理步骤的数量。 一般来说,使用的步骤越多,结果越好。 Stable Diffusion 作为最新模型之一,在步数相对较少的情况下效果很好,建议使用默认值 50。如果想要更快的结果,可以使用较小的数字。 import torch generator = torch.Generator("cuda").manual_seed(1024) image = pipe(prompt, num_inference_steps=15, generator=generator).images[0] image 生成图片的高和宽通过 height 和 width 控制生成图片大小。 import torch image = pipe(prompt, height=512, width=512).images[0] image guidance_scale一种增加对条件信号(在本例中是文本)以及整体样本质量的依从性的方法。 简单来说,无分类器指导迫使生成更好地匹配提示。默认值7.5。如果使用很大的数字,图像可能看起来不错,但多样性会降低。 import torch image = pipe(prompt, guidance_scale=7.5).images[0] image 样例展示east africa landscape, highly detailed, digital painting, concept art, sharp focus, cinematic lighting, fantasy, intricate, elegant, lifelike, photorealistic, illustration, smooth Refia from final fantasy 3ds, Refia staring through the window a little bit sadly, highly detailed, digital painting, 8k resolution |

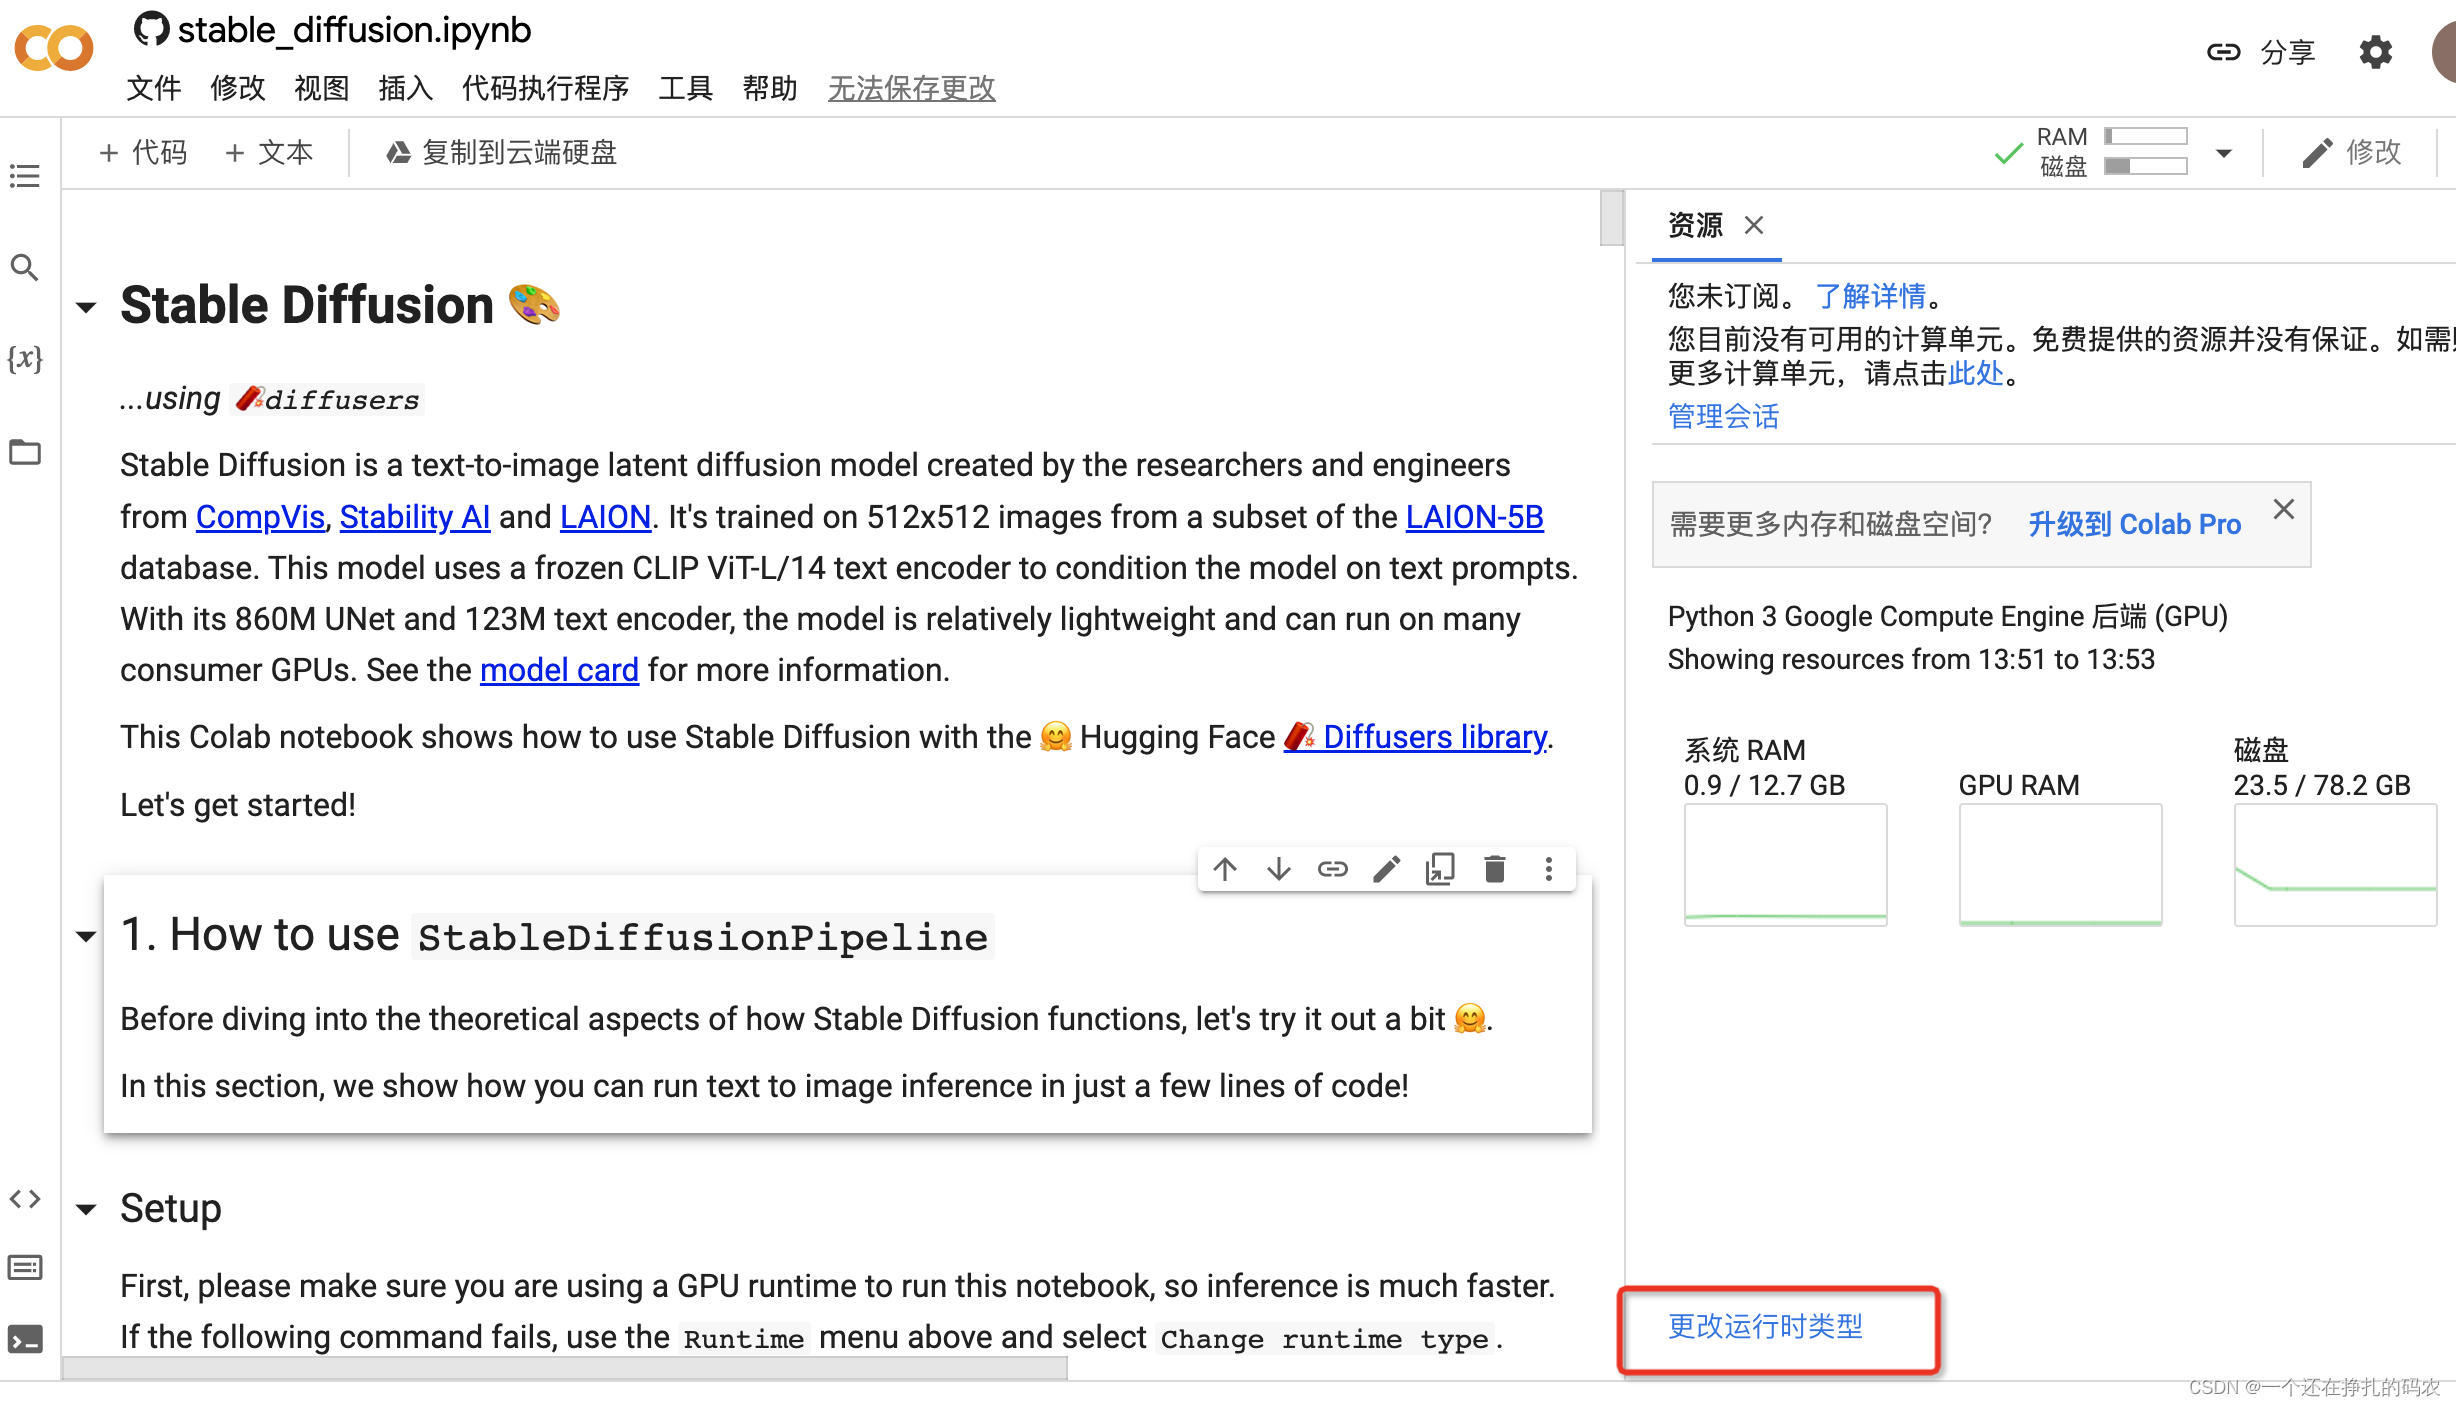
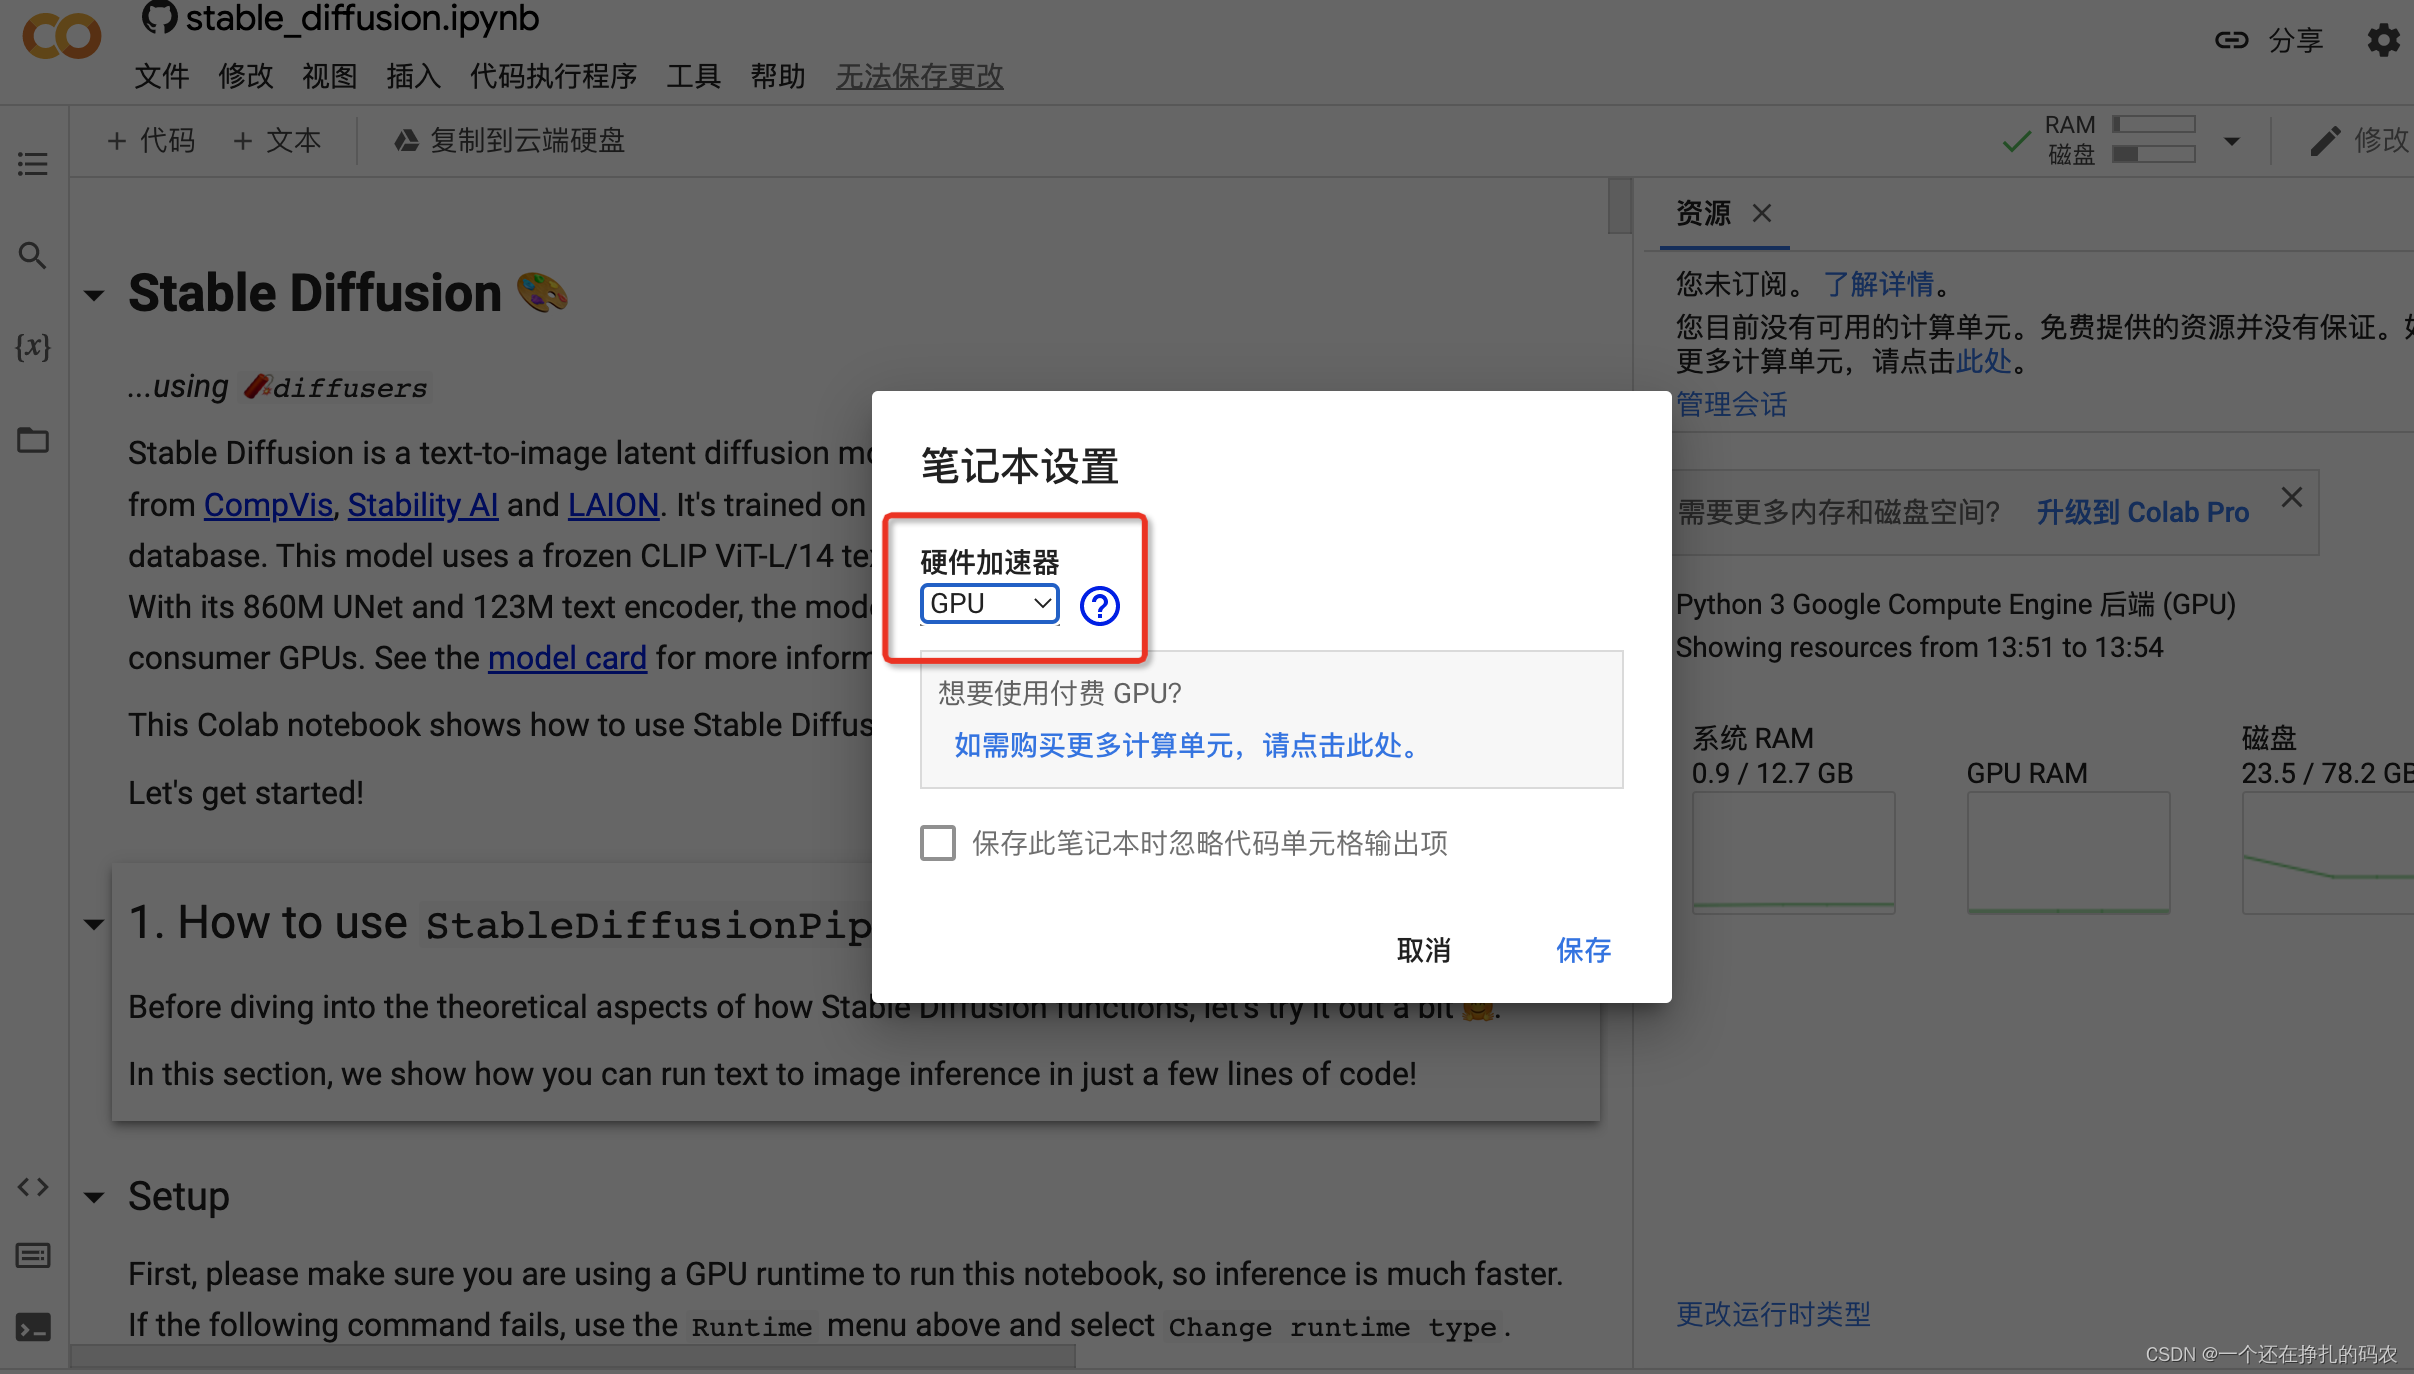
 初始化完成后,点击此处分配GPU资源
 此处初始化环境完成,执行 !nvidia-smi,查看被分配的GPU配型,一般是从 K80、T4、P100、V100 中随机分配一个。如果有幸被分配到V100的机器,生成图片会快不少。
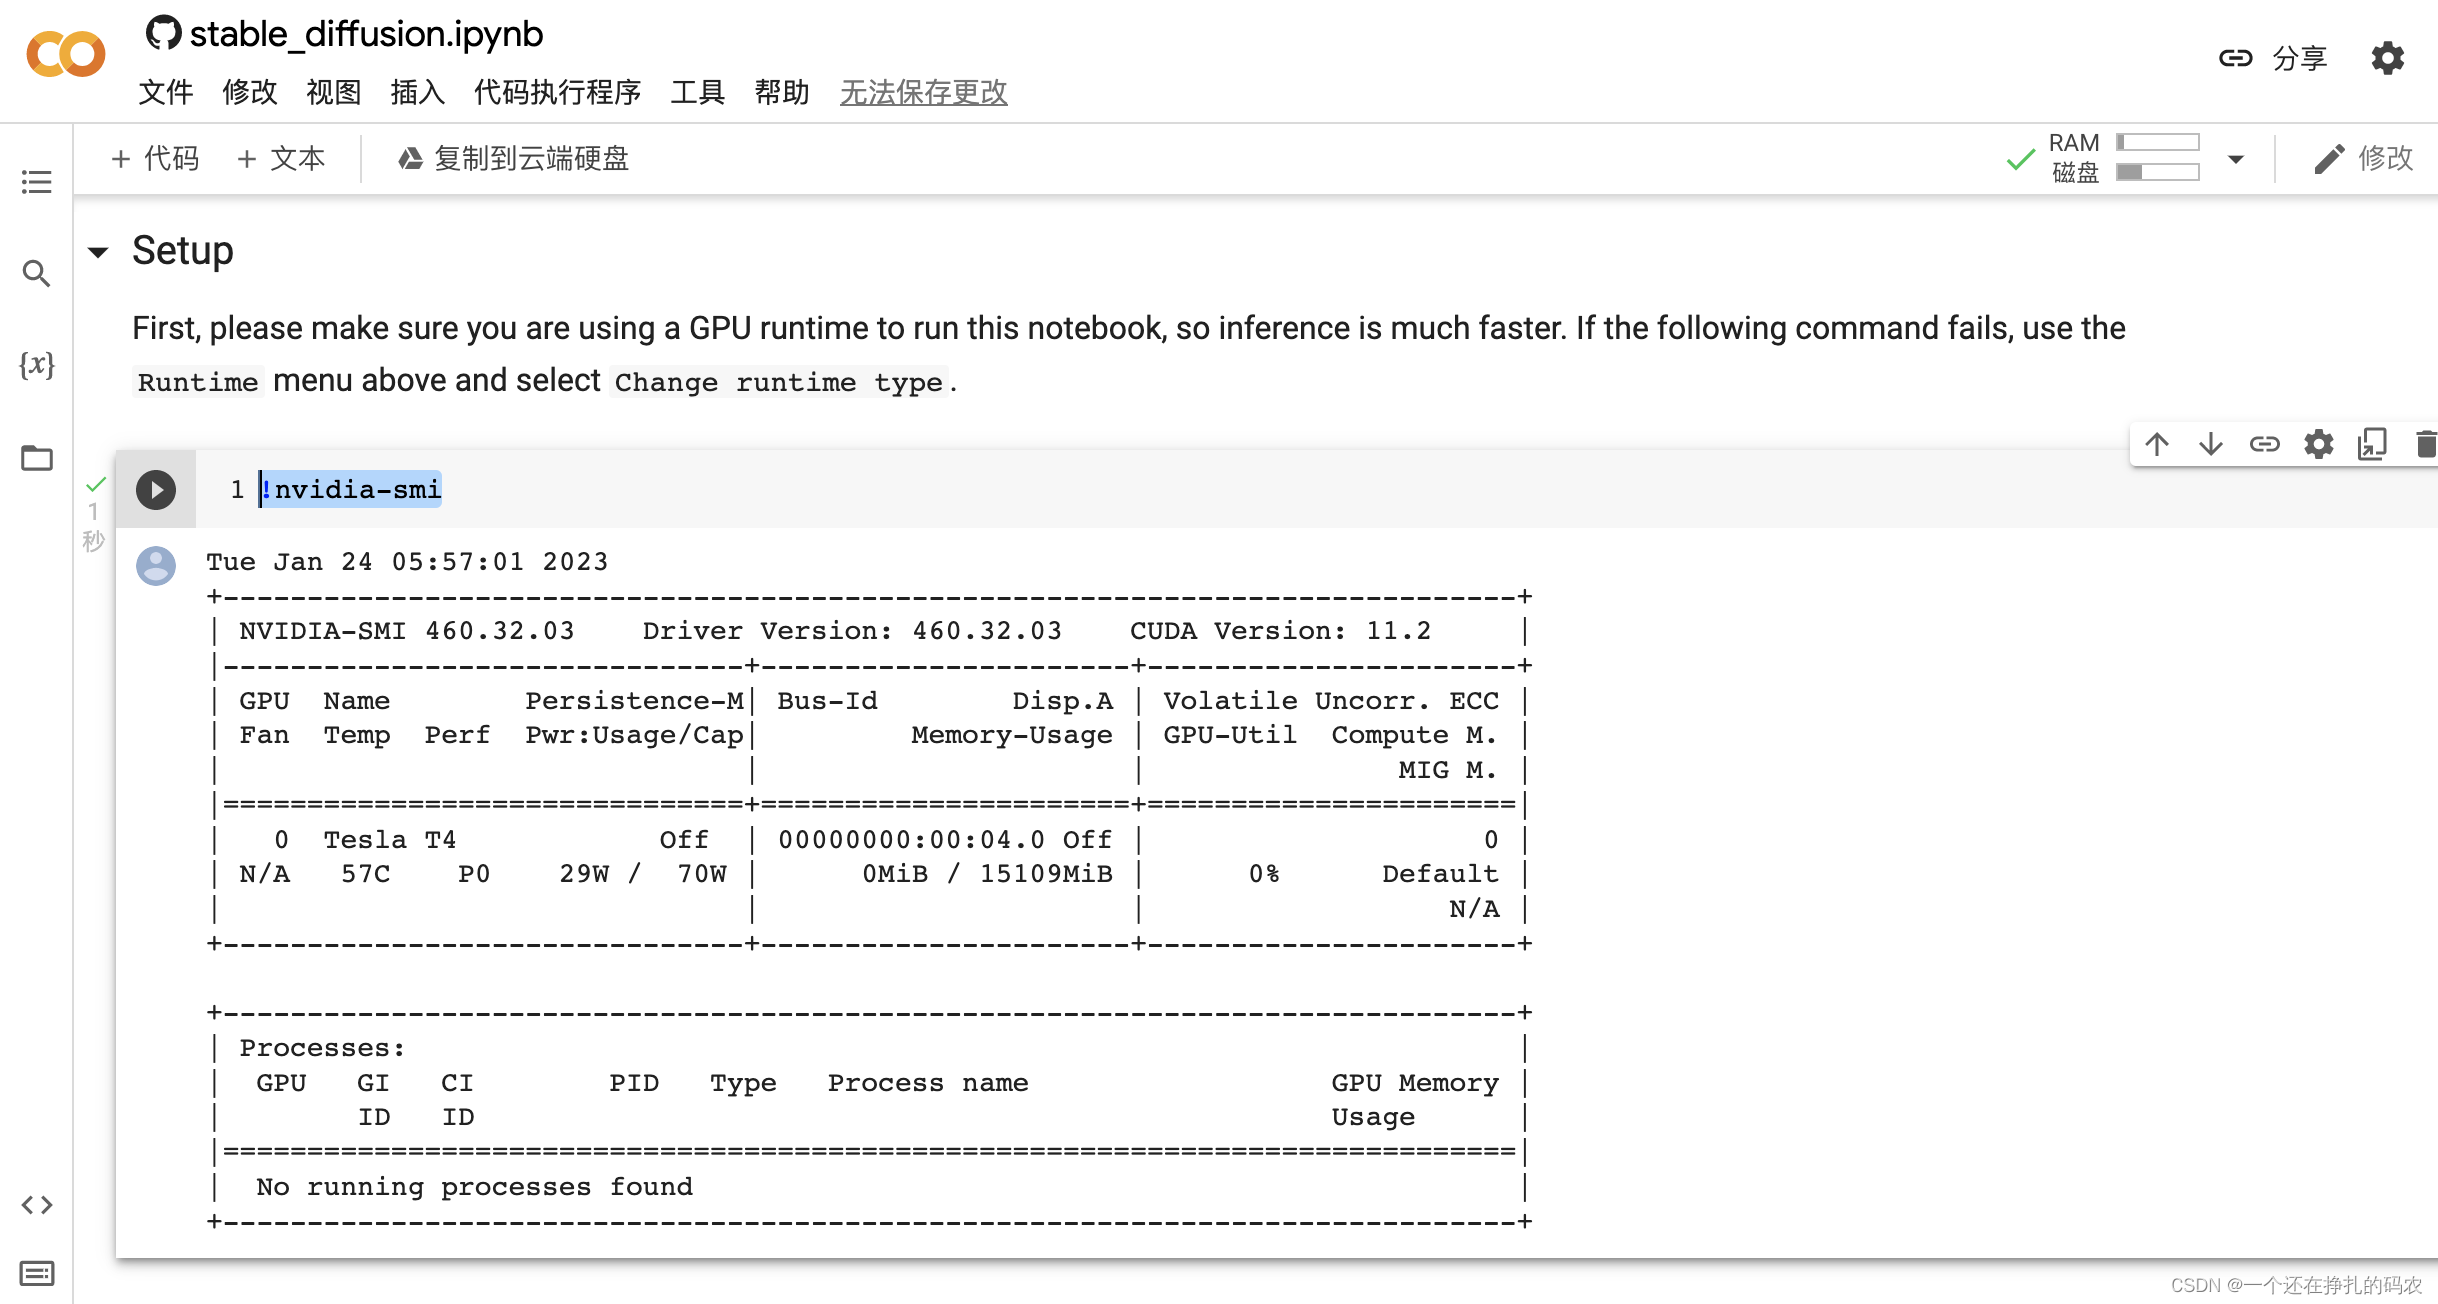
 模型加载cuda。

 European and American beauty, good figure,very beautiful,glamorous,8k
  cute mini meka, chibi, disney style, manga style, UHD, HDR, 4K, 8K
  Cute and adorable cartoon fluffy baby rhea, fantasy, dreamlike, surrealism, super cute, trending on artstation, 8k
  以上。
以上。【本文地址】
今日新闻 |
推荐新闻 |