Spring Boot学习 |
您所在的位置:网站首页 › spring创建对象的三种方式 › Spring Boot学习 |
Spring Boot学习
|
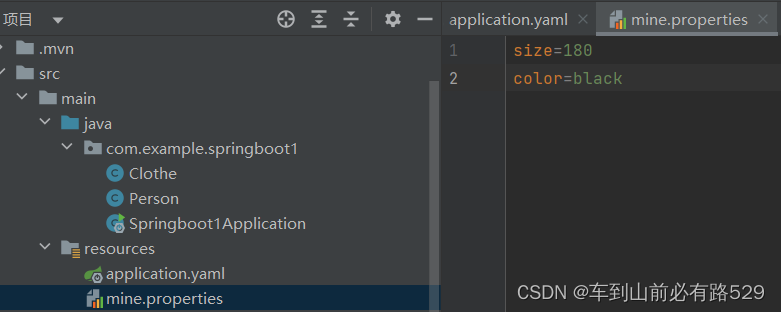
首先准备两个类用于演示,Clothe和Person类,并加上Component注解,@Component是一个通用注解,表示将这个类标记为一个组件并放到Spring容器中,在Spring Boot运行时就会自动创建实例;然后使用官方的测试类准备测试: //Clothe类 @Component public class Clothe { private int size; private String color; public void setSize(int size) { this.size = size; } public void setColor(String color) { this.color = color; } public int getSize() { return size; } public String getColor() { return color; } @Override public String toString() { return "Clothe{" + "size=" + size + ", color='" + color + '\'' + '}'; } } //Person类 @Component public class Person { private String name; private int age; private List hobby; private Map card; private Date birth; private Clothe clothe; public String getName() { return name; } public void setName(String name) { this.name = name; } public int getAge() { return age; } public void setAge(int age) { this.age = age; } public List getHobby() { return hobby; } public void setHobby(List hobby) { this.hobby = hobby; } public Map getCard() { return card; } public void setCard(Map card) { this.card = card; } public Date getBirth() { return birth; } public void setBirth(Date birth) { this.birth = birth; } public Clothe getClothe() { return clothe; } public void setClothe(Clothe clothe) { this.clothe = clothe; } @Override public String toString() { return "Person{" + "name='" + name + '\'' + ", age=" + age + ", hobby=" + hobby + ", card=" + card + ", birth=" + birth + ", clothe=" + clothe + '}'; } }测试类: @SpringBootTest class Springboot1ApplicationTests { //配合@Component将自动创建的实例自动装配给其他类中的对象 @Autowired private Clothe clothe; @Test void contextLoads() { System.out.println(clothe.toString()); } } @SpringBootTest class Springboot1ApplicationTests { @Autowired private Person person; @Test void contextLoads() { System.out.println(person.toString()); } }1.直接使用Value注解给属性赋值 直接在属性的前面加上Value注解即可 //直接在属性前加上value注解即可 @Value("180") private int size; @Value("black") private String color; 测试的结果为: 可以使用yaml的配置文件,在resources目录下新建application.yaml,这里演示多种数据类型的yaml配置,属性的顺序可以调换,并且允许属性之间有空行,Spring Boot会自己识别对应的属性,当某个属性没有设置时,对应的属性会自动赋值为null。但需要注意两点,第一点是对空格的要求,如果在属性前多打了空格就表示这个属性是上一行属性的子属性;第二点是需要注意各个数据类型的赋值格式,比如Date类型的赋值格式是xxxx/xx/xx,如果这些属性的赋值格式不正确,运行时会报错。 而且yaml配置文件还支持多种赋值方式: person: # ${}可以添加到任何位置表示在这里插入其他的东西 # ${random.uuid}表示添加随机id字符串 name: zhangsan${random.uuid} # ${random.int}表示添加随机数 age: ${random.int} # 这里的意思是,如果属性存在并且赋值了,就添加该属性的值;如果属性不存在或者没有对该属性赋值,就添加冒号后面的默认值 hobby: - 唱${person.other:歌} - ${person.birth:舞}跳 - rap - 篮球 card: {idcard: 010101,stucard: 020202} clothe: size: 180 color: black # 这里注释掉birth属性后,${person.birth:舞}就会取默认值“舞”了 #birth: 2020/01/01然后是对Person类使用@ConfigurationProperties注解,此时会弹出一个红框,意思是需要添加对应的注释处理器,这时我们只要在pom.xml中加入相关依赖即可;这个注解的作用是用默认的配置文件给对象的属性赋值,默认的配置文件名是application,这就是为什么在这种方式中使用yaml配置文件时要用指定的名字了;加入prefix参数指定对象名: @ConfigurationProperties(prefix = "person") org.springframework.boot spring-boot-configuration-processor true 测试结果: PropertySource注解用来指定配置文件,再利用Value注解给对应的属性赋值;这种方式虽然可以指定配置文件,但需要自己在每个属性前加上Value注解。 自定义配置文件mine.properties(这里为了演示properties文件,当然可以使用yaml文件),这里使用Clothe类进行演示: 测试结果:
|


【本文地址】
今日新闻 |
推荐新闻 |