SpringCloud Stream 4.x 使用教程 |
您所在的位置:网站首页 › springcloud怎么用 › SpringCloud Stream 4.x 使用教程 |
SpringCloud Stream 4.x 使用教程
|
SpringCloud Stream 4.x 差异还是有点大
版本说明一、POM二、HelloWorld怎么写?1.官网推荐2.把Boot启动
三、消失的@EnableBinding、@StreamListener、Source、Sink...四、案例
版本说明
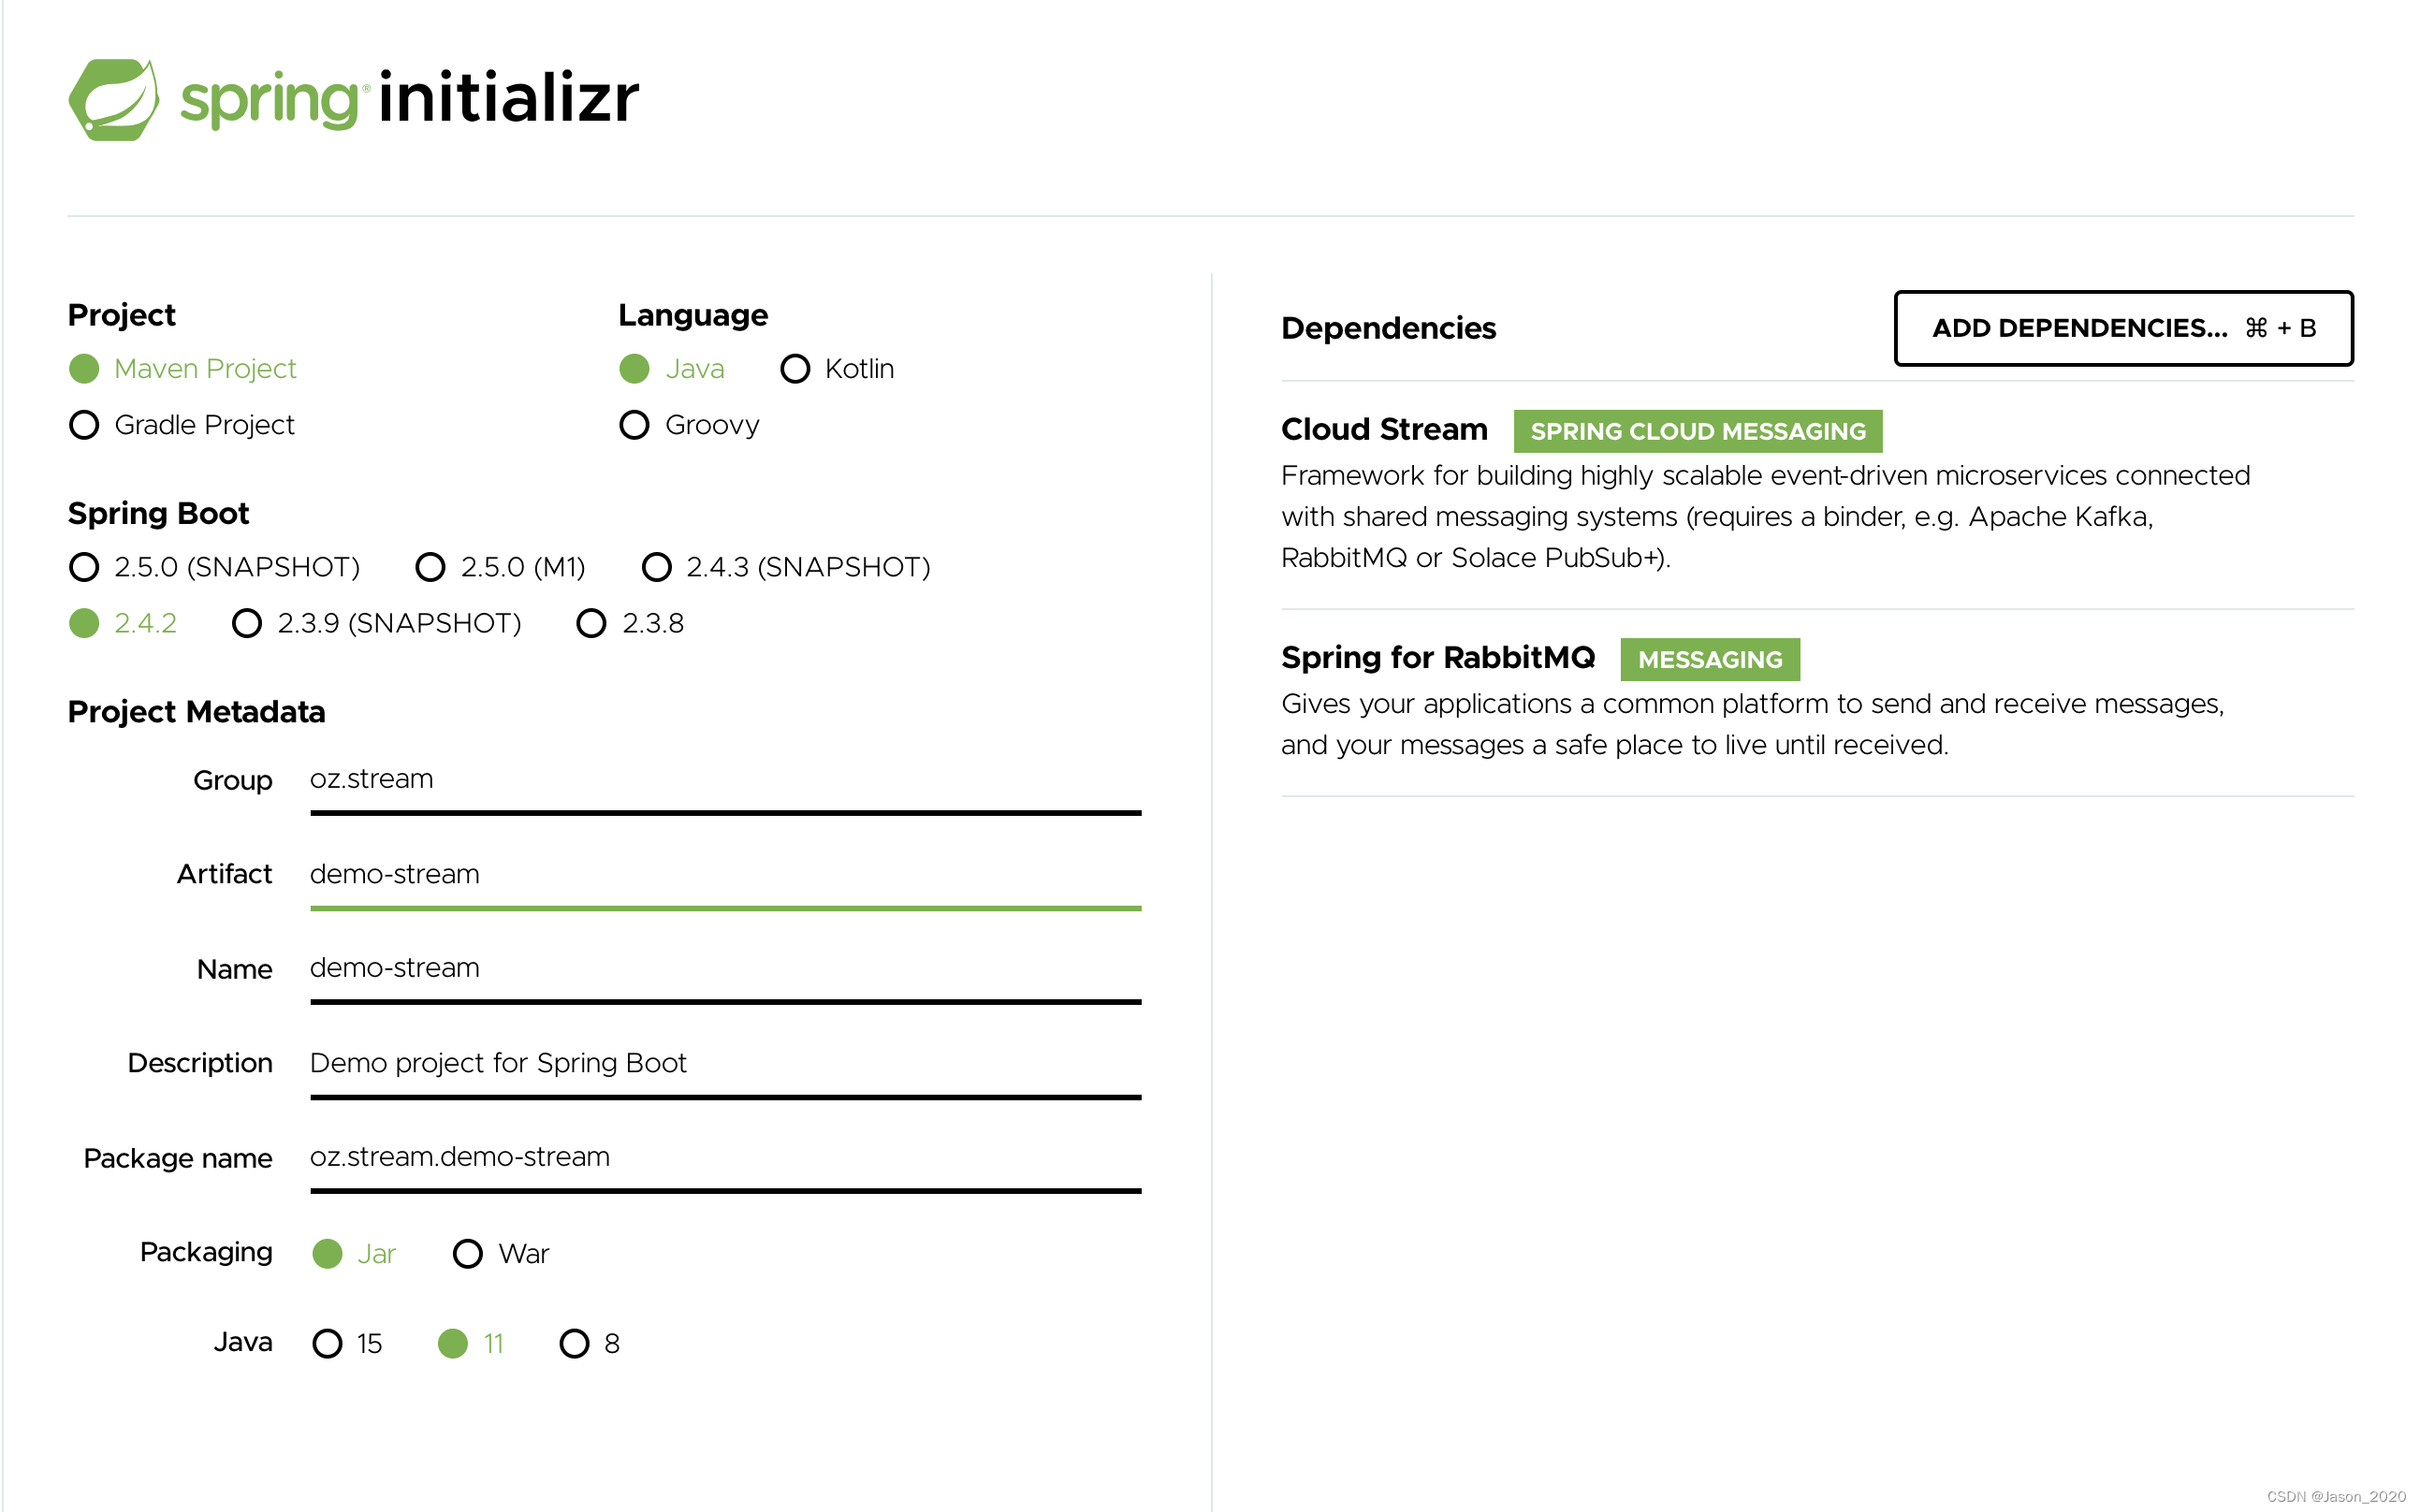
一、SpringCloud Stream 2.x Bili搜一下周阳那个Cloud视频 二、SpringCloud Stream 3.x 看这个兄弟的Blog: https://blog.csdn.net/QAQpig/article/details/129120856 三、如果是SrpingCloud Stream 4.x,往下看 一、POM org.springframework.cloud spring-cloud-stream-binder-rabbit org.springframework.boot spring-boot-starter-web org.springframework.boot spring-boot-starter-actuator org.springframework.boot spring-boot-starter-test起作用的,实际上就这几个,对于Rabbit,老版本需要引入depend相关,新版本就一个binder搞定,因为binder已经对于stream与rabbit依赖关系做了很好的POM封装,源码如下: 4.0.0 spring-cloud-stream-binder-rabbit-parent 4.0.2 pom org.springframework.cloud spring-cloud-stream-binders 4.0.2 17 4.0.2 true true true spring-cloud-stream-binder-rabbit-core spring-cloud-stream-binder-rabbit spring-cloud-starter-stream-rabbit spring-cloud-stream-binder-rabbit-test-support org.junit.vintage junit-vintage-engine test 二、HelloWorld怎么写? 1.官网推荐
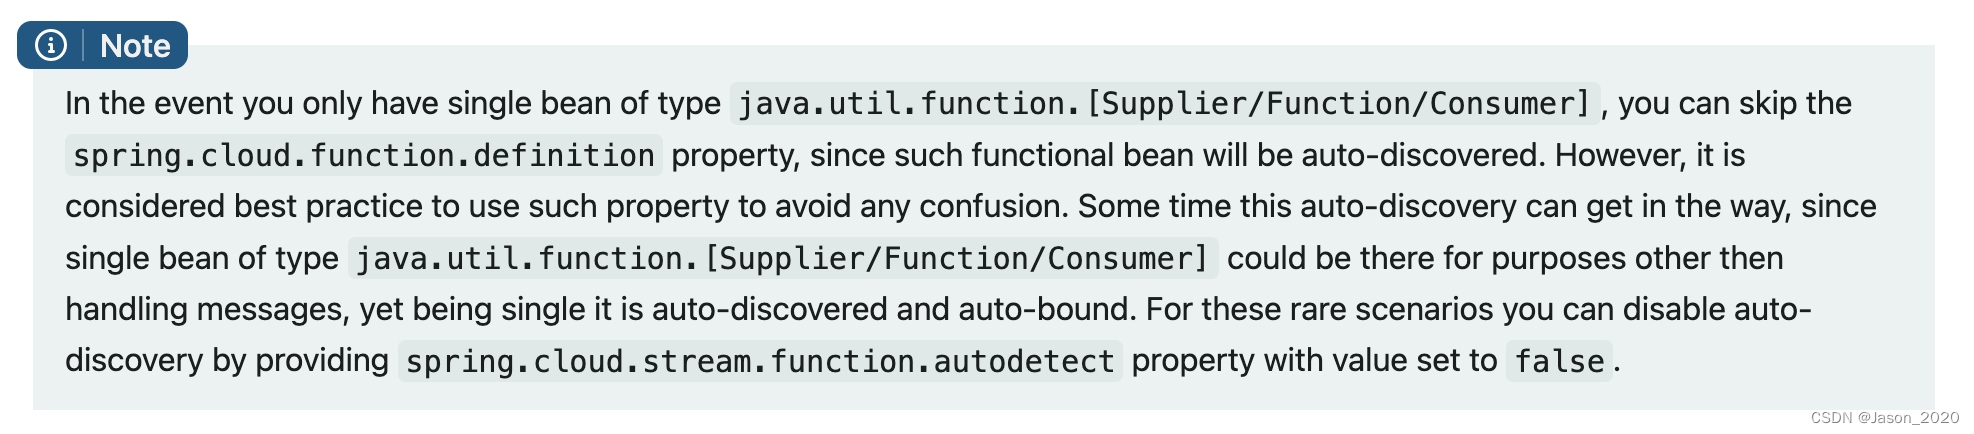
修改主启动类,代码如下: @SpringBootApplication public class LoggingConsumerApplication { public static void main(String[] args) { SpringApplication.run(LoggingConsumerApplication.class, args); } @Bean public Consumer log() { return person -> { System.out.println("Received: " + person); }; } public static class Person { private String name; public String getName() { return name; } public void setName(String name) { this.name = name; } public String toString() { return this.name; } } } 2.把Boot启动 --- [ main] c.s.b.r.p.RabbitExchangeQueueProvisioner : declaring queue for inbound: input.anonymous.CbMIwdkJSBO1ZoPDOtHtCg, bound to: input --- [ main] o.s.a.r.c.CachingConnectionFactory : Attempting to connect to: [localhost:5672] --- [ main] o.s.a.r.c.CachingConnectionFactory : Created new connection: rabbitConnectionFactory#2a3a299:0/SimpleConnection@66c83fc8. . . . . . --- [ main] o.s.i.a.i.AmqpInboundChannelAdapter : started inbound.input.anonymous.CbMIwdkJSBO1ZoPDOtHtCg . . . --- [ main] c.e.l.LoggingConsumerApplication : Started LoggingConsumerApplication in 2.531 seconds (JVM running for 2.897) 三、消失的@EnableBinding、@StreamListener、Source、Sink…1、4.x的HelloWorld确实不再需要如上这些,取而代之的一个Consumer类型的Bean就可以消费到 2、4.x提倡函数式编程,有兴趣的,还可以研究一下官网的Function 四、案例1、环境:JDK17、SpringCloud Stream 4、SpringBoot 3.0.5、Rabbit MQ、MacOS 2、案例说明:使用Controller触发消息发送,一次发送2条消息,分别打入2个Exchange,接收使用Consumer完成。destination、definition等配置会穿插介绍。 主启动Boot @SpringBootApplication @Slf4j public class RabbitCustomApplication { public static void main(String[] args) { SpringApplication.run(RabbitCustomApplication.class, args); } }Controller,用于触发消息发送 @RestController public class SendController { @Resource private StreamBridge streamBridge; @GetMapping("/stream/{name}") public String sendMsg(@PathVariable String name) { String uuid = UUID.fastUUID().toString(); streamBridge.send("rec-obj", JSONUtil.toJsonStr(new Person(name))); streamBridge.send("rec-str", uuid); return uuid; } }2个接收组件,用于消费不同Exchange @Slf4j @Configuration public class RecStrConsumer { @Bean public Consumer recstr() { return str -> { log.info("接收字符串,topic:rec-str,---" + str); }; } } @Configuration @Slf4j public class RecObjConsumer { @Bean public Consumer recobj() { return person -> { log.info("接收对象: " + person); }; } }实体Person @Data @NoArgsConstructor @AllArgsConstructor public class Person { private String name; }配置文件application.properties,几点说明如下: 1、out-生产者、in-消费者 2、消费函数如果叫做abc(),则你的默认destination=abc-in-0,想要修改,参考配置文件,记得两个-,不要以为是注释 3、如果只有java.util.function.[Supplier/function/Customer]类型的单个bean,则不需要指定definition,如果你有多个,则需要指定,使用分号隔离 4、如果你想做连接处理,definition使用|分隔 5、单个Bean可以被自动发现并装载,最后附上官网原文 ## 消费者指定destination --spring.cloud.stream.bindings.recobj-in-0.destination=rec-obj --spring.cloud.stream.bindings.recstr-in-0.destination=rec-str --spring.cloud.function.definition=recstr;recobj
|
【本文地址】
今日新闻 |
推荐新闻 |