python基础知识(十一):matplotlib的基本用法一 |
您所在的位置:网站首页 › python画图坐标轴刻度全黑 › python基础知识(十一):matplotlib的基本用法一 |
python基础知识(十一):matplotlib的基本用法一
|
目录
1. matplotlib库和numpy库2. matplotlib绘图的简单示例3. 设置窗口的尺寸比例,线宽和颜色4. 坐标轴设置5. 去除坐标轴边框和坐标轴原点化6. 图例7. 文本标注
1. matplotlib库和numpy库
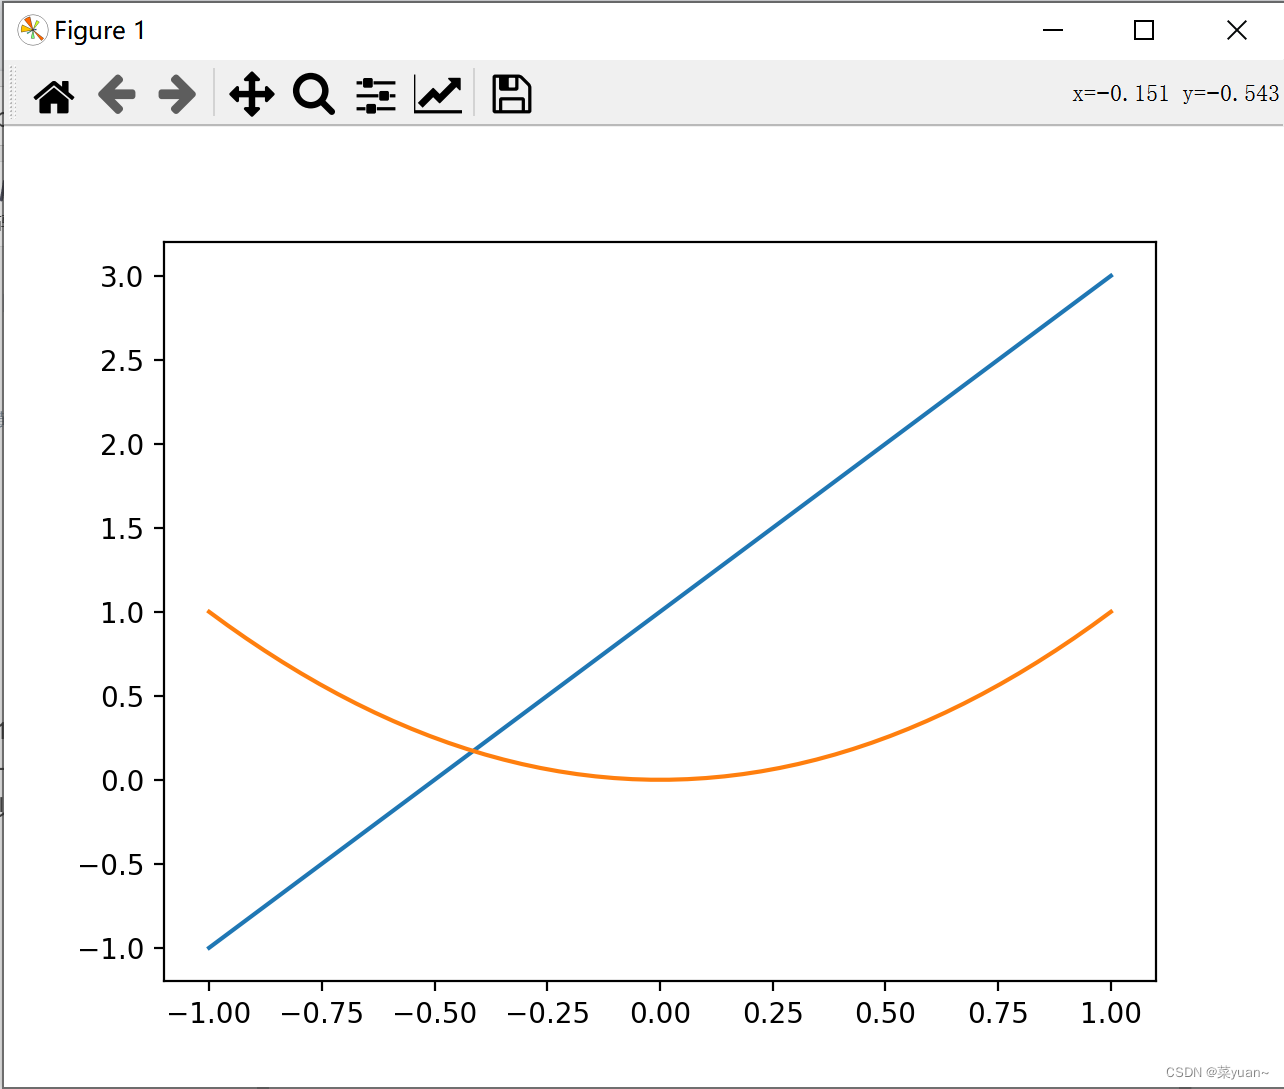
matplotlib库是python的绘图库,numpy库是numpy是python中基于数组对象的科学计算库。 2. matplotlib绘图的简单示例 import matplotlib.pyplot as plt # 导入matplotlib库画图 import numpy as np # 导入numpy库产生数据 x = np.linspace(-1, 1, 50) # 生成-1到1的50等分数据为横坐标 y1 = 2 * x + 1 # 写出y的函数 y2 = x ** 2 # 写出y的函数 plt.figure(1) plt.plot(x, y1) # 以x为横坐标,y1为纵坐标画图 plt.plot(x, y2) # 以x为横坐标,y2为纵坐标画图 plt.show() # 将画的图显示出来,必不可少这段代码首先导入matplotlib和numpy库,然后产生-1到1的1*50的数组,也就是行向量,然后产生两个函数,并且绘制函数,而且在一幅图中绘制多条曲线时直接用plot即可,最后一步plt.show()必不可少,如果少了图像不显示。
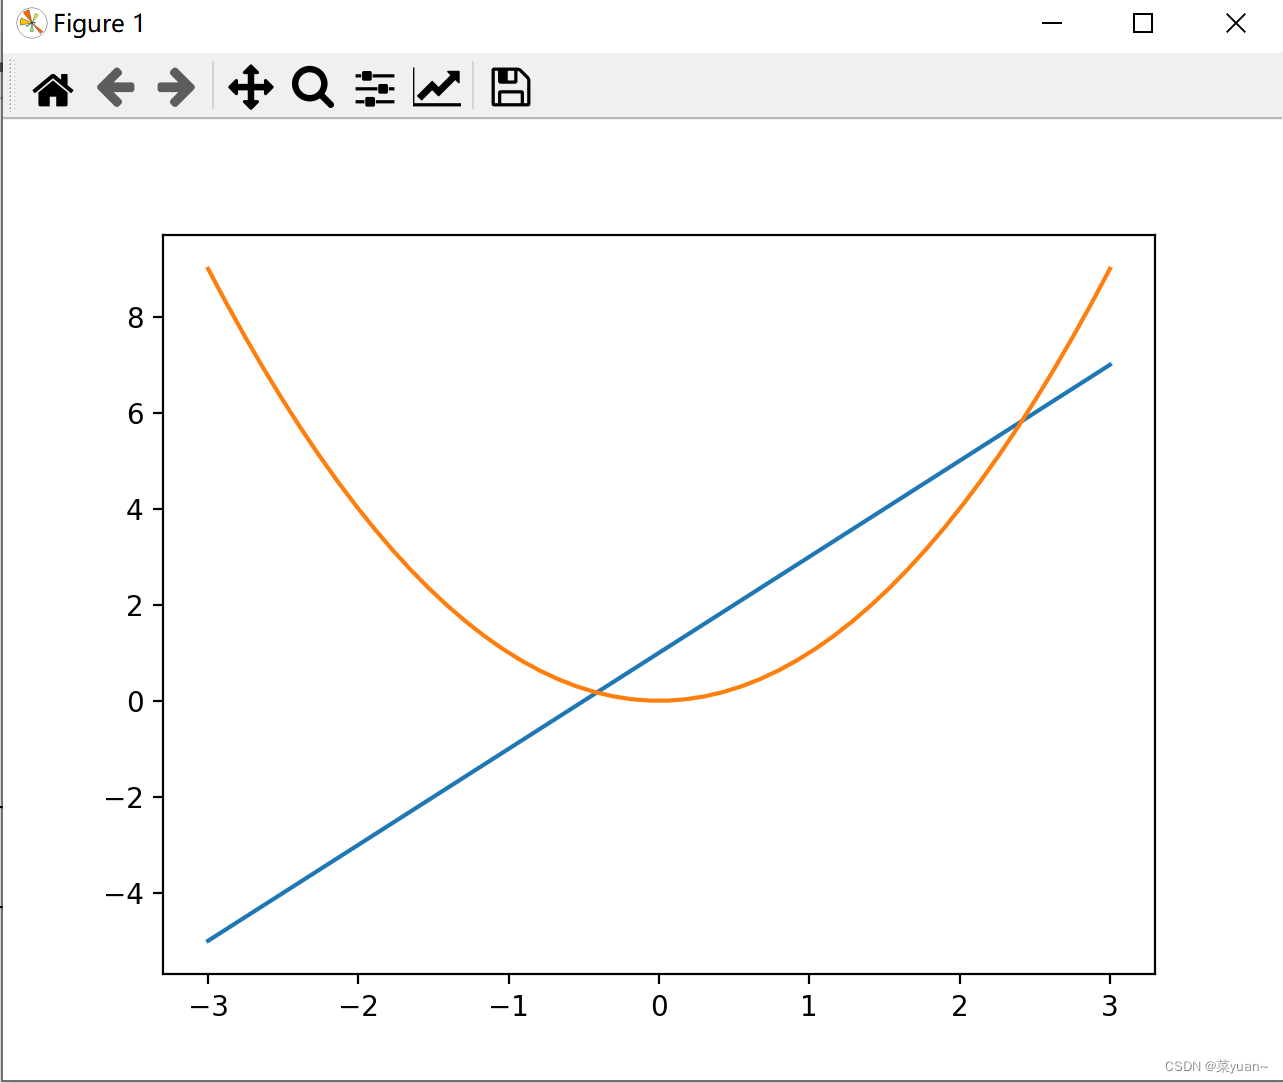
在figure()中添加figsize=(, )改变窗口的长宽比,添加color=‘r’, linewidth=1.0, linestyle='–'是改变颜色,线宽和线型。线型和颜色有哪些样式大致同MATLAB,可参考线型和颜色 import matplotlib.pyplot as plt # 导入matplotlib库画图 import numpy as np # 导入numpy库产生数据 x = np.linspace(-3, 3, 50) # 生成-1到1的50等分数据为横坐标 y1 = 2 * x + 1 # 写出y1的函数 y2 = x ** 2 # 写出y2的函数 plt.figure(1) plt.plot(x, y1) # 以x为横坐标,y1为纵坐标画图 plt.plot(x, y2) # 以x为横坐标,y2为纵坐标画图 plt.figure(2, figsize=(8, 5)) # 给图像序号和大小设置长为8宽为5 plt.plot(x, y1, color='r', linewidth=1.0, linestyle='-.') """以x为横坐标,y1为纵坐标画图,设置线的颜色红色,线宽1.0,线的类型虚线""" plt.plot(x, y2) # 以x为横坐标,y2为纵坐标画图 plt.show() # 将画的图显示出来,必不可少
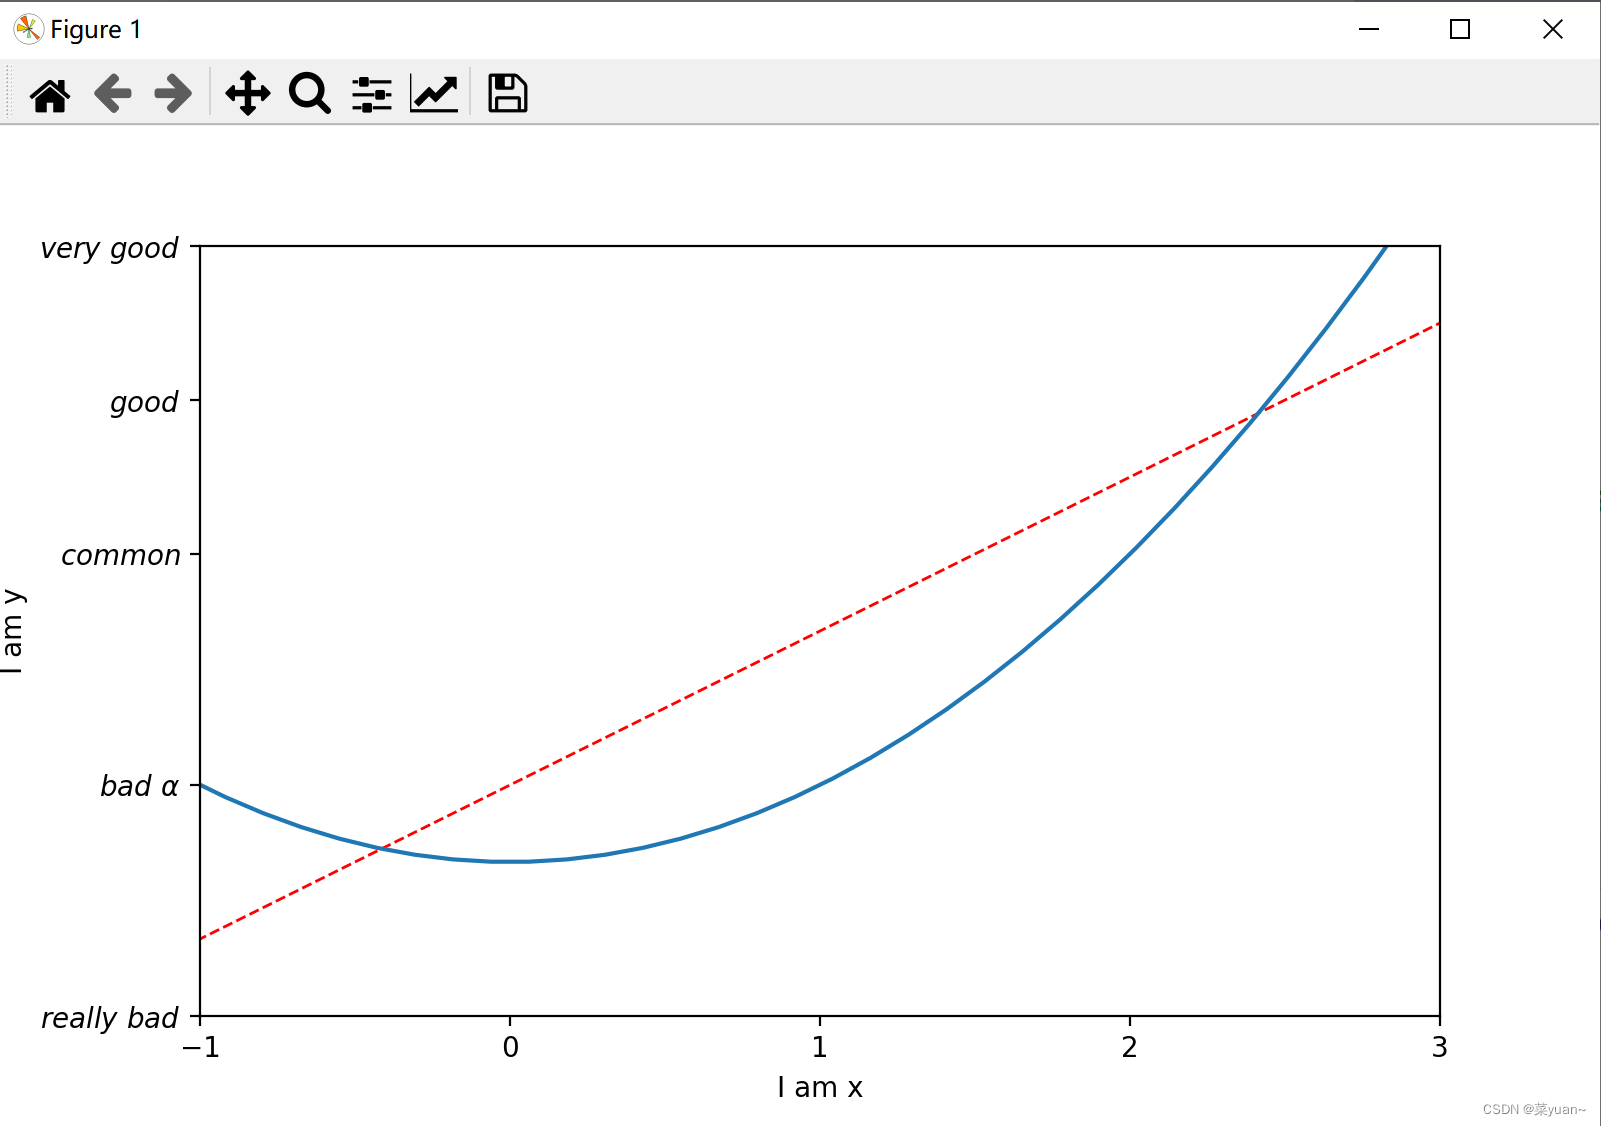
这段代码是设置坐标轴范围和显示坐标轴标签。 new_ticks = np.linspace(-1, 3, 5) print(new_ticks) plt.xticks(new_ticks) # 设置横坐标为-1到3分为5个标记 plt.yticks([-2, 1, 4, 6, 8], [r'$really\ bad$', r'$bad\ \alpha$', r'$common$', r'$good$', r'$very\ good$'])这段代码是设置坐标轴刻度 import matplotlib.pyplot as plt # 导入matplotlib库画图 import numpy as np # 导入numpy库产生数据 x = np.linspace(-3, 3, 50) # 生成-1到1的50等分数据为横坐标 y1 = 2 * x + 1 # 写出y1的函数 y2 = x ** 2 # 写出y2的函数 plt.figure(1, figsize=(8, 5)) # 给图像序号和大小设置长为8宽为5 plt.plot(x, y1, color='red', linewidth=1.0, linestyle='--') """以x为横坐标,y1为纵坐标画图,设置线的颜色红色,线宽1.0,线的类型虚线""" plt.plot(x, y2) # 以x为横坐标,y2为纵坐标画图 plt.xlim((-1, 3)) # 设置x坐标的范围是-1到3 plt.ylim((-2, 8)) # 设置y坐标的范围是-2到8 plt.xlabel('I am x') # 设置横坐标 plt.ylabel('I am y') # 设置纵坐标 new_ticks = np.linspace(-1, 3, 5) print(new_ticks) plt.xticks(new_ticks) # 设置横坐标为-1到3分为5个标记 plt.yticks([-2, 1, 4, 6, 8], [r'$really\ bad$', r'$bad\ \alpha$', r'$common$', r'$good$', r'$very\ good$']) # 将纵坐标分成5种图标 plt.show() # 将画的图显示出来,必不可少
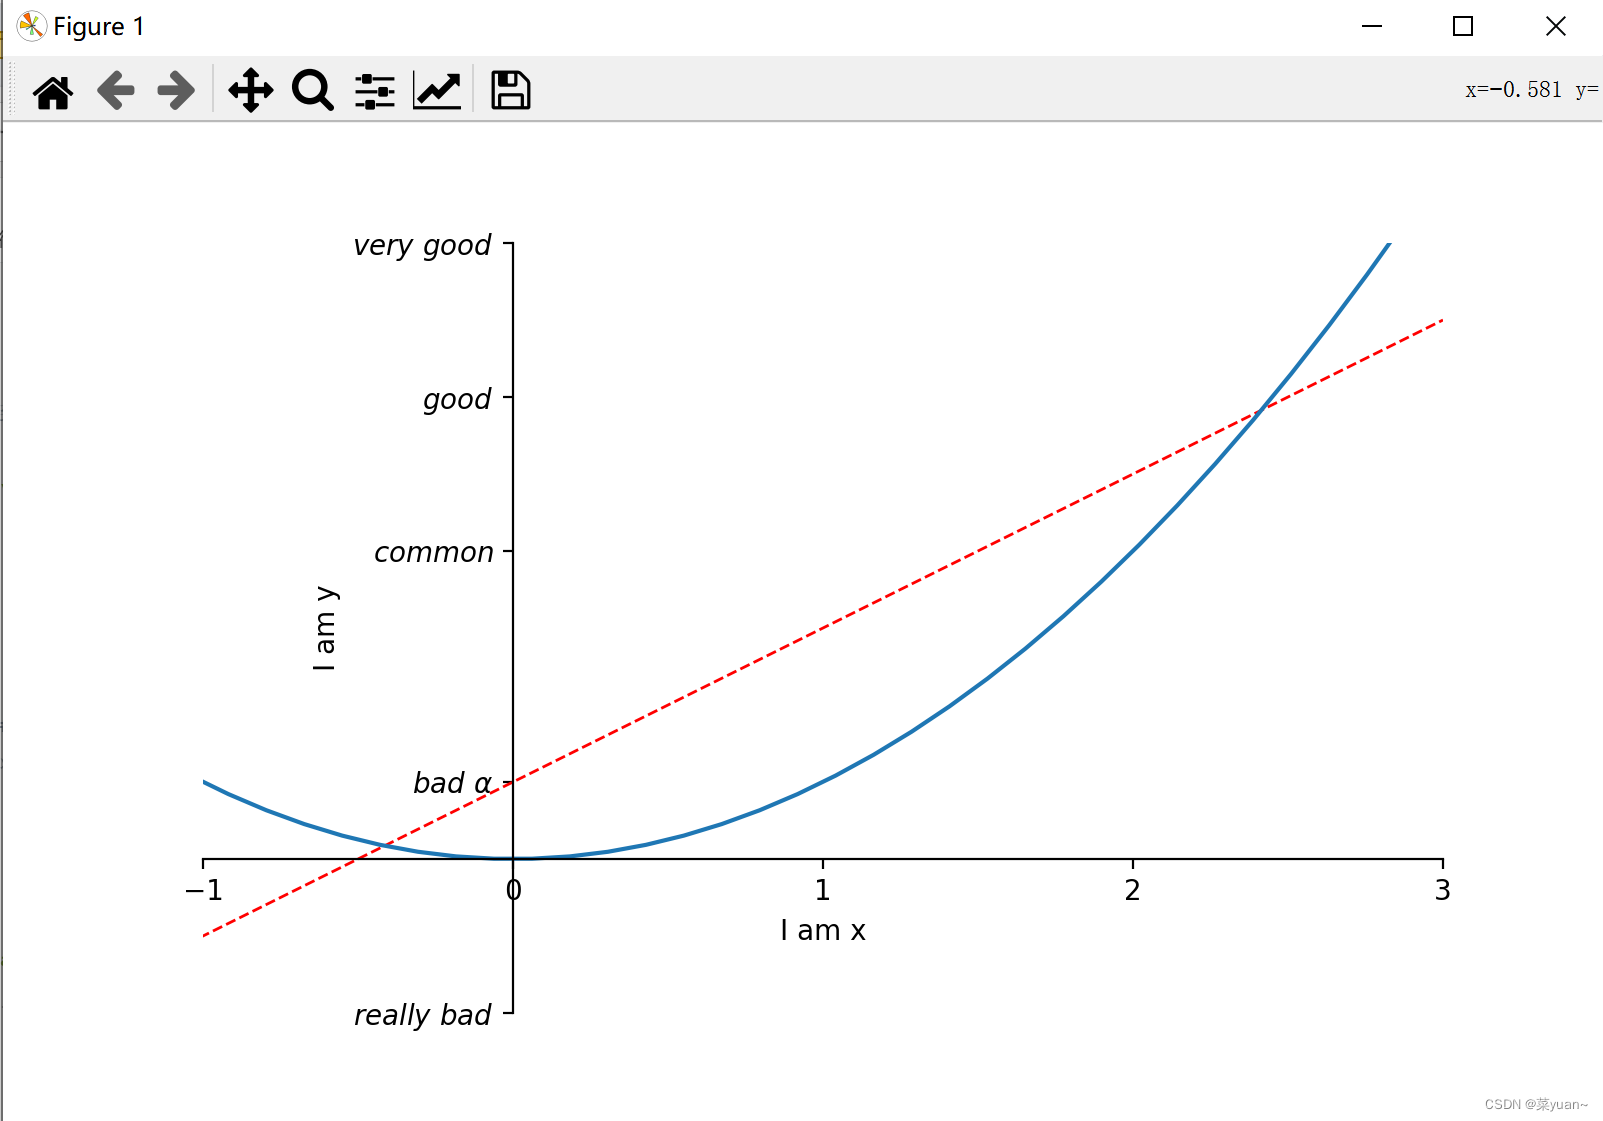
这段代码是去除坐标轴边框。 ax.xaxis.set_ticks_position('bottom') # 设置底部边框为x轴,默认也是底部边框为x轴 ax.yaxis.set_ticks_position('left') # 设置左边边框为y轴,默认也是左边边框为y轴 ax.spines['bottom'].set_position(('data', 0)) # 将x轴经过y轴的0 ax.spines['left'].set_position(('data', 0)) # 将y轴经过x轴的0这段代码是坐标轴原点化。 import matplotlib.pyplot as plt # 导入matplotlib库画图 import numpy as np # 导入numpy库产生数据 x = np.linspace(-3, 3, 50) # 生成-1到1的50等分数据为横坐标 y1 = 2 * x + 1 # 写出y1的函数 y2 = x ** 2 # 写出y2的函数 plt.figure(1, figsize=(8, 5)) # 给图像序号和大小设置长为8宽为5 plt.plot(x, y1, color='red', linewidth=1.0, linestyle='--') """以x为横坐标,y1为纵坐标画图,设置线的颜色红色,线宽1.0,线的类型虚线""" plt.plot(x, y2) # 以x为横坐标,y2为纵坐标画图 plt.xlim((-1, 3)) # 设置x坐标的范围是-1到3 plt.ylim((-2, 8)) # 设置y坐标的范围是-2到8 plt.xlabel('I am x') # 设置横坐标 plt.ylabel('I am y') # 设置纵坐标 new_ticks = np.linspace(-1, 3, 5) print(new_ticks) plt.xticks(new_ticks) # 设置横坐标为-1到3分为5个标记 plt.yticks([-2, 1, 4, 6, 8], [r'$really\ bad$', r'$bad\ \alpha$', r'$common$', r'$good$', r'$very\ good$']) # 将纵坐标分成5种图标 # gca = 'get current axis' ax = plt.gca() # 取出画好的图给ax ax.spines['right'].set_color('none') # 将右边框去掉 ax.spines['top'].set_color('none') # 将上边框去掉 ax.xaxis.set_ticks_position('bottom') # 设置底部边框为x轴,默认也是底部边框为x轴 ax.yaxis.set_ticks_position('left') # 设置左边边框为y轴,默认也是左边边框为y轴 ax.spines['bottom'].set_position(('data', 0)) # 将x轴经过y轴的0 ax.spines['left'].set_position(('data', 0)) # 将y轴经过x轴的0 plt.show() # 将画的图显示出来,必不可少
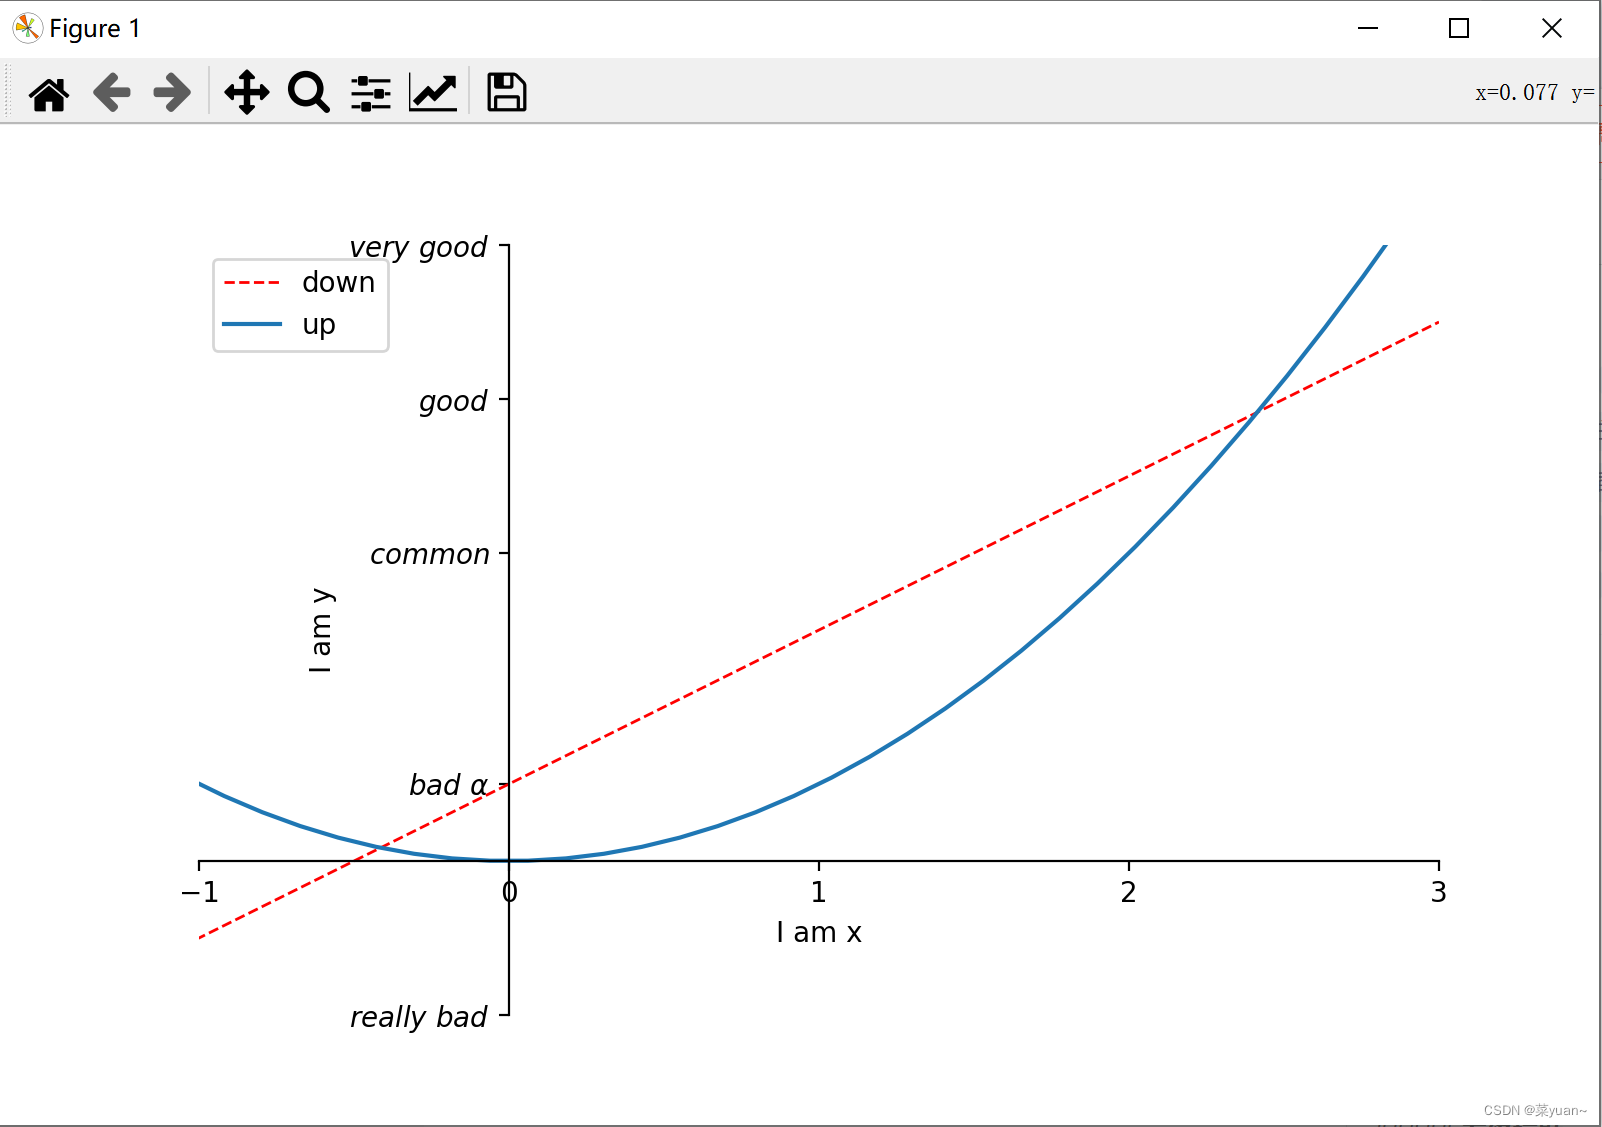
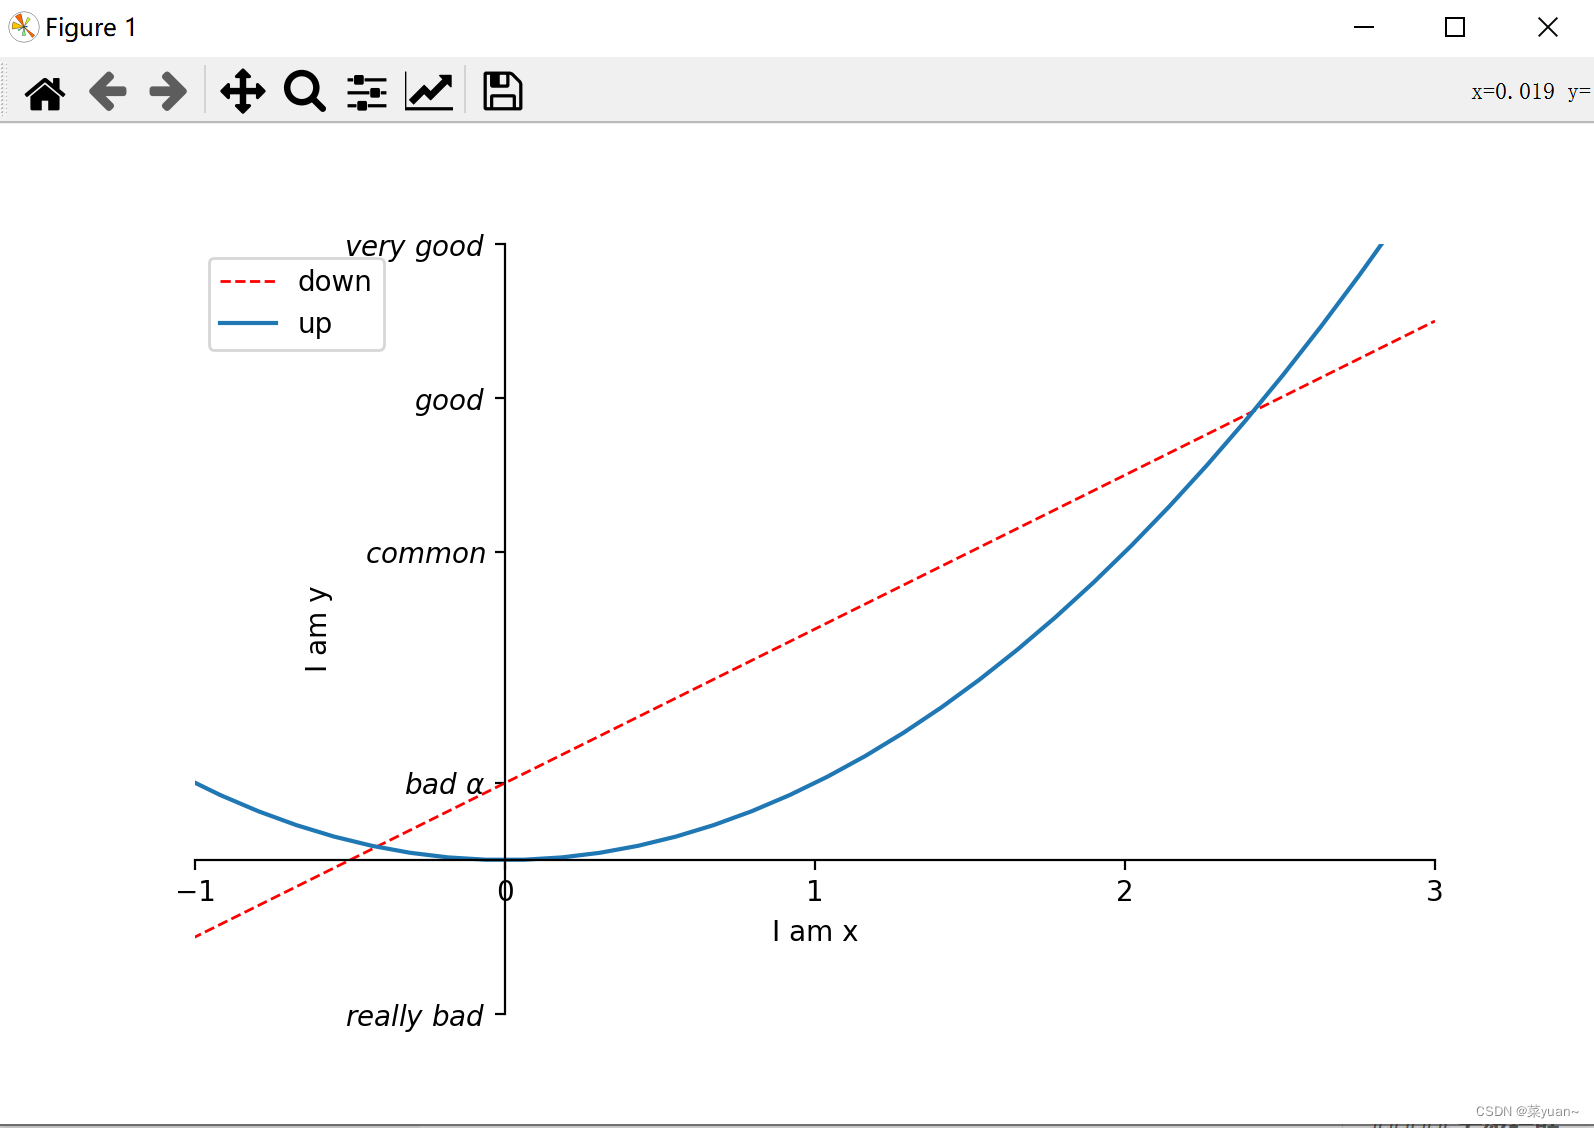
这段代码是设置图例。 import matplotlib.pyplot as plt # 导入matplotlib库画图 import numpy as np # 导入numpy库产生数据 x = np.linspace(-3, 3, 50) # 生成-1到1的50等分数据为横坐标 y1 = 2 * x + 1 # 写出y1的函数 y2 = x ** 2 # 写出y2的函数 plt.figure(1, figsize=(8, 5)) # 给图像序号和大小设置长为8宽为5 l1, = plt.plot(x, y1, color='red', linewidth=1.0, linestyle='--', label='down') """以x为横坐标,y1为纵坐标画图,设置线的颜色红色,线宽1.0,线的类型虚线,设置图像标签""" l2, = plt.plot(x, y2, label='up') # 以x为横坐标,y2为纵坐标画图 # l1, l2, 这样写是为了让参数传递给legend函数 plt.legend(handles=[l1, l2, ], labels=['down', 'up'], loc='best') """图例的设置,参数handle便于自己是手动控制,label是图线的标签,loc是设置图例的位置""" plt.xlim((-1, 3)) # 设置x坐标的范围是-1到3 plt.ylim((-2, 8)) # 设置y坐标的范围是-2到8 plt.xlabel('I am x') # 设置横坐标 plt.ylabel('I am y') # 设置纵坐标 new_ticks = np.linspace(-1, 3, 5) print(new_ticks) plt.xticks(new_ticks) # 设置横坐标为-1到3分为5个标记 plt.yticks([-2, 1, 4, 6, 8], [r'$really\ bad$', r'$bad\ \alpha$', r'$common$', r'$good$', r'$very\ good$']) # 将纵坐标分成5种图标 # gca = 'get current axis' ax = plt.gca() # 取出画好的图给ax ax.spines['right'].set_color('none') # 将右边框去掉 ax.spines['top'].set_color('none') # 将左边框去掉 ax.xaxis.set_ticks_position('bottom') # 设置底部边框为x轴,默认也是底部边框为x轴 ax.yaxis.set_ticks_position('left') # 设置左边边框为y轴,默认也是左边边框为y轴 ax.spines['bottom'].set_position(('data', 0)) # 将x轴经过y轴的0 ax.spines['left'].set_position(('data', 0)) # 将y轴经过x轴的0 plt.show() # 将画的图显示出来,必不可少
这段代码是设置文本。 import matplotlib.pyplot as plt # 导入matplotlib库画图 import numpy as np # 导入numpy库产生数据 x = np.linspace(-3, 3, 50) # 生成-1到1的50等分数据为横坐标 y = 2 * x + 1 # 写出y的函数 plt.figure(num=1, figsize=(8, 5)) plt.plot(x, y) ax = plt.gca() ax.spines['right'].set_color('none') # 将右边框去掉 ax.spines['top'].set_color('none') # 将左边框去掉 ax.xaxis.set_ticks_position('bottom') # 设置底部边框为x轴,默认也是底部边框为x轴 ax.yaxis.set_ticks_position('left') # 设置左边边框为y轴,默认也是左边边框为y轴 ax.spines['bottom'].set_position(('data', 0)) # 将x轴经过y轴的0 ax.spines['left'].set_position(('data', 0)) # 将y轴经过x轴的0 plt.text(-3.7, 3, r'$This\ is\ the\ some\ text. \mu\ \sigma_i\ \alpha_t$', fontdict={'size': 16, 'color': 'r'}) # 设置文本的位置和内容,大小和颜色 plt.show()
|
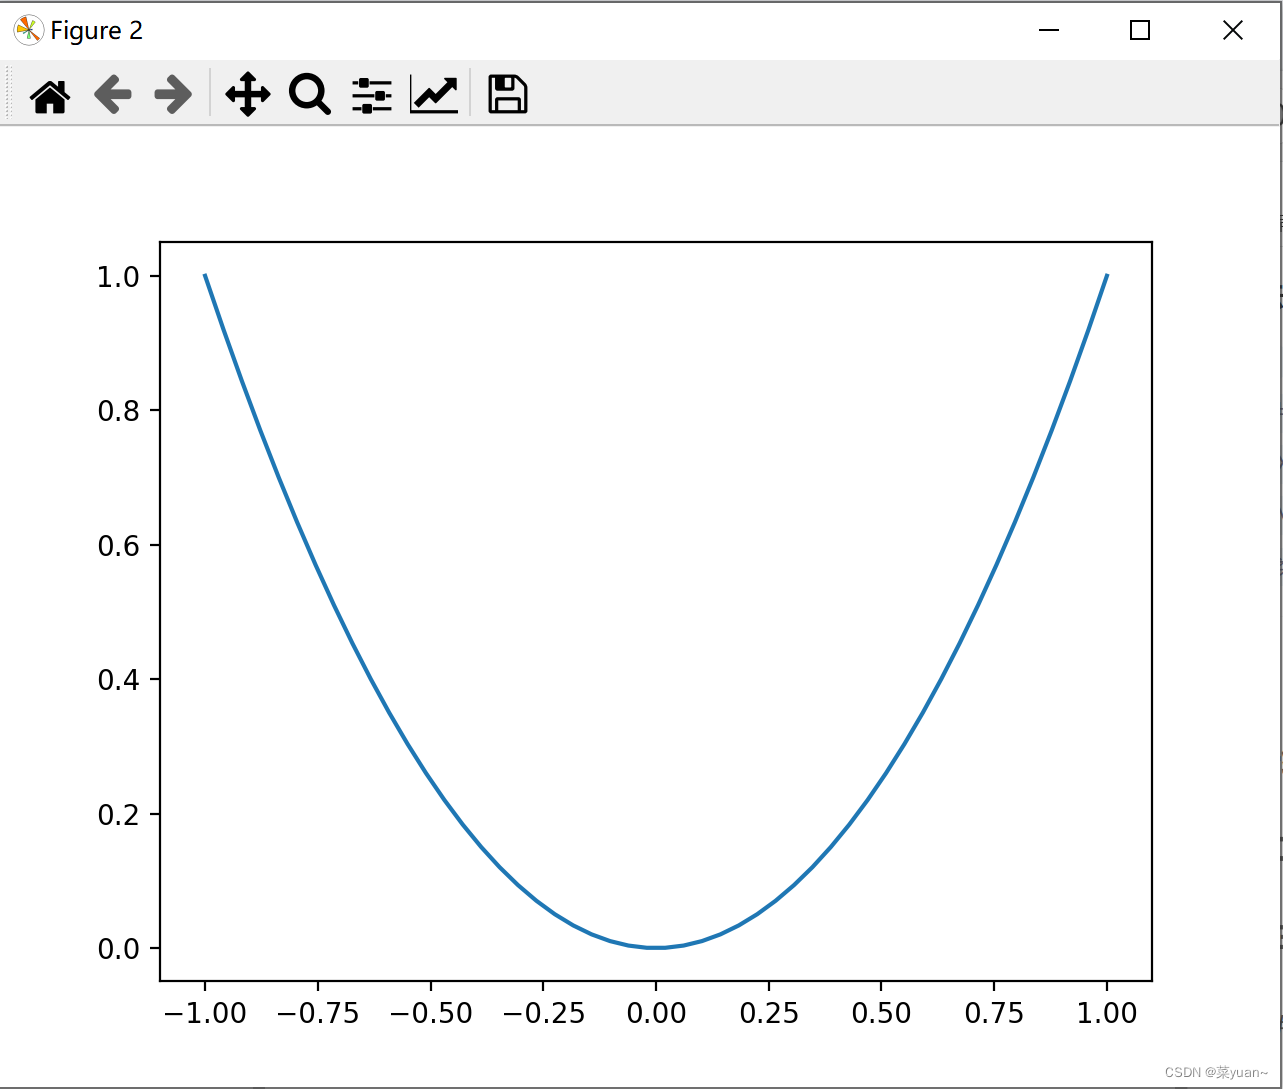
 当然,绘制两幅图也可以。
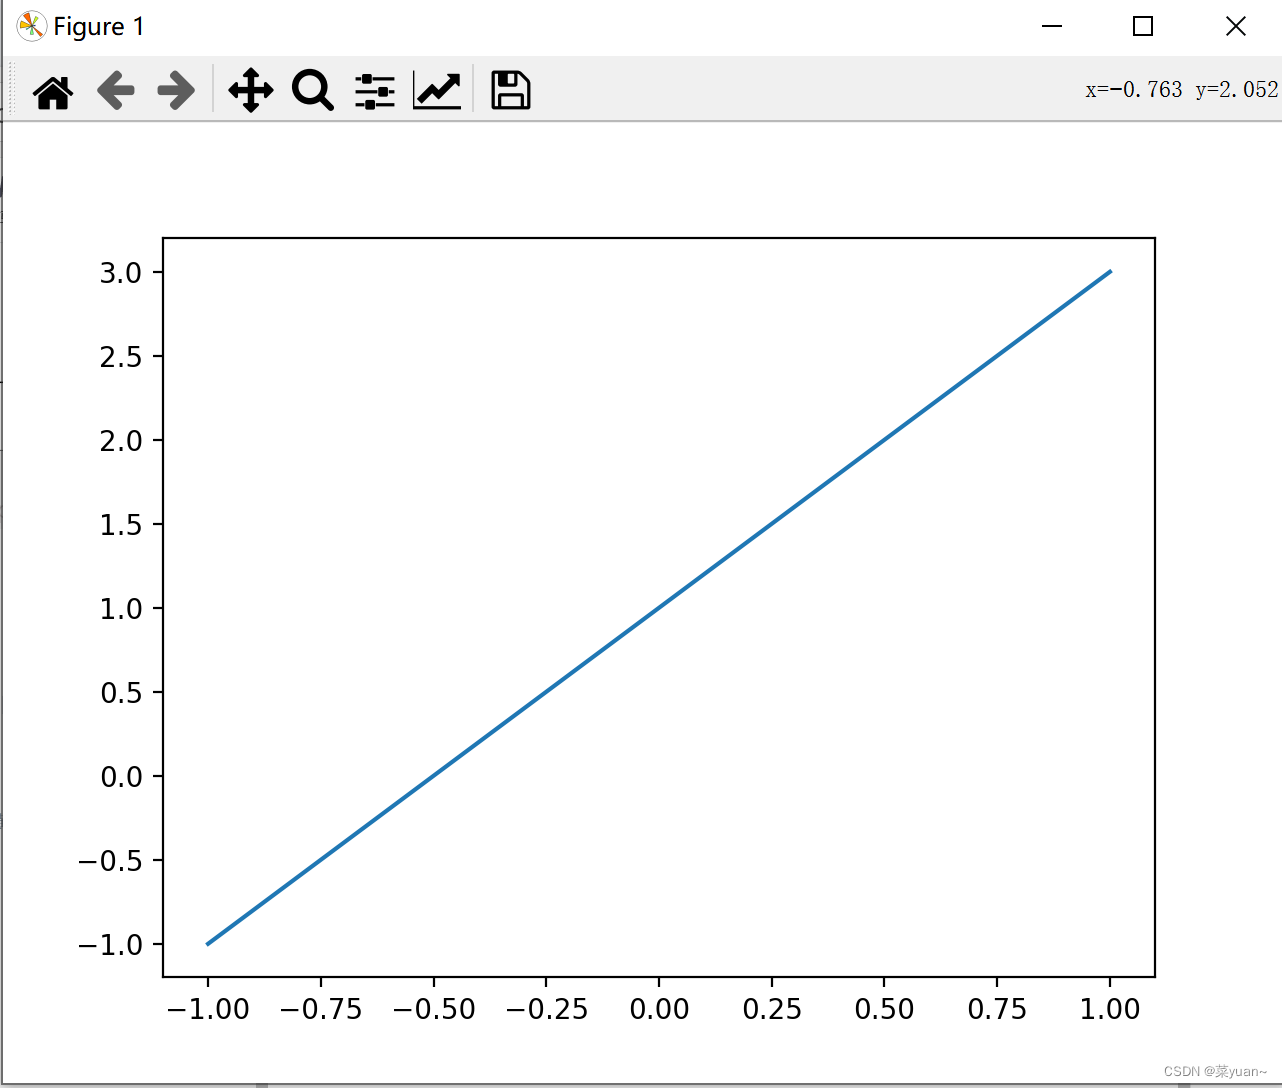

【本文地址】
今日新闻 |
推荐新闻 |