|
PHPEMS在线模拟考试系统阿里云服务器部署
相信好多人都在找这个源码哈,小编也是一样,也有一个很大的梦想,就是能把我们这些英雄豪杰集中在一起,比如说这个在线考试系统就可以实现,可以在上面把所有的运维面试题全部署上去,让大家练习,小编还有个想法就是,要把每道面试题都以录播的形式为大家进行讲解,于是小编有云服务器搭建部署一个,同时小编也会让这个平台运行一段时间,希望大家有空到平台上面做做题,留个言小编谢谢大家了
由于资费问题,目前平台已经关闭,大家可以按照下面的步骤自己部署一个玩一下
目前小编还没有在上面布置题库,大家可以现在上面注册个账号玩玩,等到小编有好的题库了,再将平台迁移到更加安全的环境上,这样大家就可以放心的玩耍了,关键是小编这周也很累,想休息一下,如果大家有什么好的题库,可以私信给小编,小编就省点力
本次阿里云服务器购买只是个人网站随意搭配,不适合大型企业精准化配置
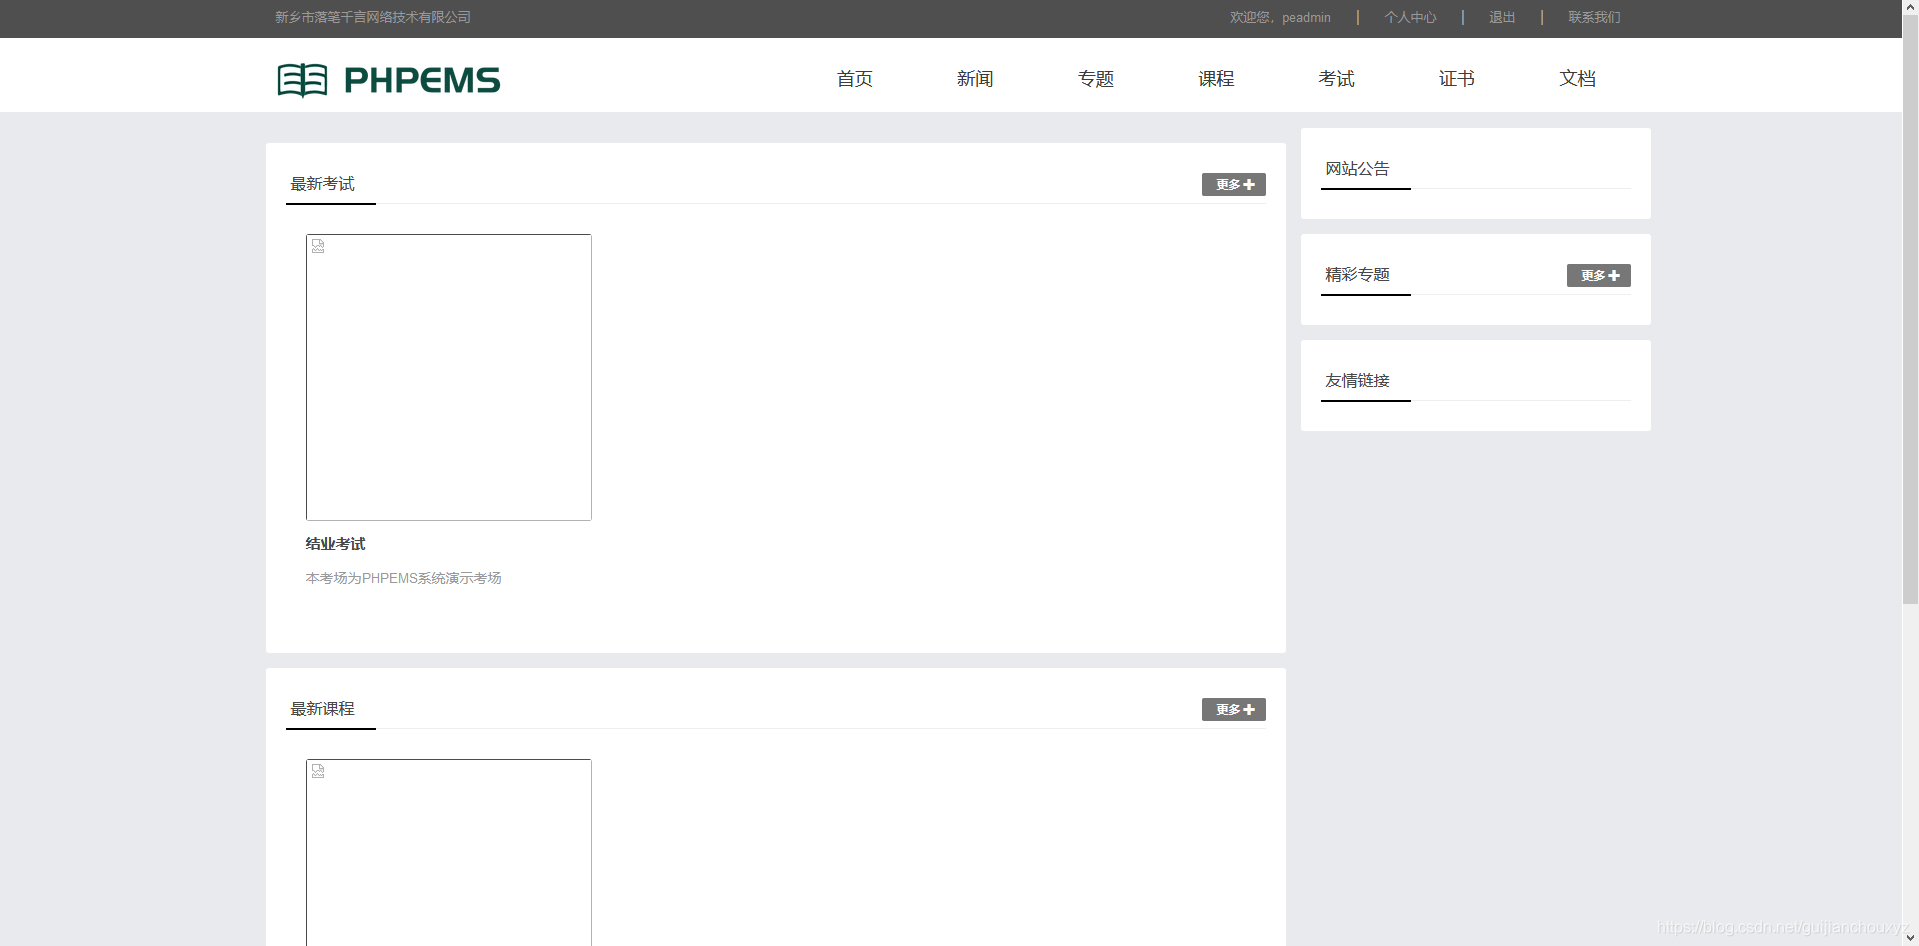
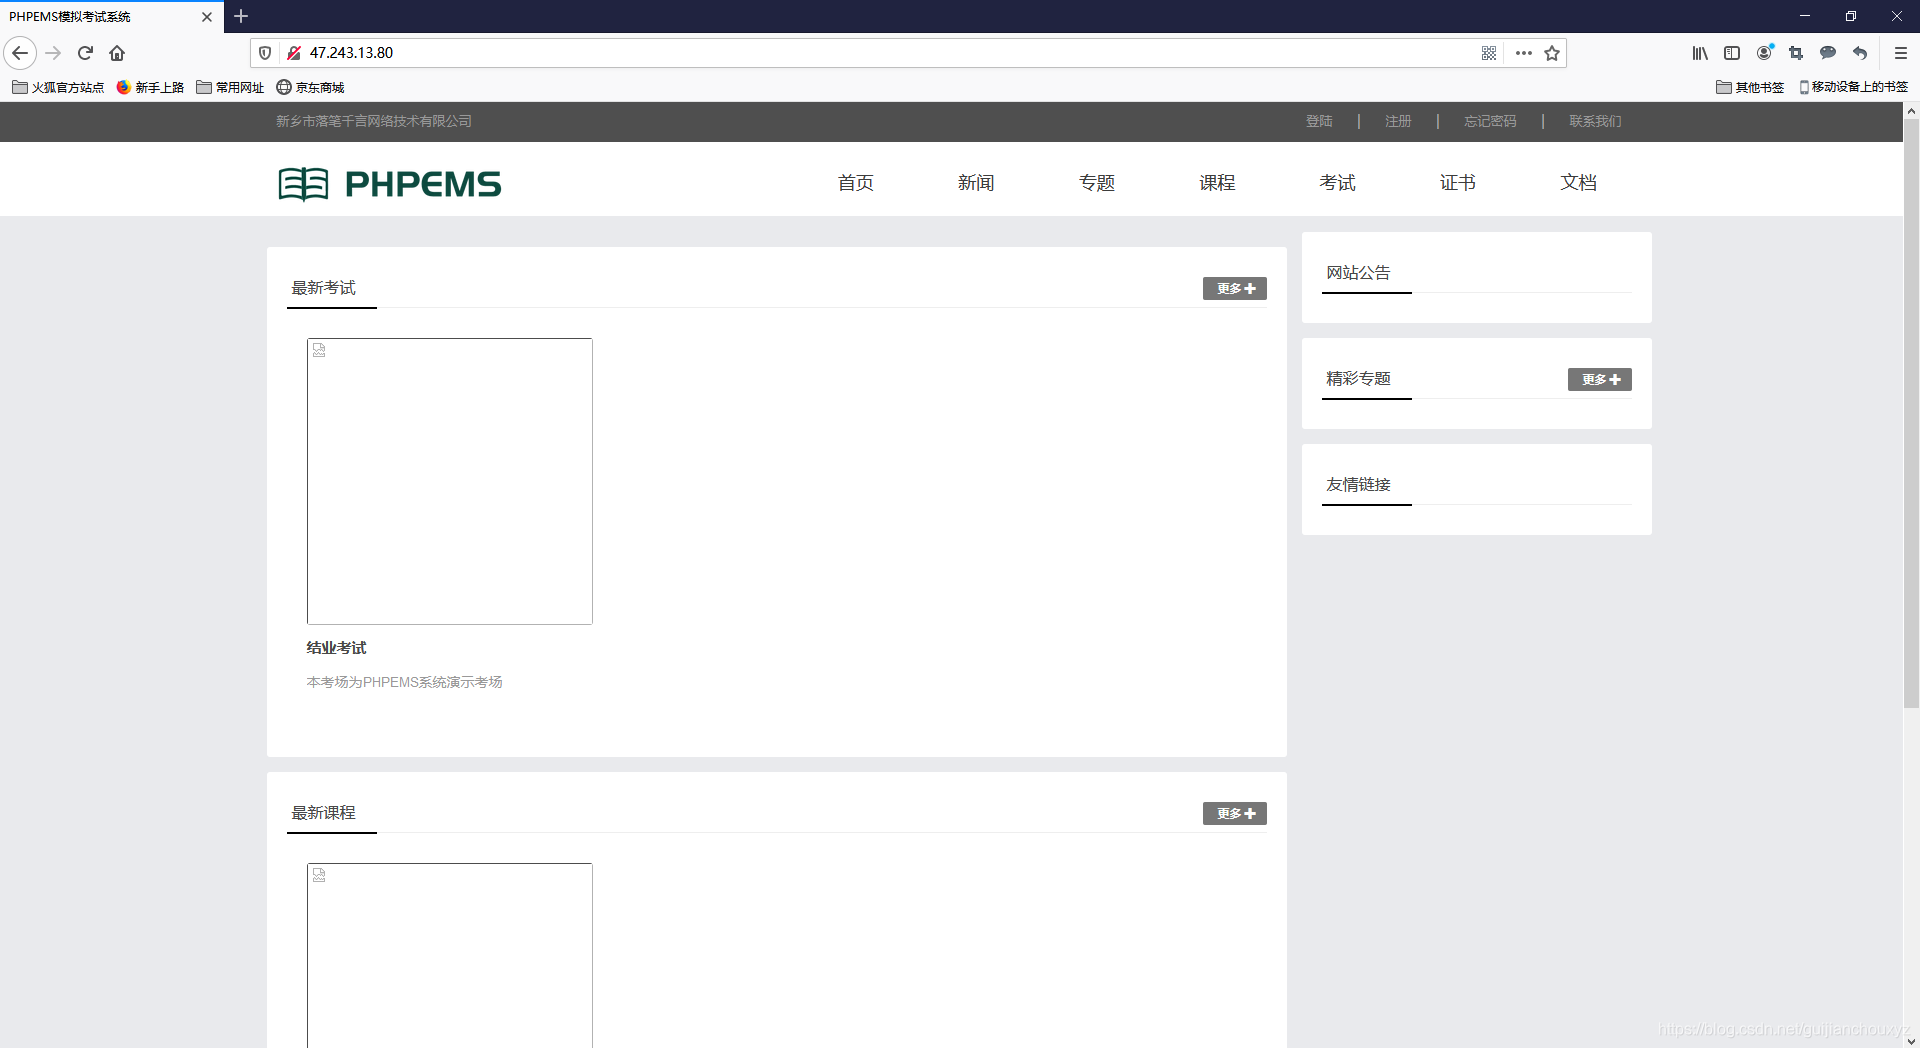
平台功能 在线考试 课程分享 新闻发布 证书获取等等
废话不多说,先看效果图
撸起袖子就是干,摇起来
在云服务器上面部署,可定的先有个云服务器哈,先买个云服务器去
系统环境
系统系统版本内存Linuxcentos7.5>2G
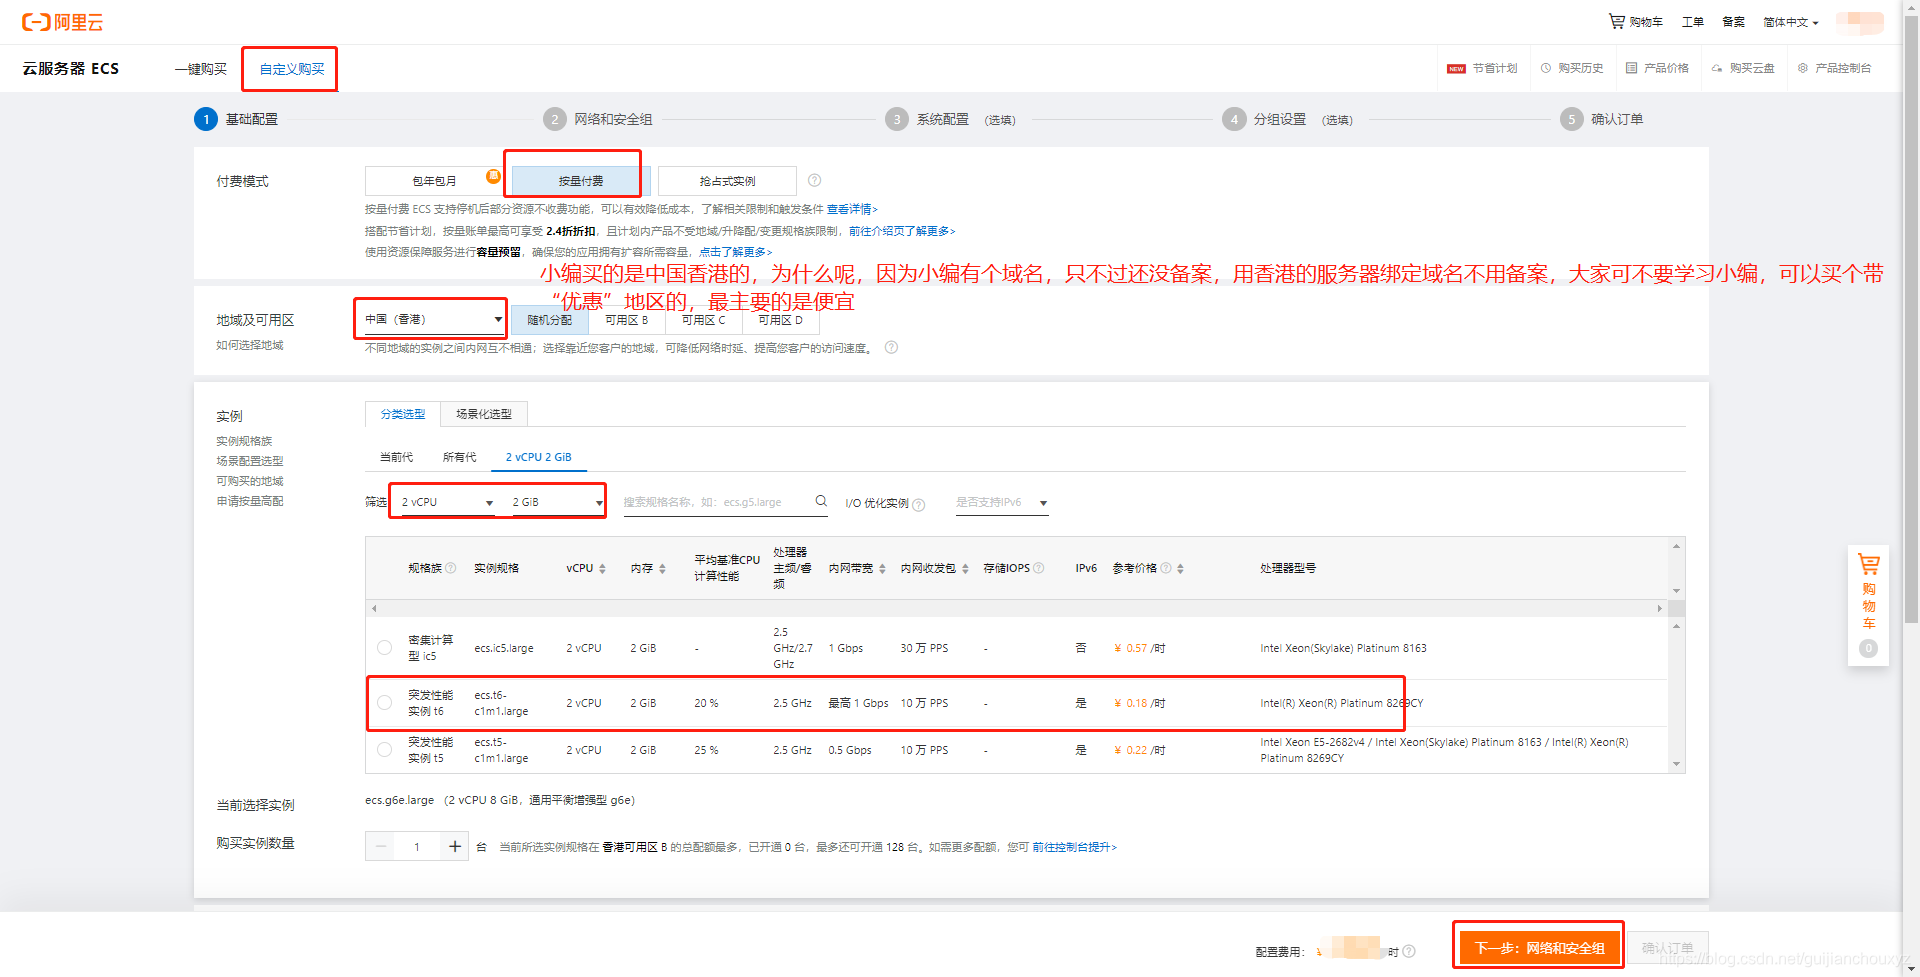
购买阿里云服务器ecs
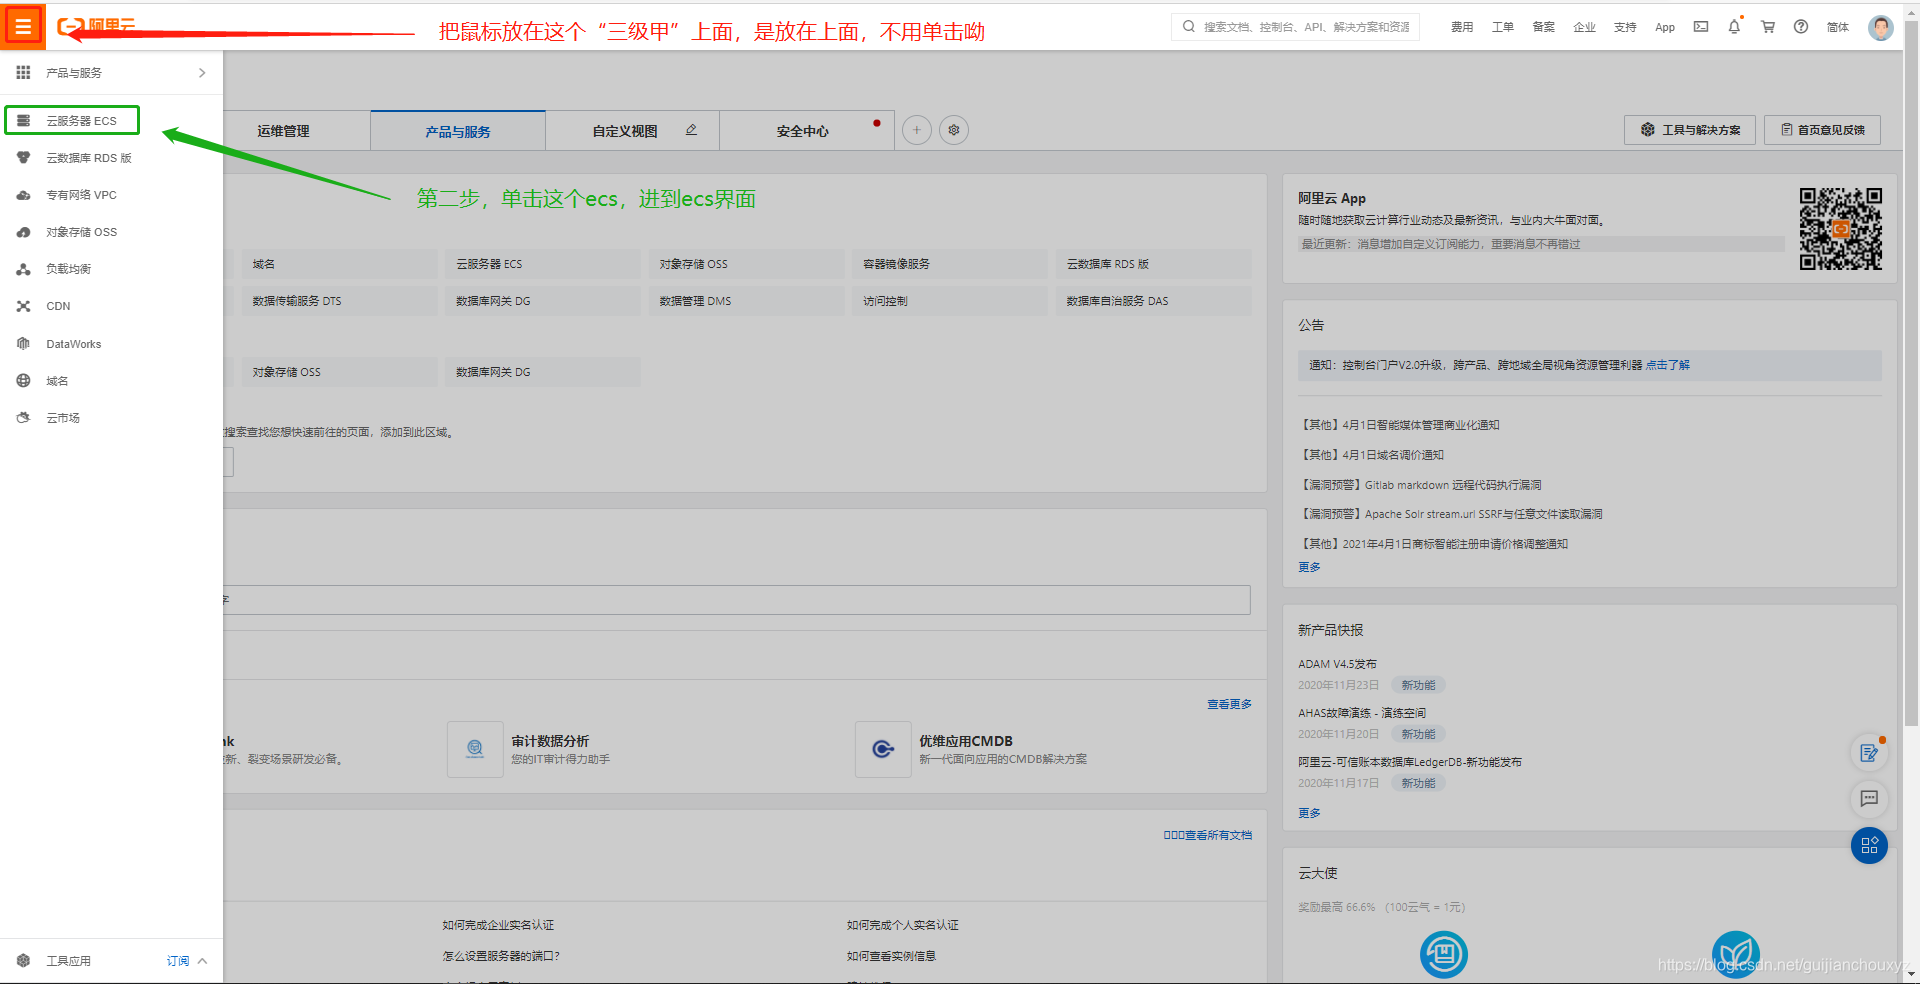
登录阿里云,并进入控制台
阿里云网址:https://www.aliyun.com/ 没有账号的可以自己注册一个,注册步骤也是比较简单的,按照提示一步一步向下面走就可以了 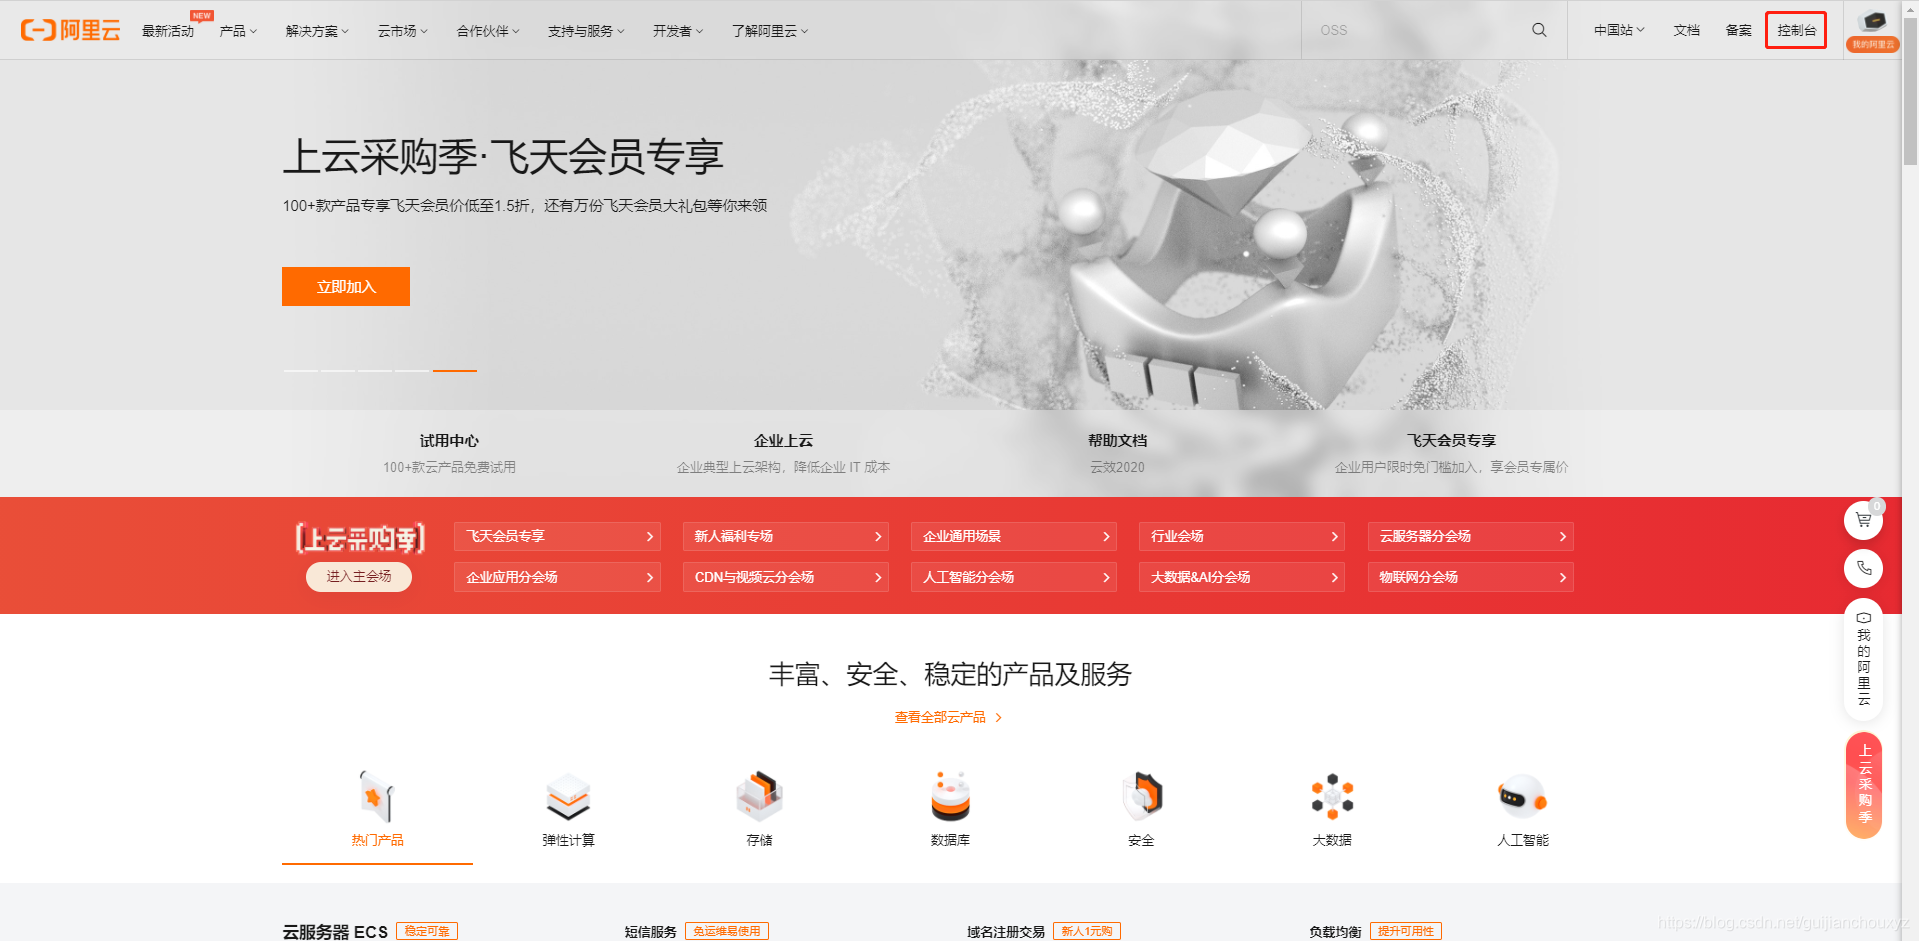
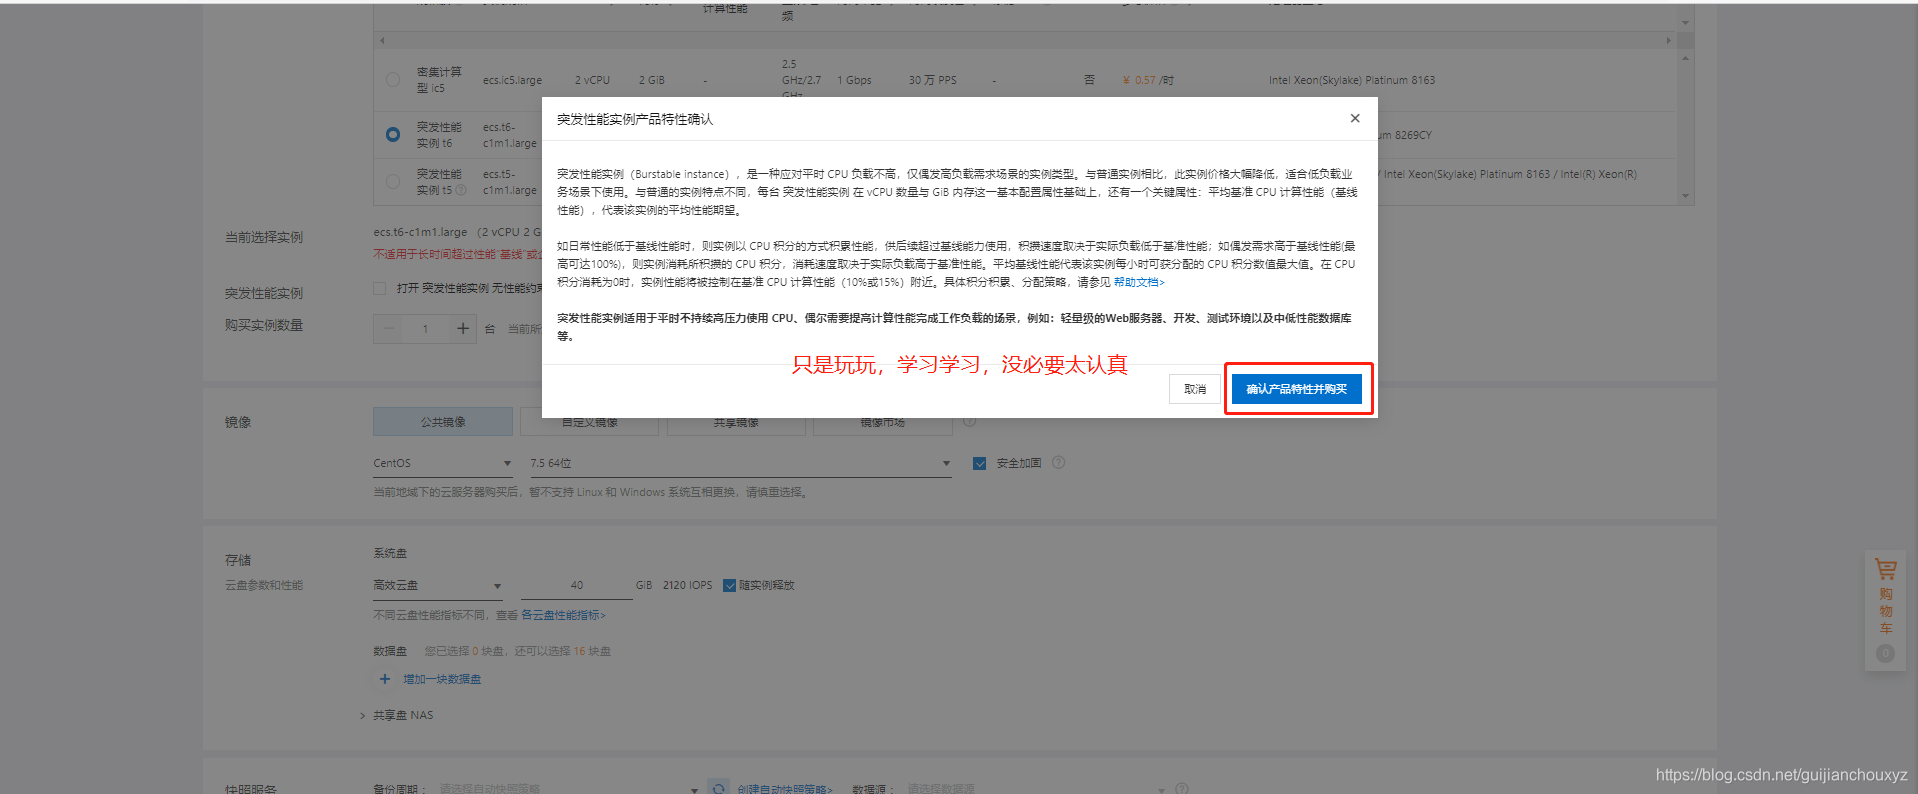
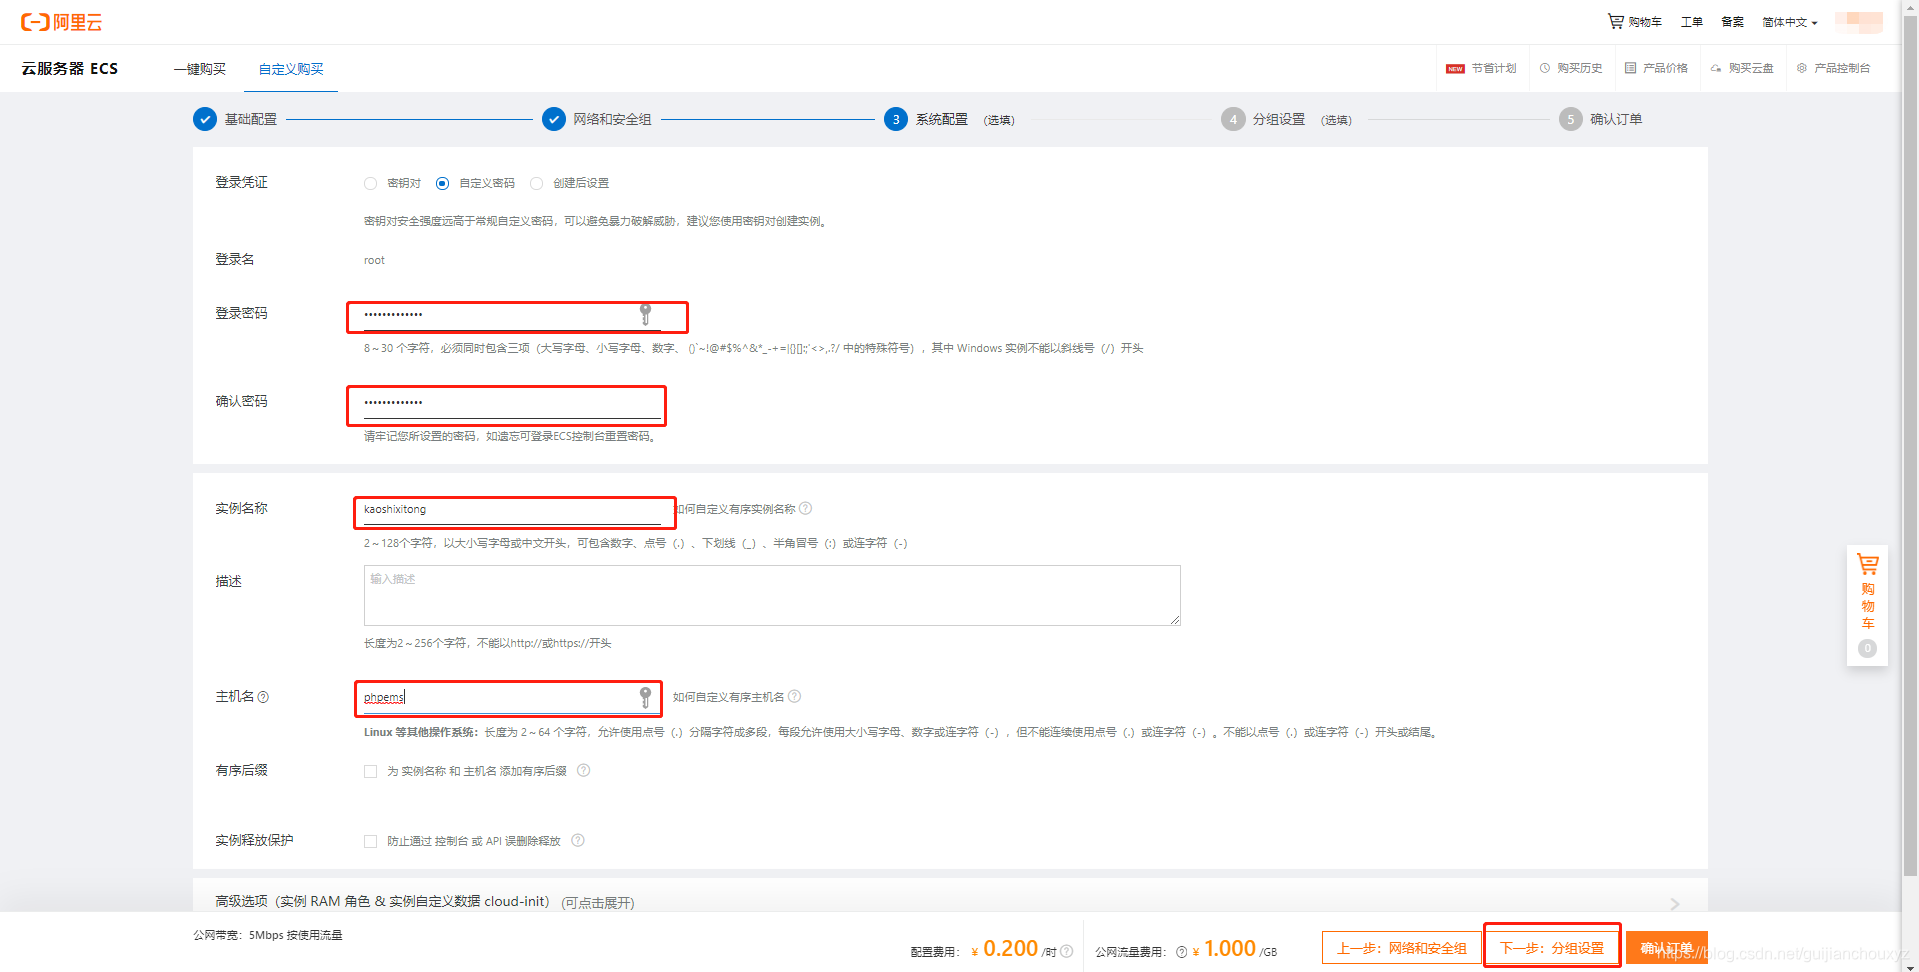
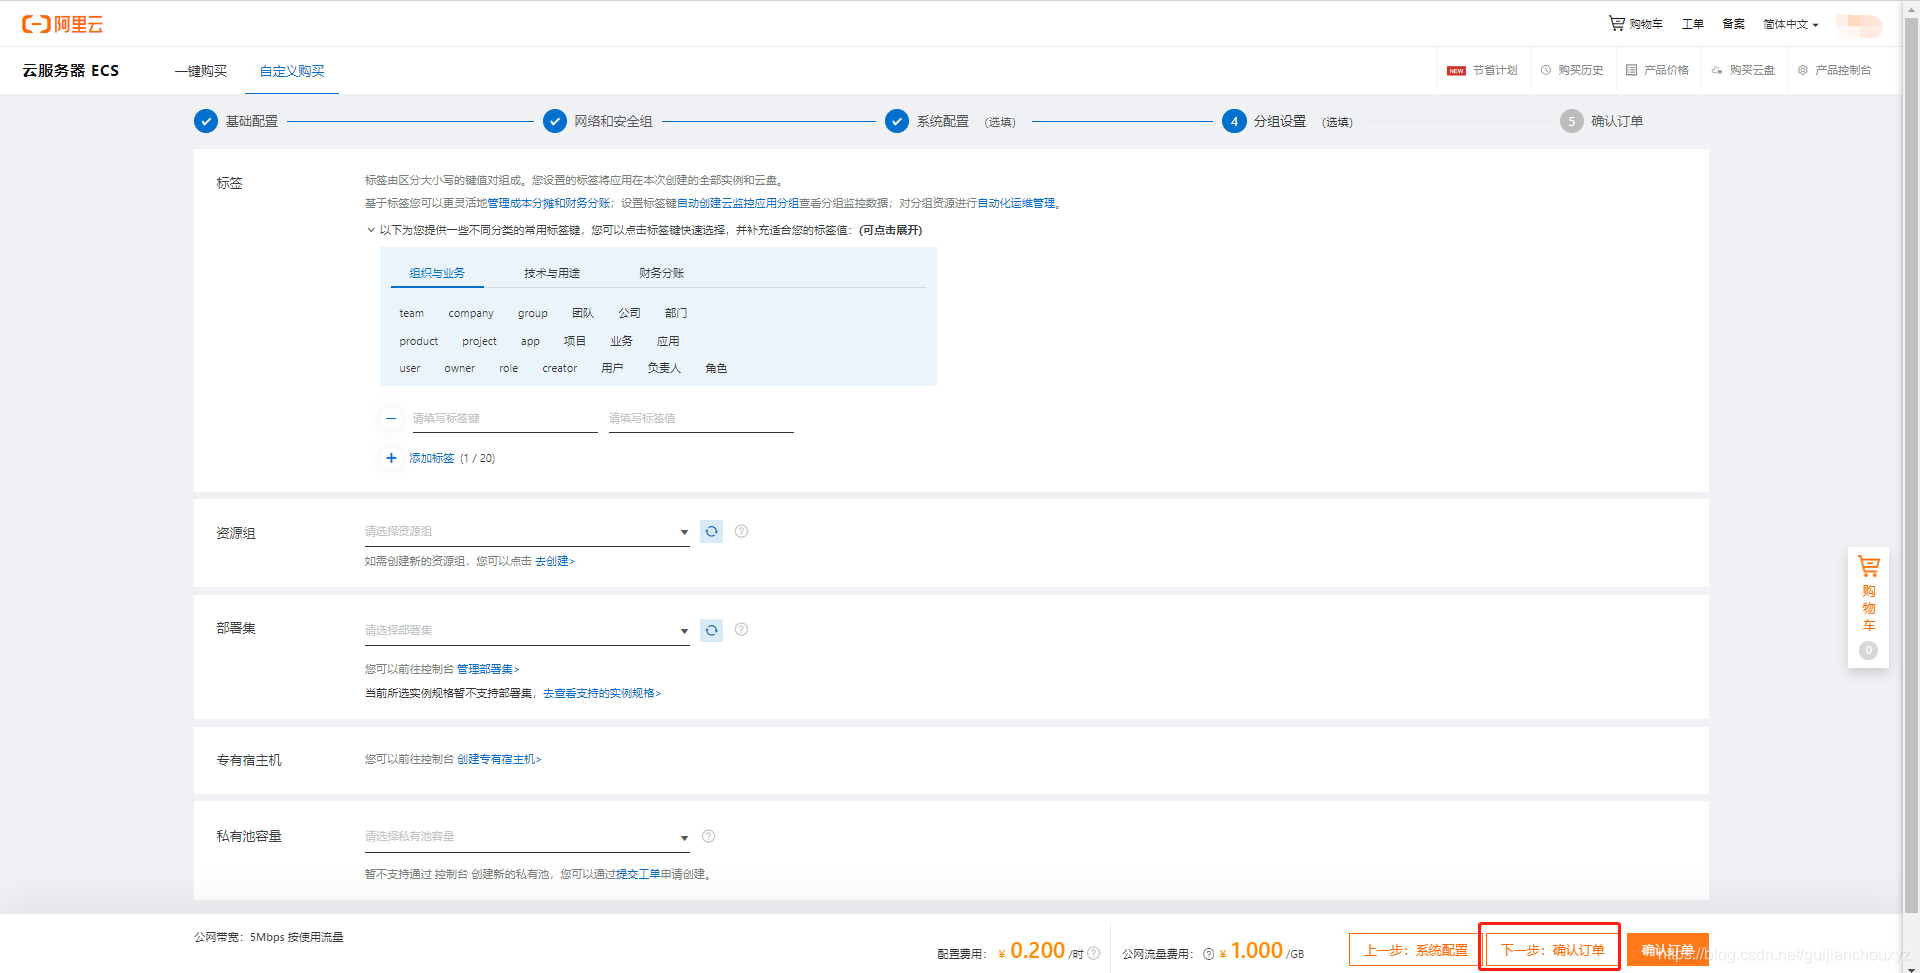
购买ecs服务器
 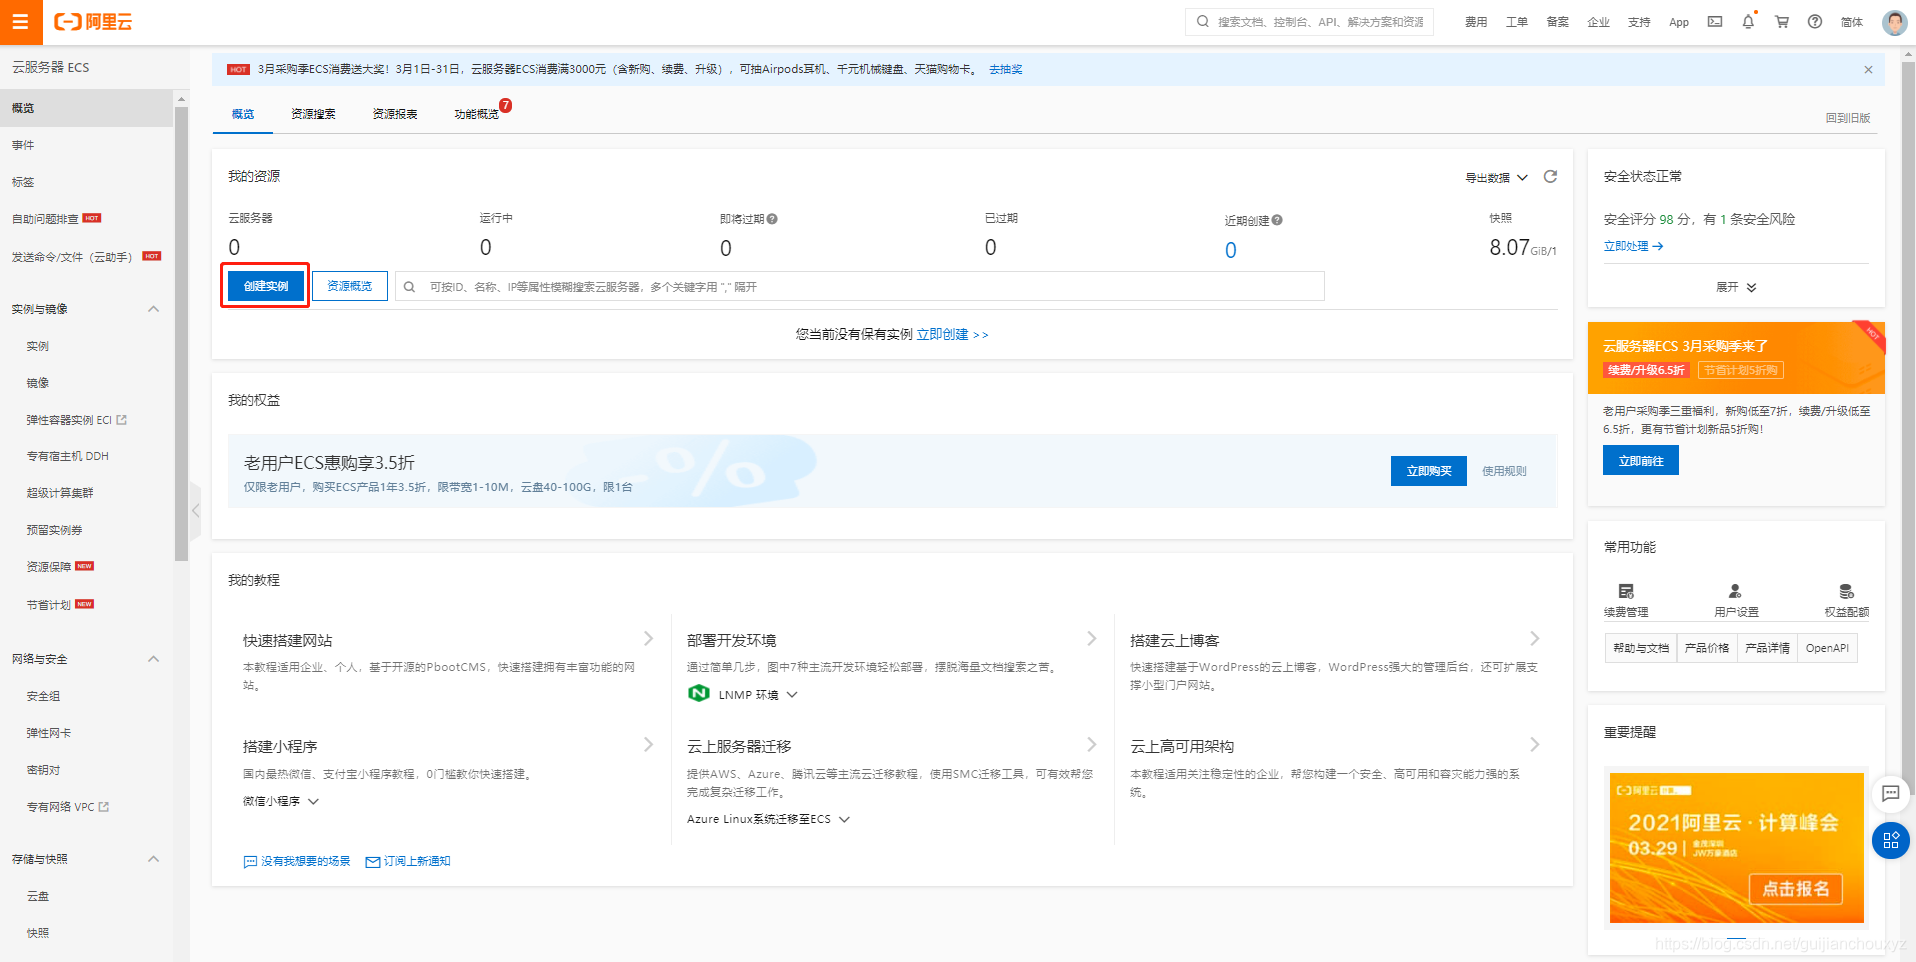    
 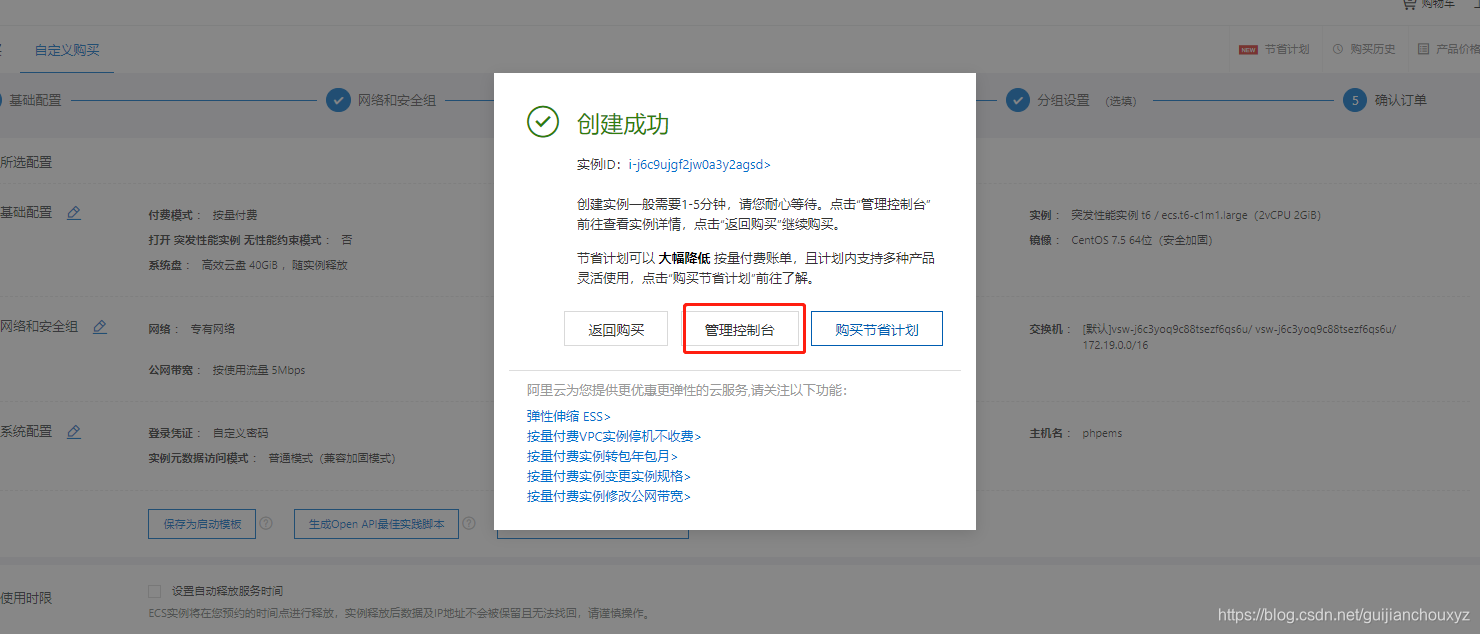 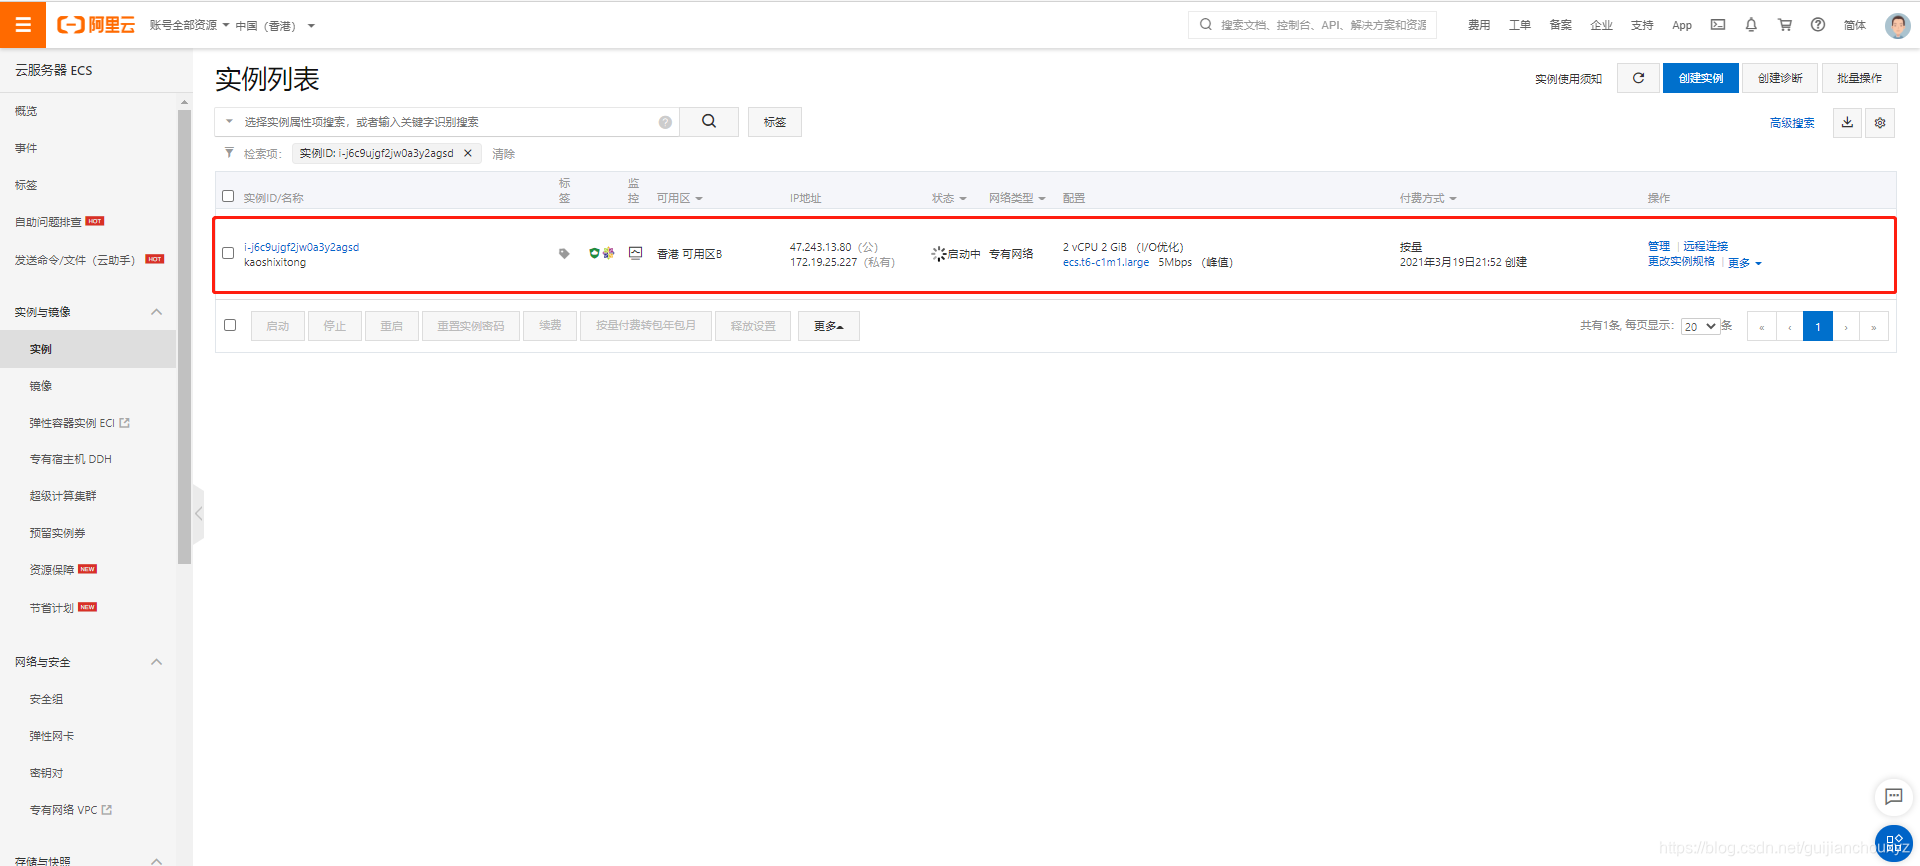 实例启动时间稍微的有点长,稍等几十秒就好了 实例启动时间稍微的有点长,稍等几十秒就好了 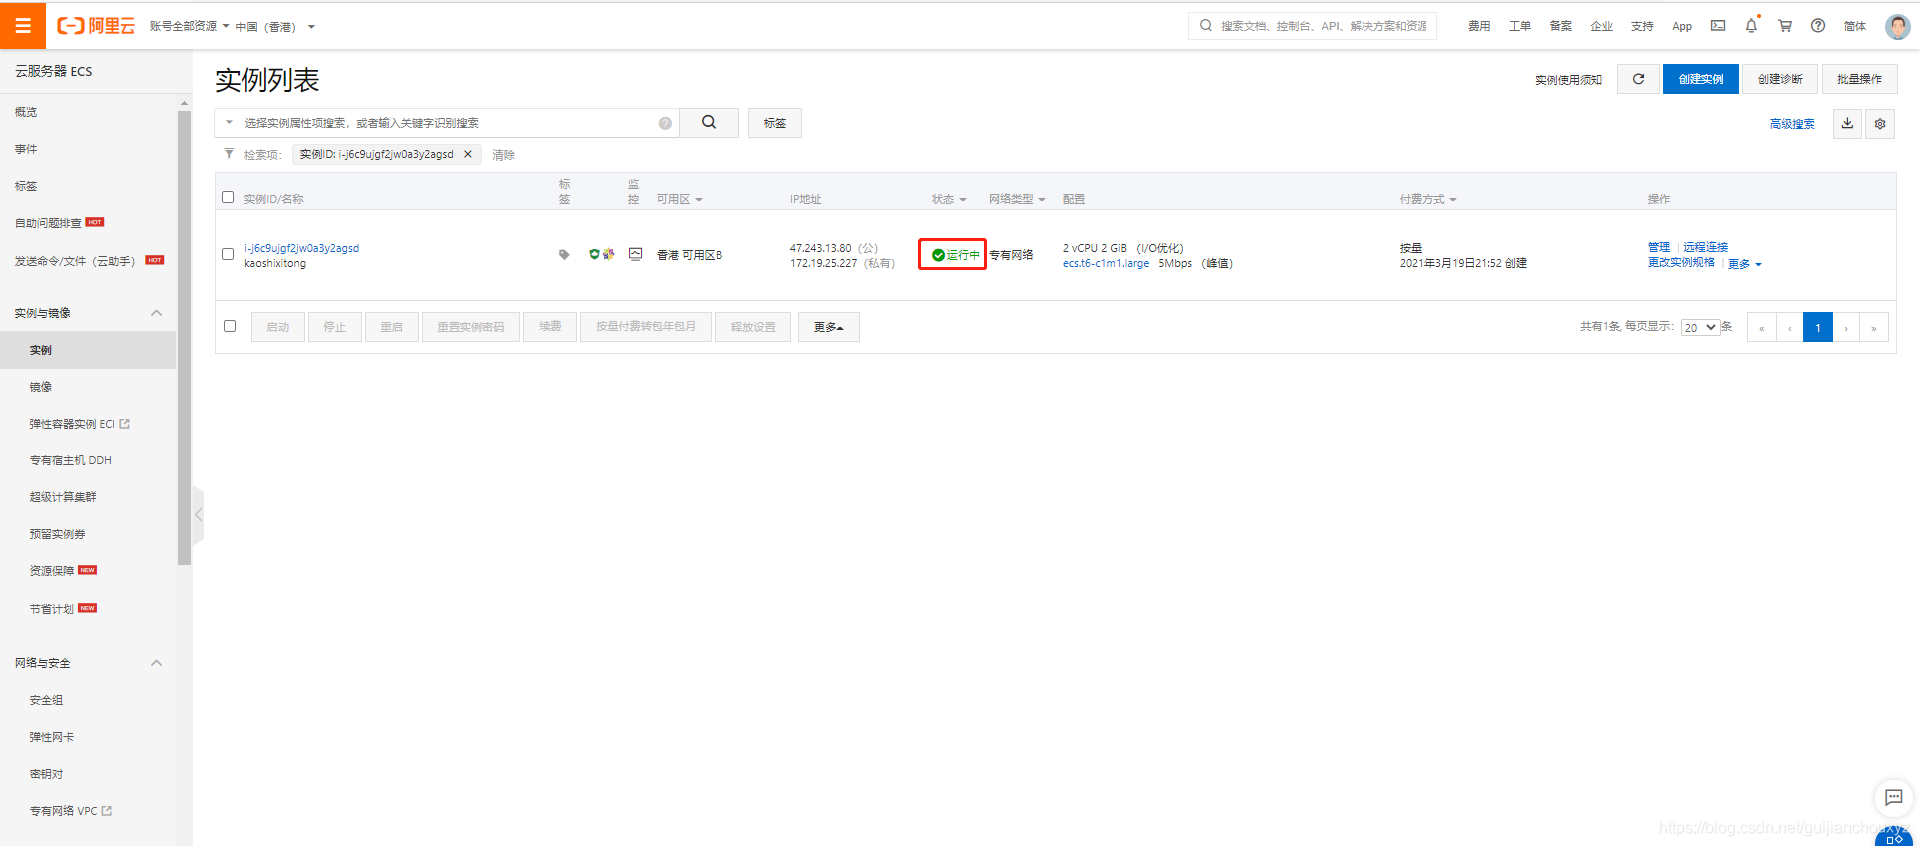
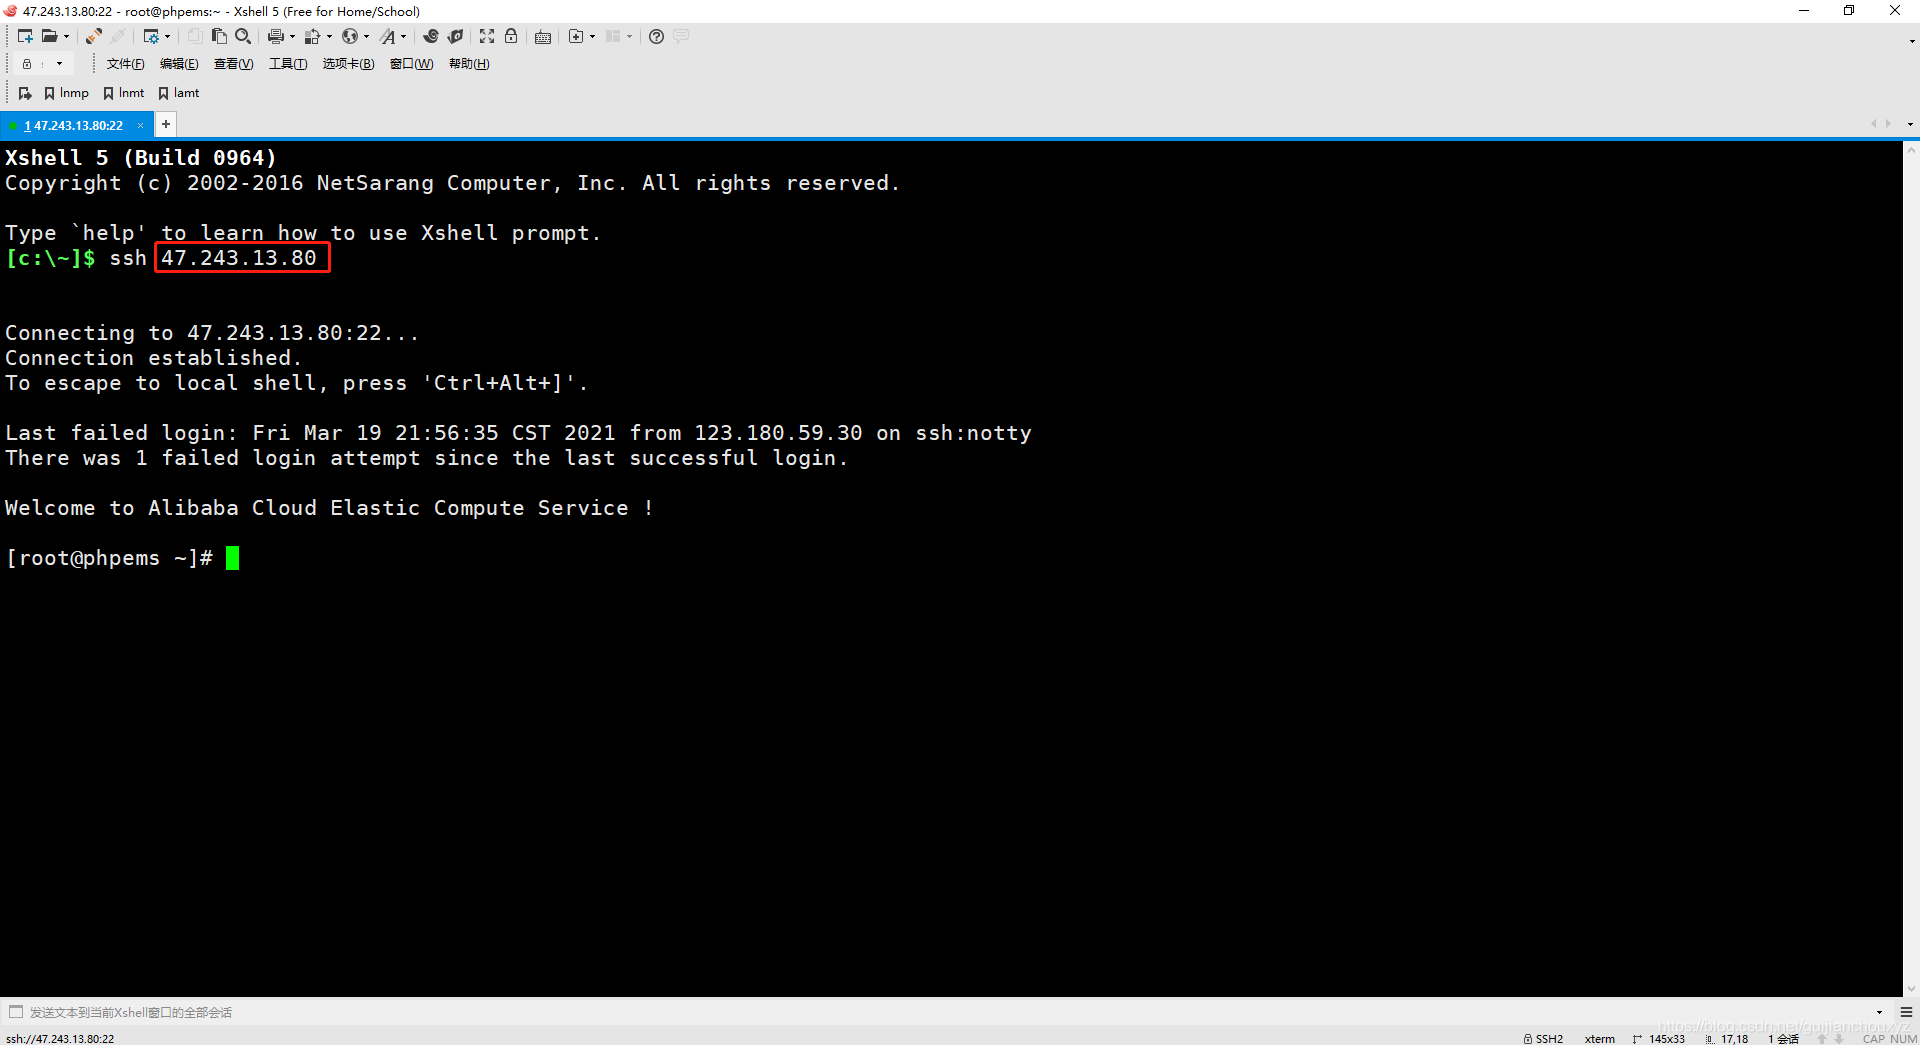
连接到云服务器上
连接到云服务上面的方式有好多,咱们还是用咱们最古老的方法用xshell连接
复制服务器的公网ip
部署lnmp环境
参照小编的另一个文章 lnmp架构搭建-基于linux系统centos7.5
部署pdo_mysql扩展
##首先确保nginx,php,mysql服务全部开启
[root@phpems ~]# ss -antup | grep 80
tcp LISTEN 0 80 *:3306 *:* users:(("mysqld",pid=1801,fd=10))
tcp LISTEN 0 128 *:80 *:* users:(("nginx",pid=1489,fd=6),("nginx",pid=1488,fd=6))
[root@phpems ~]# ss -antup | grep 9000
tcp LISTEN 0 128 127.0.0.1:9000 *:* users:(("php-fpm",pid=1493,fd=0),("php-fpm",pid=1492,fd=0),("php-fpm",pid=1491,fd=7))
[root@phpems ~]# ss -antup | grep 3306
tcp LISTEN 0 80 *:3306 *:* users:(("mysqld",pid=1801,fd=10))
[root@phpems ~]# php -m #检查php编译部署时安装的扩展,发现没有pdo_mysql
[PHP Modules]
bcmath
Core
ctype
curl
date
dom
ereg
fileinfo
filter
gd
gettext
hash
iconv
json
libxml
mbstring
mcrypt
mhash
mysql
mysqli
mysqlnd
openssl
pcntl
pcre
PDO
pdo_sqlite
Phar
posix
Reflection
session
shmop
SimpleXML
soap
sockets
SPL
sqlite3
standard
sysvsem
tokenizer
xml
xmlreader
xmlrpc
xmlwriter
zip
zlib
###开始部署一下pdo_mysql扩展
[root@phpems ~]# cd /usr/src/php-5.6.40/ #到之前解压php压缩包的目录下面
[root@phpems php-5.6.40]# cd ext/ #到扩展目录里面
[root@phpems ext]# cd pdo_mysql/ #到pdo_mysql扩展目录里面,准备进行编译
[root@phpems pdo_mysql]# find / -type f -name "*phpize*" #查找phpize命令所在位置
/usr/local/php/lib/php/build/phpize.m4
/usr/local/php/bin/phpize #这个就是我们要找的phpize命令
/usr/local/php/php/man/man1/phpize.1
/usr/src/php-5.6.40/scripts/man1/phpize.1.in
/usr/src/php-5.6.40/scripts/man1/phpize.1
/usr/src/php-5.6.40/scripts/phpize.m4
/usr/src/php-5.6.40/scripts/phpize.in
/usr/src/php-5.6.40/scripts/phpize
/usr/src/php-5.6.40/win32/build/phpize.js.in
/usr/src/php-5.6.40/win32/build/Makefile.phpize
/usr/src/php-5.6.40/win32/build/config.w32.phpize.in
/usr/src/php-5.6.40/win32/build/phpize.bat
[root@phpems pdo_mysql]# /usr/local/php/bin/phpize #利用绝对路径执行命令
Configuring for:
PHP Api Version: 20131106
Zend Module Api No: 20131226
Zend Extension Api No: 220131226
Cannot find autoconf. Please check your autoconf installation and the ####发现报错,提示没有autoconf服务
$PHP_AUTOCONF environment variable. Then, rerun this script.
[root@phpems pdo_mysql]# yum -y install autoconf #安装autoconf服务
已加载插件:fastestmirror
Determining fastest mirrors
epel/x86_64/metalink | 5.4 kB 00:00:00
* base: mirrors.bfsu.edu.cn
* epel: mirrors.bfsu.edu.cn
* extras: mirrors.bfsu.edu.cn
* updates: mirrors.bfsu.edu.cn
******************************
省略
****************************
Running transaction
正在安装 : m4-1.4.16-10.el7.x86_64 1/2
正在安装 : autoconf-2.69-11.el7.noarch 2/2
验证中 : m4-1.4.16-10.el7.x86_64 1/2
验证中 : autoconf-2.69-11.el7.noarch 2/2
已安装:
autoconf.noarch 0:2.69-11.el7
作为依赖被安装:
m4.x86_64 0:1.4.16-10.el7
完毕!
[root@phpems pdo_mysql]# /usr/local/php/bin/phpize #再次执行命令
Configuring for:
PHP Api Version: 20131106
Zend Module Api No: 20131226
Zend Extension Api No: 220131226
[root@phpems pdo_mysql]# ./configure --with-php-config=/usr/local/php/bin/php-config --with-pdo-mysql=/usr/local/mysql/ #第一个路径是编译安装php的路径,第二个路径是编译安装的路径
*************8省略
creating libtool
appending configuration tag "CXX" to libtool
configure: creating ./config.status
config.status: creating config.h
[root@lnmp pdo_mysql]# make #make 一下
***********
省略
********
----------------------------------------------------------------------
Build complete.
Don't forget to run 'make test'.
[root@phpems pdo_mysql]# make install #make install 一下
Installing shared extensions: /usr/local/php/lib/php/extensions/no-debug-non-zts-20131226/ #这个路径要记录下来
[root@phpems pdo_mysql]# php --ini #查找php的配置文件位置
Configuration File (php.ini) Path: /usr/local/php/etc
Loaded Configuration File: /usr/local/php/etc/php.ini
Scan for additional .ini files in: (none)
Additional .ini files parsed: (none)
[root@phpems pdo_mysql]# echo "extension=/usr/local/php/lib/php/extensions/no-debug-non-zts-20131226/pdo_mysql.so" >> /usr/local/php/etc/php.ini #修改php的配置文件,里面的路径就是上面要记得路径后面加上pdo_mysql.so文件
[root@phpems pdo_mysql]# php -m | grep pdo
pdo_mysql #发现已经有了pdo_mysql扩展了,再这里先不忙着重启php,到最后统一重启
pdo_sqlite
将源码解压到网站目录下
如果你按照小编的部署的话,你的网站目录是/usr/local/nginx/html下面。解压工具可以通过yum -y install unzip命令来安装unzip解包工具,命令unzip +包名.zip,就可以解包到当前目录
[root@phpems ~]# ls /usr/local/nginx/html/
api app data files index.php lib pe6.sql phpems.zip tasks
源码获取地址
链接:https://pan.baidu.com/s/1FWo2T30YA4uS_xMSuTHB7A
提取码:vj0z
复制这段内容后打开百度网盘手机App,操作更方便哦
创建数据库连接账户,并导入平台所需表
mysql> show databases;
+--------------------+
| Database |
+--------------------+
| information_schema |
| mysql |
| performance_schema |
| test |
+--------------------+
4 rows in set (0.00 sec)
mysql> create database kaoshi;
Query OK, 1 row affected (0.00 sec)
mysql> show databases;
+--------------------+
| Database |
+--------------------+
| information_schema |
| kaoshi |
| mysql |
| performance_schema |
| test |
+--------------------+
5 rows in set (0.00 sec)
mysql>GRANT ALL PRIVILEGES ON kaoshi.* TO 'phpems'@'127.0.0.1' IDENTIFIED BY '这里用自己的密码';
Query OK, 0 rows affected (0.00 sec)
mysql> use kaoshi;
Database changed
mysql> source /usr/local/nginx/html/pe6.sql;
************
省略
*********
Query OK, 1 row affected (0.00 sec)
Query OK, 1 row affected (0.00 sec)
Query OK, 0 rows affected, 1 warning (0.00 sec)
Query OK, 0 rows affected (0.00 sec)
Query OK, 0 rows affected (0.00 sec)
mysql> exit
Bye
###测试下新创建的用户是否可以连接
[root@phpems ~]# mysql -uphpems -p密码 -h127.0.0.1
Warning: Using a password on the command line interface can be insecure.
Welcome to the MySQL monitor. Commands end with ; or \g.
Your MySQL connection id is 13
Server version: 5.6.39 Source distribution
Copyright (c) 2000, 2018, Oracle and/or its affiliates. All rights reserved.
Oracle is a registered trademark of Oracle Corporation and/or its
affiliates. Other names may be trademarks of their respective
owners.
Type 'help;' or '\h' for help. Type '\c' to clear the current input statement.
mysql> show databases;
+--------------------+
| Database |
+--------------------+
| information_schema |
| kaoshi |
| test |
+--------------------+
3 rows in set (0.00 sec)
修改数据库连接配置文件
[root@phpems ~]# vim /usr/local/nginx/html/lib/config.inc.php
******省略
/** 数据库设置 */
define('SQLDEBUG',1);
define('DB','kaoshi');//MYSQL数据库名
define('DH','127.0.0.1');//MYSQL主机名,不用改
define('DU','root');//MYSQL数据库用户名
define('DP','密码');//MYSQL数据库用户密码
define('DTH','x2_');//系统表前缀,不用改
*********省略
给相应目录增加权限
[root@phpems ~]# chmod 777 /usr/local/nginx/html/data/ /usr/local/nginx/html/files/attach/
更改云服务器的安全组,放行平台端口
[root@phpems ~]# ss -antup | grep nginx #可以看到我用的是80端口
tcp LISTEN 0 128 *:80 *:* users:(("nginx",pid=28709,fd=6),("nginx",pid=28708,fd=6))
这里需要注意的是,80端口默认是开启的,因为我们在前面创建ecs的时候没有更改安全组,大家可以在安全组里面看一下,如果没开的话,给开启一下哈 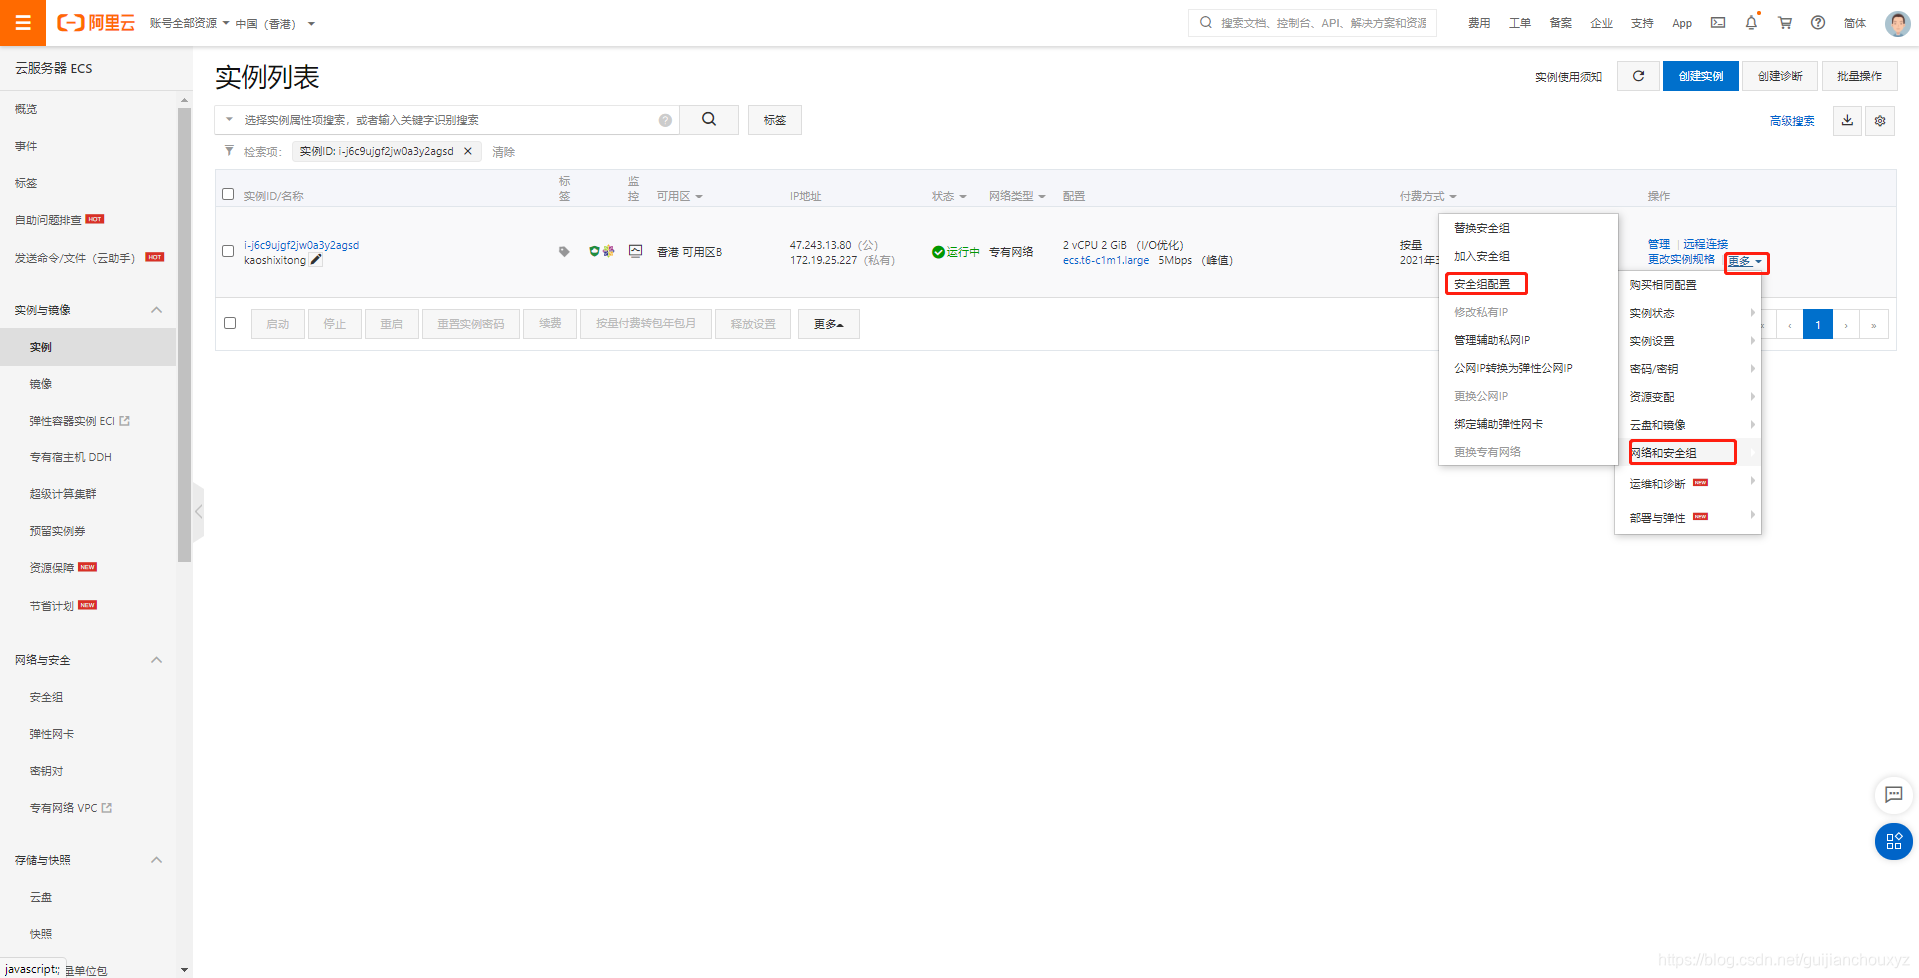 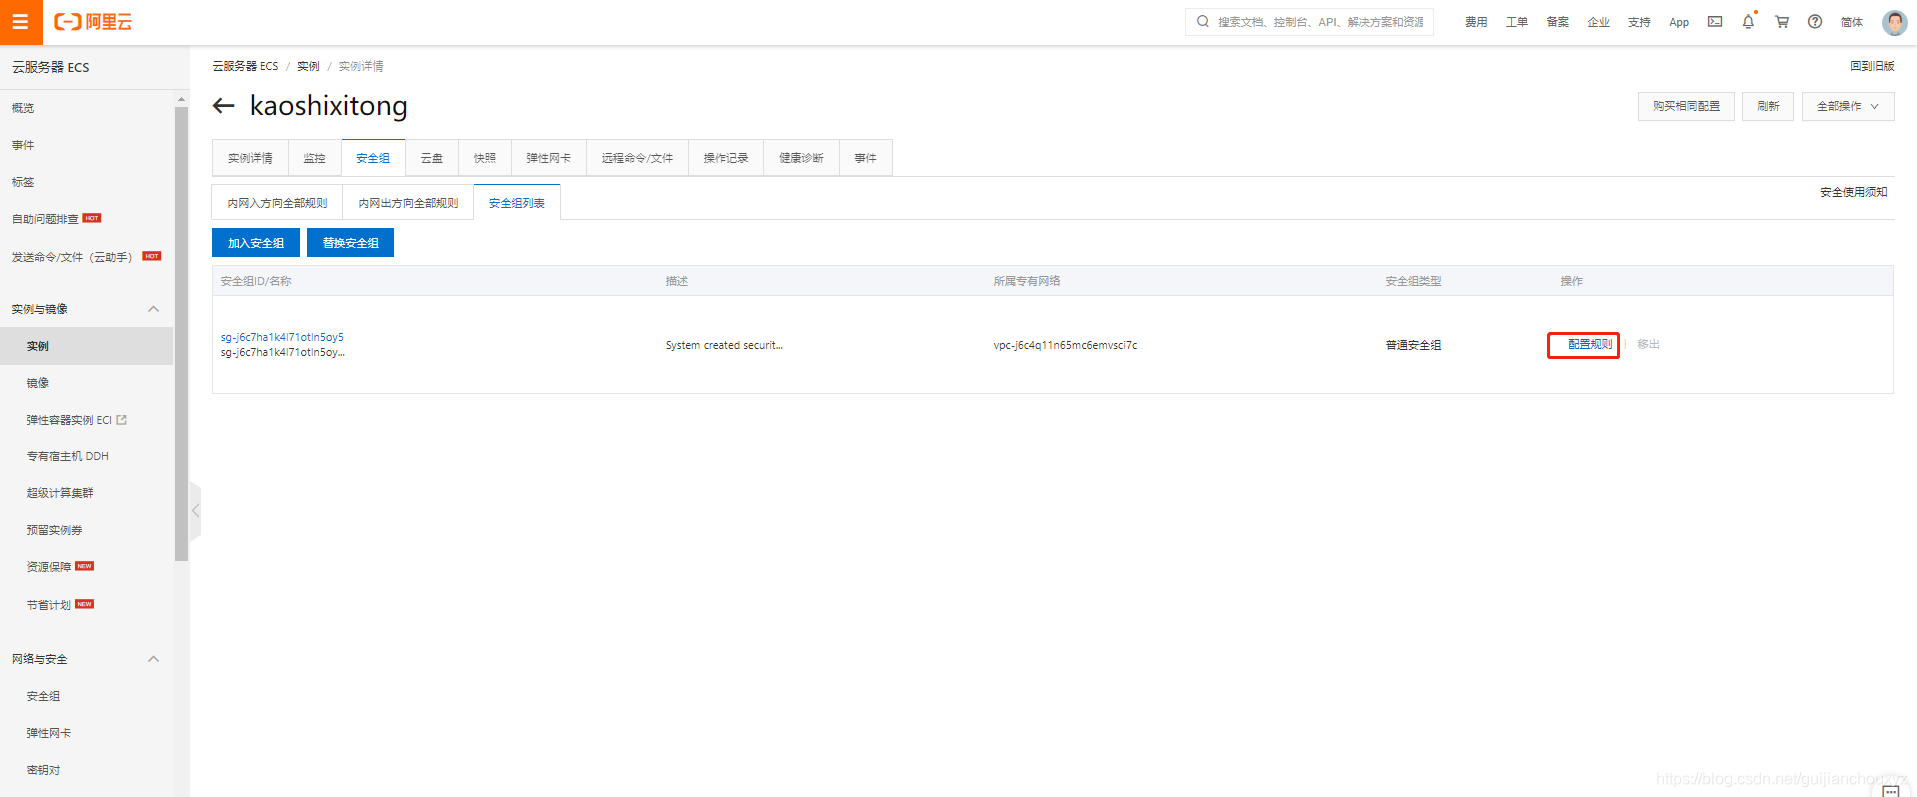
访问测试搭建的平台
默认管理员:
用户名:peadmin
密码:peadmin
结束语
小编还是会把这个超级管理员给更改了下,小编的这个平台大家就不要用管理员来登录了哈,由于时间太晚了,再加上小编这周好累,想好好休息下,现在云服务器,小编就为大家开着了,大家可以去里面注册一下账号玩玩,但是里面没有更新题库呦,希望大家支持一下小编的工作,可以私信小编给小编一下题库,让小编添加进去,方便你方便我,更方便大家
|