使用java从MySQL数据库中读取数据(一个简单的java web实现) |
您所在的位置:网站首页 › java查询mysql › 使用java从MySQL数据库中读取数据(一个简单的java web实现) |
使用java从MySQL数据库中读取数据(一个简单的java web实现)
|
目录
一、实验目的及要求二、实验环境三、实验内容下载tomcat下载mysql驱动配置IDEA开始实验
四、实验总结1. IDEA中没有Java Enterprise 选项不能创建java web项目。2. Tomcat乱码
一、实验目的及要求
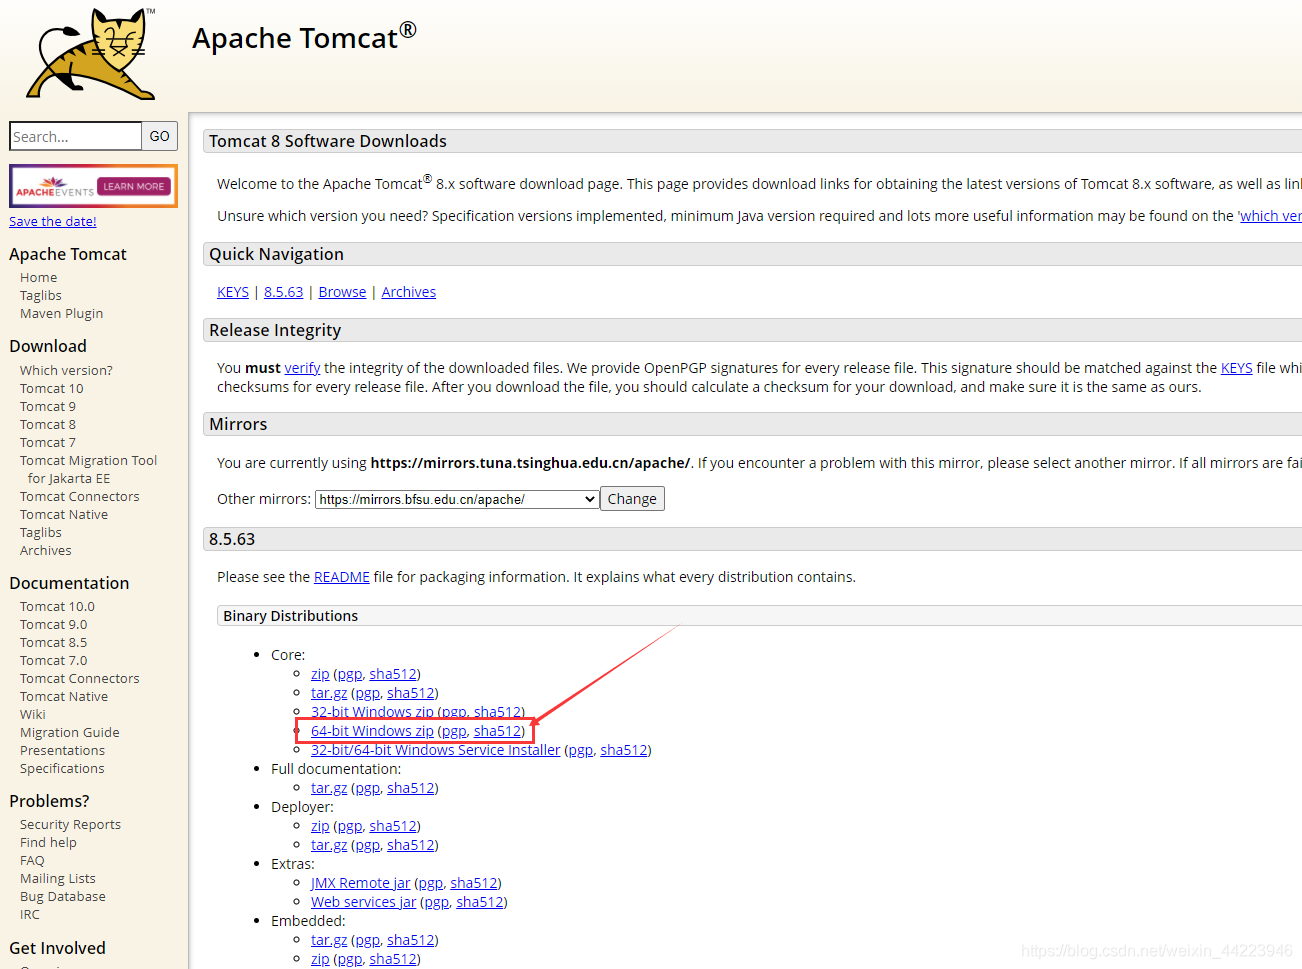
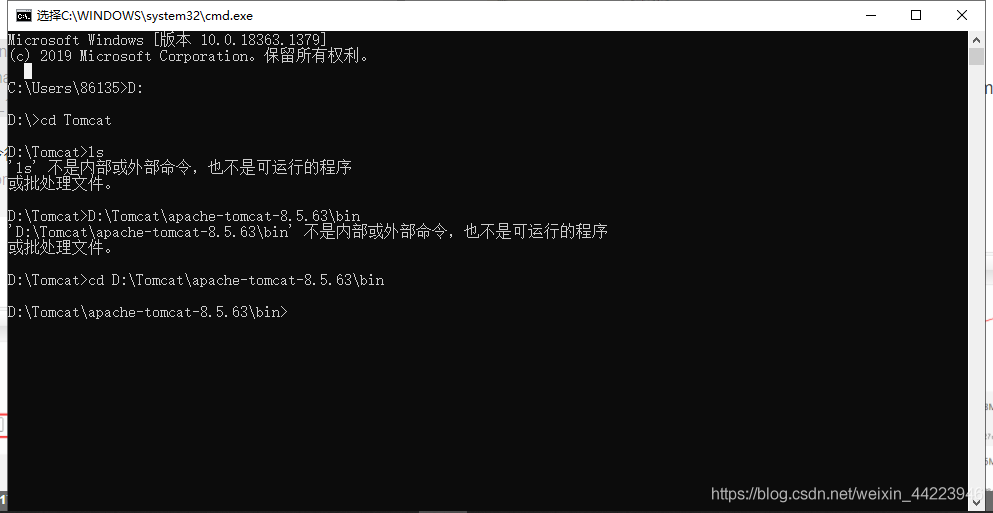
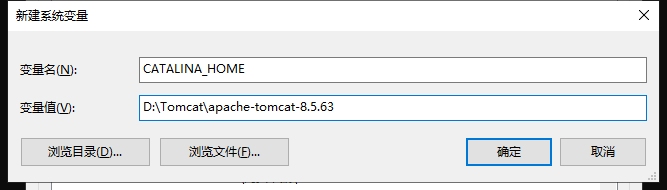
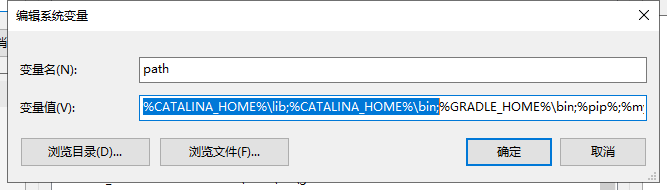
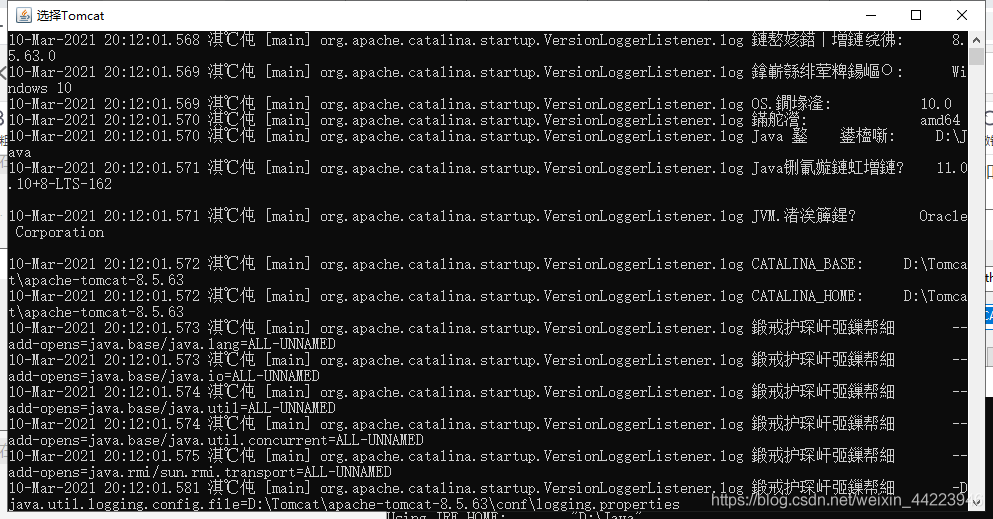
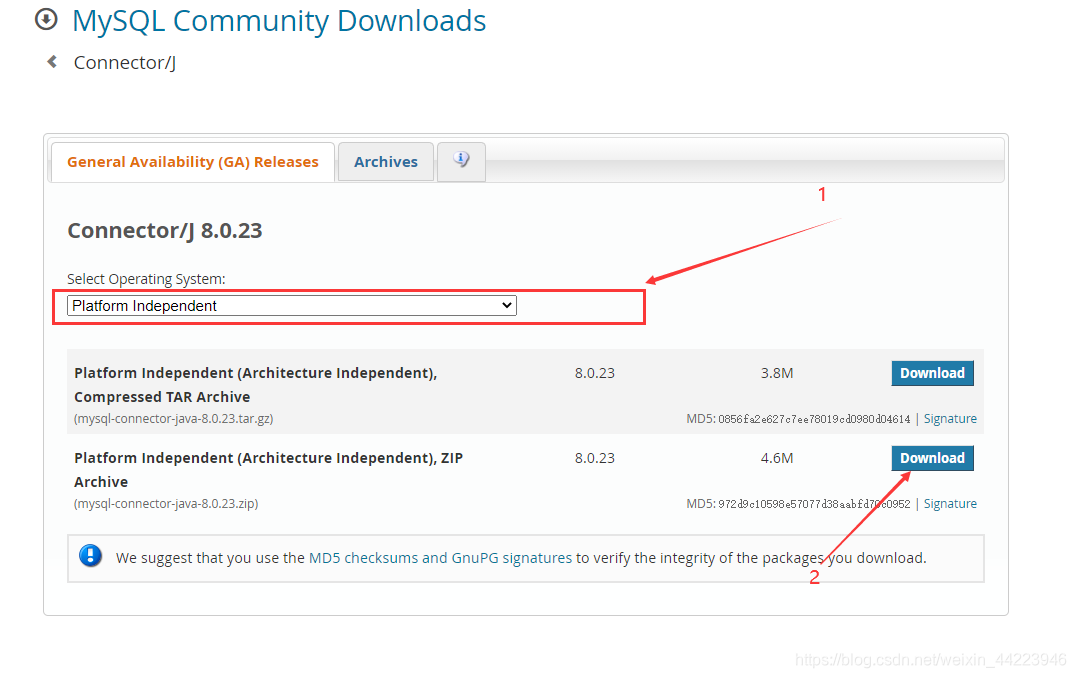
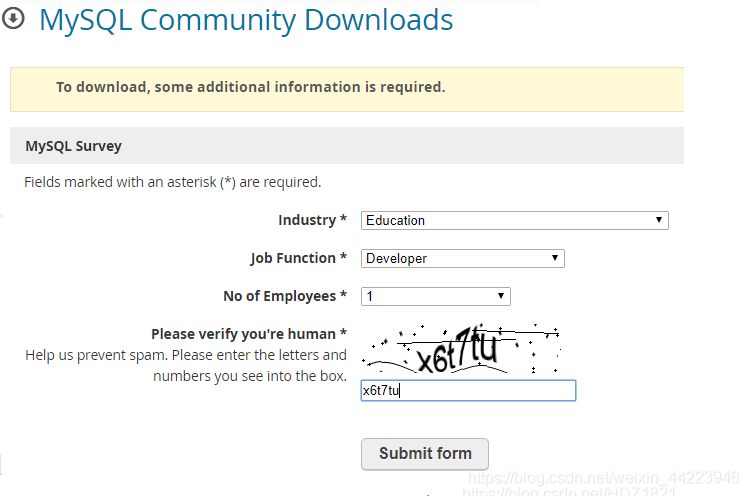
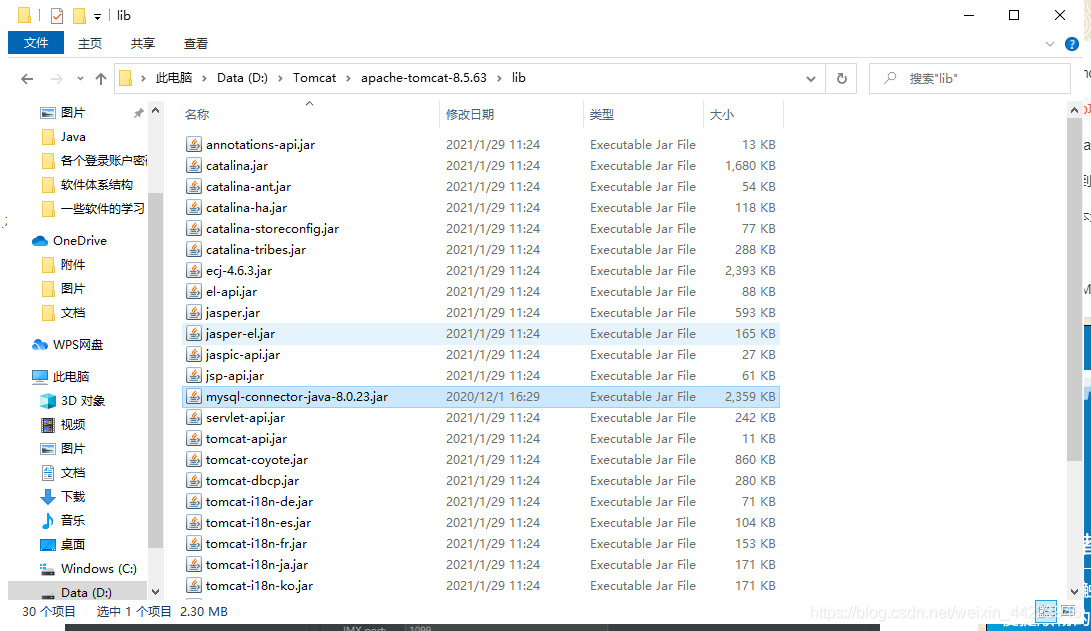
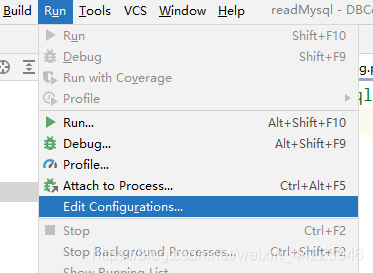
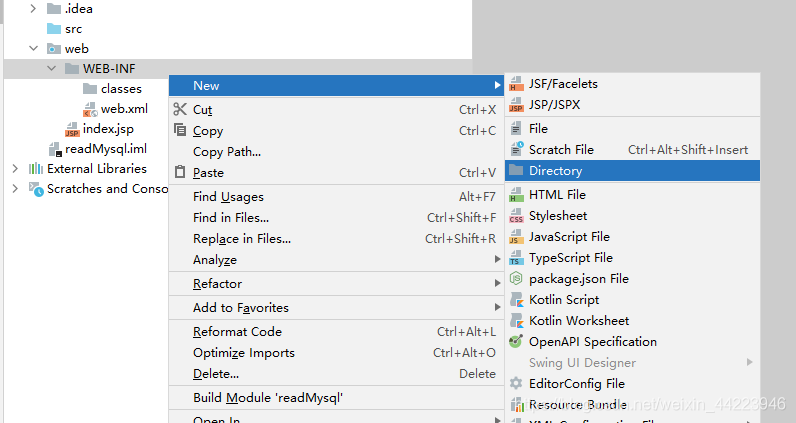
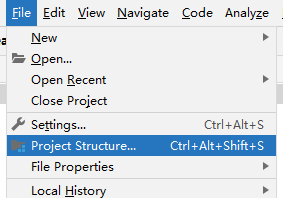
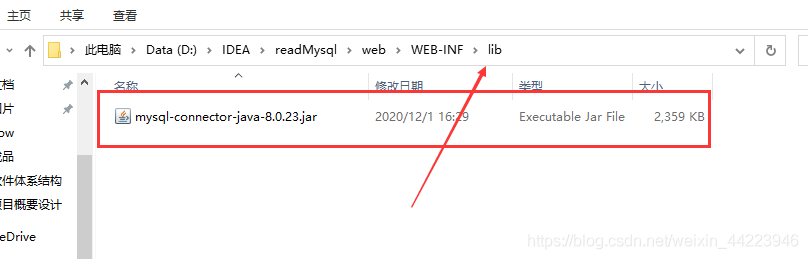
使用java语言从MySQL数据库中查询其中一个表的数据。 二、实验环境Windows 10环境 java version: 11.0.10 IDE工具:IntelliJ IDEA 2020.3 MySQL: 5.7.26 三、实验内容 下载tomcat先在Windows中下载Tomcat 步骤如下: 进入官网下载,我这里下载的是tomcat 8。 下载解压到自己想放置的目录下,然后打开命令行(win+R,cmd),进入文件所在盘,cd 复制粘贴bin文件夹路径。 进入bin中输入service.bat install安装。提示:The service ‘Tomcat8’ has been installed. 表示安装成功。 安装完成后配置系统环境变量(在我的电脑右键属性中) bin路径和lib路径添加到path系统变量中。 运行 startup.bat,乱码(乱码解决看下面的实验总结) 至此Tomcat成功 在mysql数据库中创建一个sa用户密码设置为123456 并且请提前建立一个test数据库,其中建立一个hello表如下:id为主键自增的。 进入管网,选择操作系统后进入下载页。 然后会让你登录(如果没有账户,申请一个就好了),登录账户后填写一些information就好了。提交后下载。 这个压缩包里面就含有mysql-connector-java-8.0.23.jar文件 (这个驱动是向下兼容各版本的) 配置IDEA将下载好的mysql驱动的jar文件复制到tomcat的lib库文件夹中。(这次不必要,以后可能会用) 创建java web项目(不能直接创建的查看实验总结) 配置Tomcat。 点击Run—EDit Configurations… 在工程项目的web目录下的WEB-INF下建立两个文件夹,一个是classes,用于保存程序运行时编译的文件。另一个是lib文件夹,用于存放程序运行时所要存放的外部类。 接下来配置项目结构以及tomcat。 在file菜单中点击Project Structure…
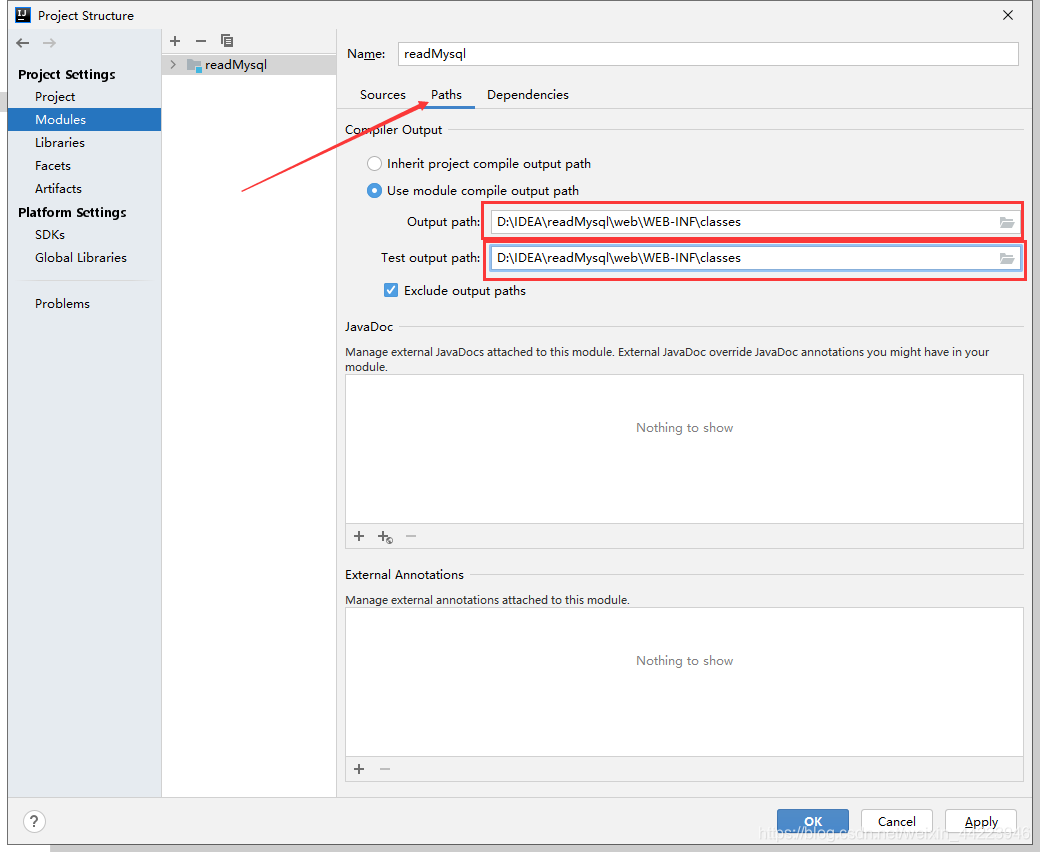
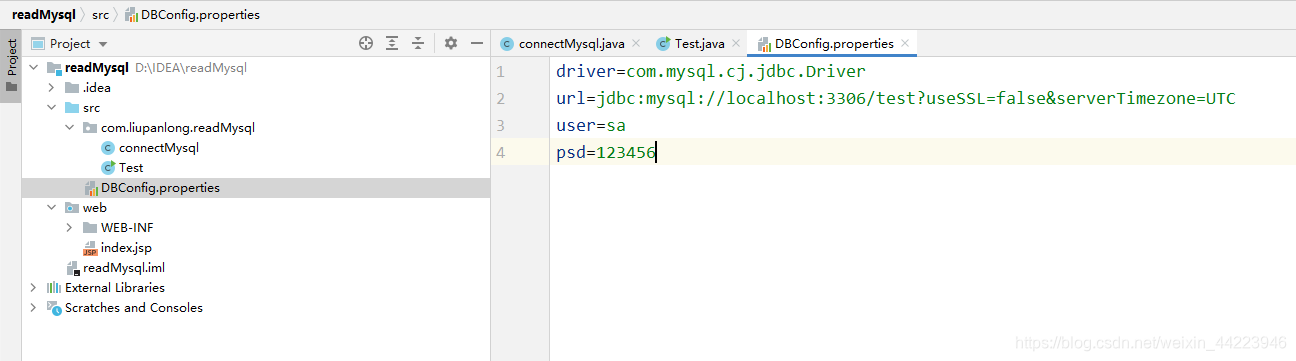
out路径选择刚才的classes文件夹 将下载的jdbc驱动包放到刚才建的lib文件夹下。 在src文件夹下建立自己的包和类。(和java se一样) 在src文件夹下建立File文件 命名为DBConfig.properties,文件中的信息如图。(这不是必要的。你也可以将文件中的信息放在类中。但这样做的好处就在于你即使更改了数据库,只要修改配置文件中的信息就可以了,而不必再改动类。) 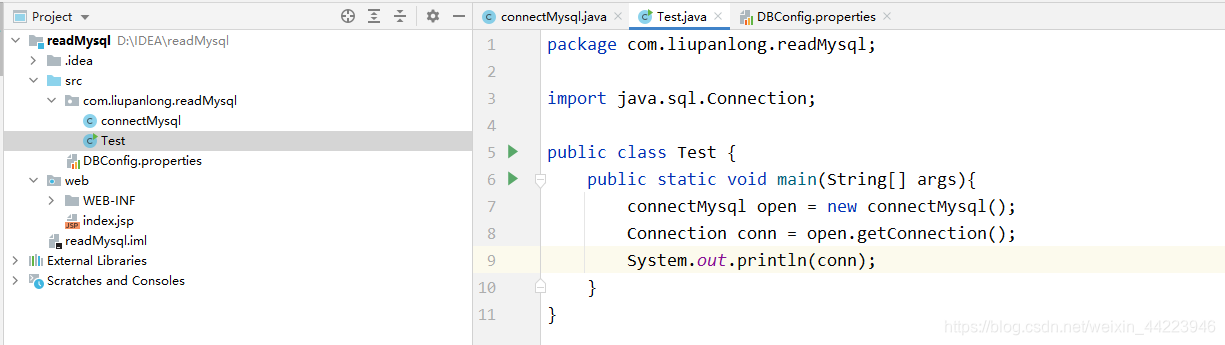 package com.liupanlong.readMysql;
import java.sql.Connection;
public class Test {
public static void main(String[] args){
connectMysql open = new connectMysql();
Connection conn = open.getConnection();
System.out.println(conn);
}
}
package com.liupanlong.readMysql;
import java.sql.Connection;
public class Test {
public static void main(String[] args){
connectMysql open = new connectMysql();
Connection conn = open.getConnection();
System.out.println(conn);
}
}
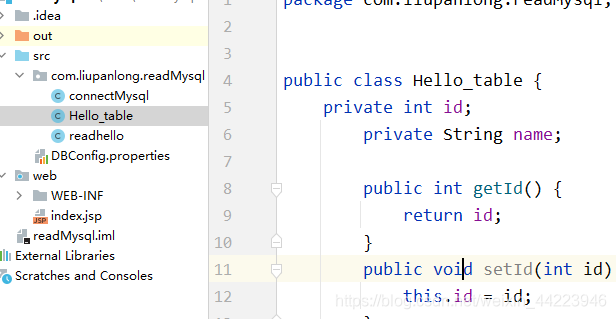
在空白处右击运行。 完成上面步骤,恭喜你环境终于搭建好了,可以开始实验了。 如果有追求,你可以实现一下最简单的前后端分离(我认为可行但是我也没学会,你做出来可以私信或评论区留言) 在包中添加一个类 Hello_table package com.liupanlong.readMysql; public class Hello_table { private int id; private String name; public int getId() { return id; } public void setId(int id) { this.id = id; } public String getName() { return name; } public void setName(String name) { this.name = name; } public Hello_table(int id, String name) { this.id = id; this.name = name; } }
使用Tomcat运行,打开浏览器localhost:8080/web/index.jsp最后就是这样了。 遇到问题: 1. IDEA中没有Java Enterprise 选项不能创建java web项目。据说这是IDEA新版导致的,先创建一个普通的java项目,然后升级为web项目即可。(这里我创建的名称为readMysql) 在conf文件夹下,找到logging.properties文件,打开。使用Ctrl + F键找到“ConsoleHandler.encoding” 将 java.util.logging.ConsoleHandler.encoding = UTF-8中的UTF-8改为GBK 编码 java.util.logging.ConsoleHandler.encoding = GBK
|

 点击左侧“+”号,找到Tomcat Server—Local点击,然后如图配置(若是没有找到,点击Templates配置如图,然后点击上面的警告!Create configuration)
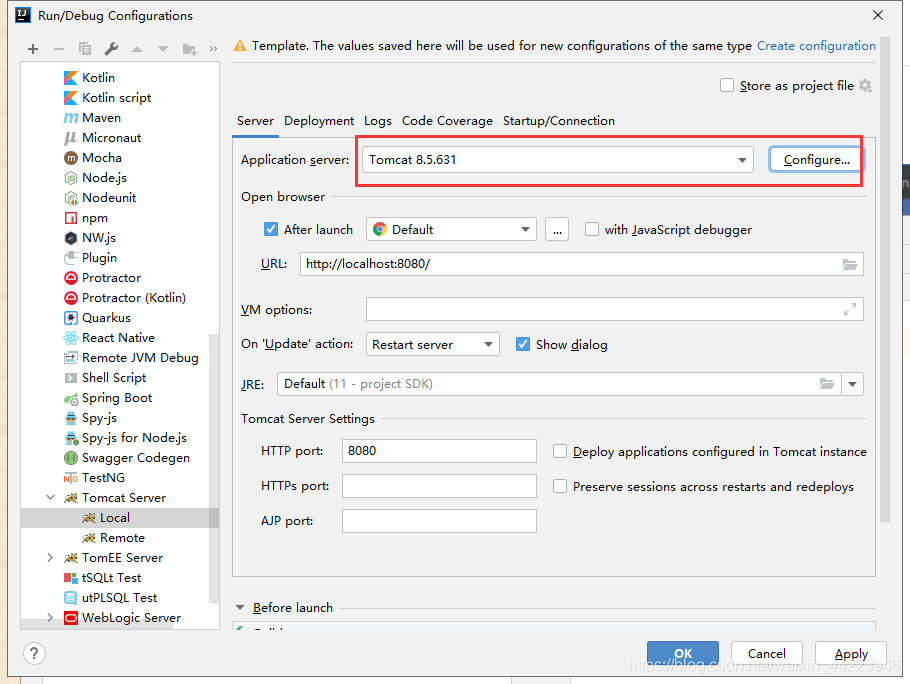
 外部类的引用路径选择刚才建的lib文件夹。(选择完弹出的的选择框选择Jar directory)
 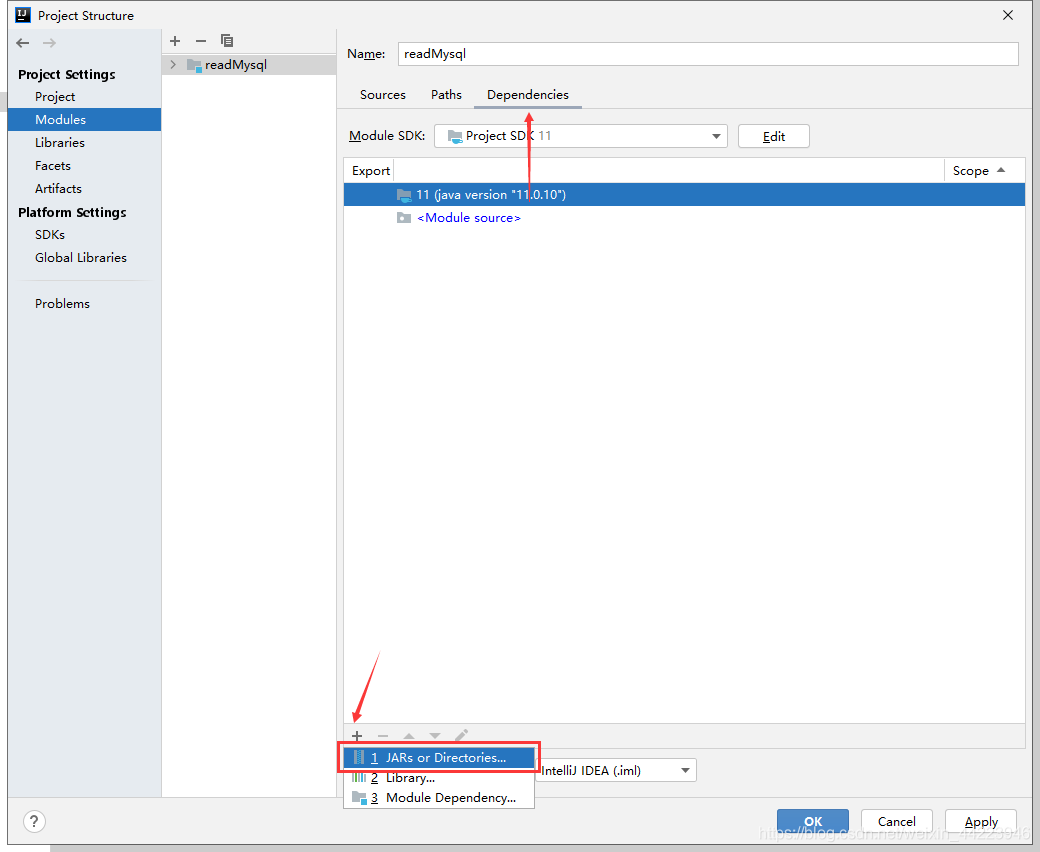 Library中选中Tomcat实验需要用到
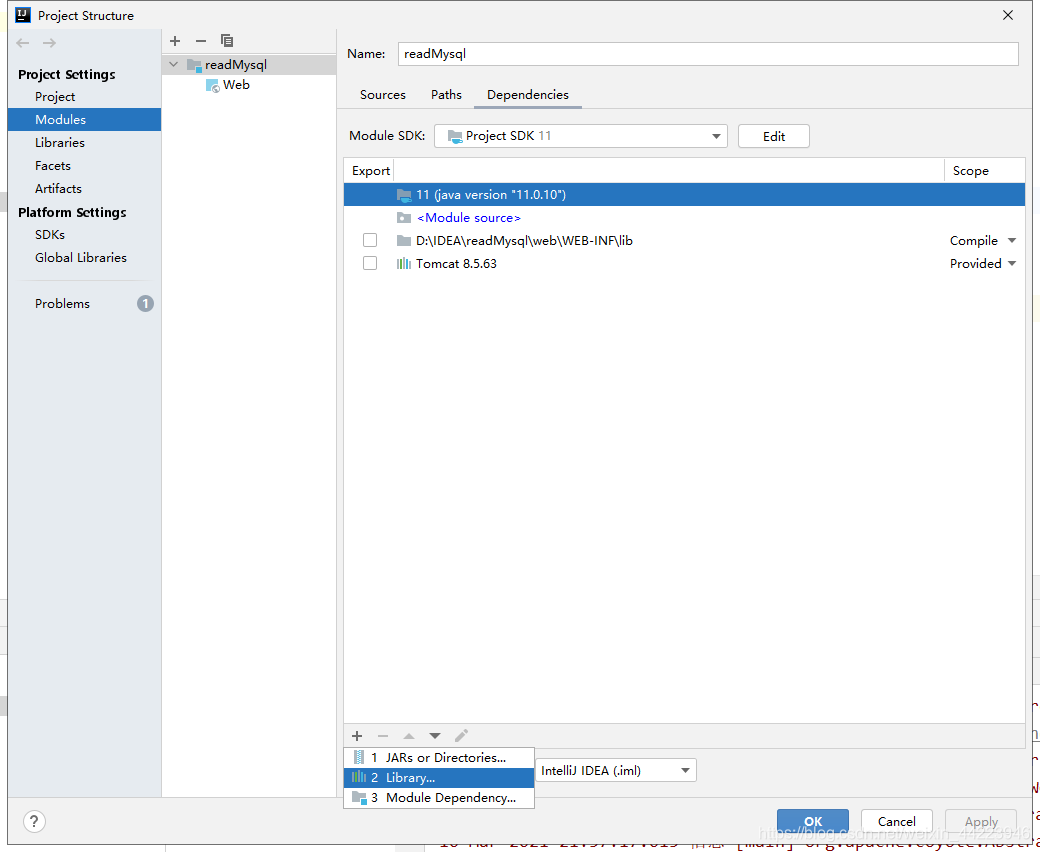
 11. 在web文件夹下创建index.jsp文件 ,在标签中添加我爱北京天安门!代码
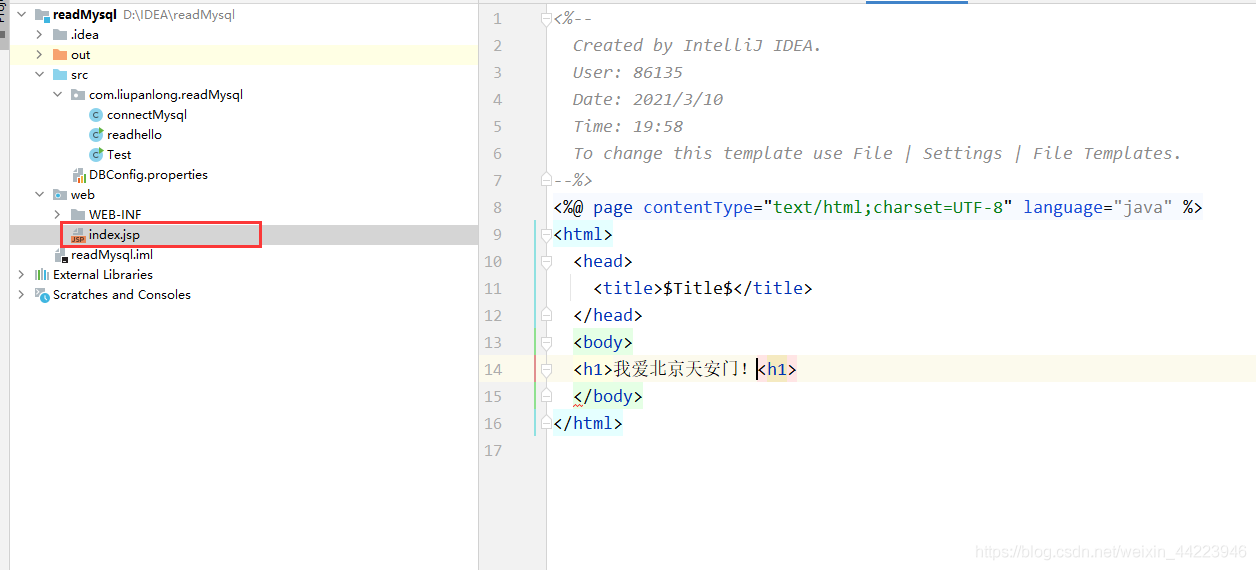 12. 然后选中上面配置好的run点击三角运行
 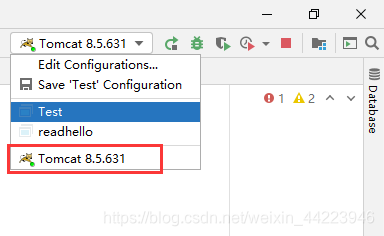 13. 在浏览其中登录http://localhost:8080/web/index.jsp可以看到我爱北京天安门即可
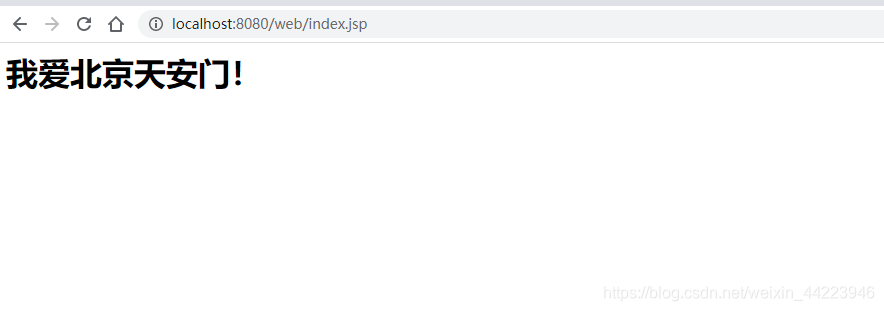
 2. 将readhello的代码修改一下
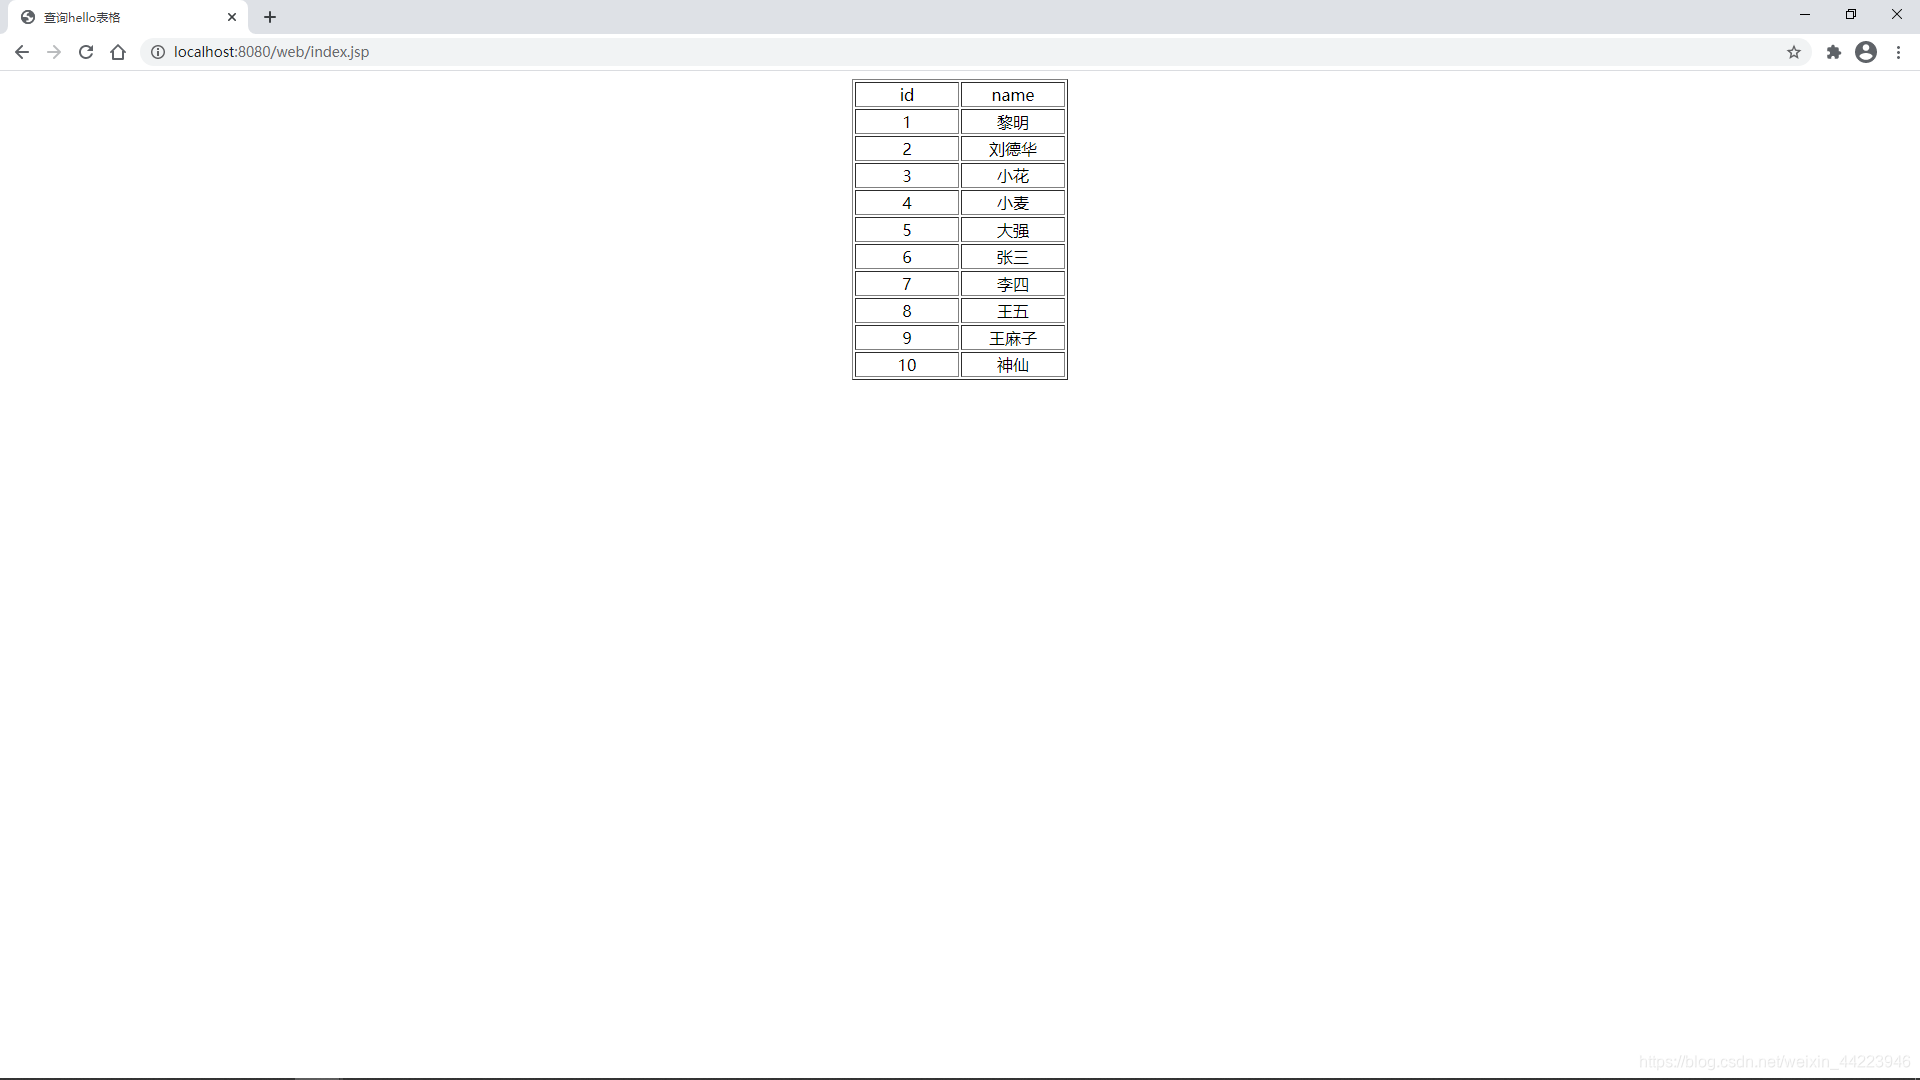
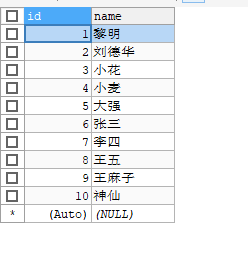
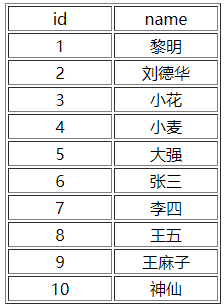 在mysql表中是这样的
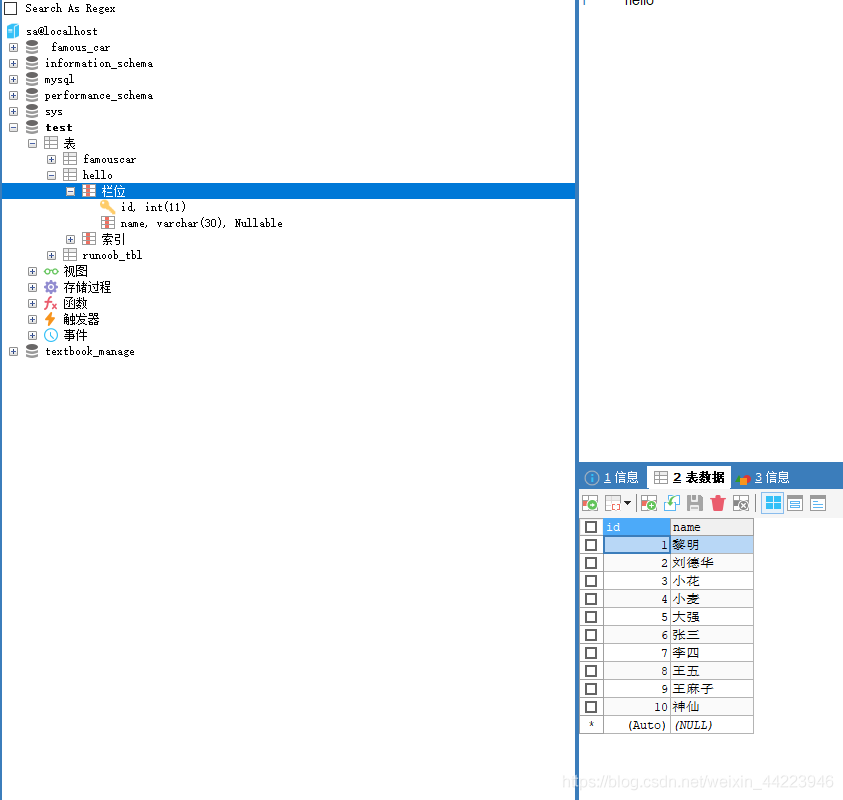
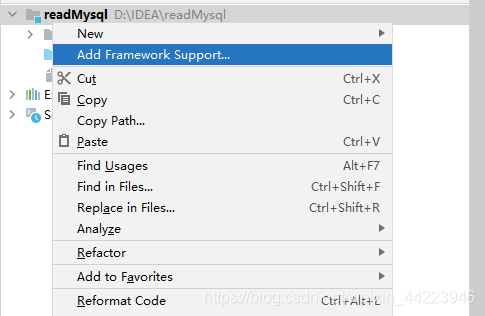 右键点击添加框架支持
 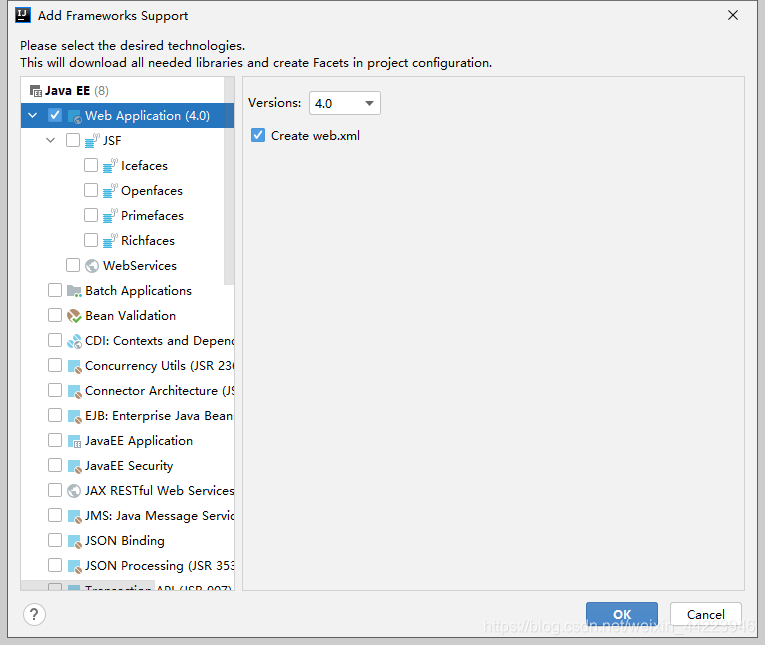 然后就有了,如图点击OK即可。
 然后重启 tomcat
【本文地址】
今日新闻 |
推荐新闻 |