javaFx实现鼠标穿透画布,同时操作画布和桌面,背景透明,类似ppt批注 |
您所在的位置:网站首页 › javafx窗口关闭事件 › javaFx实现鼠标穿透画布,同时操作画布和桌面,背景透明,类似ppt批注 |
javaFx实现鼠标穿透画布,同时操作画布和桌面,背景透明,类似ppt批注
|
一、功能需要由来和大致效果
今天,我们要用javaFx来实现一个鼠标穿透画布的功能,该需求来自于在我们的javaFx桌面应用中,需要实现一个悬浮的桌面侧边工具栏,在工具栏中有画笔绘制,批注的功能,能够实现在任何软件之上做笔记绘制,同时可以操作工具栏下一层的所有软件。 我把这个功能提出来了,写了一个demo。大致效果如下:
当程序启动后,程序的整个背景是透明的,除了程序中的组件,如按钮,这个时候即可以看到背面的任何软件,桌面,也能看到程序中的组件。此时,可以在整个桌面上进行画笔的绘制。 当我点击鼠标穿透按钮后,画布上的笔记正常显示,同时,我的鼠标可以操作背面的任何软件
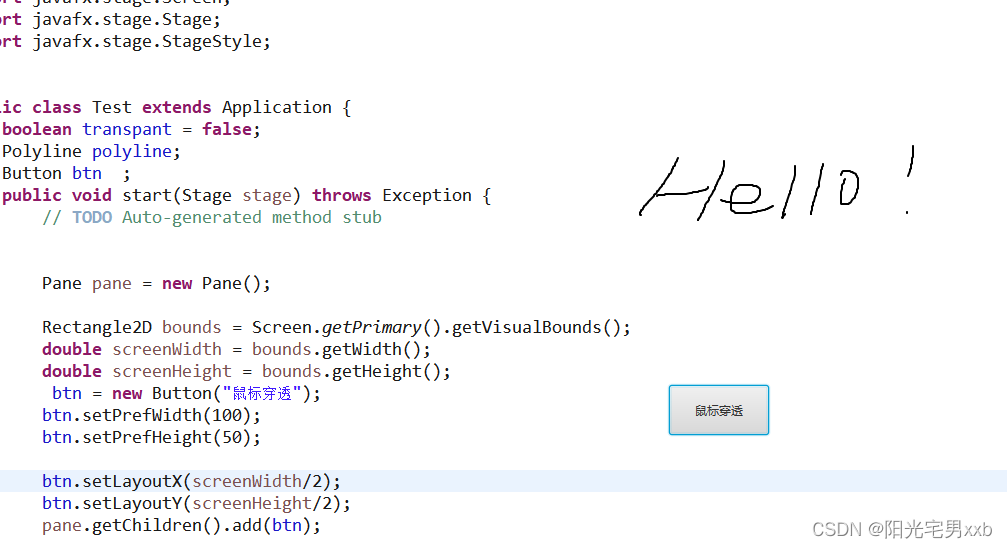
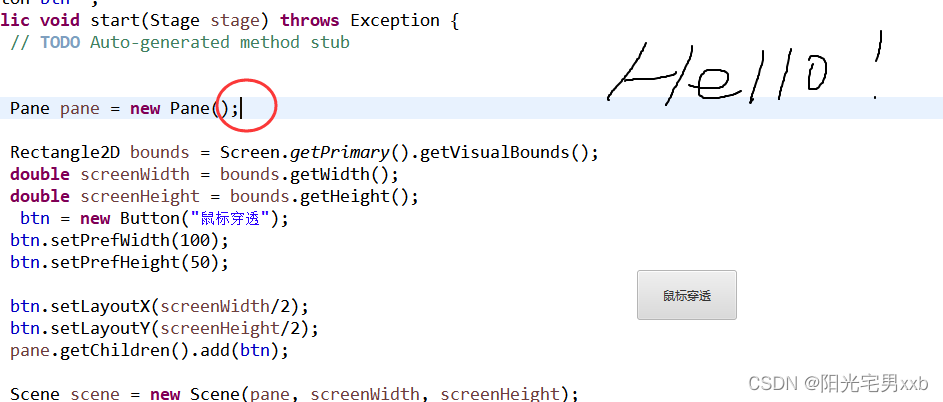
通过上图中的圆圈圈起来的鼠标光标,可以得知,此时我是可以操作背面的程序的。 二、程序实现要实现以上效果,其实最关键的几点是: 1)需要把javaFx中的Scene和stage的背景设置为透明 scene.setFill(Color.TRANSPARENT); stage.initStyle(StageStyle.TRANSPARENT);2)一开始要能够看到当前javafx程序背面的东西,需要设置背景为透明,但不是完全透明,此时才可以在画布上绘制 pane.setStyle("-fx-background-color: rgba(255,255,255,0.1);");3)要实现鼠标穿透当前画布,进而可以操作画布背面的其它软件,则需要将画布的背景设置为完全透明,透明度为0 pane.setStyle("-fx-background-color: rgba(255,255,255,0);");4)当不需要操作背面的软件,希望回到画布的绘制时,再把背景的透明度设置为0.1即可。 是不是很简单呢,好的。以下是实现的全部代码。 package test; import java.io.IOException; import javafx.application.Application; import javafx.application.Platform; import javafx.event.Event; import javafx.event.EventHandler; import javafx.geometry.Point2D; import javafx.geometry.Rectangle2D; import javafx.scene.Scene; import javafx.scene.control.Button; import javafx.scene.layout.Pane; import javafx.scene.paint.Color; import javafx.scene.shape.Polyline; import javafx.scene.shape.StrokeLineCap; import javafx.scene.shape.StrokeLineJoin; import javafx.scene.shape.StrokeType; import javafx.stage.Screen; import javafx.stage.Stage; import javafx.stage.StageStyle; public class Test extends Application { boolean transpant = false; Polyline polyline; Button btn ; public void start(Stage stage) throws Exception { // TODO Auto-generated method stub Pane pane = new Pane(); Rectangle2D bounds = Screen.getPrimary().getVisualBounds(); double screenWidth = bounds.getWidth(); double screenHeight = bounds.getHeight(); btn = new Button("鼠标穿透"); btn.setPrefWidth(100); btn.setPrefHeight(50); btn.setLayoutX(screenWidth/2); btn.setLayoutY(screenHeight/2); pane.getChildren().add(btn); Scene scene = new Scene(pane, screenWidth, screenHeight); scene.setFill(Color.TRANSPARENT); // scene.getStylesheets().add(ToolsBarStage.class.getResource("/res/css/default.css").toExternalForm()); stage.initStyle(StageStyle.TRANSPARENT);// pane.setStyle("-fx-background-color: rgba(255,255,255,0.1);"); stage.setScene(scene); // Place the scene in the stage stage.show(); stage.setAlwaysOnTop(true); //点击按钮后,切换为批注模式或操作模式 btn.setOnMouseClicked(new EventHandler() { @Override public void handle(Event event) { // TODO Auto-generated method stub if(!transpant) {//关键点,实现鼠标 穿透到可以操作桌面背景 pane.setStyle("-fx-background-color: rgba(255,255,255,0);"); transpant = true; }else { pane.setStyle("-fx-background-color: rgba(255,255,255,0.1);"); transpant = false; } } }); //根据鼠标的拖动和按压进行绘制 pane.setOnMousePressed(e -> { //设置线条的样式 StrokeType strokeType = StrokeType.CENTERED; int strokeMiterLimit = 5; StrokeLineJoin strokeLineJoin = StrokeLineJoin.BEVEL; StrokeLineCap strokeLineCap = StrokeLineCap.ROUND; polyline = new Polyline(); polyline.setStrokeLineCap(strokeLineCap); polyline.setStrokeLineJoin(strokeLineJoin); polyline.setStrokeMiterLimit(strokeMiterLimit); polyline.setStrokeType(strokeType); polyline.setStrokeWidth(2); polyline.setSmooth(true); pane.getChildren().add(polyline); }); //鼠标拖动绘制 pane.setOnMouseDragged(e -> { polyline.getPoints().add(e.getSceneX()); polyline.getPoints().add( e.getSceneY()); }); } public static void main(String[] args) { Test test = new Test(); Platform.runLater(() -> { try { Stage stage = new Stage(); test.start(stage); } catch (Exception e) { // TODO Auto-generated catch block e.printStackTrace(); } }); } } |
【本文地址】
今日新闻 |
推荐新闻 |