BurpSuite实战教程03 |
您所在的位置:网站首页 › gom插件是什么语言开发的 › BurpSuite实战教程03 |
BurpSuite实战教程03
|
burp插件开发
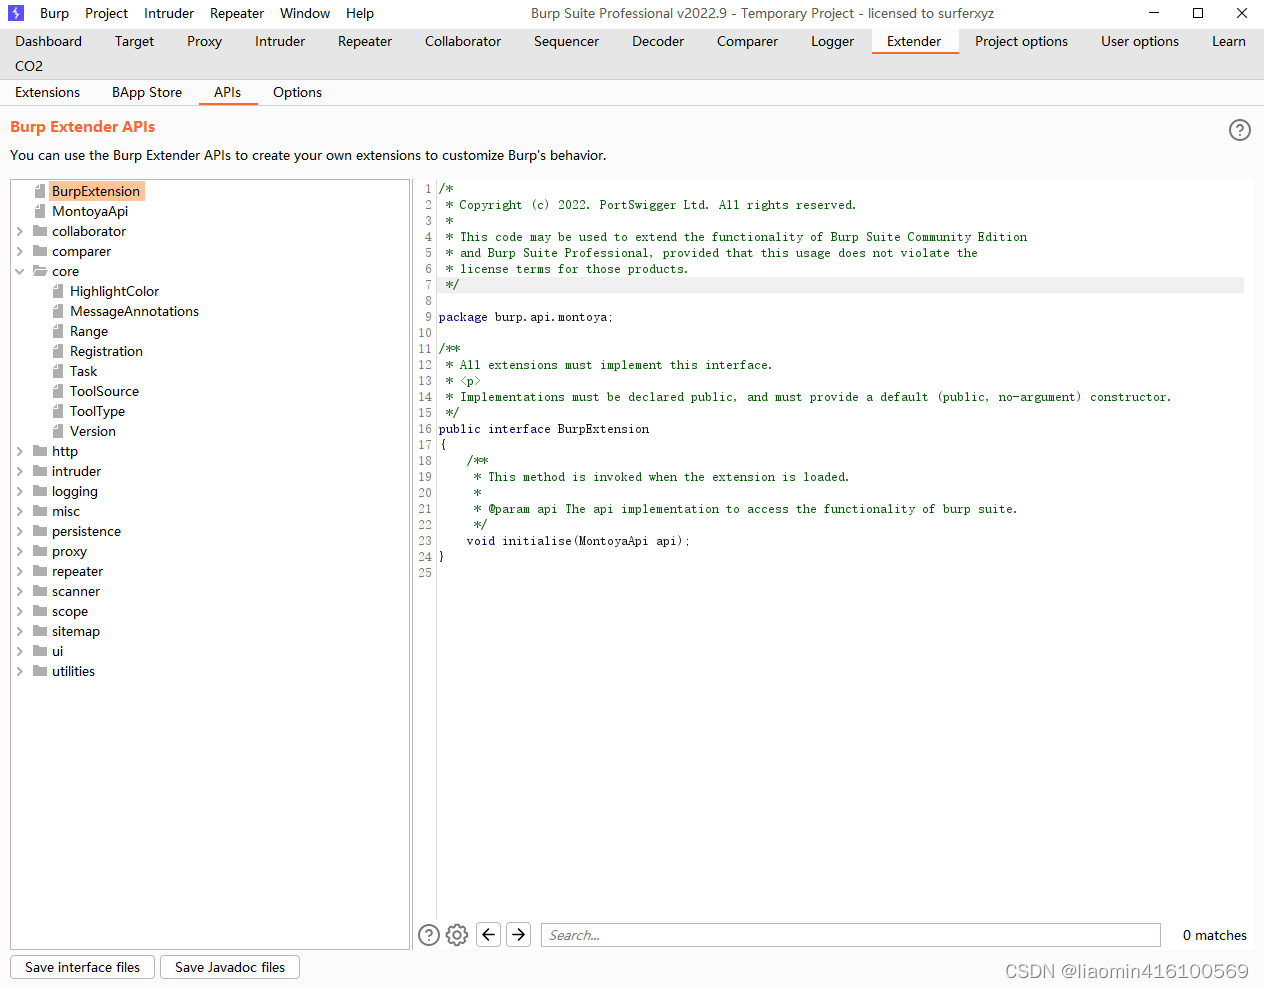
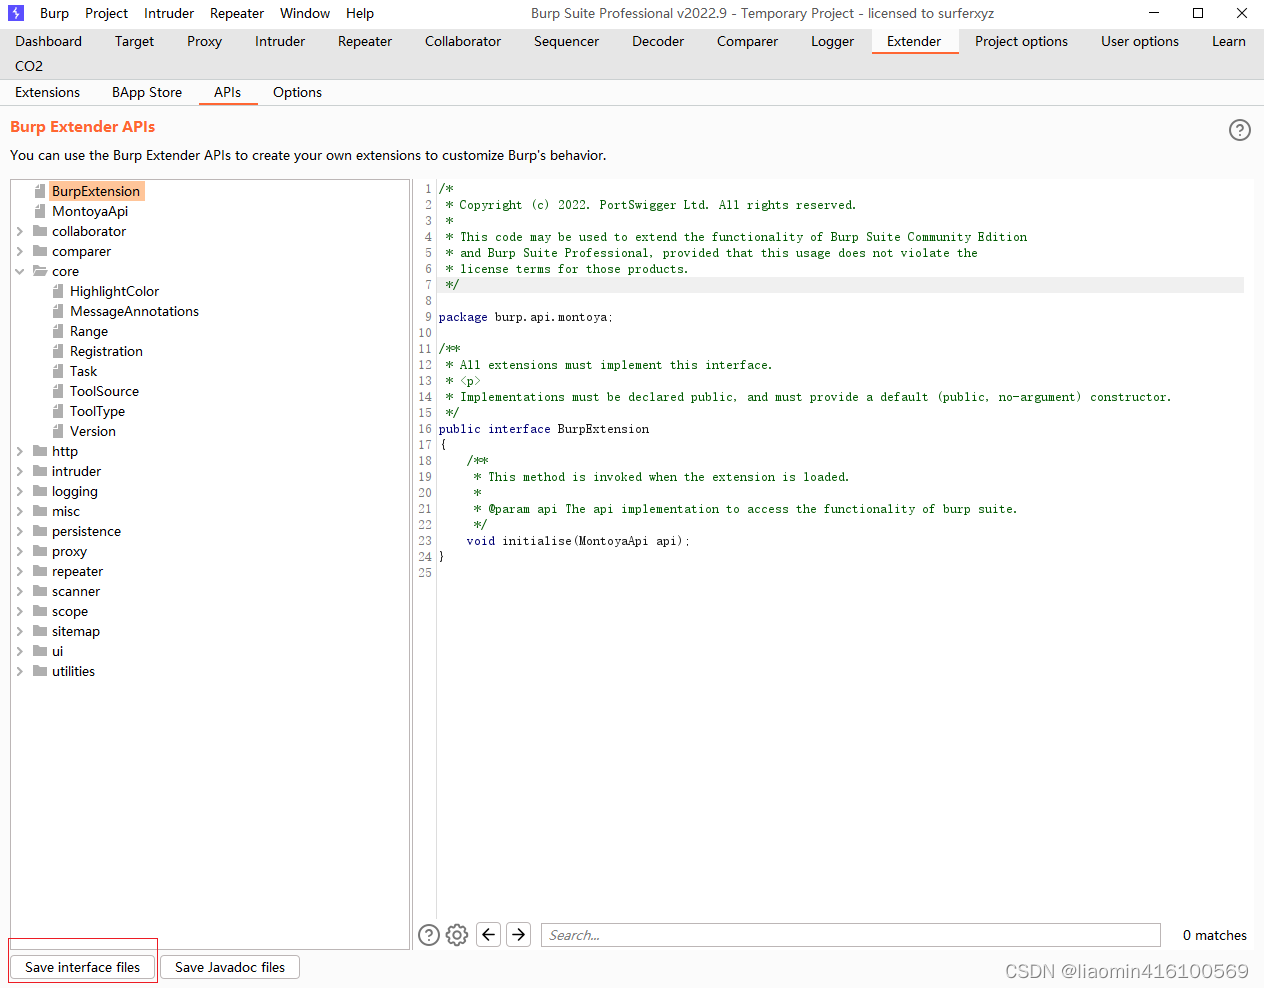
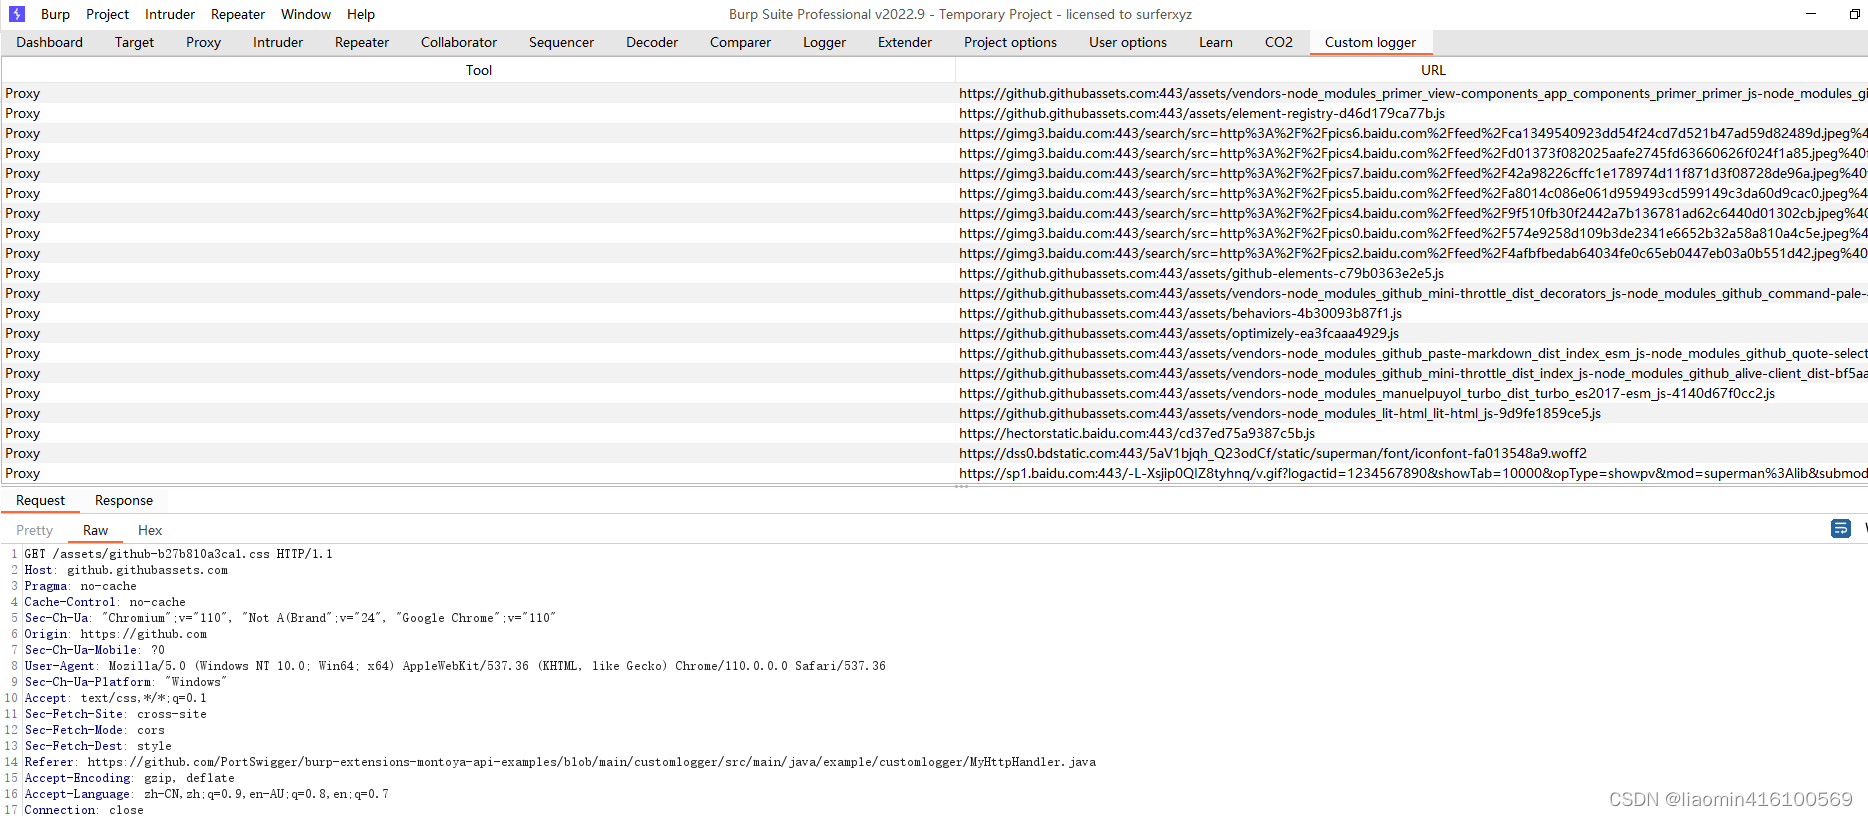
Burp Suite的强大除了自身提供了丰富的可供测试人员使用的功能外,其提供的支持第三方拓展插件的功能也极大地方便使用者编写自己的自定义插件。,Burp Suite支持的插件类型有Java、Python、Ruby三种。无论哪种语言的实现,开发者只要选择自己熟悉的语言,按照接口规范去实现想要的功能即可。下面我们就来看看如何开发一个Burp Extender的插件。 本章讲述的主要内容有: API描述Burp插件的编写前准备Burp插件的编写(Java语言版) api描述打开Burp Extender的APIs的Tab页,看到的界面如下图所示: 注意不同版本的api可能不一样,我之前按照官网最新的使用maven依赖的方式,就因为BurpExtension最新版本使用初始化方法initalize和我当前版本的initalise差一个字母,导致折腾了半天,建议开发使用当前文件的api接口导出到项目源代码目录,因为maven的api压根不知道版本对应关系,我的版本:V2022.9。 在idea中新建一个maven空项目,点击apis - save interface files到src/main/java目录 burpsuite没有详细文档描述插件如何编写,提供了很多相关的案例,需要自行阅读 https://github.com/PortSwigger/burp-extensions-montoya-api-examples java环境配置首先确定你burpsuite版本需要使用的jdk,比如我的是jdk17,平时开发都使用的jdk8 使用maven执行mvn package确认是否使用的jdk17 打开idea 运行的Edit Configurations,新建一个Remote,复制command line arguments for remote JVM Host設置為:localhost,port设置为:50055 创建一个测试类:HelloWorld package com.qj.bc; import burp.api.montoya.BurpExtension; import burp.api.montoya.MontoyaApi; import burp.api.montoya.logging.Logging; public class HelloWorld implements BurpExtension { @Override public void initialise(MontoyaApi api) { Logging logging = api.logging(); // write a message to our output stream logging.logToOutput("Hello output."); // write a message to our error stream logging.logToError("Hello error."); // write a message to the Burp alerts tab logging.raiseInfoEvent("Hello info event."); logging.raiseDebugEvent("Hello debug event."); logging.raiseErrorEvent("Hello error event."); logging.raiseCriticalEvent("Hello critical event."); // throw an exception that will appear in our error stream throw new RuntimeException("Hello exception."); } }使用mvn package打包。 启动远程调试 需求:拦截bp的抓包日志显示到自定义的表格中,点击表格能显示请求和响应的信息。 效果图如下 因为http拦截到有四个参数 request 被抓包的请求信息response 返回的响应信息annotations 消息标记,比如高亮,添加注释等。toolSource 这个请求来源于那个工具,比如是proxy还是爆破,还是其他的工具,比如proxy抓包的HTTP请求,爆破自定义的攻击请求(点击start attack才能抓到)等等封装一个类用于包装这几个参数,因为界面上要显示请求响应,来源等信息 package com.qj.bc.customlogger; import burp.api.montoya.core.ToolSource; import burp.api.montoya.http.message.requests.HttpRequest; import burp.api.montoya.http.message.responses.HttpResponse; public class HttpResponseReceived { private ToolSource toolSource; private HttpRequest request; private HttpResponse response; public HttpResponseReceived(ToolSource toolSource, HttpRequest request, HttpResponse response) { this.toolSource = toolSource; this.request = request; this.response = response; } public ToolSource toolSource(){ return toolSource; } public HttpRequest initiatingRequest(){ return request; } public HttpResponse getResponse(){ return response; } } 添加表格数据源,这个数据最终显示在表格中,定义一个表格modal package com.qj.bc.customlogger; import burp.api.montoya.http.message.responses.HttpResponse; import javax.swing.table.AbstractTableModel; import java.util.ArrayList; import java.util.List; public class MyTableModel extends AbstractTableModel { private final List log; public MyTableModel() { this.log = new ArrayList(); } @Override public synchronized int getRowCount() { return log.size(); } @Override public int getColumnCount() { return 2; } @Override public String getColumnName(int column) { return switch (column) { case 0 -> "Tool"; case 1 -> "URL"; default -> ""; }; } @Override public synchronized Object getValueAt(int rowIndex, int columnIndex) { HttpResponseReceived responseReceived = log.get(rowIndex); return switch (columnIndex) { case 0 -> responseReceived.toolSource().toolType(); case 1 -> responseReceived.initiatingRequest().url(); default -> ""; }; } public synchronized void add(HttpResponseReceived responseReceived) { int index = log.size(); log.add(responseReceived); fireTableRowsInserted(index, index); } public synchronized HttpResponseReceived get(int rowIndex) { return log.get(rowIndex); } } 定义burp拓展 package com.qj.bc.customlogger; import burp.api.montoya.BurpExtension; import burp.api.montoya.MontoyaApi; import burp.api.montoya.ui.UserInterface; import burp.api.montoya.ui.editor.HttpRequestEditor; import burp.api.montoya.ui.editor.HttpResponseEditor; import javax.swing.*; import java.awt.*; import static burp.api.montoya.ui.editor.EditorOptions.READ_ONLY; public class CustomLogger implements BurpExtension { private MontoyaApi api; @Override public void initialise(MontoyaApi api) { this.api = api; MyTableModel tableModel = new MyTableModel(); //在burpsuite中添加一个tab页签,名字是Custom logger api.userInterface().registerSuiteTab("Custom logger", constructLoggerTab(tableModel)); //注册一个http抓包请求拦截器,用来获取所有抓包的数据添加到表格 api.http().registerHttpHandler(new MyHttpHandler(tableModel)); } /** * 使用JSplitPane,添加一个左面是http请求的表格,下面是个http的请求和响应编辑器 * @param tableModel * @return */ private Component constructLoggerTab(MyTableModel tableModel) { // main split pane JSplitPane splitPane = new JSplitPane(JSplitPane.VERTICAL_SPLIT); // tabs with request/response viewers JTabbedPane tabs = new JTabbedPane(); UserInterface userInterface = api.userInterface(); HttpRequestEditor requestViewer = userInterface.createHttpRequestEditor(READ_ONLY); HttpResponseEditor responseViewer = userInterface.createHttpResponseEditor(READ_ONLY); tabs.addTab("Request", requestViewer.uiComponent()); tabs.addTab("Response", responseViewer.uiComponent()); splitPane.setRightComponent(tabs); // table of log entries JTable table = new JTable(tableModel) { /** * 当表格的某个请求被选择后,需要将请求和响应的结果,设置到请求响应编辑器中 * @param rowIndex * @param columnIndex * @param toggle * @param extend */ @Override public void changeSelection(int rowIndex, int columnIndex, boolean toggle, boolean extend) { // show the log entry for the selected row HttpResponseReceived responseReceived = tableModel.get(rowIndex); requestViewer.setRequest(responseReceived.initiatingRequest()); responseViewer.setResponse(responseReceived.getResponse()); super.changeSelection(rowIndex, columnIndex, toggle, extend); } }; JScrollPane scrollPane = new JScrollPane(table); splitPane.setLeftComponent(scrollPane); return splitPane; } } |
 目录结构如下
 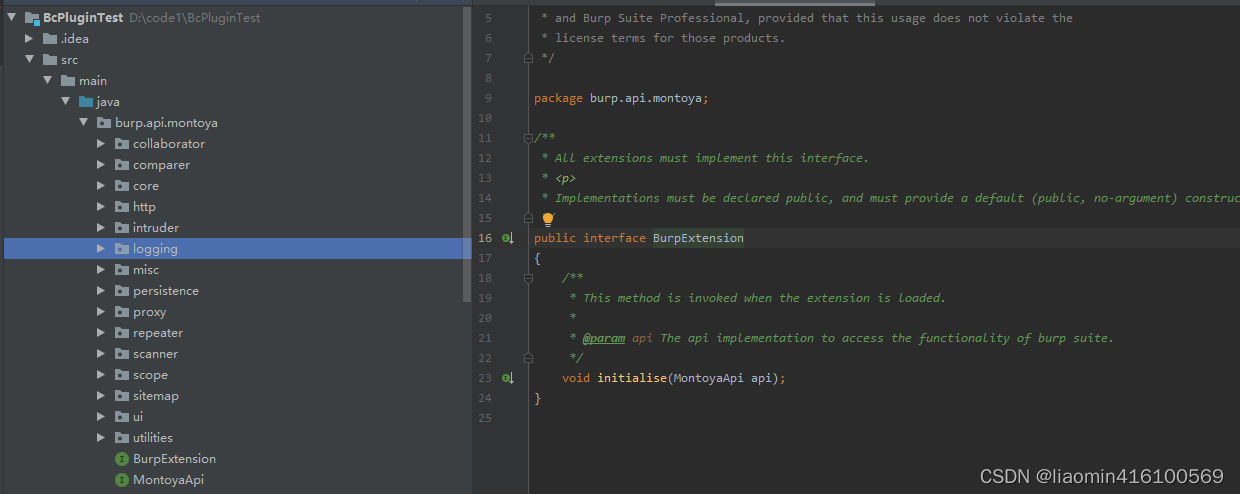 具体api的用途请参考api的描述或者在apis面板上save javadoc files打开html查看
 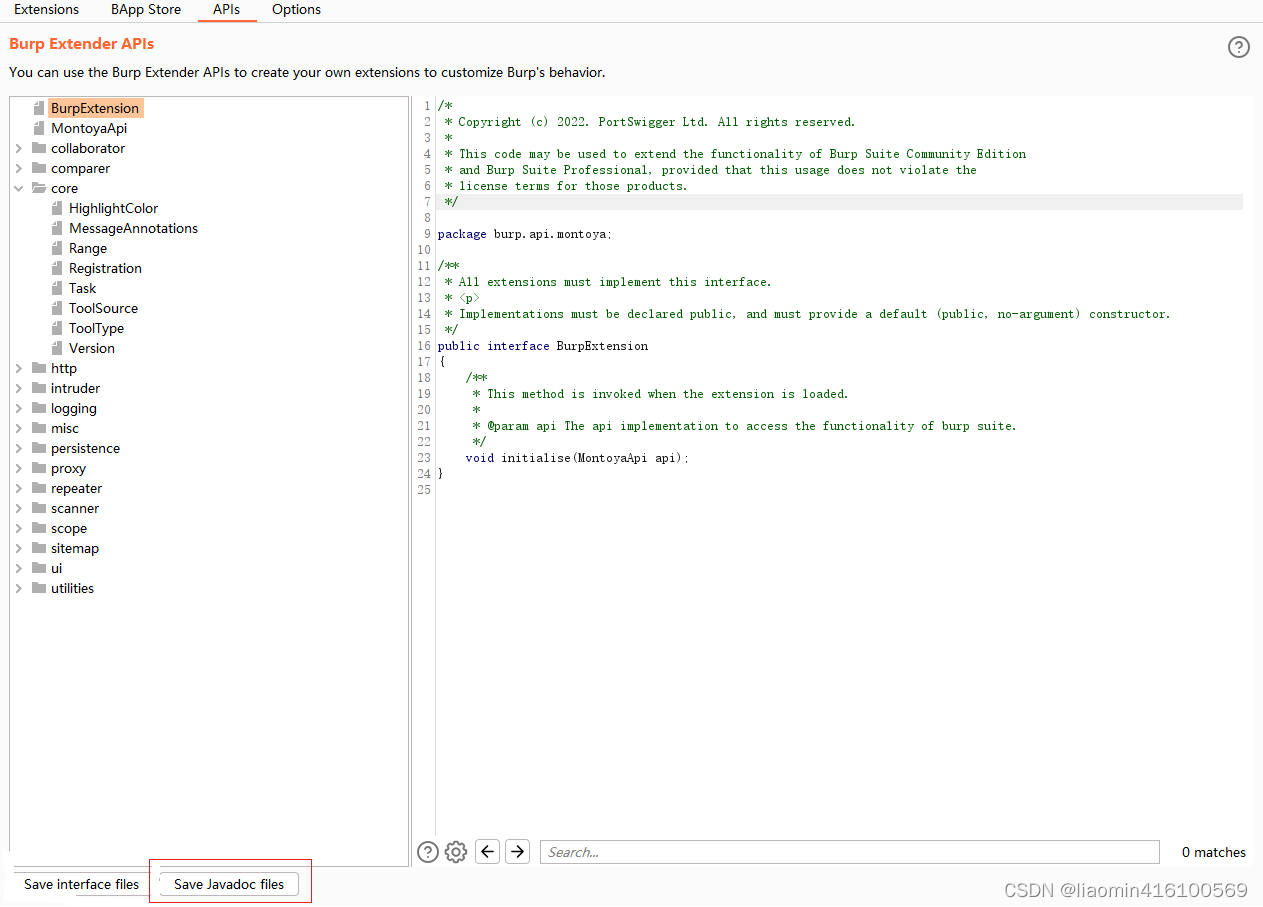 或者进入官网查看: https://portswigger.github.io/burp-extensions-montoya-api/javadoc/burp/api/montoya/MontoyaApi.html
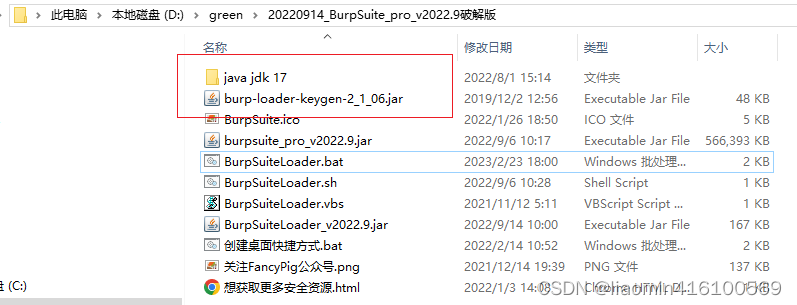 修改idea的环境 点击project structure - SDKS新增jdk17
 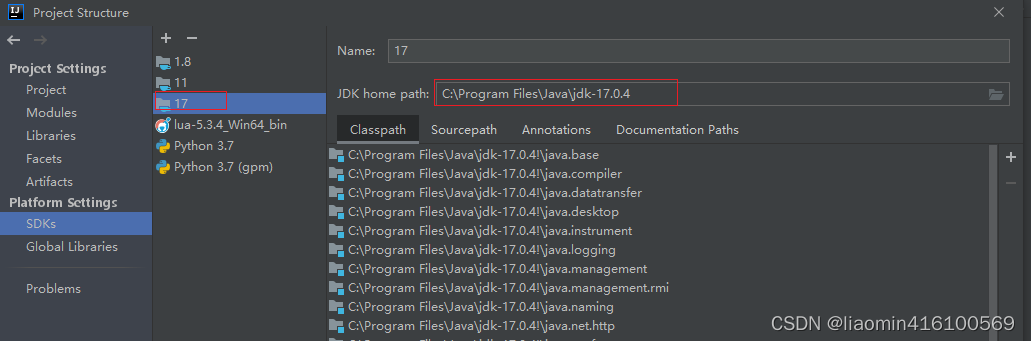 Modules上的language level如果没有17就选最大就行,我这里是13就可以了,这只是idea编译代码用到的版本 Project上的Project SDK换成17即可
 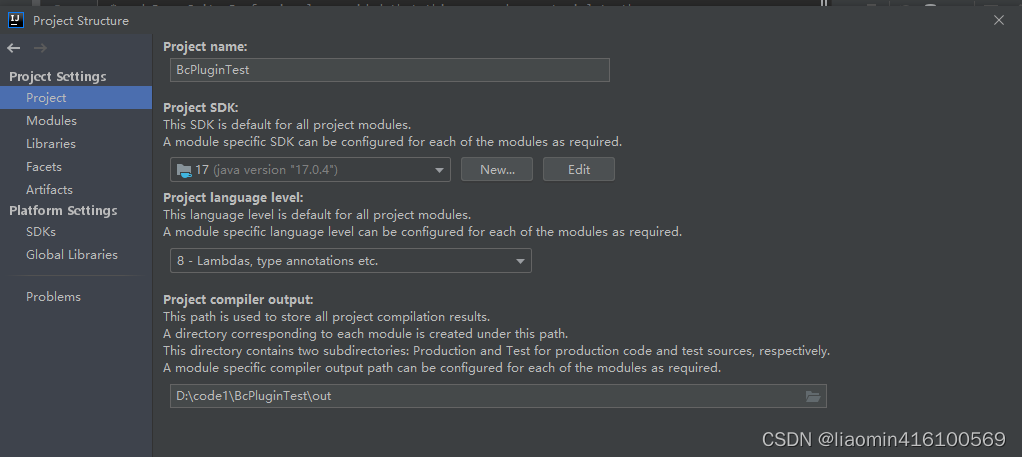 pom.xml中添加
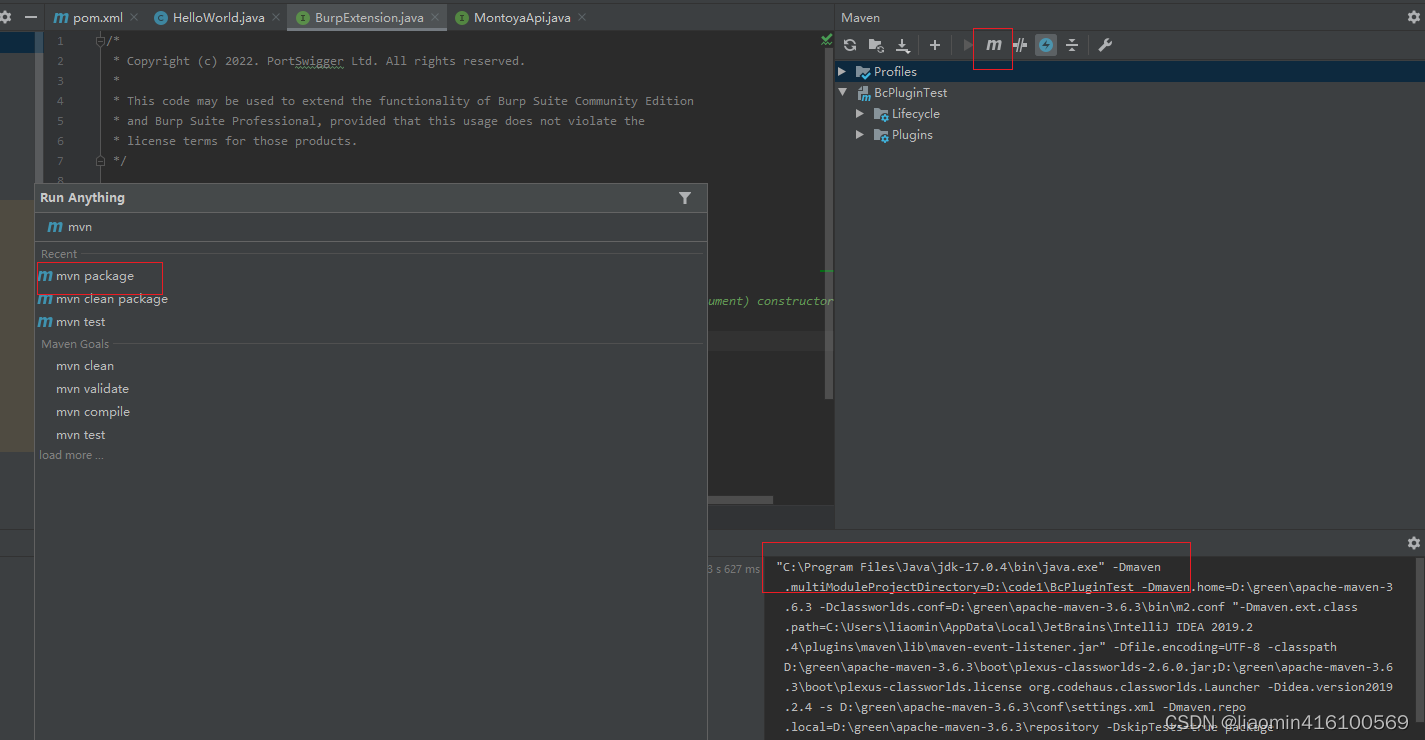 修改pom.xml修改打包方式为jar
 将复制内容添加到burpsuite的bat文件中
 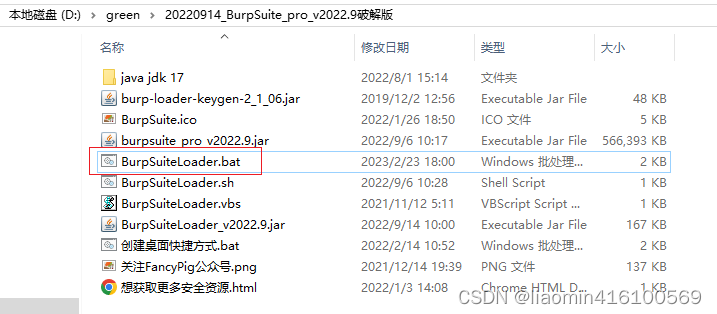 jvm参数加上即可
 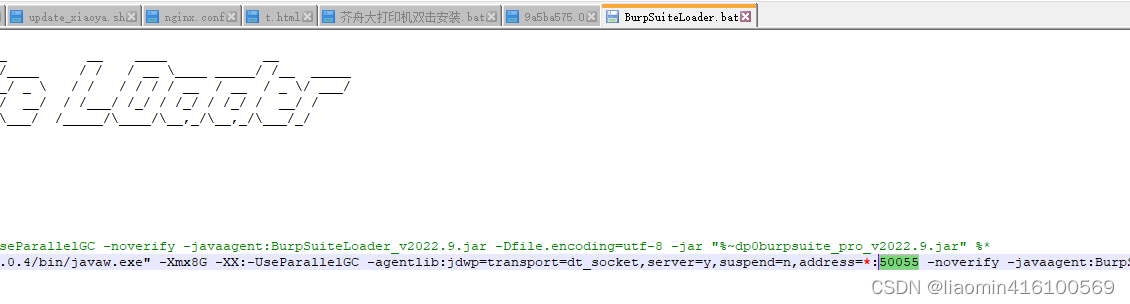 重新启动burpsuite netstat -aon | findstr 50055 查看端口是否开启。
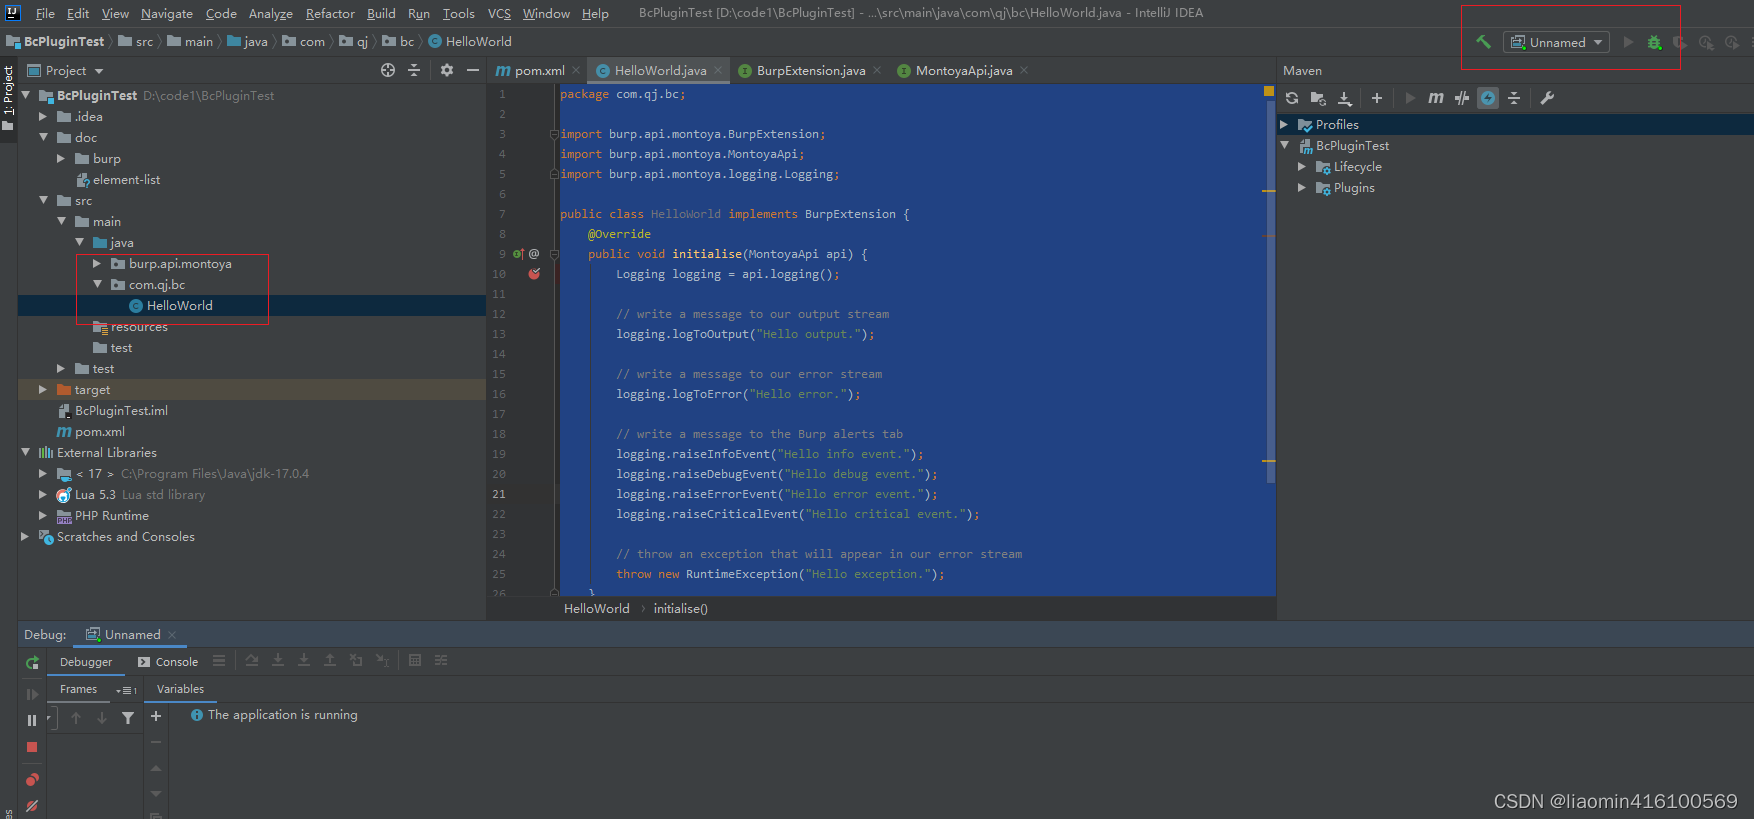 打开burpsuite - Extener - Extensions - Add 加入一个
 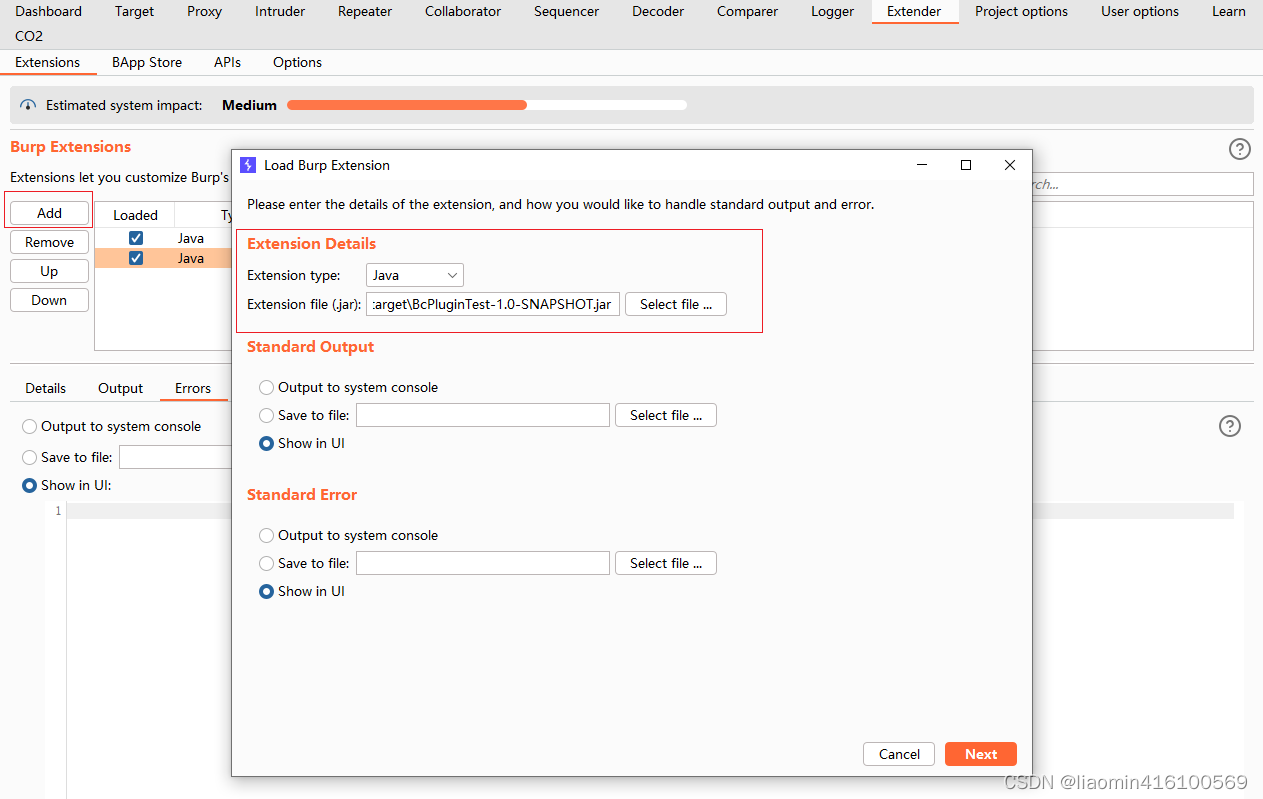 点击next后,断点断下
 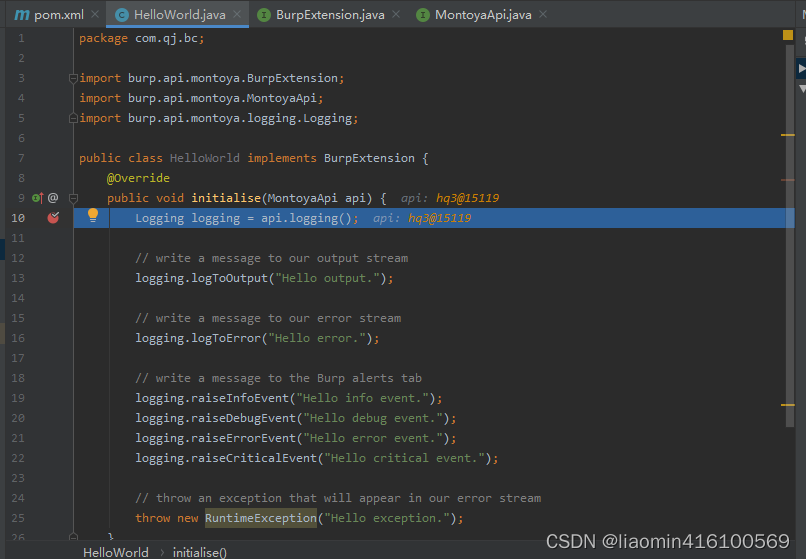 跳过断点后 查看输出和错误日志
 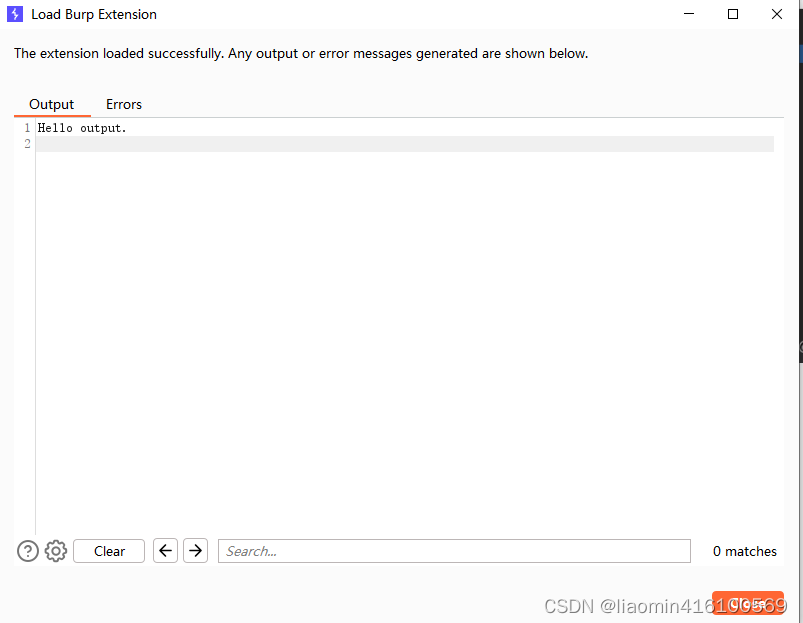 Errors显示
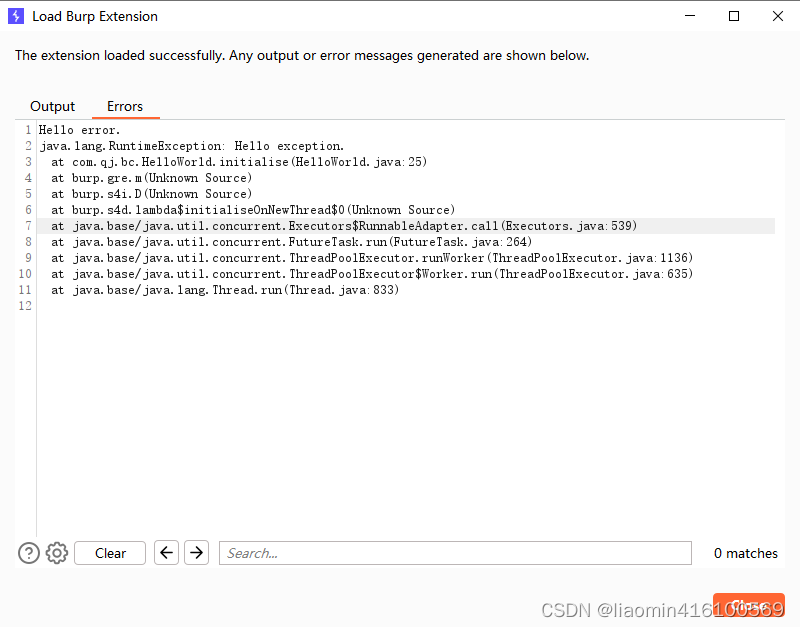
 官网实例参考: https://github.com/PortSwigger/burp-extensions-montoya-api-examples/tree/main/customlogger
【本文地址】
今日新闻 |
推荐新闻 |