|
前言
我们在进行项目开发时,经常需要进行文件、图片等的上传。对于很多项目来说,虽然有FastDFS等文件存储服务器技术,但其实我们完全没有必要搭建自己的图片等文件服务器。对一个小型非专业的应用来说,搭建自己的专属文件存储服务器,完全就是浪费,而且你们公司也不一定有那样的技术实力。
但我们项目中又经常需要进行图片等各种文件的上传、下载操作,那该如何实现呢?
这里壹哥给大家推荐使用阿里云存储,便宜又靠谱!所以今天 壹哥 会带大家学习如何使用阿里云的OSS实现文件上传。
一. 阿里云OSS简介
1. 存储服务简介
阿里云提供了一个对象存储 OSS服务,可以实现海量、安全、低成本、高可靠的云存储服务,提供99.9999999999%的数据可靠性。并且使用RESTful API 可以在互联网任何位置存储和访问,容量和处理能力弹性扩展,多种存储类型供选择全面优化存储成本。
2. 购买阿里云OSS服务
首选搜索阿里云,选择第一个就是了。 
然后选择云计算基础里的对象存储OSS产品。 
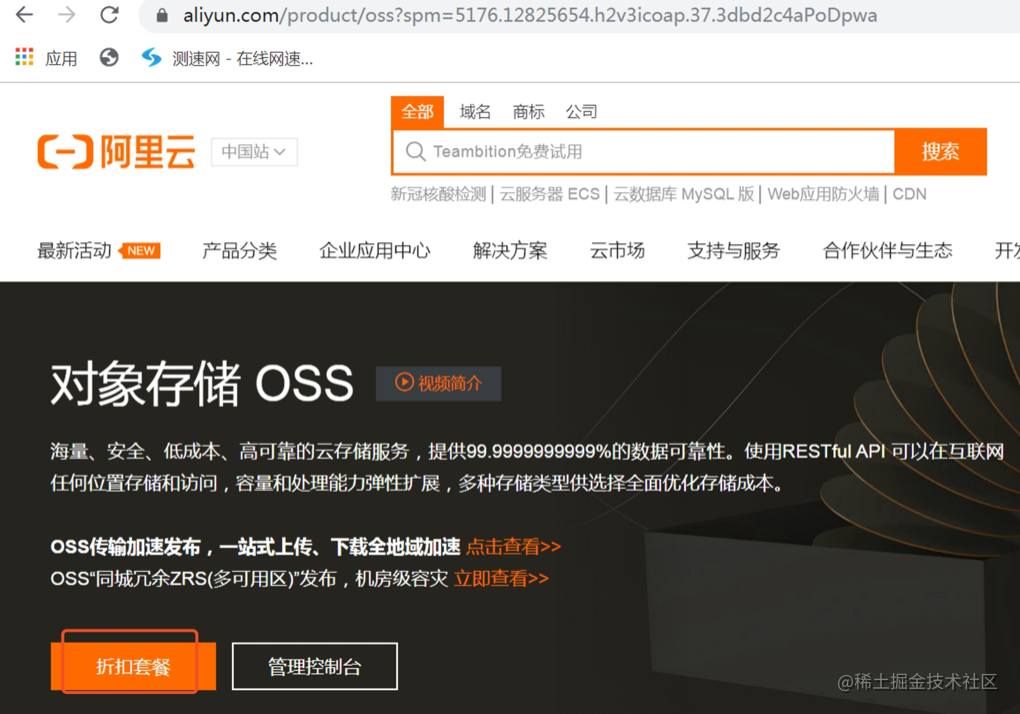
可以看到,40G的一年存储服务才9块钱,很便宜了,对于学习来说足够了。 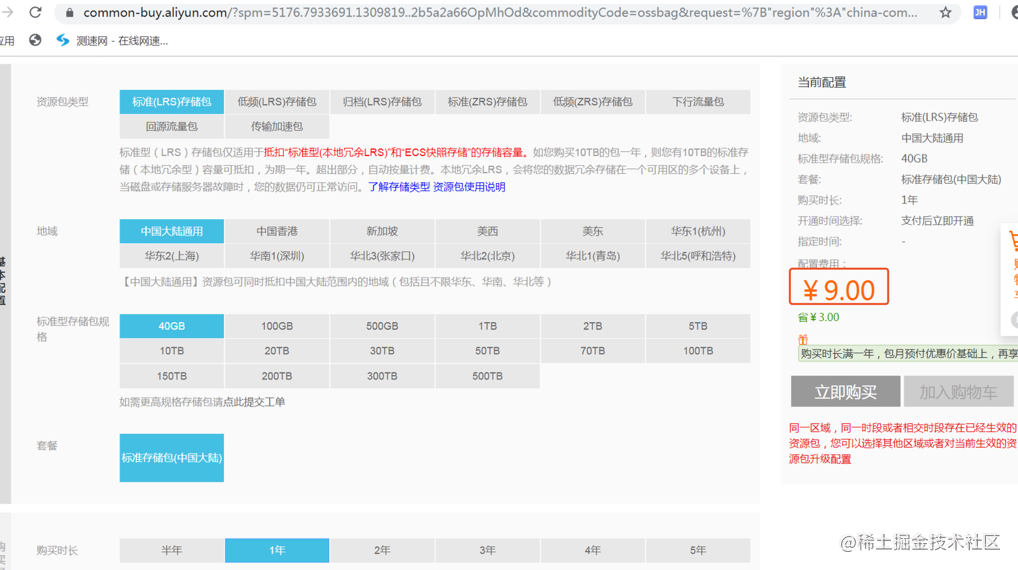
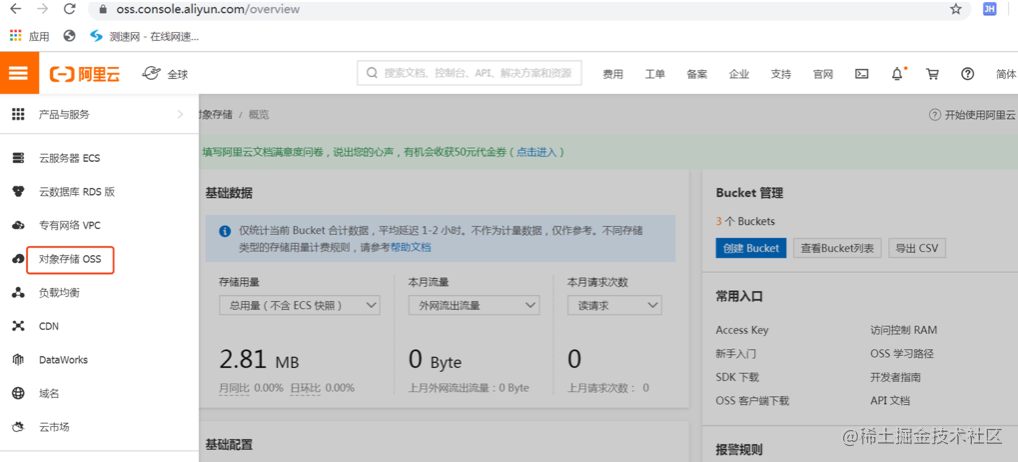
3. 阿里云OSS控制台
点击首页的控制台链接就可以进入后台。 
在这里创建一个Bucket桶,作为存储文件的空间。 
桶名不能重复。 
可以在自己的桶空间中创建子目录,用来存储不同项目或模块下的文件。 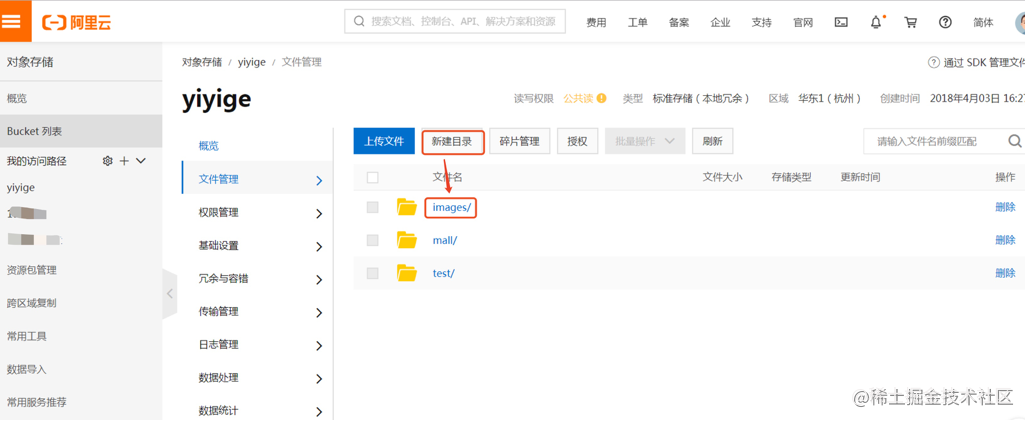
接下来要设置该目录的访问权限,可以设置为公共读。 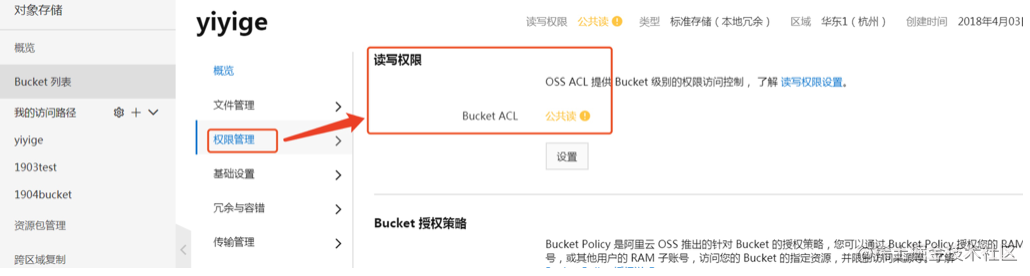
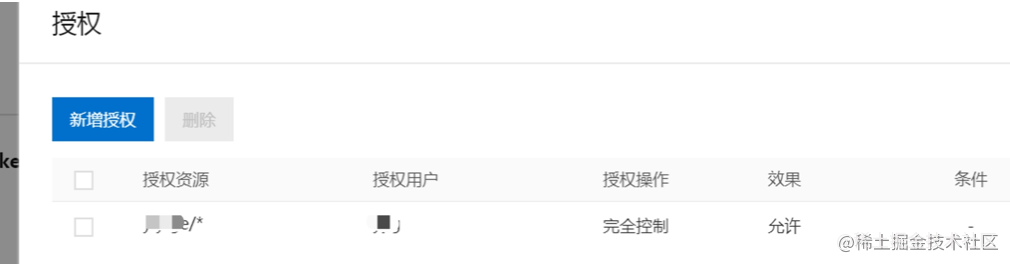
再设置一下该桶的授权策略。 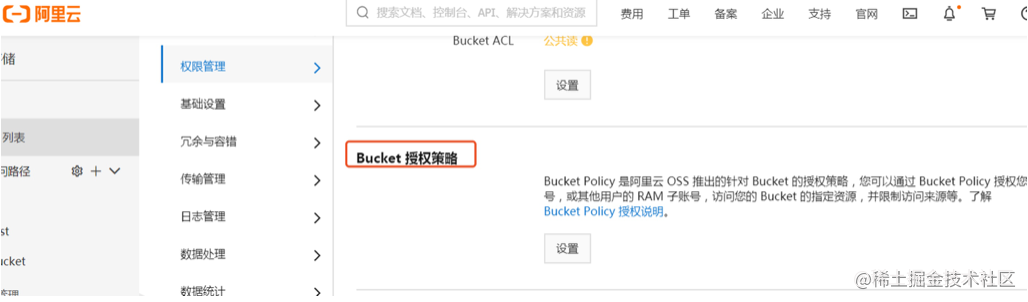
二. SpringBoot中实现OSS云存储
1. 创建Web项目
我们按照之前的经验,创建一个web程序,并将之改造成Spring Boot项目,具体过程略。 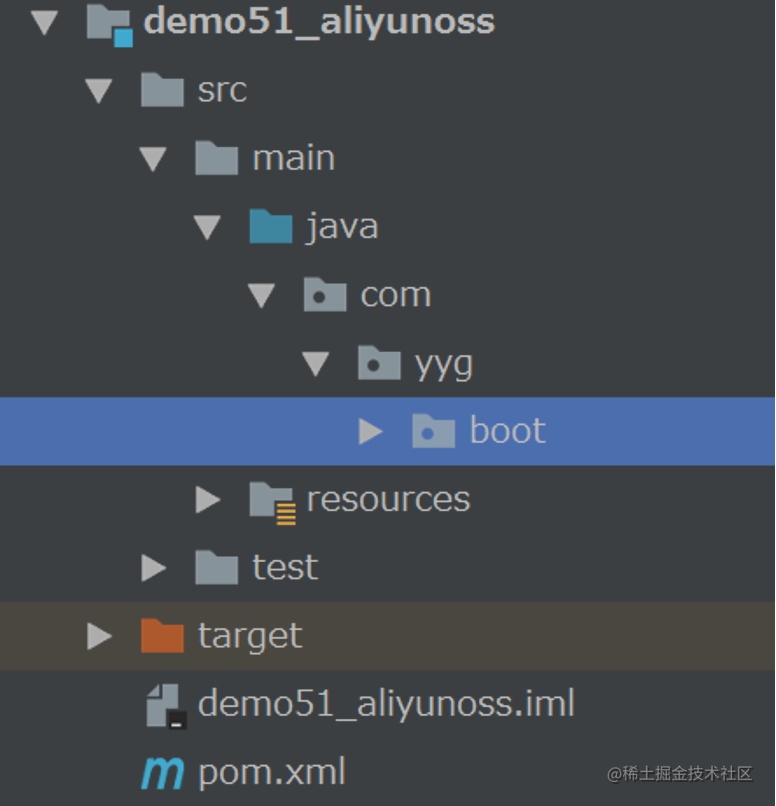
2. 添加依赖包
org.springframework.boot
spring-boot-starter-web
org.springframework.boot
spring-boot-starter-test
test
org.projectlombok
lombok
org.springframework.boot
spring-boot-starter-thymeleaf
com.aliyun.oss
aliyun-sdk-oss
2.8.3
commons-fileupload
commons-fileupload
1.3.1
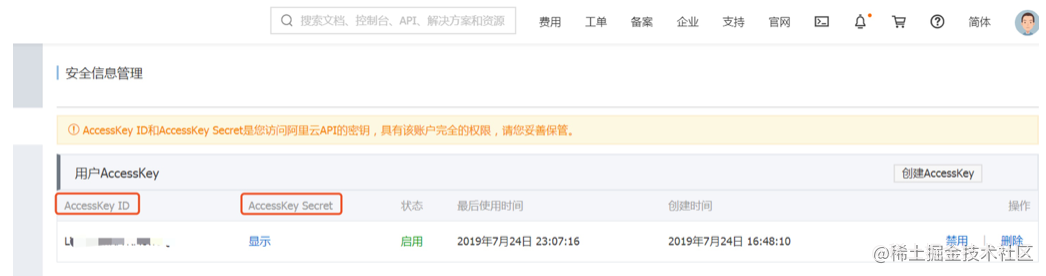
3.创建配置信息
可以在这里查看自己阿里云账号的AccessKey信息。 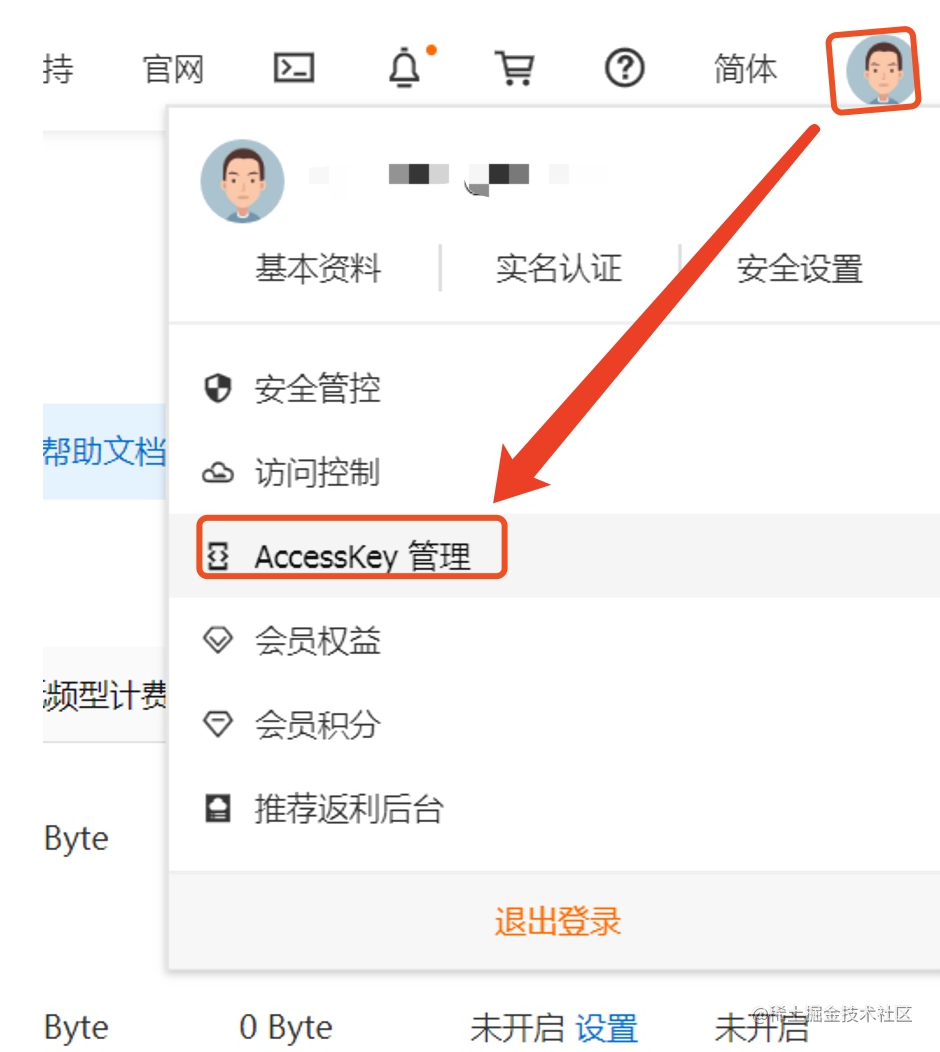
bucketName: "yiyige"
accessKeyId: "自己阿里云的accessKey"
accessKeySecret: "自己阿里云的accessKey"
#OSS对应的区域
endpoint: "http://oss-cn-hangzhou.aliyuncs.com"
filehost: "images"
4. 创建配置信息类
package com.yyg.boot.config;
import lombok.Data;
import lombok.Getter;
import lombok.Setter;
import org.springframework.beans.factory.annotation.Value;
import org.springframework.context.annotation.Configuration;
import org.springframework.stereotype.Component;
/**
* 把配置文件中的配置信息读取到该类中.
*/
@Data
@Configuration
public class OssConfiguration {
@Value("${endpoint}")
private String endPoint;
@Value("${accessKeyId}")
private String accessKeyId;
@Value("${accessKeySecret}")
private String accessKeySecret;
@Value("${filehost}")
private String fileHost;
@Value("${bucketName}")
private String bucketName;
}
5. 封装阿里云文件上传工具类
package com.yyg.boot.util;
import com.aliyun.oss.OSSClient;
import com.aliyun.oss.model.CannedAccessControlList;
import com.aliyun.oss.model.CreateBucketRequest;
import com.aliyun.oss.model.PutObjectRequest;
import com.aliyun.oss.model.PutObjectResult;
import com.yyg.boot.config.OssConfiguration;
import org.springframework.beans.factory.annotation.Autowired;
import org.springframework.stereotype.Component;
import java.io.File;
import java.text.SimpleDateFormat;
import java.util.Date;
import java.util.UUID;
/**
* 封装文件上传方法
*/
@Component
public class AliyunOssUtil {
@Autowired
private OssConfiguration config;
public String upload(File file) {
if (file == null) {
return null;
}
String endPoint = config.getEndPoint();
String keyId = config.getAccessKeyId();
String keySecret = config.getAccessKeySecret();
String bucketName = config.getBucketName();
String fileHost = config.getFileHost();
//定义子文件的格式
SimpleDateFormat format = new SimpleDateFormat("yyyy-MM-dd");
String dateStr = format.format(new Date());
//阿里云文件上传客户端
OSSClient client = new OSSClient(endPoint, keyId, keySecret);
try {
//判断桶是否存在
if (!client.doesBucketExist(bucketName)) {
//创建桶
client.createBucket(bucketName);
CreateBucketRequest createBucketRequest = new CreateBucketRequest(bucketName);
//设置访问权限为公共读
createBucketRequest.setCannedACL(CannedAccessControlList.PublicRead);
//发起创建桶的请求
client.createBucket(createBucketRequest);
}
//当桶存在时,进行文件上传
//设置文件路径和名称
String fileUrl = fileHost + "/" + (dateStr + "/" + UUID.randomUUID().toString().replace("-", "") + "-" + file.getName());
PutObjectResult result = client.putObject(new PutObjectRequest(bucketName, fileUrl, file));
client.setBucketAcl(bucketName, CannedAccessControlList.PublicRead);
//文件上传成功后,返回当前文件的路径
if (result != null) {
return fileUrl;
}
} catch (Exception e) {
e.printStackTrace();
} finally {
if (client != null) {
client.shutdown();
}
}
return null;
}
}
6. 编写Controller接口
package com.yyg.boot.web;
import com.yyg.boot.util.AliyunOssUtil;
import lombok.extern.slf4j.Slf4j;
import org.springframework.beans.factory.annotation.Autowired;
import org.springframework.stereotype.Controller;
import org.springframework.web.bind.annotation.GetMapping;
import org.springframework.web.bind.annotation.PostMapping;
import org.springframework.web.bind.annotation.RequestParam;
import org.springframework.web.multipart.MultipartFile;
import java.io.File;
import java.io.FileOutputStream;
@Controller
public class OssController {
@Autowired
private AliyunOssUtil ossUtil;
@GetMapping("/")
public String showUploadFile() {
return "upLoad";
}
@PostMapping("/uploadFile")
public String upload(@RequestParam("file") MultipartFile file) {
try {
if (file != null) {
String fileName = file.getOriginalFilename();
if (!"".equals(fileName.trim())) {
File newFile = new File(fileName);
FileOutputStream os = new FileOutputStream(newFile);
os.write(file.getBytes());
os.close();
//把file里的内容复制到奥newFile中
file.transferTo(newFile);
String upload = ossUtil.upload(newFile);
//图片回显地址:
//http://yiyige.oss-cn-hangzhou.aliyuncs.com/images/2019-10-21/6c964702b67d4eeb920e7f1f4358189b-dishu.jpg
System.out.println("path=" + upload);
}
}
} catch (Exception e) {
e.printStackTrace();
}
return "success";
}
}
7. 编写文件上传页面
DOCTYPE html>
【基于OSS的上传文件页面】
*{
margin:0;
padding:0;
}
#group{
position: absolute;
left:580px;
}
#submit{
position: absolute;
top:140px;
left:580px;
}
基于OSS的上传文件页面
File input
上传
8. 文件上传成功界面
DOCTYPE html>
【文件上传成功页面】
上传成功
9. 编写入口类
package com.yyg.boot;
import org.springframework.boot.SpringApplication;
import org.springframework.boot.autoconfigure.SpringBootApplication;
@SpringBootApplication
public class OssApplication {
public static void main(String[] args) {
SpringApplication.run(OssApplication.class, args);
}
}
10. 进行测试
首先进入到文件上传界面,选择一个文件进行上传。 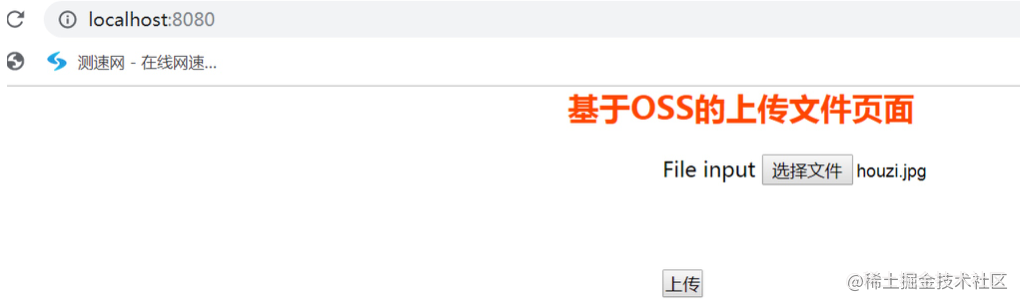
上传成功。 
打开控制台,可以看到阿里云OSS服务器端返回的图片路径。 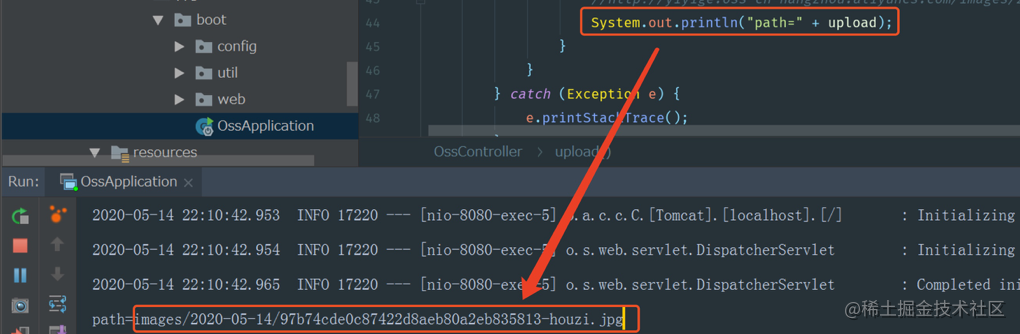
然后我们去阿里云服务器上可以看到自动以当天日期创建了一个文件夹,这里存放的就是当天上传的文件。 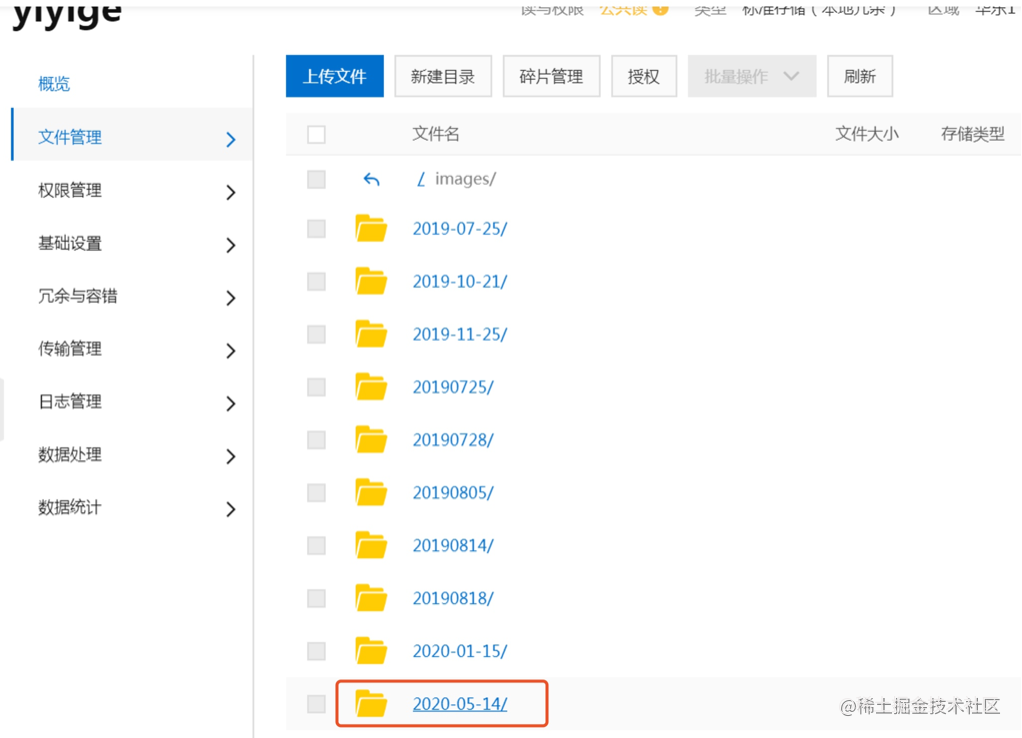
在这个文件夹里看到刚才上传的图片文件。 
结语
至此,壹哥 就把阿里云OSS的使用教程给大家介绍完了,现在你学会了吗?最后壹哥可以偷偷告诉你一个小秘诀,你完全可以利用阿里云OSS搭建一个自己的私密“云盘”哦,至于里面存什么内容,自己悟吧!
|