网页轮播图(详细版) |
您所在的位置:网站首页 › Android首页轮播 › 网页轮播图(详细版) |
网页轮播图(详细版)
|
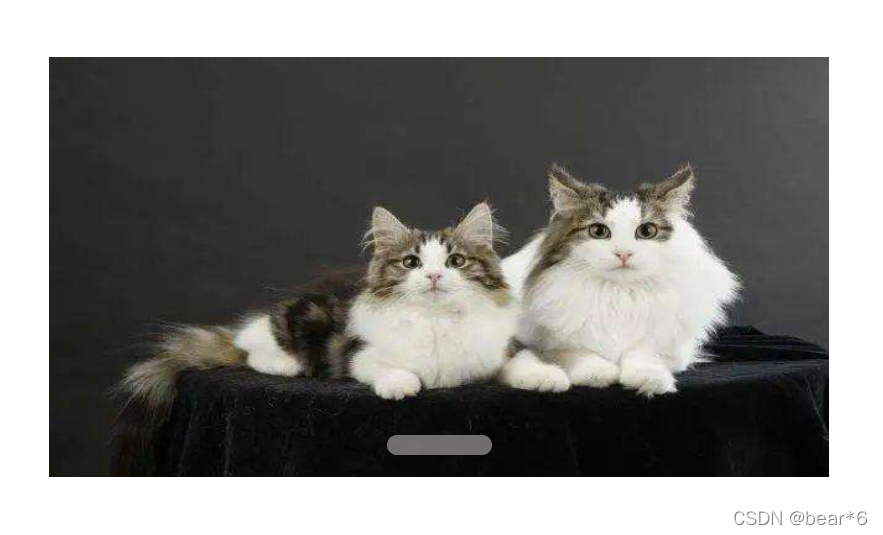
在网页中,我们经常会看到各种轮播图的效果,它们到底是怎样实现的呢?今天,我们就一起来看一下!首先,我们需要准备若干张图片,在这里我准备了五张图片。 功能需求: 鼠标经过轮播图模块,左右按钮显示,离开隐藏左右按钮。点击右侧按钮一次,图片往左播放一张,以此类推, 左侧按钮同理。图片播放的同时,下面小圆圈模块跟随一起变化。点击小圆圈,可以播放相应图片。鼠标不经过轮播图, 轮播图也会自动播放图片。鼠标经过,轮播图模块, 自动播放停止。我们页面布局如下所示: 实现流程是:先给定一个大盒子,为了方便后面盒子的定位操作,再给它一个相对定位,把图片通过无序列表的形式添加进大盒子中,因为我们要实现的轮播图效果是横向的,所以我们可以给图片添加float:left属性,又因为图片所在的ul不够大,所以其他的图片会被挤到下面,所以我们可以手动修改图片所在的ul的大小;接下来写一个无序列表用于放置小圆圈,通过绝对定位的方式将其定位到大盒子的下面,在将小圆圈加进去,方便我们实现点击对应的小圆圈,就跳转到相应图片的效果。然后将左右箭头通过绝对定位分别定到大盒子两侧合适位置。最后,我们再将大盒子外面的内容隐藏掉。 Document ; ;css文件 *{ margin: 0; padding: 0; } li{ list-style: none; } .box{ position: relative; overflow: hidden; margin: 100px auto; width: 520px; height: 280px; background-color: red; } .jiantou{ font-size: 24px; text-decoration: none; display: block; text-align: center; width: 20px; height: 30px; line-height: 30px; background: rgba(158, 154, 154, 0.7); color: white; z-index: 999; } .left{ position: absolute; top: 125px; left: 0px; border-top-right-radius: 15px; border-bottom-right-radius: 15px; } .right{ position: absolute; top:125px; left: 500px; border-top-left-radius: 15px; border-bottom-left-radius: 15px; } img{ width: 520px; height: 280px; } .box .pic{ width: 600%; } .pic li { float: left; } .lis{ position: absolute; bottom: 15px; left: 50%; margin-left: -35px; width: 70px; height:13px; border-radius: 7px; background: rgba(158, 154, 154, 0.7); } .lis li { float: left; width: 8px; height: 8px; margin: 3px; border-radius: 50%; background-color: #fff; } .lis .selected{ background-color: cyan; }此时页面效果为: 首先,我们先通过display:none让我们初始的两个箭头隐藏;然后获取两个箭头和大盒子,在给大盒子添加鼠标经过和鼠标离开事件。如下所示: var left = document.querySelector('.left'); var right = document.querySelector('.right'); var box = document.querySelector('.box'); box.addEventListener('mouseenter',function(){ left.style.display = 'block'; right.style.display = 'block'; }) box.addEventListener('mouseleave',function(){ left.style.display = 'none'; right.style.display = 'none'; })实现效果为: 先删除掉所有的小圆圈的li,如图所示: 实现效果为: 实现效果为: 需要进行的操作是:再声明一个变量circle,每次点击右侧按钮时自增1,因为当我们左侧按钮点击时也会实现该效果,也需要这个变量,因此要声明全局变量。但是图片有5张,我们小圆圈只有4个少一个,必须加一个判断条件,如果circle == 4就 从新复原为 0。 var num = 0; var circle = 0; right.addEventListener('click',function(){ if(num == pic.children.length-1){ pic.style.left = 0; num = 0; } num++; animate(pic,-num*boxWidth); circle++; if(circle == lis.children.length){ circle = 0; } for(var i =0;i if(num == 0){ num = pic.children.length-1; pic.style.left = -num*boxWidth+'px'; } num--; animate(pic,-num*boxWidth); circle--; if(circle lis.children[i].className = ''; } lis.children[circle].className = 'selected'; })实现效果为: 其实添加一个定时器自动播放轮播图,就类似于点击了右侧按钮,此时我们使用手动调用右侧按钮点击事件 right.click(),鼠标经过图片就停止定时器 ,鼠标离开图片就开启定时器。 var timer = this.setInterval(function(){ right.click(); },2000)实现效果为: 至此,我们轮播图的全部功能都实现了,你学会了吗? |
 接下来就一步步的实现功能
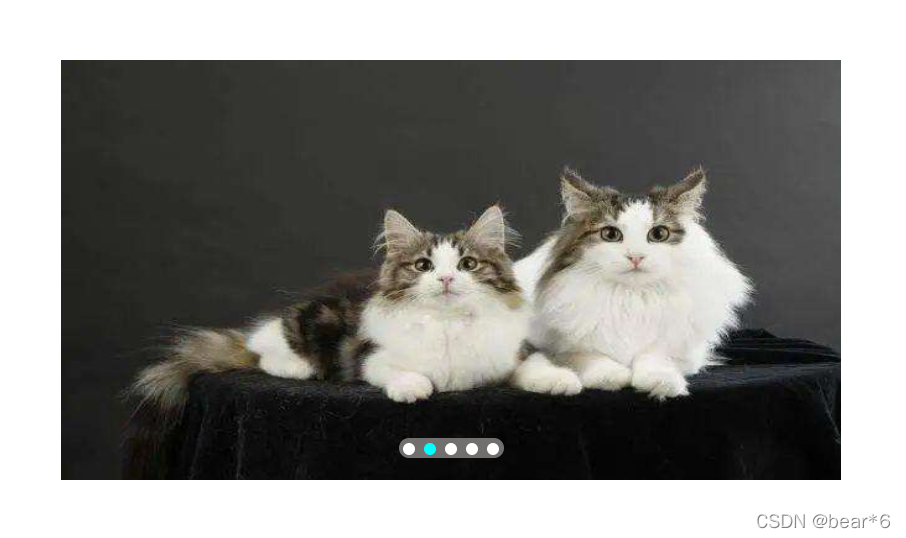

 因为我们创建的小圆圈是根据图片的张数决定的,所以我们的核心思路就是:小圆圈的个数要跟图片张数一致,先得到ul里面图片的张数(图片放入li里面,所以就是li的个数),然后利用循环动态通过创建节点createElement(‘li’)和插入节点 ul. appendChild(li)生成小圆圈(这个小圆圈要放入ul里面)要注意第一个小圆圈需要添加selected类。 实现代码为:
 我们发现,当点击右侧按钮时,可以实现图片的切换效果,但是当点击到最后一张图片的时候,就会停留在显页面初始背景,并不美观,所以我们就可以通过图片无缝滚动原理让图片无缝滚动,操作方法为。将.pic列表里的第一个li通过cloneNode(true)添加一份,然后通过appendChild()复制到该列表的末尾,然后再在js页面中给num添加一个判断条件,即当num的值等于这个列表里面元素的个数-1的时候,让ul移动的距离变为0,并让num等于0。 代码为:
 成功实现。
成功实现。
 完整index.js的代码为:
【本文地址】
今日新闻 |
推荐新闻 |